If you're looking for a way to ensure you have backup power during outages or simply want to harness renewable energy in your home, creating a small generator can be an exciting and rewarding project. A home-made generator not only saves you money but also offers a handy solution during unexpected power failures. Imagine sitting comfortably at home, unaffected by the outages, thanks to the generator you built yourself!
In this guide, we’ll walk you through the entire process step-by-step, making it accessible and enjoyable. Whether you're a seasoned DIY enthusiast or a curious beginner, this project will empower you to learn new skills and understand the mechanics of power generation. Ready to dive in? Let’s get started!
Materials and Tools Required

Before you roll up your sleeves, it’s crucial to gather all the necessary materials and tools. Here’s what you’ll need:
Materials:
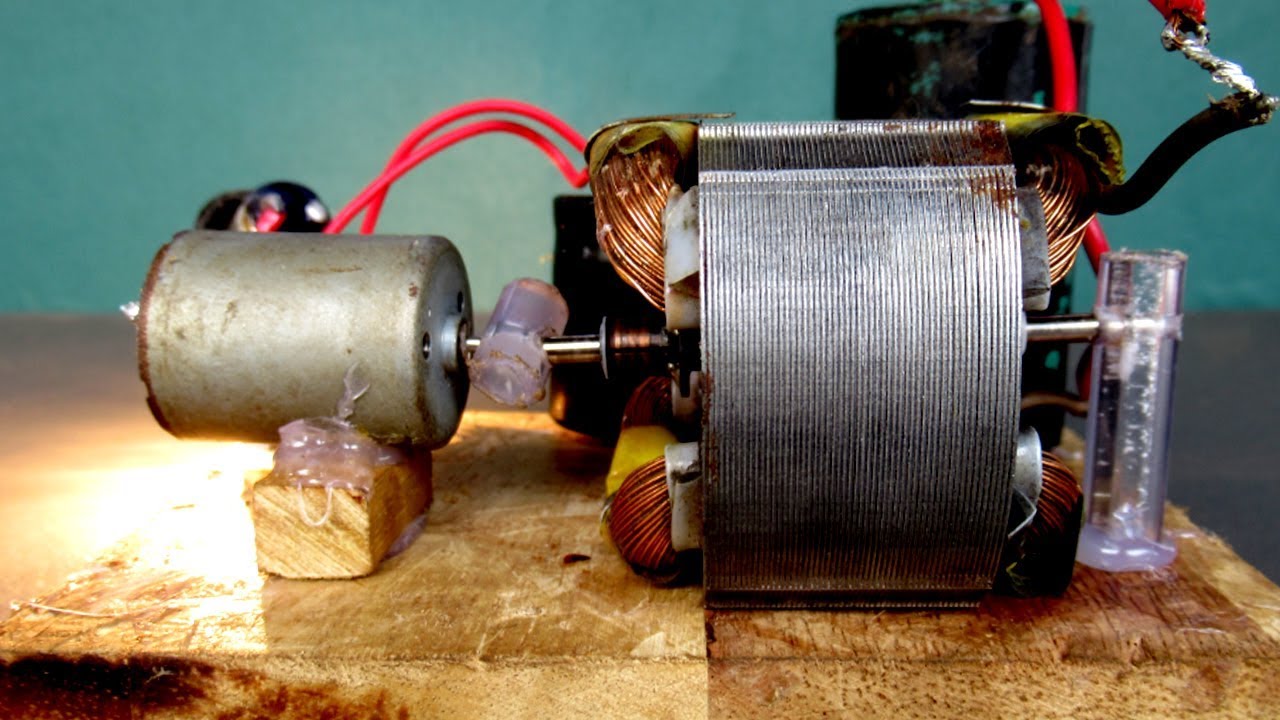
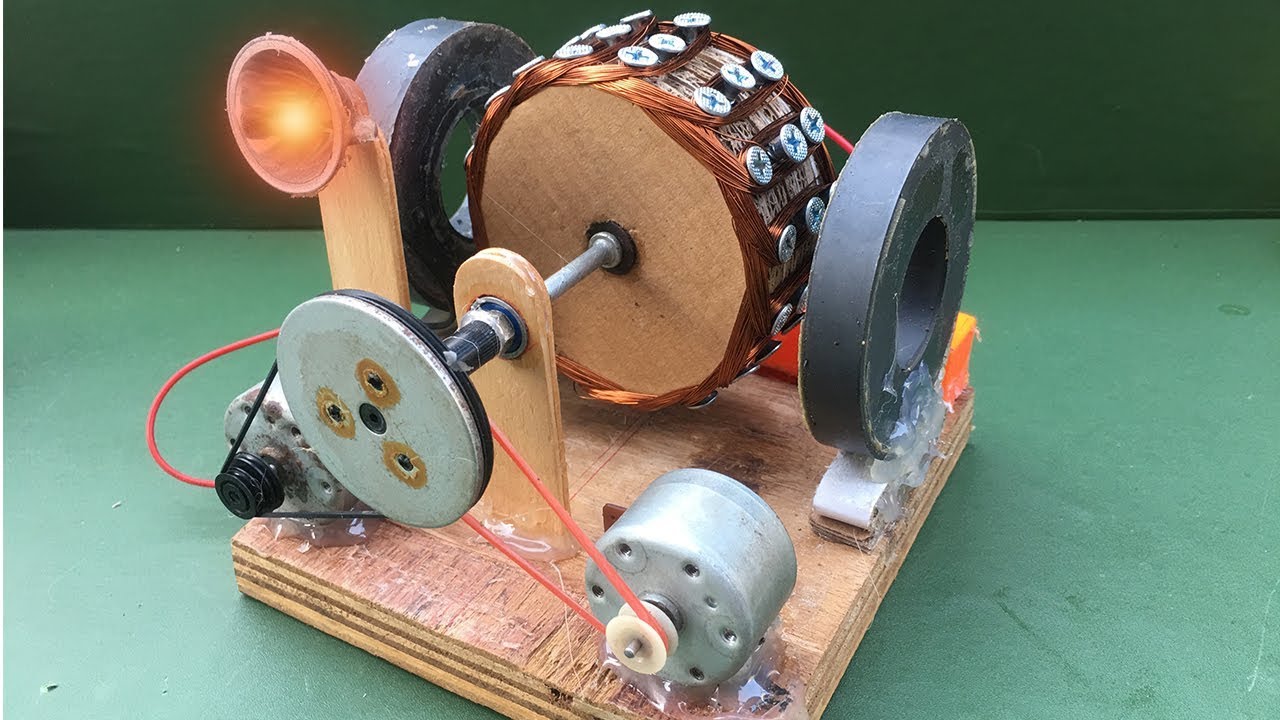
- DC Motor: The heart of your generator; selecting a motor with the right voltage output is key.
- Rectifier: To convert alternating current (AC) to direct current (DC), ensuring a stable output.
- Batteries: Store the generated energy, choose deep-cycle batteries for better efficiency.
- Wire: For connections; use insulated copper wire for maximum conductivity.
- Wooden Base or Frame: To support your generator structure.
- Switch: Necessary for controlling the power flow.
- Safety Equipment: Goggles and gloves to ensure you stay safe while working.
Tools:
- Screwdriver: For assembling parts.
- Wrench Set: To tighten screws and bolts securely.
- Soldering Iron: For making strong and durable electrical connections.
- Multimeter: To measure voltage and ensure everything is running smoothly.
- Wire Stripper: To prepare your wires for connections easily.
Gathering these materials and tools in advance will make the process smoother and more enjoyable. Once you have everything, you’ll be ready to transform your ideas into a functioning home-made generator!
Step 1: Planning Your Small Generator

Before you dive into the nitty-gritty of building a small generator, it's crucial to start with a solid plan. This initial step will save you time and effort, ensuring your DIY generator project runs smoothly. Let's break down the planning process into bite-sized chunks.
Here’s what you need to consider:
- Determine Your Power Needs: What do you want to power? Is it just small gadgets, or do you need enough juice for larger appliances? Estimate the total wattage you'll require.
- Choose a Generator Type: There are various types of generators, such as:
- Wind generators
- Solar generators
- Pedal-powered generators
- Gasoline-powered generators
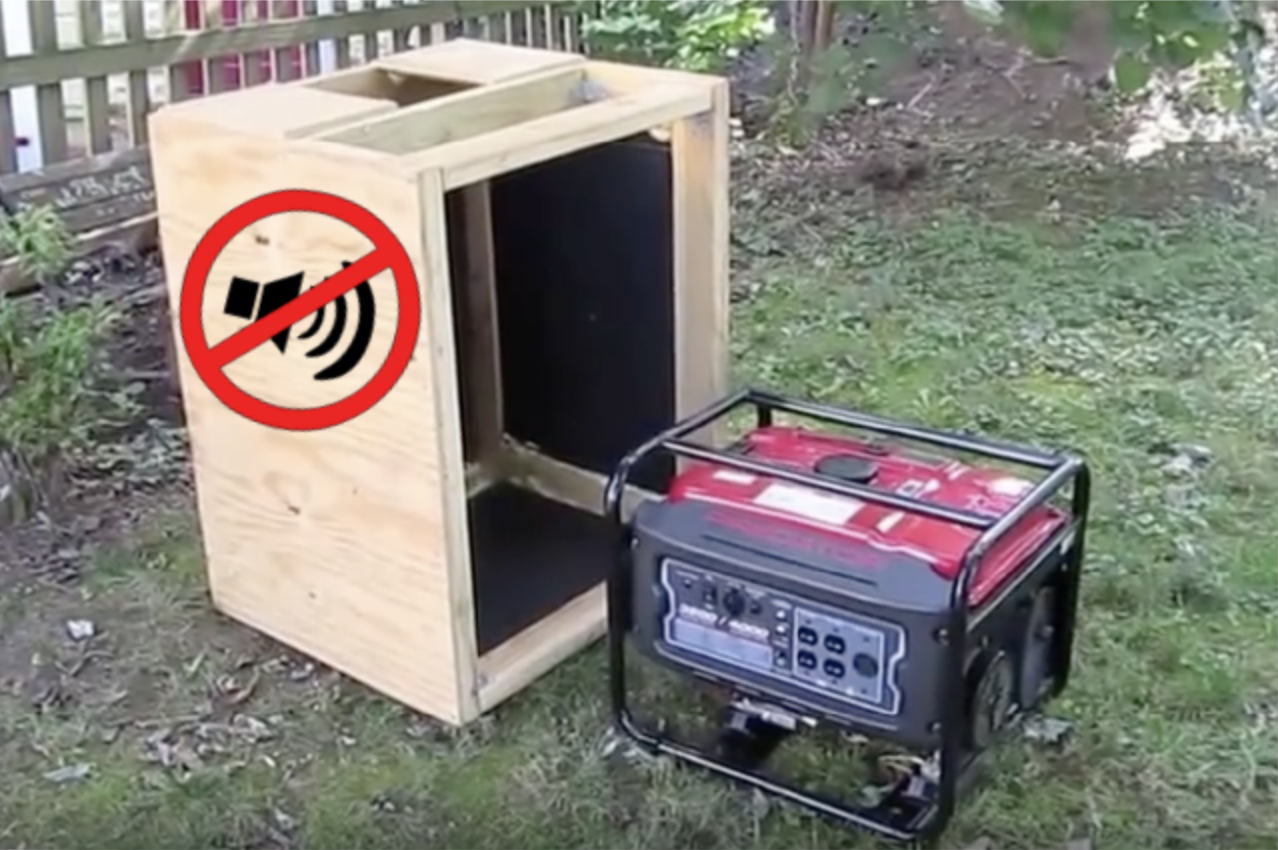
- Research Local Laws: Make sure to check any local regulations regarding generators. Some areas have restrictions, especially for noise or emissions.
- Creating a Budget: Calculate how much you’re willing to spend. Having a detailed budget will help you avoid overspending and keep your project on track.
- Design the Layout: Sketch out how your generator will look and how the components will fit together. Visualizing the end product can spark new ideas!
Your choice depends on the resources available, how eco-friendly you want to be, and the budget you’ve set.
Once you’ve thoroughly planned, you’re ready to gather your materials and move on to assembly!
Step 2: Assembling the Essential Components

Now that you’ve got your plan in place, it’s time to get your hands dirty and start assembling those essential components. This step involves gathering materials and carefully putting them together to create your small generator.
Here’s a quick list of the materials you might need, depending on the type of generator you’re building:
- Generator Motor: The heart of your generator, choose one that suits your power needs.
- Power Source: This could be solar panels, batteries, or a hand crank, depending on your design.
- Frame Material: Use wood or metal to create a sturdy frame to house your components securely.
- Wiring: Ensure you have the correct gauge wires for safety and efficiency.
- Storage Battery: If your generator is meant to store power, you’ll need a good battery.
- Switches and Connectors: These will help you manage power flow effectively.
With your materials gathered, follow these steps to assemble your generator:
- Construct the Frame: Building a solid frame is crucial. Make sure it's sturdy enough to hold all your components.
- Mount the Generator Motor: Secure the motor in place according to your layout. Double-check that it’s aligned correctly.
- Connect the Power Source: Whether it's solar panels or a crank, ensure it’s connected securely to the motor.
- Wire it Up: Use your wiring to connect your motor to the battery, switches, and any other necessary components.
- Test the Connections: Before finalizing everything, do a quick test to make sure your connections are secure and functioning.
Remember, this part requires patience and precision! Take your time, and soon you’ll have everything in place for the next exciting step in your DIY generator journey.
Step 3: Wiring and Connecting Parts

Alright, let’s dive into the nitty-gritty of wiring and connecting all those bits and pieces together! This step is crucial as it ensures that your generator will function smoothly when powered up.
First things first, gather your wiring materials. You’ll need:
- Insulated copper wire
- Wire connectors
- Electrical tape
- Voltage regulator (optional but recommended)
Next, follow these steps to connect the pieces:
- Connect the Alternator: Attach the wires from your alternator’s output terminals. Make sure you connect the positive wire to the positive terminal and the negative wire to the negative terminal. Use wire connectors for a secure fit.
- Battery Connection: Connect the alternator output to the battery. It’s usually positive to positive and negative to negative. This is where the stored energy comes from, so make it count!
- Grounding: Don’t forget to ground your generator. Grounding is essential for safety and can prevent electrical shocks. Connect a wire from the generator frame to a suitable grounding point.
- Voltage Regulator (if used): If your generator has a voltage regulator, connect it according to the manufacturer’s instructions for stable voltage output.
Finally, once you've established all connections, it’s a good idea to double-check everything. Look for loose connections or exposed wires. Tuck everything neatly and use electrical tape where necessary to secure and insulate.
Step 4: Testing Your Generator
Now that you've wired it all up, the moment of truth is here: testing your generator! This part is both exciting and a bit nerve-wracking, but don't worry—it’s fairly straightforward.
Start by making sure all connections are secure and that your workspace is clear of any obstructions or flammable items. Here’s how to perform your test:
- Check Connections: Before anything else, do a quick visual inspection of all wiring and connections. Ensure there are no loose or exposed wires.
- Fueling Up: If your generator operates on fuel, fill it up as instructed—this varies by design, so check your specifications!
- Starting the Generator: Use the starting mechanism—this could be a pull cord, starter motor, or switch. Give it a gentle pull or press the button to ignite. Be prepared for a few attempts!
- Monitor Performance: Once it starts, let it run for a few minutes. Check the output voltage using a multimeter, ensuring that it meets your expectations. You should ideally see readings around the generator's rated voltage.
- Load Testing: Try connecting a small appliance or light to test if it can handle a load. If it operates smoothly, congratulations! You’ve created a working generator!
Once you've tested your generator and are confident it works correctly, ensure you follow all safety protocols when using it in the future. Keep an eye out for any unusual noises or smells, and most importantly, enjoy the satisfaction of your DIY project!
7. Safety Precautions to Consider
When you’re delving into a DIY project like creating a small generator at home, safety should be your utmost priority. After all, working with electricity and machinery can be risky. Here are some essential safety precautions to keep in mind:
- Use Proper Gear: Always wear safety goggles and gloves. This can help protect your eyes from debris and your hands from electrical currents.
- Work in a Well-Ventilated Area: If you're working with combustibles, make sure your workspace is well-ventilated to avoid build-up of harmful gases.
- Disconnect Power: Before you start tinkering with any electrical components, ensure the power source is disconnected to prevent any electric shock.
- Read Instructions Carefully: Always consult the manuals or guides associated with the components you are using. Understanding the manufacturer's advice can keep you safe.
- Be Aware of Fire Hazards: Keep flammable materials away from your work area, and have a fire extinguisher on hand just in case.
- Inspect Tools and Equipment: Make sure all your tools are in good condition, and avoid using them if they are damaged.
- Have a First Aid Kit Ready: Accidents can happen, so it’s advisable to have a first aid kit nearby just in case of minor injuries.
By following these precautions, you'll not only protect yourself but also ensure that your project runs smoothly and successfully!
8. Conclusion and Additional Tips
Congratulations! You’re now equipped with the knowledge to create your own small generator at home. It’s an empowering skill that can give you a sense of independence, especially in times of need. Here are a few concluding thoughts and additional tips to ensure you achieve the best results:
- Test Your Generator: Once assembled, don’t forget to test your generator in a safe environment. Start with small loads to see how it performs.
- Regular Maintenance: Keep your generator in good working order with regular upkeep. This includes oil changes and checking for wear and tear.
- Document the Process: Take notes during your project or even photograph each step. This can serve as a valuable reference for future projects or for sharing with friends!
- Stay Informed: Join online communities or forums related to DIY projects. They can be a great resource for troubleshooting and new ideas.
- Have Fun! Ultimately, this project is not just about functionality but also enjoying the creative process. Make it your own!
By embracing these tips and maintaining a positive outlook, you can successfully navigate through your DIY generator journey. Happy building!
 admin
admin


