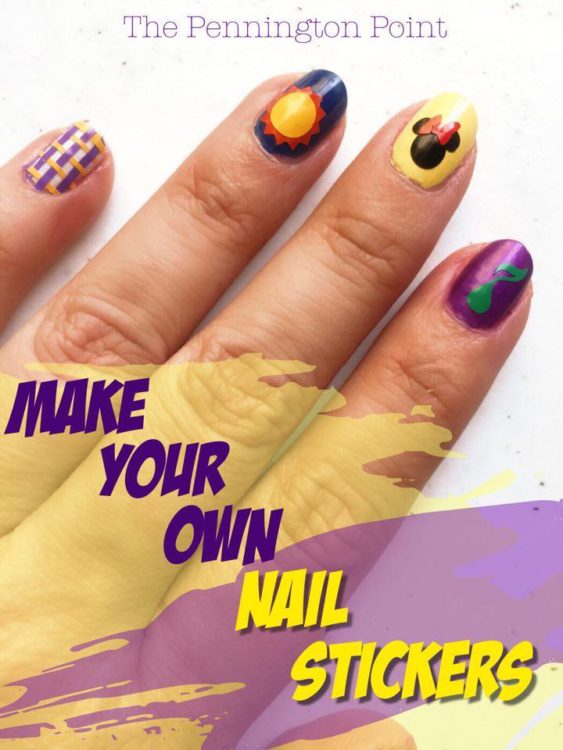
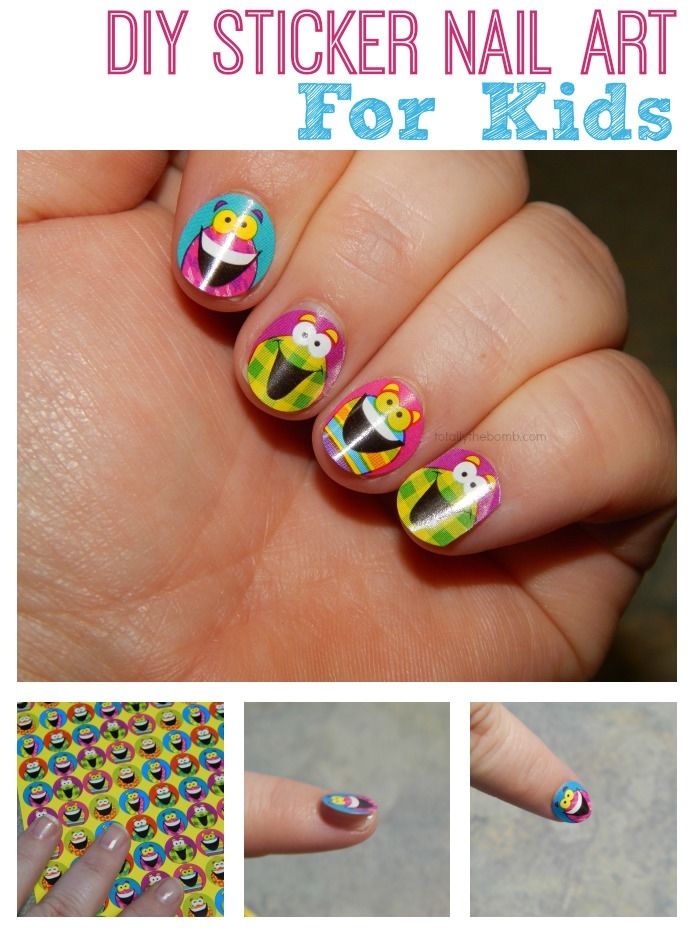
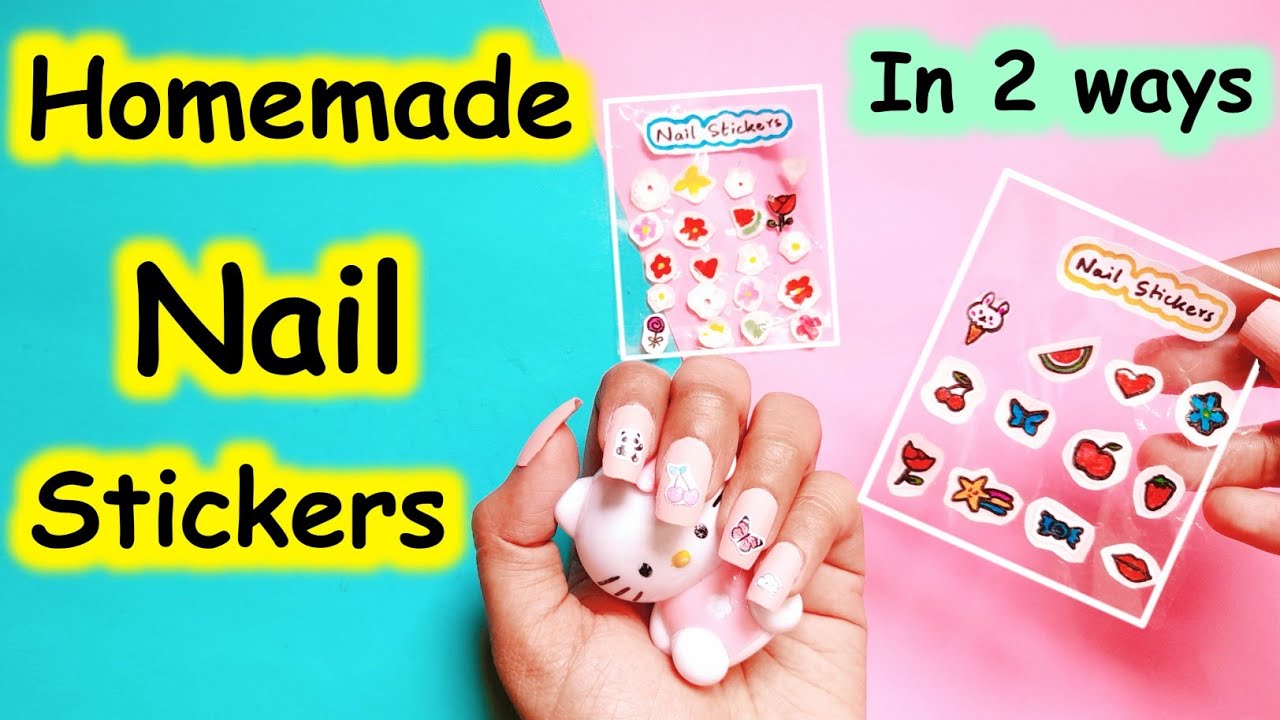
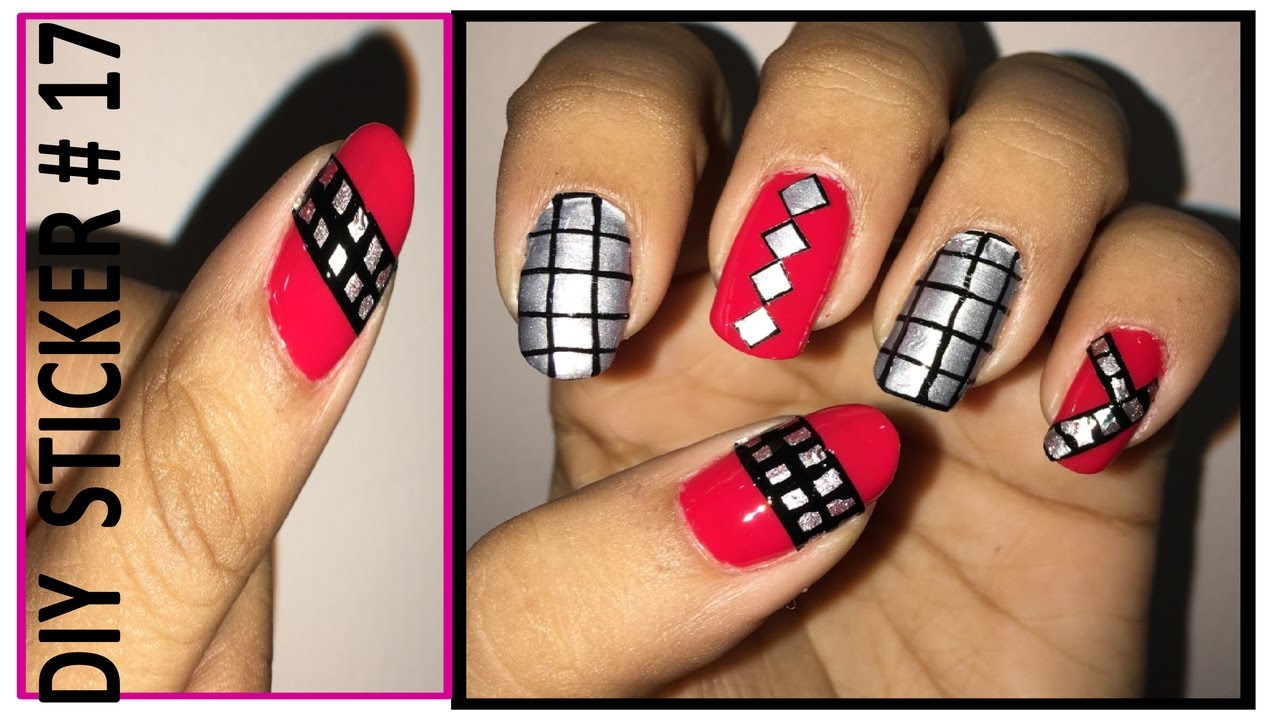
If you're looking to amp up your manicure game without spending a fortune at the salon, creating your own nail art stickers at home is a fun and creative option! DIY nail art stickers let you customize your nails according to your mood, outfit, or season. Plus, it's a great way to express your personal style and creativity!
Imagine having nail designs that are uniquely yours; you can choose from a variety of colors, shapes, and patterns that reflect your personality. The best part is, you don’t need to be a professional artist! With a few simple steps, you can create beautiful, salon-quality designs right from the comfort of your home. So, roll up your sleeves and let’s get started on this exciting journey into the world of nail art!
Materials Needed for Making Nail Art Stickers

Before you dive into the fun of creating your own nail art stickers, it’s important to gather all the materials you'll need. Here's a comprehensive list that will help you get started:
- Adhesive Paper: This is the base for your stickers. Look for removable adhesive paper to ensure they come off easily.
- Clear Nail Polish: This acts as a sealant for your designs, giving them a glossy finish and helping them stick better.
- Design Tools: You’ll need nail art brushes or dotting tools for painting designs, along with nail polish in your favorite colors.
- Printer (optional): If you prefer printed designs, a good-quality printer can be useful for this purpose.
- Scissors: For cutting your stickers to the desired size and shape.
- Cutting Mat: A self-healing cutting mat can protect your work surface while making it easier to cut the stickers.
- Top Coat: Applying a top coat can increase the durability of your nail art stickers and make them shine.
Once you have these materials ready, you’ll be well-equipped to unleash your creativity! Remember, the key to great nail art is practice, so don’t be afraid to experiment with different styles and techniques.
Also Read This: How to Download Photos from Depositphotos for Free
3. Step-by-Step Tutorial to Create Nail Art Stickers

Creating nail art stickers at home is a fun and rewarding process! Follow this simple step-by-step guide, and you'll be proudly showing off your custom designs in no time.
- Gather Your Materials:
Before you start, make sure you have everything you need:
- Nail art sticker paper
- Sharp scissors
- Design software or printable designs
- Ruler and pen for measurements
- Clear top coat (optional for sealing)
- Design Your Stickers:
You can either create your own designs using graphic software like Adobe Illustrator or look for free printable designs online. Keep in mind the size of your nail when designing your stickers.
- Print Your Designs:
Once you’re happy with your designs, it's time to print them! Just make sure to select the appropriate settings for sticker paper in your printer preferences.
- Cut Out the Designs:
Carefully cut around each design using sharp scissors. Precision is key, so take your time!
- Apply the Stickers:
Peel the backing off your stickers and apply them to your nails. Ensure there are no air bubbles for a smooth finish.
- Seal the Deal (Optional):
If you want your designs to last longer, apply a clear top coat over the stickers. This adds a glossy finish and seals them in place.
And there you have it! In just a few simple steps, you can create your own stunning nail art stickers right at home.
Also Read This: Incorporating Adobe Stock Images in Photoshop
4. Design Ideas for Your Nail Art Stickers

The beauty of making your own nail art stickers is that the design possibilities are virtually endless! Here are some fun and creative design ideas to get you inspired:
- Floral Patterns:
Try creating delicate flower designs featuring roses, daisies, or elegant leaves. These can be great for spring or summer!
- Geometric Shapes:
Transform your nails with bold geometric designs. Think triangles, stripes, and dots in vibrant colors.
- Seasonal Themes:
Design stickers for different occasions or seasons, like snowflakes for winter or pumpkins for fall.
- Quotes and Sayings:
Print out your favorite inspirational quotes or phrases. They’ll serve as a great reminder every time you glance at your nails!
- Abstract Art:
Don’t be afraid to get a little wild with color! Create abstract designs full of splashes and swirls that look like they belong in a modern art gallery.
Remember, your nail art stickers should reflect your personal style! Don’t hesitate to mix and match these ideas or add your own flair to make them uniquely yours.
Also Read This: how to get grad images for free
5. Tips for Applying Your Nail Art Stickers

Applying nail art stickers can be a super fun way to jazz up your manicure! But sometimes, they can be a little tricky to handle. Here are some handy tips to ensure a smooth application process:
- Start with Clean Nails: Make sure your nails are clean, dry, and free from any oils. A good base is key!
- Use a Base Coat: Applying a clear base coat not only protects your nails but also provides a smooth surface for the stickers to adhere better.
- Select the Right Size: Make sure your stickers fit well on your nails. If they’re too big, you can always trim them down using nail scissors.
- Peel Carefully: Use a pair of tweezers to help peel your stickers off the sheet. This minimizes the chances of tearing them.
- Smooth It Out: After placing the sticker on your nail, gently press it down with your finger or a cotton swab to eliminate any air bubbles.
- Seal the Deal: Once your stickers are applied, seal them with a top coat to enhance their durability and shine.
- Be Patient: Let your nails dry completely before putting your hands to work. This helps in avoiding any smudging.
Follow these tips, and you’ll be a pro at applying your nail art stickers in no time!
Also Read This: How to Post YouTube Videos to Instagram Easily
6. Where to Find Inspiration for Nail Art Designs
Finding inspiration for your next nail art design can be as easy as looking around! Here are some fantastic sources to spark your creativity:
- Social Media: Platforms like Instagram, Pinterest, and TikTok are gold mines for nail art ideas. Search for hashtags like #NailArt or #NailDesigns to find trending styles.
- Nail Art Blogs: Check out beauty blogs that focus on nail art. They often share tutorials, tips, and unique designs.
- Fashion Magazines: Flip through the latest fashion magazines. You’ll often find gorgeous nail designs that complement current clothing trends.
- Nature: Inspiration can come from nature! The colors and patterns you see in flowers, leaves, or even the sky can be transformed into stunning nail art.
- Art and Craft Stores: Exploring the art section in a local store can introduce you to new colors, textures, and patterns that you can apply to your nails.
- Friends and Family: Don’t underestimate the power of sharing ideas with close ones. Sometimes, a casual chat can lead to an exciting new design!
With these ideas in hand, you'll never run out of inspiration for your nail art projects. Happy designing!
How to Easily Create Nail Art Stickers at Home
Nail art stickers are a fun and creative way to enhance your manicure without spending a fortune at the salon. Creating your own nail art stickers at home is not only cost-effective, but it also allows you to express your individuality. Here’s a step-by-step guide to get you started.
Materials Needed:
- White sticker paper or clear decal paper
- A printer (inkjet or laser)
- Design software (like Canva or Adobe Illustrator)
- Clear nail polish or top coat
- Scissors or a craft knife
Steps to Create Nail Art Stickers:
- Design Your Nail Art: Create or download designs that you want to apply on your nails. Make sure the size fits your nails.
- Print Your Designs: Use your printer to print the designs onto the sticker paper. Make sure to select the right paper type in your printer settings.
- Cut Out the Stickers: Carefully cut around each design with scissors or a craft knife, ensuring clean edges.
- Seal the Stickers: Apply a thin layer of clear nail polish or top coat over the cut stickers. Let them dry completely to prevent smudging.
- Application: Once dry, peel off the backing and place the stickers on your nails. Press down firmly and seal with a top coat for longevity.
Tips for Best Results:
| Tip | Description |
|---|---|
| Use High-Quality Images | Ensure your designs are high resolution for the best print quality. |
| Experiment with Different Finishes | Try matte or glossy finishes to achieve different looks. |
Creating your own nail art stickers at home is a fantastic way to showcase your creativity and add personalized flair to your nails. With a few simple materials and steps, you can design and apply nail stickers that reflect your style. Enjoy customizing your nail art and have fun experimenting with various designs!
 admin
admin


