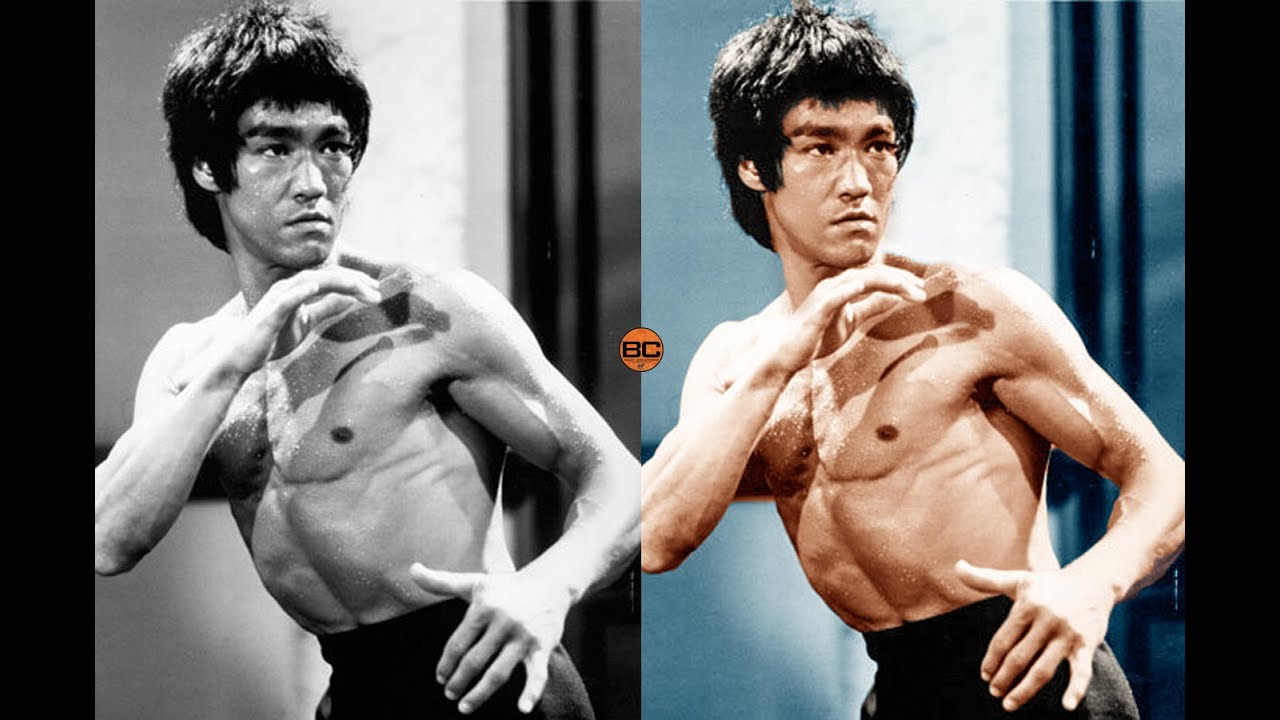
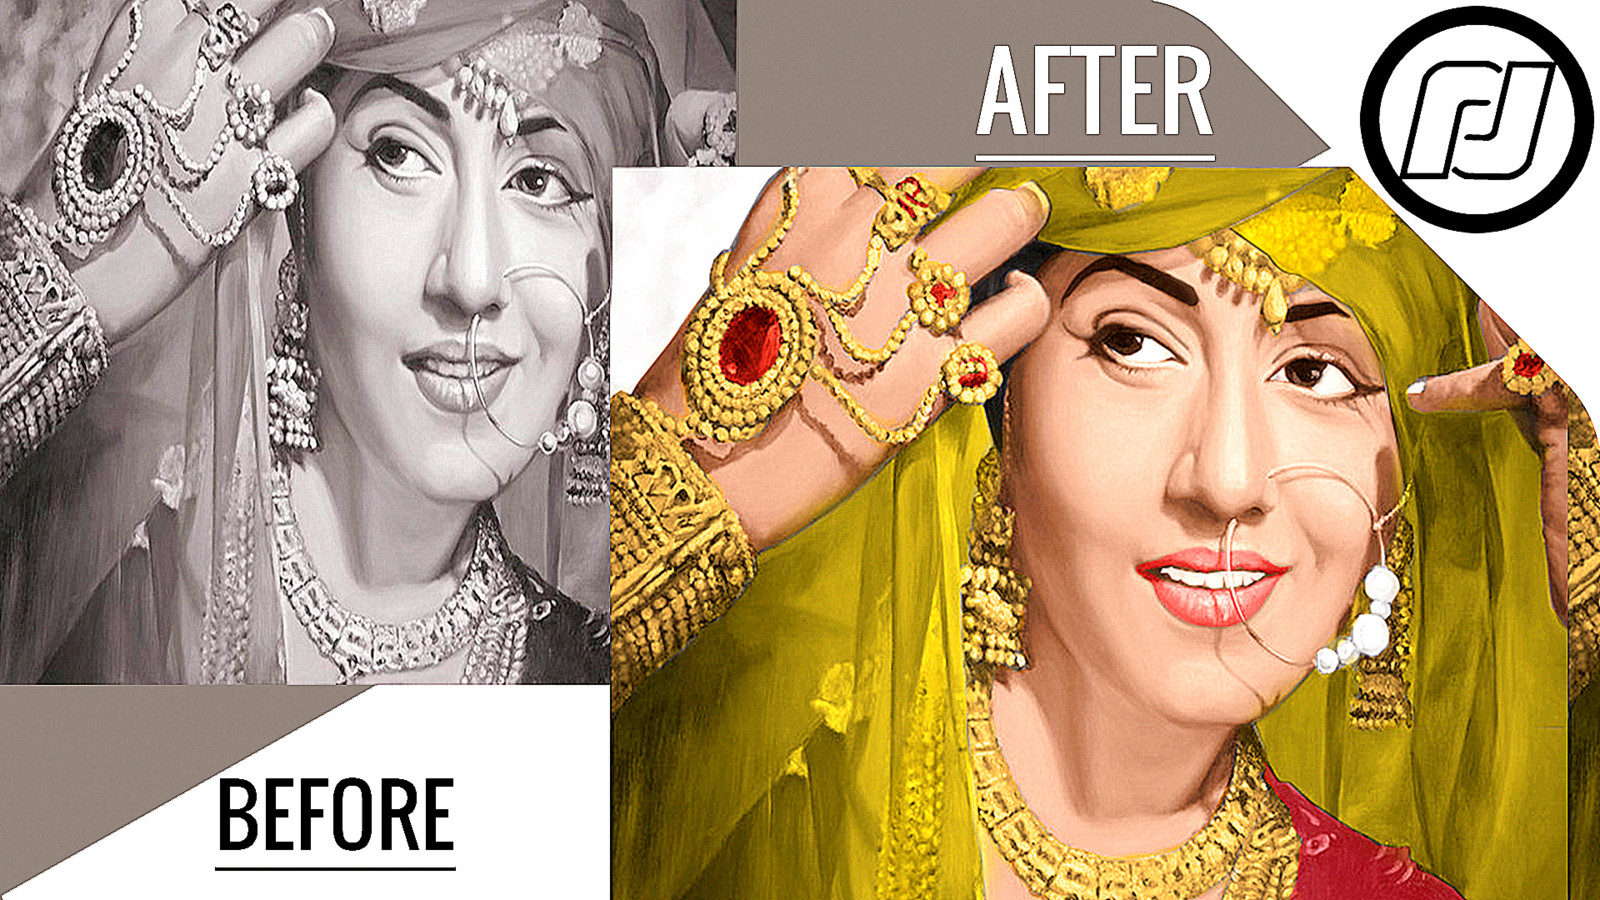
Transforming color images to black and white can elevate their aesthetic appeal and bring out a unique character that color sometimes masks. In this blog post, we’ll explore the magical process of converting color images into striking monochrome photography using Photoshop. Whether you’re trying to capture a vintage feel or want to emphasize details, understanding how to effectively make this transition can enhance your photography skills.
Why Convert to Black and White?

There are several compelling reasons why photographers and artists alike might choose to convert their color images to black and white. Here are some key points to consider:
- Emphasis on Composition: Without the distraction of color, viewers can focus on the composition—shapes, lines, and textures. This often shifts the viewer's attention to the underlying structure of the photograph.
- Timeless Aesthetic: Black and white images have a classic, timeless appeal. Think of iconic photographs from history; many were captured in monochrome, creating a nostalgic feel that resonates with audiences.
- Emotional Impact: Black and white can convey emotions more effectively. The absence of color helps in focusing on the subject's expressions or the mood of the scene, creating a more intimate connection.
- Highlighting Textures: The play of light and shadow takes center stage in black-and-white photography. Textures become more pronounced, adding depth and dimension.
- Artistic Expression: Converting to black and white provides an opportunity for creative expression. Artists often use this medium to express themselves in ways that color might not allow.
Ultimately, black and white photography isn’t just about removing color; it’s about presenting a different viewpoint and discovering new layers in your images that might otherwise go unnoticed.
Also Read This: How to Export Only the Background Image Without Text in Figma
3. Step-by-Step Guide to Converting Images

If you're looking to turn your vibrant color images into stunning black and white masterpieces, Photoshop has got you covered! Follow this straightforward step-by-step guide to make the conversion process smooth and effective.
- Open your Image:
Start by launching Photoshop and opening the image you want to convert. You can do this by navigating to File > Open and selecting your desired image from your computer.
- Select the Black & White Adjustment Layer:
Go to the Layer menu at the top bar, then hover over New Adjustment Layer, and select Black & White. This method ensures you maintain the flexibility to adjust settings later on.
- Adjust the Color Sliders:
Once you apply the Black & White adjustment, a dialog box opens with color sliders. Use these sliders to tweak the tonal ranges of each color channel to enhance contrast and brightness, making certain elements stand out.
- Fine-Tune with Presets:
Photoshop offers some great presets for black and white conversion, like Portrait, Landscape, and more. Experimenting with these can give you a great starting point for your adjustments.
- Finalize Your Image:
Once you’re satisfied with the adjustments, click OK. Make any additional tweaks, or apply filters as desired. Finally, save your work via File > Save As to ensure you keep both the color and the black and white versions.
Also Read This: Understanding the Worth of a YouTube Play Button
4. Using Adjustment Layers for Black and White Conversion

Adjustment layers in Photoshop offer a non-destructive way to manipulate your images, and they shine particularly brightly when converting colors to black and white. Here’s how to effectively use these layers for conversion.
For starters, adjustment layers allow you to revisit and modify your edits without permanently altering the original image. This is perfect when you’re experimenting with different looks! Here's how to use them:
- Create a New Adjustment Layer:
Just like in the previous section, click on the Layer menu, go to New Adjustment Layer, and select Black & White. This method will create a new layer dedicated to your black and white adjustments.
- Layer Mask Usage:
With the adjustment layer active, you can create a layer mask by clicking on the layer mask icon. This allows you to selectively reveal or hide parts of the black and white effect, letting you bring back color in certain areas or adjust specific features.
- Utilize Blend Modes:
Experiment with different blend modes for your adjustment layer. Modes like Soft Light or Overlay can add depth and drama to your image while maintaining the black and white aesthetic.
- Stack Multiple Adjustments:
You can stack multiple adjustment layers to refine your image further. For example, after converting to black and white, consider adding a Curves or Levels adjustment layer to boost contrast and brightness.
By using adjustment layers creatively, you can retain maximum control and flexibility over your black and white conversion process, ensuring that each image turns out just the way you envision it! So, go ahead and give it a shot!
Also Read This: Guidelines for Contributors to Upload as Editorial on iStock
Fine-Tuning Your Black and White Image
So, you've transformed your color image into a stunning black and white masterpiece, but the work doesn’t stop there! Fine-tuning is essential to bring out the full potential of your image. Let’s dive into some practical steps to enhance your black and white photography.
First and foremost, consider adjusting the brightness and contrast. You can find these settings under Image > Adjustments, where you can manipulate how light or dark the overall image appears. A little contrast goes a long way to make your image pop!
Next up, explore the Curves adjustment. This tool allows for greater precision in adjusting tonal values. By dragging the curve, you can bring out highlights, midtones, and shadows to create a well-balanced image.
If you want to add depth, think about the Levels adjustment. This can also enhance contrast but focuses on distributing the tones across the spectrum. You can easily access this by navigating through Image > Adjustments > Levels.
Another excellent tip is to employ the Burn and Dodge tools. These tools can darken or lighten specific areas, allowing for targeted enhancements that draw the viewer’s eye to focal points.
Finally, don’t forget to check the Noise level in your image. If it’s too grainy or cluttered, use the Reduce Noise filter to smooth things out a bit.
In short, by fine-tuning your adjustments, you’ll get a beautifully balanced black and white image that tells a compelling story!
Also Read This: Understanding How Licensing Works on Adobe Stock
Common Mistakes to Avoid
While transforming color images to black and white can make for breathtaking visuals, it's easy to make some blunders along the way. Let’s chat about a few common mistakes you should steer clear of to ensure your images shine.
1. Ignoring the Importance of Contrast: Many newcomers forget how vital contrast is in black and white images. Without good contrast, the image can appear flat and lifeless. Make sure to adjust your brightness and contrast levels to breathe life into your photo.
2. Too Much Noise: Grainy images can detract from their quality. If you find noise in your black and white photo, consider using the Reduce Noise filter. Avoid letting the noise overpower the overall visual impact.
3. Overusing Filters: It’s tempting to apply every filter available, but using too many can lead to an unnatural look. Stick to a few subtle adjustments for a more professional finish.
4. Not Paying Attention to Composition: The rules of composition don’t disappear just because you’re working in black and white! Ensure that your image still follows principles like the rule of thirds or leading lines for better storytelling.
5. Forgetting About Textures: In black and white photography, textures can really shine. Be mindful of fabrics, landscapes, and surfaces that add richness to your photos.
By avoiding these common pitfalls, you can elevate your black and white images, making them both striking and memorable. Happy editing!
Transforming Color Images to Black and White in Photoshop
Converting color images to black and white can dramatically change the mood and impact of a photograph. Adobe Photoshop offers powerful tools to achieve this transformation, allowing for greater control over the resulting image. Below, we outline several methods for converting color images to black and white, along with tips to enhance the final result.
Methods for Converting to Black and White
- Grayscale Mode:
One of the simplest methods is to switch the image to Grayscale mode.
- Open your image in Photoshop.
- Go to Image > Mode > Grayscale.
- Confirm any prompts to discard color information.
- Black & White Adjustment Layer:
This method provides more control over how colors are converted to grayscale.
- Select Layer > New Adjustment Layer > Black & White.
- Adjust the sliders to control the conversion effect on different color channels.
- Channel Mixer:
Using the Channel Mixer is ideal for fine-tuning black and white conversions.
- Create a new adjustment layer: Layer > New Adjustment Layer > Channel Mixer.
- Select the Monochrome option and adjust the red, green, and blue sliders.
Best Practices for Enhanced Results
To achieve the best results, consider the following tips:
- Experiment with different conversion methods to see which suits your image best.
- Utilize the Curves or Levels adjustments to enhance contrast.
- Pay attention to highlights and shadows to retain detail in the final image.
In conclusion, transforming color images to black and white in Photoshop can enhance the emotional depth of a photograph. By employing various methods and techniques, photographers can create stunning monochrome images that tell compelling stories.
 admin
admin


