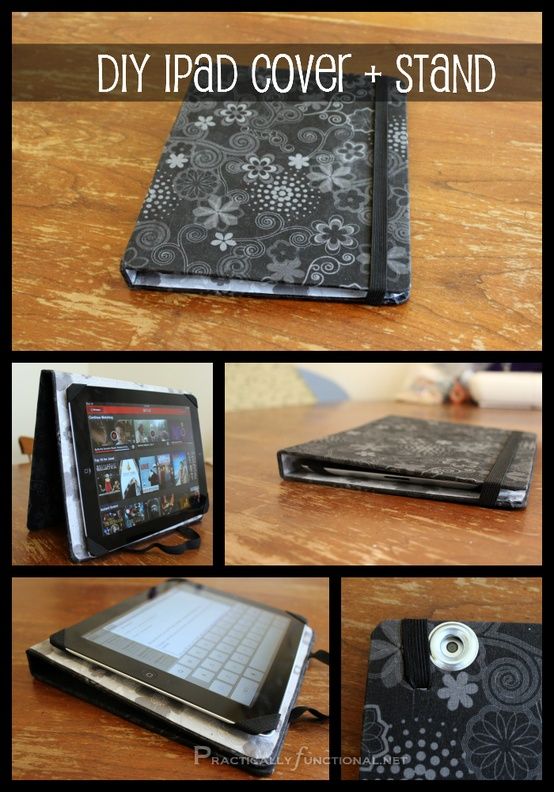
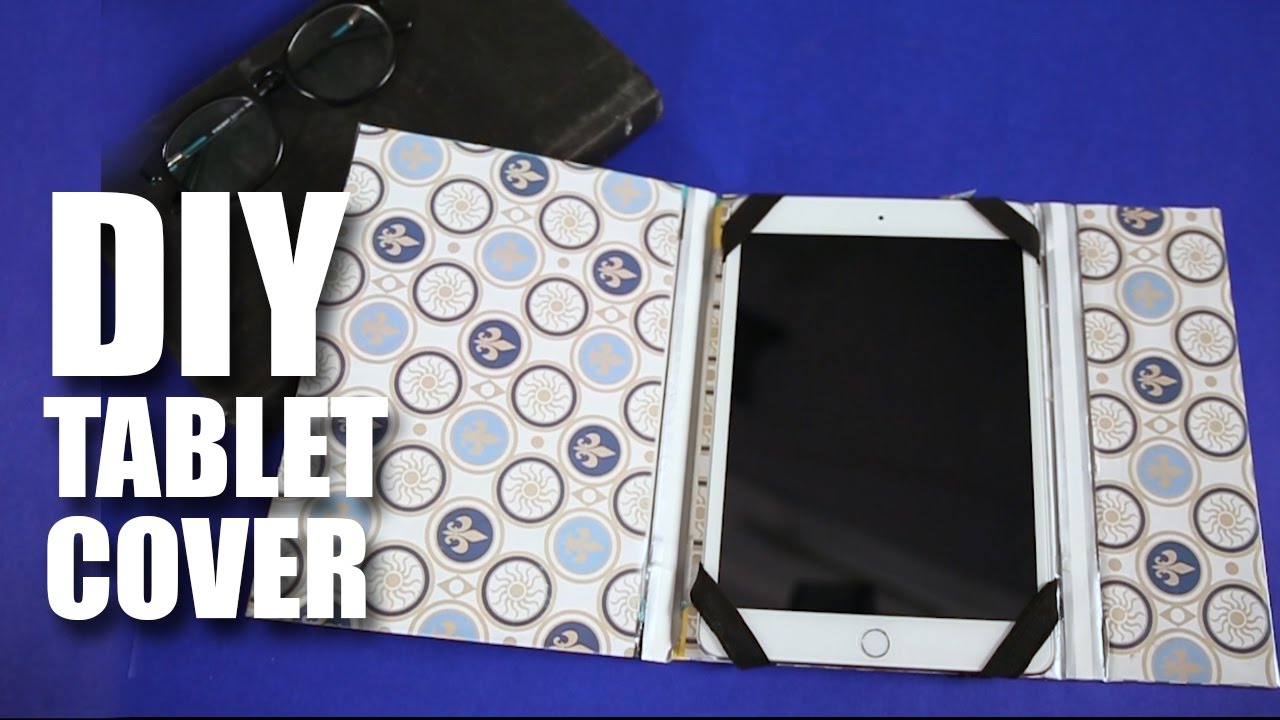
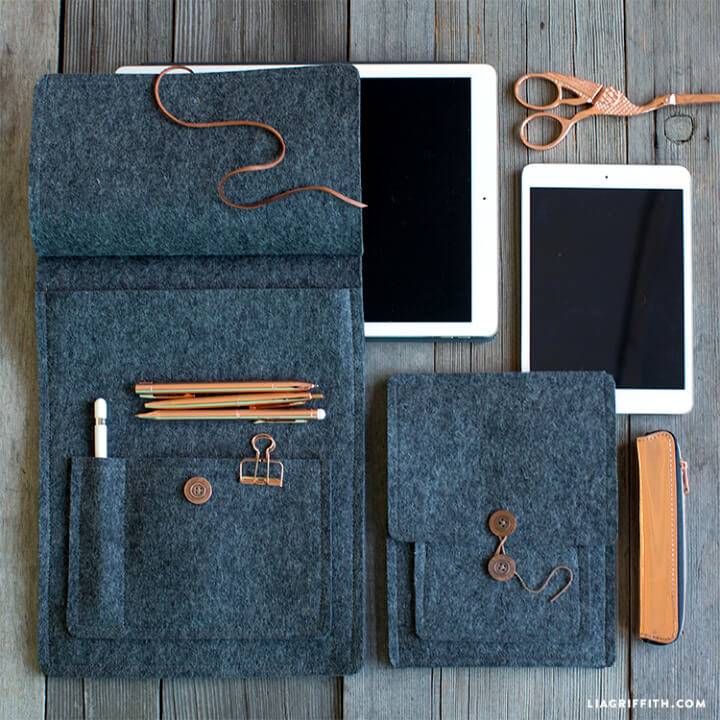
Are you tired of boring, store-bought tablet covers that don’t quite match your style? Or maybe you want something more unique that reflects your personality? Well, you’re in luck! In this DIY tutorial, we will guide you through the fun and creative process of making your very own tablet cover. Not only will you save some money, but you’ll also enjoy the satisfaction of crafting something personal and stylish. Let’s get started and unleash your creativity!
Materials Needed

Before diving into the crafting process, it’s essential to gather all the materials you'll need. Here’s a handy list to help you get organized:
- Fabric: Choose a durable fabric of your choice, such as cotton, denim, or felt. Consider a fun pattern or bold color to add personality!
- Measuring Tape: For accurate measurements to ensure your cover fits perfectly.
- Scissors: A good pair of scissors will make your cutting tasks smoother.
- Sewing Machine (optional): If you’re comfortable with sewing, a machine will speed up the process! You can also sew by hand if you prefer.
- Thread: Pick a color that complements your fabric. You might need more than one spool if you opt for multiple colors.
- Velcro or Buttons: For securing the cover, you can use Velcro strips or buttons depending on your design choice.
- Pins or Clips: These will help hold your fabric in place while you cut and sew.
- Iron: A press will help smooth out any wrinkles in your fabric before you start working.
- Optional Embellishments: Consider adding patches, embroidery, or fabric paint to personalize your cover further!
Now that you’ve got your materials all set, you’re one step closer to creating a fabulous tablet cover! Let your creativity shine, and soon, you’ll have something unique to show off.
Step-by-Step Instructions

Alright, let's dive into the fun part—making your very own tablet cover! This project is relatively simple and perfect for both beginners and seasoned crafters. Here’s how you can do it:
- Gather Your Materials:
- Fabric (preferably cotton or felt)
- Scissors
- Measuring tape
- Sewing machine or needle and thread
- Iron (optional)
- Batting or padding (for extra protection)
- Velcro or button (for closure)
- Measure Your Tablet:
Start by measuring the dimensions of your tablet—length, width, and thickness. Make sure to add an extra half inch to each side for seam allowances. This will ensure a snug but comfortable fit!
- Cut Your Fabric:
Using your measurements, cut out two pieces of fabric for the outer cover and one piece for the lining. If you’re using batting, cut an additional piece to match your outer fabric.
- Assemble the Pieces:
Lay the outer pieces right sides together and place the batting on top. Pin them together to secure.
- Sew the Edges:
With about a half-inch seam allowance, sew around the edges, leaving the top open. If you're feeling fancy, you can use a zigzag stitch for durability!
- Turn Inside Out:
Now, turn your cover inside out through the opening, tucking the corners nicely. Iron the edges for a clean finish, if needed.
- Add Closure Detail:
Attach your Velcro or sew on a button, depending on your choice. Voila, you’ve just created your tablet cover!
Tips for Customization

Want to make your tablet cover truly unique? Here are some fun tips to customize your creation:
- Fabric Choices: Choose fabrics that represent your personality. Think about florals, polka dots, or even an exciting print—whatever speaks to you!
- Patchwork Design: If you have leftover fabric scraps, consider making a patchwork design. It adds character and keeps things interesting.
- Embroidery and Appliqué: Get artsy! Add some embroidery or stitch on fun shapes or initials to personalize your cover. A little creativity goes a long way!
- Padding Extras: If you want to really protect your tablet, consider adding extra padding or even making a pocket for accessories like the charger or stylus.
- Buttons and Closure Styles: Experiment with buttons, clips, or snap closures. Each type gives your cover a different vibe!
- Use an Iron-On Transfer: For a more customized look, use iron-on transfers to add images or quotes that mean something special to you.
Customizing your tablet cover can be a delightful process—let your imagination run wild!
Caring for Your Tablet Cover

So, you've put in the time and effort to create a fabulous DIY tablet cover. Now, let’s make sure it stays looking great and serves you well for a long time! Just like anything you cherish, your tablet cover needs some TLC. Whether it's made from fabric, leather, or any other material, here are some handy tips to keep it fresh:
- Regular Cleaning: It's a good idea to wipe down your tablet cover regularly. For fabric covers, a simple lint roller can help. For leather or faux leather, use a damp cloth with a mild soap solution.
- Avoid Overexposure: Keep your tablet cover away from direct sunlight for long periods, as UV rays can fade colors and damage materials.
- Store Properly: When not in use, keep your tablet cover in a cool, dry place. If you have a flexible fabric cover, fold it carefully to avoid creases.
- Avoid Heavy Weight: Don't stack heavy items on top of your tablet cover, as this can cause deformities and wear in the material.
- Repairs: If you notice minor wear and tear, don’t hesitate to make repairs. Depending on the material, sewing up a frayed edge or applying adhesive can extend the life of your cover significantly.
By incorporating these caring tips into your routine, your tablet cover will not only look stunning but also keep protecting your precious device effectively!
Conclusion
And there you have it! Creating a DIY tablet cover is not just an exciting project; it’s a chance for you to express your creativity while protecting your device. With a little bit of material, some simple tools, and your unique style, you can have a custom cover that enhances your tablet experience.
Remember, the process is all about enjoying the craft, letting your personality shine through, and ultimately giving your tablet a personalized touch. Whether you decide to go sleek, bold, or whimsical, every choice reflects you.
Now that you’re equipped with the skills to create and care for your tablet cover, don’t be shy! Get out there, try new designs, and experiment with various materials. Not only do you get a functional item, but you also expand your crafting prowess. So, roll up your sleeves and have fun! Your tablet cover is just the beginning of so many creative opportunities ahead!
 admin
admin


