Welcome to the wonderful world of DIY crafting! If you're looking for a fun and easy project, making rubber band bracelets is a fantastic place to start. Not only are these colorful accessories a great way to express your creativity, but they're also a hit among kids and adults alike. Whether you're looking to make them for yourself or as a gift, this guide will walk you through each step. So, grab your materials and let’s dive into the joyful craft of rubber band bracelets!
Materials Needed

Before you can start creating your fabulous rubber band bracelets, you'll need to gather a few essential materials. Don't worry; most of these items are easy to find and affordable!
- Rubber Bands: Choose a variety of colors! Having a mix will make your bracelets pop. Standard size is usually best, but mini bands can create intricate designs.
- Bracelet Loom (optional): While you can make rubber band bracelets without a loom, using one can help create more complex patterns. You can buy one at craft stores or online.
- Hook Tool: This handy tool is especially helpful for looping your rubber bands together precisely. If you don't have one, you can use a sturdy crochet hook as an alternative.
- Scissors: You'll need scissors to trim any excess rubber bands or to cut off your finished bracelet.
- Clip or C-Clip: These little clasps will secure your bracelet to keep it from falling apart. You’ll find them in the same section as the rubber bands.
- Tape (optional): If you're using a table without a loom, some tape can help hold down your starting point so your bracelets don’t slip away.
Once you’ve gathered all these materials, you’re ready to get started on your crafting journey! Happy bracelet making!
Step-by-Step Instructions

Creating a rubber band bracelet may sound a bit overwhelming at first, but trust me, once you get the hang of it, you'll find it to be a delightful and rewarding activity. Let’s break it down into simple steps!
- Gather Your Materials: You’ll need rubber bands (in various colors if you want to get creative), a loom or a simple hook (you can even use your fingers!), and a clip or S-clip to fasten your bracelet.
- Start with the Base: If you’re using a loom, pick two rubber bands and place them on the loom in a figure-eight shape. If you're using your fingers, place the bands around your fingers in the same figure-eight motion.
- Layer and Add Colors: Continue adding rubber bands in the same pattern. Feel free to switch up the colors by adding a different colored band after every few layers. This will give your bracelet a vibrant look!
- Weave the Bands: Once your base is built, it's time to weave. Using a hook (or your fingers), take the bottom band and pull it up and over the top band. Repeat this process around the loom until you reach the end.
- Finishing Touches: When you've reached your desired length, it’s time to finish off the bracelet. Once again, pull the last rubber band over and secure the end with your clip.
- Admire Your Work: Finally, take a moment to admire your creation! Slip it onto your wrist and show it off.
It really is that simple!
Tips for Perfecting Your Bracelet

If you want to take your rubber band bracelet-making skills to the next level, consider these handy tips:
- Choose Quality Bands: Not all rubber bands are created equal. Invest in high-quality bands that are less likely to snap during the weaving process.
- Experiment with Patterns: Don’t be afraid to try different weaving patterns and styles. Look up tutorials online or create your unique patterns!
- Stay Consistent with Tension: Keep the tension on your bands even. Not too tight, but also not too loose. This ensures your bracelet turns out neat and sturdy.
- Check for Snags: As you work through your bracelet, regularly check for any snags or twists in your rubber bands. It’s easier to fix them as you go along!
- Practice Makes Perfect: Don’t get discouraged if your first few attempts don’t turn out perfectly. Like anything else, practice will help you improve!
With these tips in hand, you’re well on your way to creating beautiful, personalized rubber band bracelets!
Creative Designs to Try
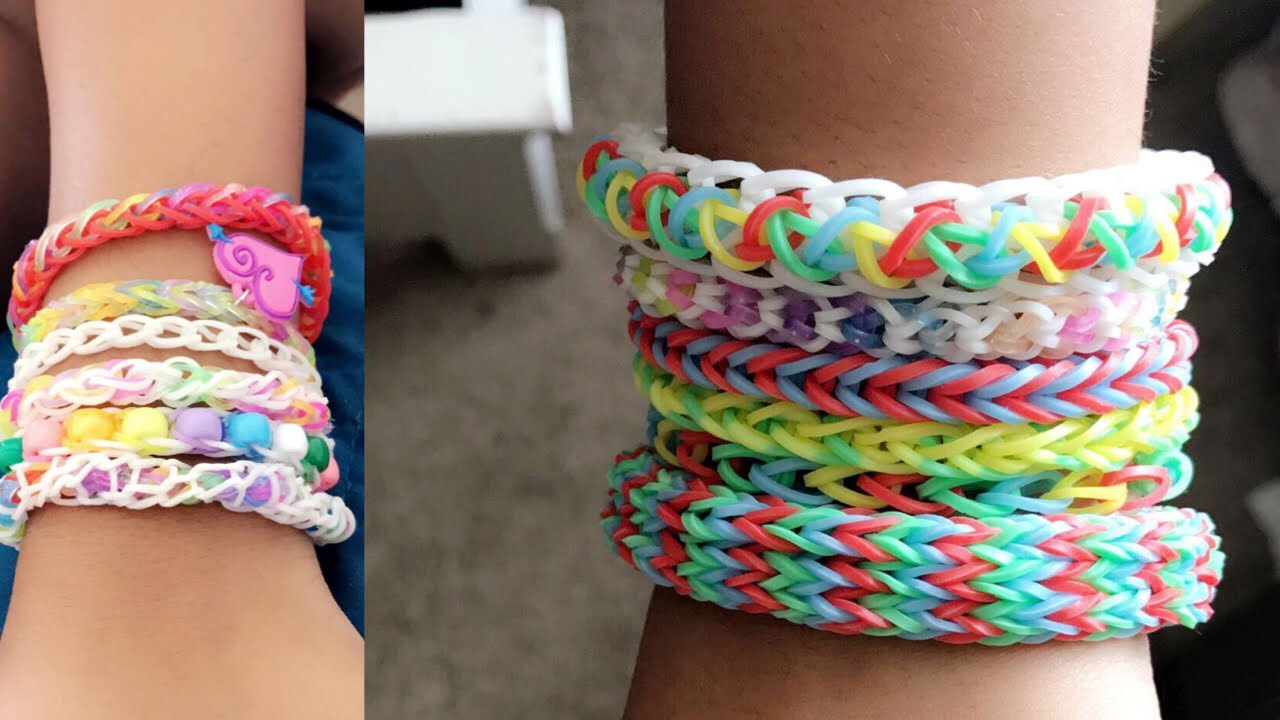
Now that you’ve got the basics down, let’s dive into some creative designs that will elevate your rubber band bracelet game! These designs can range from simple patterns to more intricate styles, perfect for different skill levels. Here are a few exciting ideas to consider:
- Simple Single Loop: This is perfect for beginners. Just twist your bands around each other in a simple pattern. It’s an easy way to start, and you’ll get a feel for the material!
- Chevron Pattern: Add a pop of color and style with a chevron design. Alternate colors in a V shape to create a fun and eye-catching bracelet.
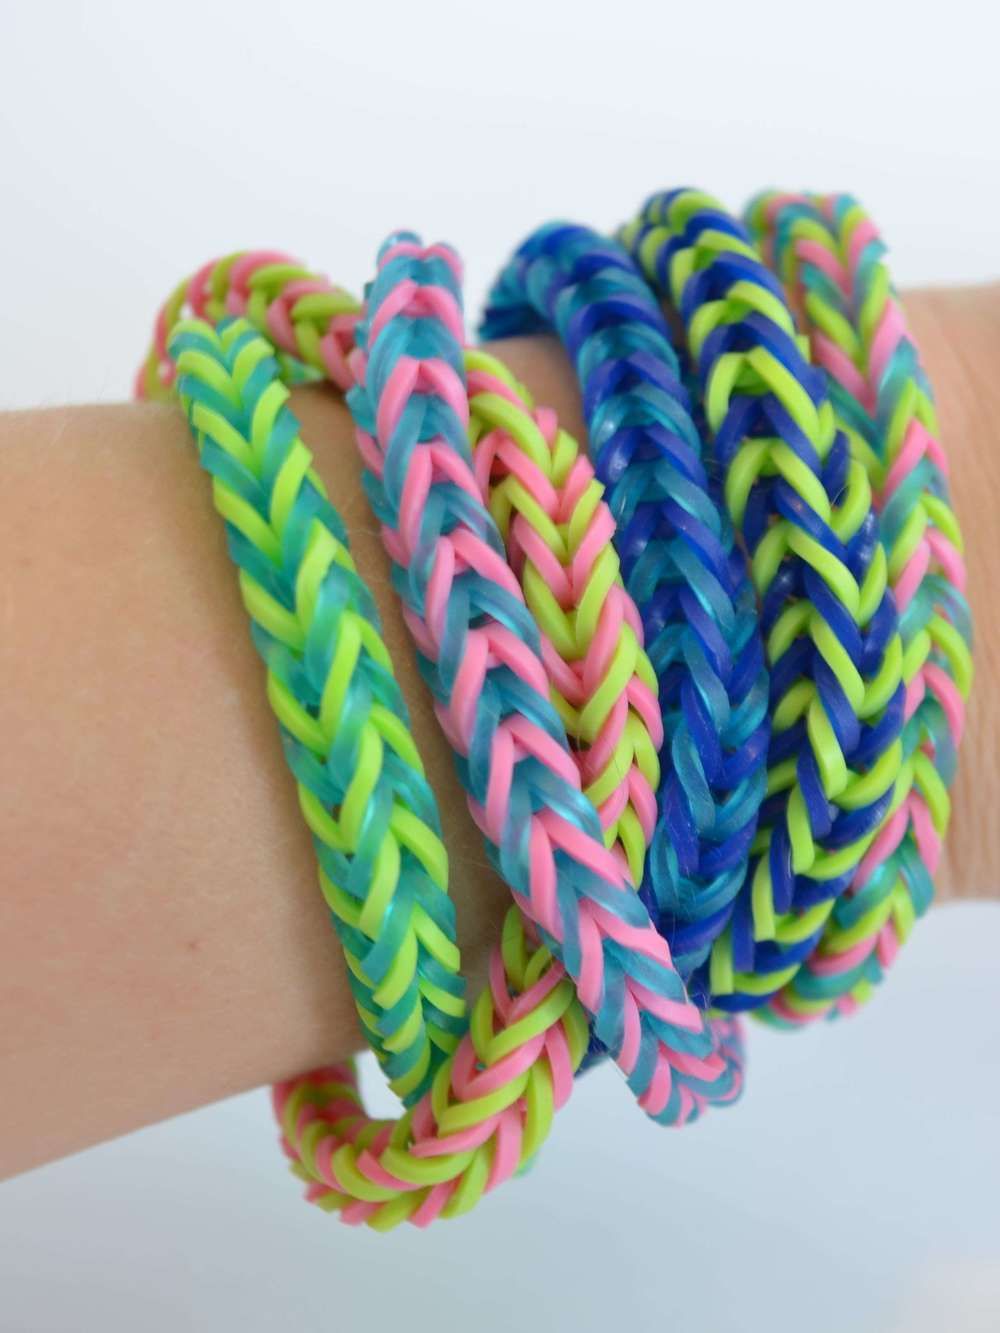
- Fishtail Bracelet: This design is a little more complex but entirely doable! Simply use two colors and cross the bands over in a fishtail manner to create a stunning, braided effect.
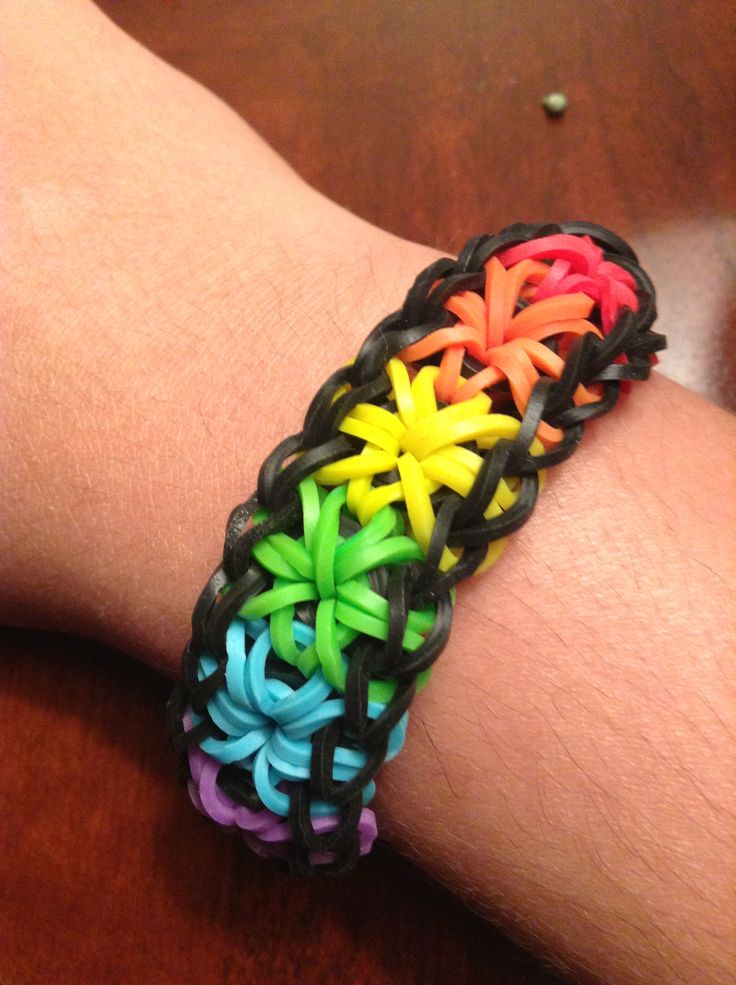
- Starburst Bracelet: For those ready to show off their skills, try the starburst design. This requires more bands and a steady hand, but the result is absolutely worth it!
- Rainbow Loom: Who doesn’t love a good rainbow? Use multiple colors in a pattern to create a bright, multi-hued bracelet that captures everyone’s eye!
Whichever design you choose, don’t hesitate to mix and match colors and patterns. The beauty of DIY rubber band bracelets lies in the freedom to express your creativity. If you’re looking for inspiration, check out online tutorials or social media platforms for endless ideas!
Conclusion
In wrapping up our journey into the world of rubber band bracelets, it’s clear that this simple craft can provide hours of fun and creativity. Not only do you get to make something unique, but you also engage in a relaxing and enjoyable pastime. Whether you’re making bracelets for yourself, as gifts, or for fundraising, the possibilities are immense!
So grab those colorful rubber bands and your loom, and let your imagination soar! Don't forget that experimentation is key; try out new colors, patterns, or even mix different techniques. Remember, practice makes perfect, and every bracelet you create is a step toward mastering this fun craft! Share your creations with friends and family or host a bracelet-making party. The joy of creating and sharing truly enhances the experience.
Ultimately, this DIY project is about more than just the finished product—it’s about the fun you have along the way. Happy crafting!


