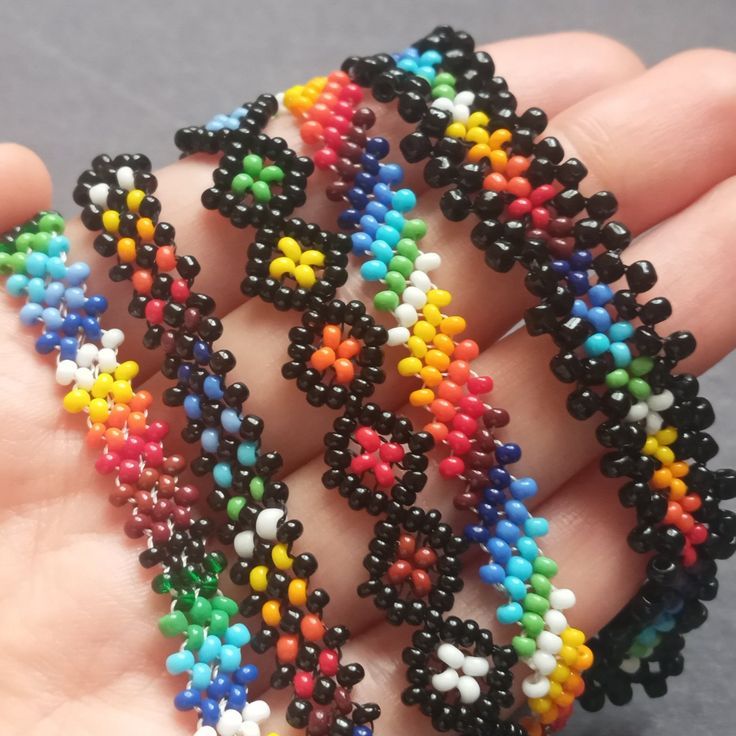
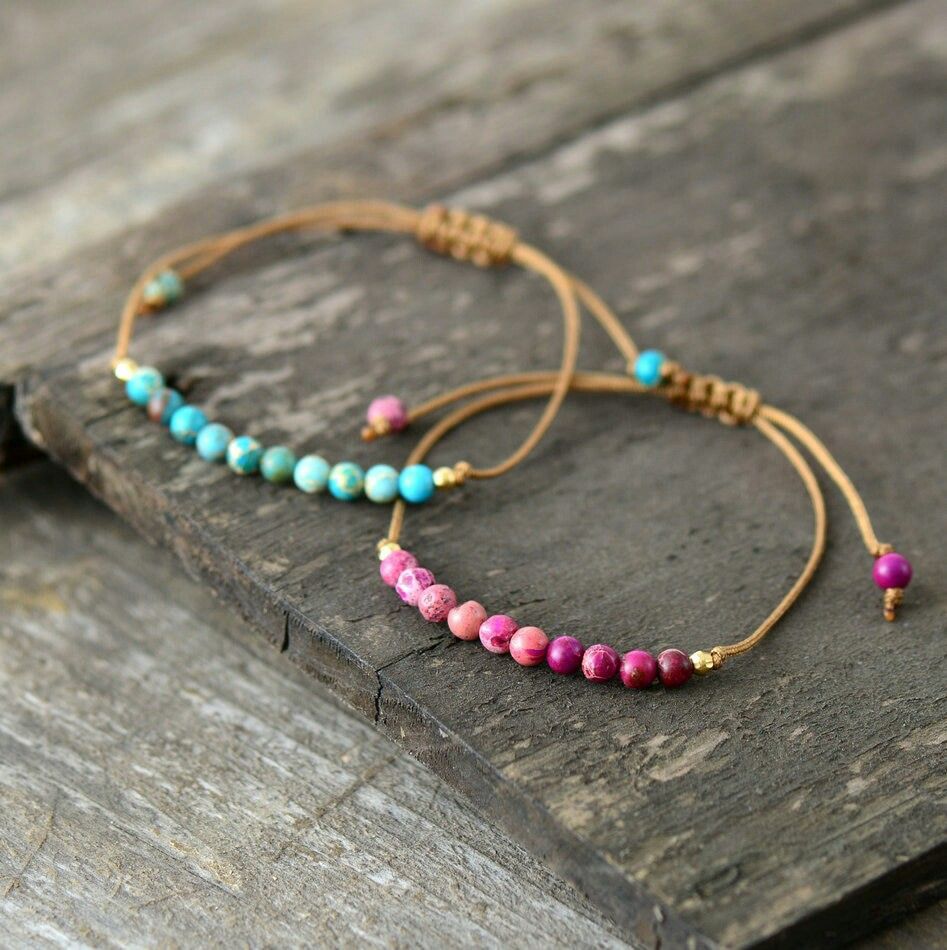
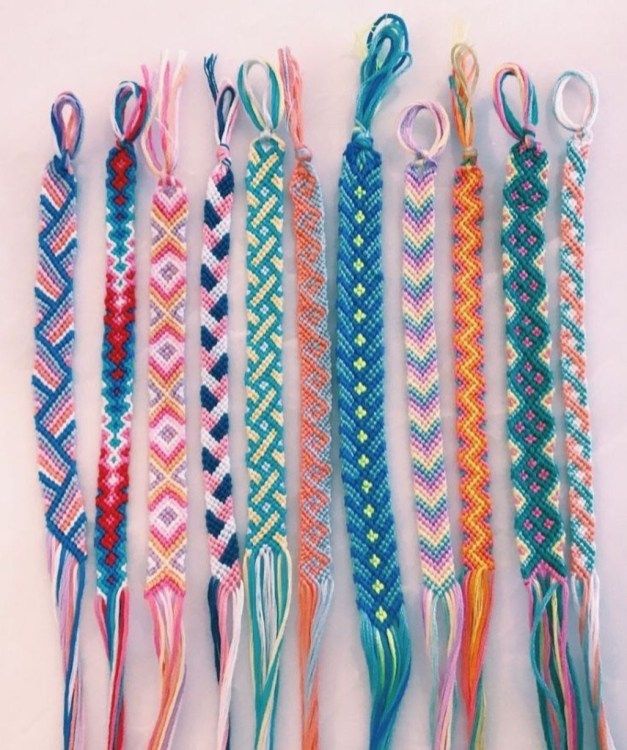
Creating stunning bracelets with thread and beads is not just a fun and relaxing hobby; it’s also a fantastic way to express your creativity. Whether you're looking to craft a personalized piece of jewelry for yourself or a thoughtful gift for someone special, this DIY project offers endless possibilities. You can mix and match colors, patterns, and textures, resulting in unique designs that truly reflect your style. Let’s dive into the essentials required to get you started on your bracelet-making journey!
Materials Needed

Before you embark on your exciting bracelet-making adventure, it’s essential to gather all the necessary materials. Here’s a comprehensive list to help you get organized:
- Thread: Choose a durable thread suitable for jewelry making, such as nylon or polyester. For a more traditional approach, consider using embroidery floss.
- Beads: There’s a plethora of beads to select from! Think about:
- Glass beads
- Wooden beads
- Seed beads
- Gemstone beads
- Scissors: A good pair of sharp scissors is crucial for cutting the thread cleanly.
- Tape or Clip: Use tape or a clipboard to secure your project while you work. This makes it easier to manage longer threads.
- Measuring Tape: Ensure you have a flexible measuring tape to measure your wrist size accurately. This helps in making a perfect-fitting bracelet.
- Closure Mechanism: Consider adding a clasp or tying a knot for a secure finish. Options may include lobster clasps, toggle clasps, or simply using a knot.
- Beading Needle: For threading smaller beads, a fine beading needle is often helpful.
Gather all these materials, and you’ll be fully equipped to create beautiful bracelets that stand out and showcase your personal flair!
Choosing the Right Thread and Beads

When it comes to making stunning bracelets, selecting the right materials is essential. The thread and beads you choose can impact not only the look of your bracelet but also its durability and comfort. So, how do you decide which materials are best for your creation? Let’s break it down!
Thread Choices:
- Nylon Thread: This type is strong and flexible. It’s perfect for beading since it holds up well under tension.
- Polyester Thread: Durable and resistant to fraying, polyester thread is another excellent option, especially for outdoor wear.
- Elastic Cord: If you want a stretchy bracelet that easily slips on and off, this is your go-to. Great for kids or those who prefer comfort!
Bead Selections:
- Glass Beads: Available in various colors and sizes, glass beads can add a touch of elegance to your bracelets.
- Wood Beads: These bring a rustic vibe and are lightweight, making them ideal for casual, everyday wear.
- Metal Beads: If you’re looking for something edgy, metal beads can create a bold statement and work well with various design themes.
When selecting your beads and thread, be mindful of their size compatibility. A good rule of thumb is to choose beads that fit snugly on your thread without being too loose or cramped. The combination of colors and textures will truly make your bracelet unique!
Basic Techniques for Bracelet Making

Getting started with bracelet making is easier than you might think! Armed with the right materials and a few basic techniques, you can create fabulous pieces that you’ll be proud to wear. Here’s a handy guide to some of the fundamental skills you’ll need:
1. Stringing Beads:
This is the most basic technique and involves threading your chosen beads onto the string or cord. Remember to maintain a pattern or design while stringing for a more appealing look.
2. Knotting:
It’s essential to secure your beads in place. Consider using double knots after adding a bead, so they don’t slide around. For added security, you can tie a knot at the end of your thread before starting to bead as well.
3. Finishing Techniques:
- Closure Options: Decide if you want a clasp or an elastic finish. For clasp bracelets, use jump rings and toggle clasps. For elastic, simply knot securely at both ends.
- End Caps: These can manage the ends of your project elegantly while providing durability.
Getting the hang of these techniques will have you well on your way to making beautiful, unique bracelets. The best part? You can personalize each piece, making it a true representation of your style! Happy crafting!
Step-by-Step Guide to Making Your Bracelet
Creating your own bracelet with thread and beads can be a fun and rewarding project. Follow these simple steps, and you’ll have a beautiful accessory that reflects your personal style!
- Gather Your Materials:
- Colored thread or cord
- Beads of your choice (wooden, glass, or plastic)
- Scissors
- Measuring tape or ruler
- Tape (optional, for securing ends)
- Clasp (optional, if you want a more professional finish)
- Measure Your Wrist:
Using a measuring tape, wrap it around your wrist to find the perfect length. Add an inch or two for knots or a clasp.
- Cut the Thread:
Cut a length of thread that is about three times the length of your wrist measurement. This gives you enough thread to work with as you string the beads.
- Secure the Thread:
If you’re using a clasp, attach one side now. Otherwise, you can tape the other end to your work surface to keep it steady.
- String the Beads:
Let your creativity shine! String your beads in a pattern or randomly, depending on your design preference. Keep in mind the order, as it will affect the look of your final product.
- Finish Your Bracelet:
Once you’ve reached your desired length, tie a knot to secure the beads. If you’re using a clasp, attach the other end now. Make sure everything feels tight and secure!
- Enjoy Your Creation:
Put on your new bracelet and flaunt your creativity! Consider making more in different colors or styles for a complete set.
Creative Design Ideas
Now that you know how to make a basic bracelet, let’s explore some creative design ideas to elevate your craftsmanship!
- Color Blocking:
Utilize contrasting colors and space out the beads to create a bold statement. For example, alternating bright colors with neutral tones can give a rich and modern look.
- Charm Addition:
Add small charms or pendants between the beads for a fun twist. Think of stars, hearts, or even personal symbols that resonate with you.
- Mix and Match Materials:
Incorporate different textures by mixing materials like wood beads, metal spacers, or fabric accents. This can add depth and interest to your design.
- Use Patterns:
Consider using specific patterns such as stripes or chevrons. You can do this by repeating bead colors in a set sequence.
- Layering:
Create several bracelets of different lengths and styles. Wear them together for a trendy layered look that’s all the rage right now!
- Seasonal Themes:
Adapt your bracelet designs to seasons or occasions. Bright colors for summer, earthy tones for fall, or sparkling beads for festive seasons can make your accessories more relatable.
By experimenting with these ideas, you can make each bracelet unique and a true reflection of your personality!
7. Tips for Finishing Your Bracelet
Finishing your bracelet is a crucial step to ensure not only its durability but also its aesthetic appeal. Here are some handy tips to help you master the finishing touches:
- Check Your Length: Before securing anything, try the bracelet on to ensure it fits comfortably around your wrist. Adjust the bead pattern or length as necessary.
- Use Quality Findings: Invest in good quality clasps and findings. They can make a huge difference in durability and appearance, so opting for metal or sturdy plastic options can save you from future heartbreak.
- Secure Knots Properly: When tying knots, make sure they are tight and double-check them. Consider using glue on knots for an additional layer of security.
- Hide Your Knots: Try to position your knots in a way that they are less visible, perhaps near a bead or within a design. This keeps your bracelet looking neat and polished.
- Finish with a Crimp: If you're using beading wire, don't forget to use crimp beads or tubes to secure your beadwork. They help prevent beads from sliding off and keep everything in place.
- Inspect Before You Wear: Look over your bracelet one last time for any loose threads or unsecure beads. You want to ensure it’s as perfect as you imagined!
By following these tips, you can add a professional touch to your handmade bracelets, making them not just beautiful but also durable.
8. Conclusion
Creating stunning bracelets with thread and beads is such a fulfilling hobby. Not only do you get to unleash your creativity, but you also end up with a beautiful accessory that you made yourself. Isn’t that amazing?
In this guide, we’ve gone over the fundamentals of materials, techniques, and tips to assemble your bracelet. Remember, the journey of crafting should be enjoyable. Don't hesitate to experiment with different thread types, bead styles, and finishing techniques!
Lastly, whether you're making these bracelets for yourself or as gifts for friends and family, the love and care you put into your work will shine through. Each piece you create is unique and carries a part of your personality.
So gather your materials, let your creativity flow, and start making some stunning bracelets that you’ll be proud to show off!


