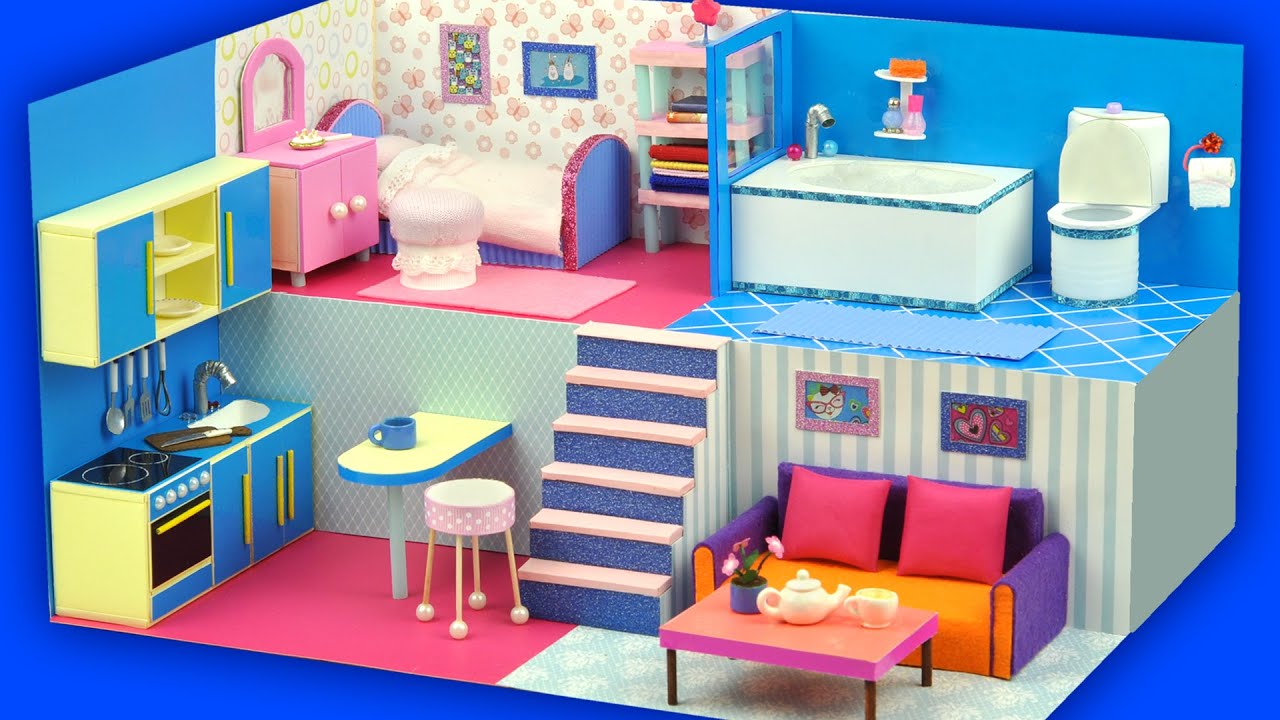
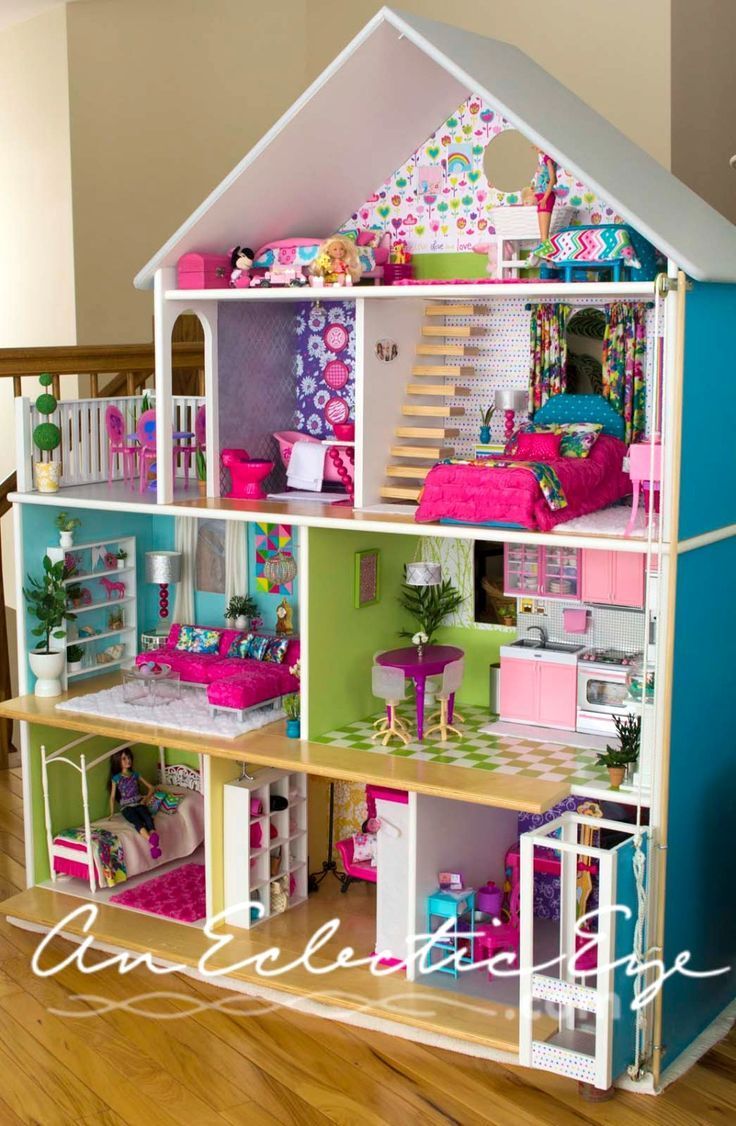
Dollhouse crafting is a delightful way to unleash your creativity while building a miniature world. It’s not just about constructing a tiny house; it’s about creating a unique space that reflects your imagination and style. Whether you're a seasoned crafter or a curious beginner, making a dollhouse can be an incredibly rewarding project. You get to choose everything—from the structure to the decor—and you can let your personality shine through in every tiny detail. Plus, this art form is a wonderful way to spend quality time with friends or family, making it a perfect group activity. Ready to dive into this enchanting world? Let’s explore how you can get your dollhouse dream started!
Materials Needed for Your Dollhouse

Before you start building your dollhouse, it’s crucial to gather all the necessary materials. Here’s a straightforward list to help you get organized:
- Cardboard or Wood: Choose your base material for the walls and floors. Cardboard is lighter and easier to work with, while wood provides durability.
- Glue: Grab some strong adhesive like wood glue or craft glue—this will be your best friend during assembly!
- Scissors and Craft Knife: These are essential tools for cutting your materials to the desired shapes and sizes.
- Ruler and Pencil: Precision is key! Use these to measure and mark where you’ll be cutting.
- Paint or Wallpaper: Get creative with colors! You can use acrylic paints or adhesive wallpaper to decorate the walls.
- Furniture and Accessories: You can buy miniature furniture or make your own from scrap materials. Consider items like beds, sofas, and tiny décor.
- Fabric: Use scraps of fabric for upholstery or curtains to add a cozy touch.
- Optional: LED Lights: Small LED lights can bring your dollhouse to life and add a magical glow!
As you gather your materials, think about what kind of style or theme you want for your dollhouse. The options are virtually limitless—from a classic Victorian look to a modern minimalist design! Once you have everything, you’re ready to start building your dream miniature home.
Also Read This: Does iStock Offer Transparent Backgrounds for Downloads
Step-by-Step Guide to Assembling the Dollhouse

Building a dollhouse can be a fun and rewarding project. Whether you're crafting it for a child or for your inner child, following a structured approach makes the process smoother. Here’s how to assemble your dollhouse step-by-step:
- Gather Your Materials: Before diving into assembly, make sure you have everything on hand:
- Plywood or MDF for the walls and floors
- Wood glue or a hot glue gun
- Craft knife or jigsaw
- Sandpaper
- Paint or wallpaper for finishing
- Furniture and doll accessories
- Cut Your Pieces: Using your chosen wood, cut the walls, floors, and roof according to your design. Don’t forget to measure twice and cut once!
- Sanding: Smooth out any rough edges with sandpaper to ensure safety, especially if children will be playing with the dollhouse.
- Assembly: Start by gluing the walls together. Use clamps if necessary to hold them in place while the glue dries. Work methodically from the ground up, ensuring everything is level.
- Add the Floors: Glue in the floor pieces once the walls are securely in place. This step is vital for stability.
- Attach the Roof: Once the walls and floors are sturdy, add the roof sections, again ensuring they are secure.
- Final Touches: After everything is dry, you can add windows and doors, which can be as simple or elaborate as you want.
By following these steps, you’ll have a solid framework for your dollhouse, ready for the next exciting phase—decorating!
Also Read This: How to Lock an Image to Avoid Mistakes
Decorating Your Dollhouse
Now that your dollhouse is assembled, it’s time to bring it to life with decoration! This step is where your creativity really shines. Here’s how to transform your dollhouse into a beautiful mini home:
1. Choose a Theme
Before decorating, consider a theme! This could be anything from a cozy cottage to a sleek modern apartment. Stick to a color palette to create a cohesive look.
2. Paint the Walls
Use non-toxic craft paint to give the walls a fresh coat. You can either paint each room a different color or opt for a uniform shade throughout. Consider using:
- Soft pastels for a whimsical feel
- Bright colors for a playful vibe
- Neutral tones for a classic look
3. Wallpaper and Textiles
If you want to get fancy, apply wallpaper. You can find mini wallpaper rolls or even use scrapbooking paper. Don’t forget about textiles for furniture upholstery—fabrics can add a touch of warmth!
4. Furnishing Your Dollhouse
Fill your dollhouse with dollhouse scale furniture. You can either buy pre-made pieces or make your own from cardboard, clay, or wood. Consider the following:
| Room | Suggested Furniture |
|---|---|
| Living Room | Sofa, coffee table, bookshelf |
| Kitchen | Table and chairs, stove, sink |
| Bedroom | Bed, nightstand, dresser |
5. Add Accessories
Finally, accessorize! Think about adding tiny pictures, plants, and other decorative items to really make the space feel lived in. Items like tiny books, lamps, and even dolls can breathe life into your creation.
With a thoughtful approach to decorating, your dollhouse will reflect your unique style and become a cherished piece for years to come!
Also Read This: How to Resize Image Pixels Effectively
Tips for Personalizing Your Dollhouse
Creating a dollhouse is a wonderful way to express creativity, and personalizing it truly makes it your own. Here are some fun and easy tips to give your dollhouse that special touch:
- Choose a Theme: Start by deciding on a theme for your dollhouse. Whether it’s a rustic farmhouse, a modern apartment, or a whimsical fairy tale cottage, picking a theme helps in the overall customization of your space.
- Paint and Wallpaper: Color can have a huge impact! Consider painting the walls or using removable wallpaper to add texture and vibrancy. You can even use fabric scraps or wrapping paper for a unique look.
- Accessorize with Miniatures: Look for small items that can act as furniture, decor, or even pets. Miniature items can be crafted from everyday objects like bottle caps for tables, or tiny boxes for beds.
- Add Personal Mementos: Incorporate family photos (on mini canvases) or tiny letters. This brings a level of intimacy and makes the dollhouse feel like a home.
- Involve Your Kids: If you’re creating this dollhouse with children, involve them in the process. Let them choose colors, themes, and accessories. It's a fantastic bonding experience!
- Seasonal Décor: Change things up with the seasons! Swap out decorations to reflect holidays or changes in weather. A cozy winter scene could include faux snow, while a summer layout might showcase flower pots.
With these tips, you’ll find that personalizing your dollhouse not only enhances its beauty but also adds layers of meaning and joy.
Conclusion and Final Thoughts
And there you have it! Creating a dollhouse can be both a fulfilling craft project and a beautiful way to express yourself or bond with family. Whether you decide to go simple or get elaborate with details, remember that the most important part is to have fun and let your creativity flow.
In summary:
| Key Takeaways |
|---|
| 1. Start with a solid foundation and structure. |
| 2. Personalize with colors, themes, and decorations. |
| 3. Use miniatures and personal items to add character. |
| 4. Make it a communal activity for additional joy. |
| 5. Don’t be afraid to innovate and experiment! |
Ultimately, your dollhouse can become a cherished piece of art—an expression of your personality or perhaps a reflection of your family’s history. So grab your supplies and let the crafting begin. Happy building!
 admin
admin


