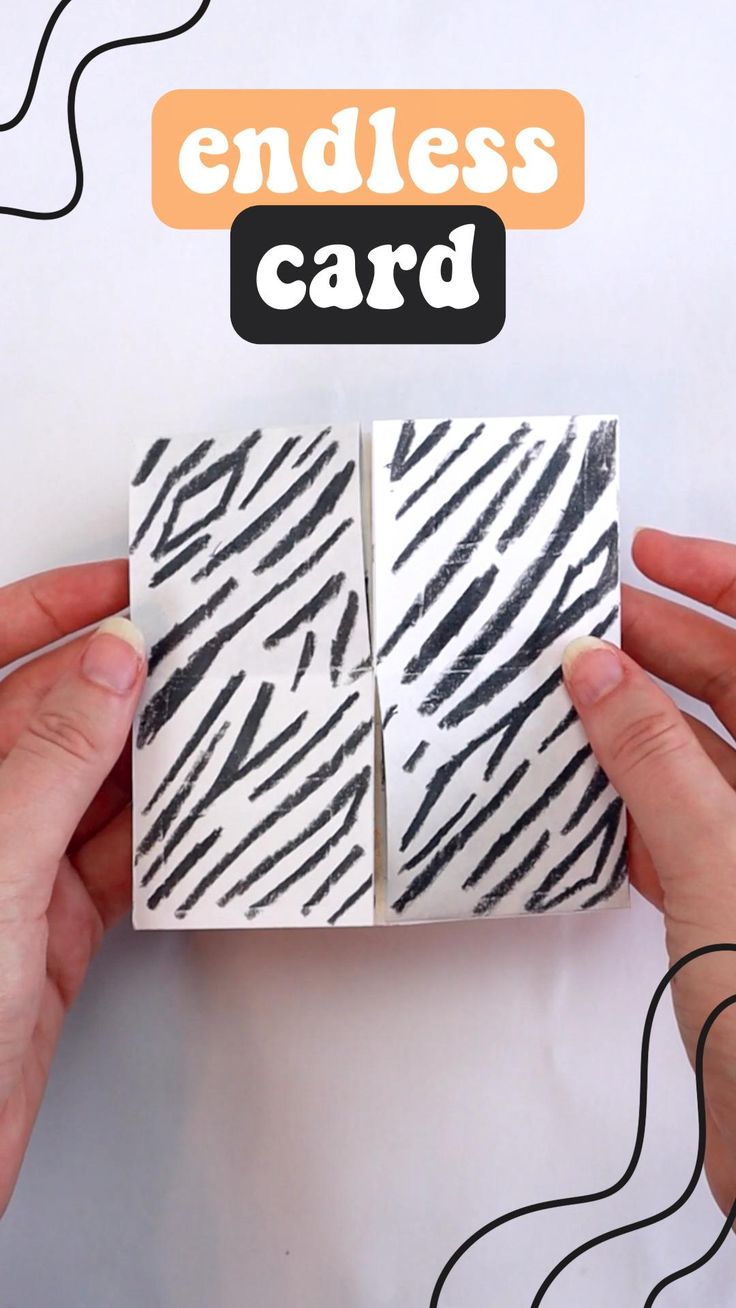
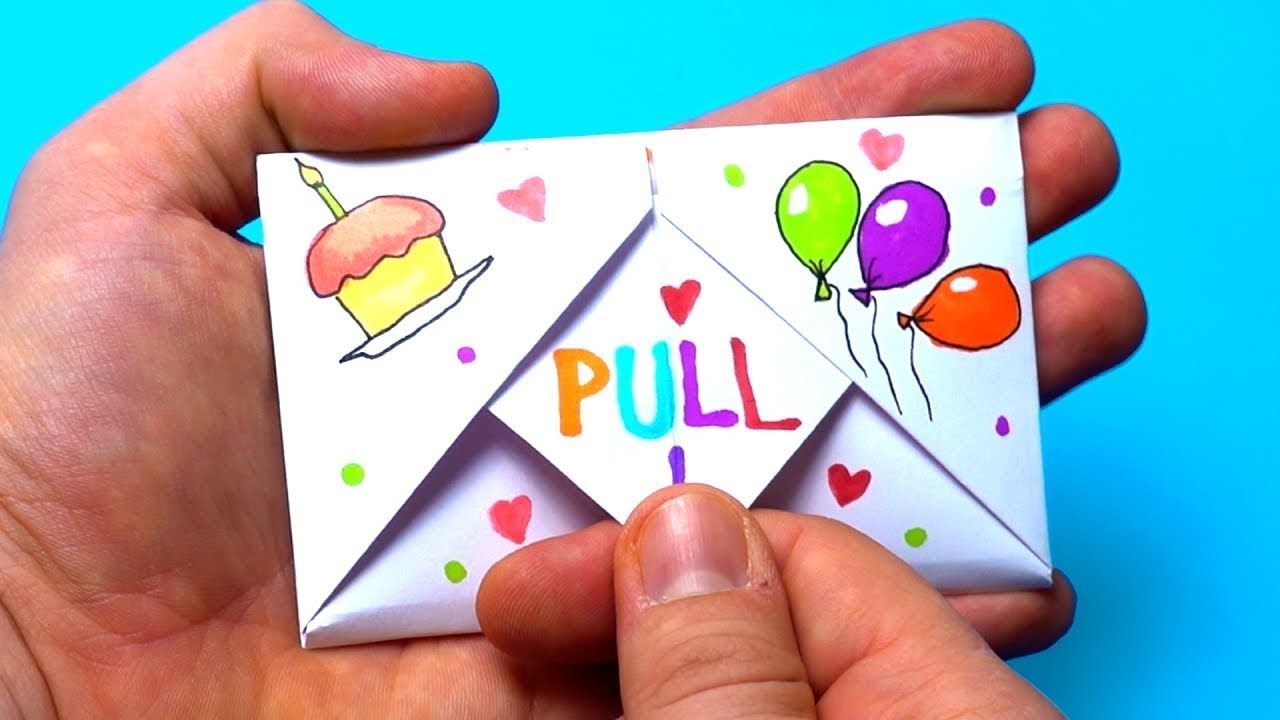
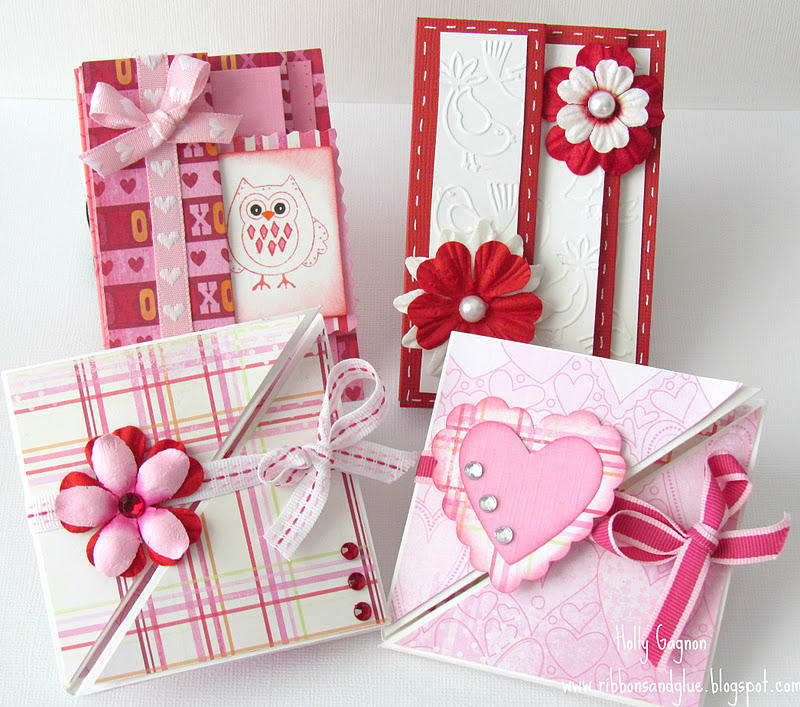
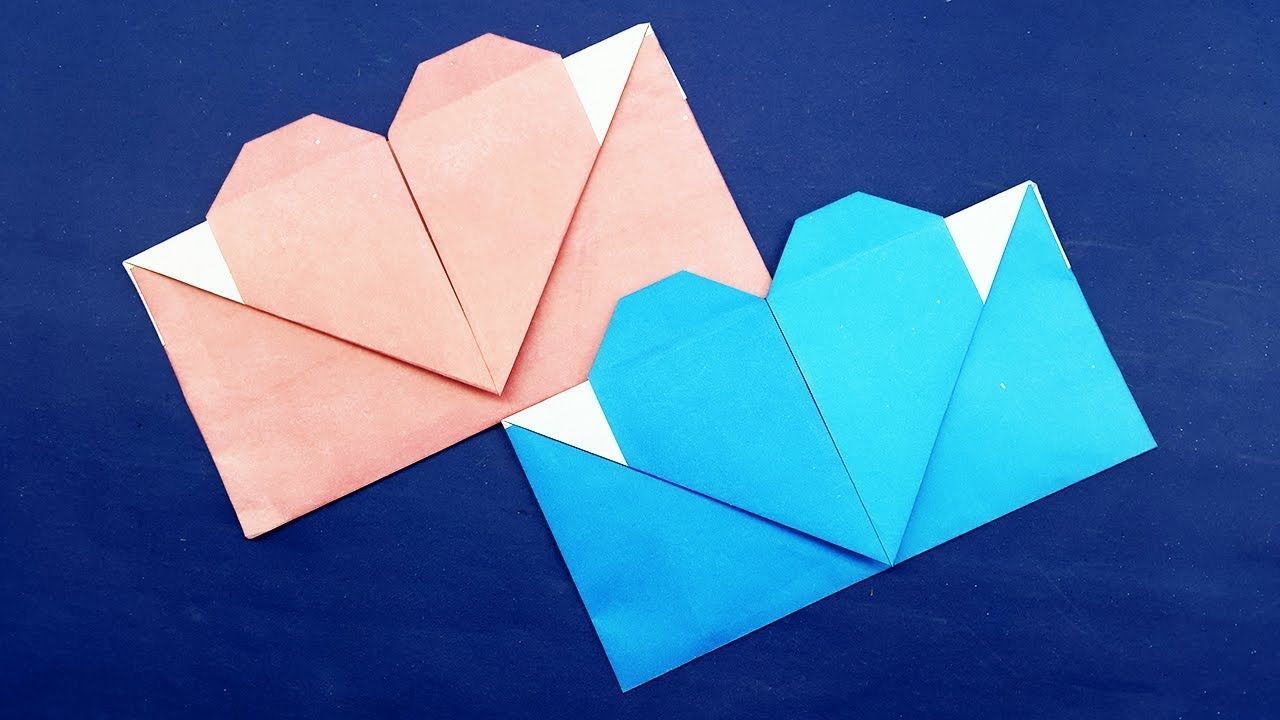
Hey there, crafty friends! Have you ever felt the joy of giving a handmade card? There’s something truly special about receiving a card that you know someone put time and effort into creating, isn’t there? Whether you’re celebrating a birthday, sending a heartfelt thank-you, or just spreading some love, making your own paper cards is not only a fun activity but also a delightful way to personalize your messages. In this easy DIY tutorial, we’ll walk you through the simple steps to create beautiful paper cards that will bring smiles to your loved ones. Let’s grab our materials and get crafting!
Materials Needed

Before we dive into the fun part of crafting, let's gather all the materials you'll need. Don’t worry; these are items you probably already have at home or can find easily at your local craft store. Here’s a handy list:
- Cardstock or Scrapbook Paper: Choose your preferred colors and designs. Cardstock is thicker, making your cards feel more substantial.
- Scissors: A good pair of scissors is essential for cutting your paper into the desired size and shape.
- Glue Stick or Double-Sided Tape: Use a glue stick for a clean finish, or double-sided tape for a quick and easy application.
- Markers, Pens, or Colored Pencils: To add personal messages and decorations to your cards.
- Stickers or Stamps: These can enhance the design of your cards and add a fun twist.
- Ruler: For measuring out lines to ensure symmetrical cuts, if you’re a perfectionist!
- Bone Folder or a Straight Edge (optional): If you have one, it helps make nice, crisp folds.
Having these materials ready will set you up for success as you embark on your card-making journey. Now that we have everything we need, let’s get started on creating something beautiful!
Also Read This: Master Water Marble Nail Art Techniques at Home with Dailymotion Guidance
Step-by-Step Instructions

Creating your own paper cards can be an enjoyable and rewarding experience. Here’s a simple guide to help you craft beautiful cards from scratch. Gather your materials first! You'll need:
- Cardstock or thick paper
- Scissors
- Glue or double-sided tape
- Markers, colored pencils or paint
- Embellishments (like stickers, ribbons, or glitter)
Now, let’s dive into the process:
- Cut the Card Base: Start by cutting your cardstock to the desired size. A standard size is 5 x 7 inches, but you can go bigger or smaller based on your preference.
- Score and Fold: For a clean fold, measure about half an inch away from the edge of your card and use a scoring tool or the edge of a ruler to create a light line. Then, fold the card along this line.
- Design the Front: Let your creativity flow! Use markers, stamps, or patterned paper to decorate the outside of your card. Feel free to draw or write a sweet message here.
- Add Embellishments: This is where you can really personalize your card. Attach stickers, use ribbon to create a bow, or sprinkle some glitter for sparkle.
- Write Your Message: Open the card and write a heartfelt note inside. Whether it's for a birthday, an anniversary, or just to say 'hello', a personal message is always appreciated!
- Final Touches: Give your card a once-over. Make sure everything's secure, and you might even want to add a little more decoration if you feel inspired!
And voila! You've just made your own personalized card!
Also Read This: how to edit image pixels
Creative Ideas for Card Design

Your card is a canvas waiting for your artistic touch! Here are some creative design ideas to inspire you:
- Nature Themes: Use dried flowers, leaves, or even pressed plants to create a beautiful, earthy design.
- Collage Cards: Gather various paper scraps, magazines, and photos for a fun mixed-media look. Just cut and glue them onto your card for a unique vibe.
- Watercolor Backgrounds: After painting a soft watercolor wash, you can layer a simple white paper on top with your message on it for a lovely contrast.
- Cute Animals: Use animal themes—draw cute cartoon animals or even use stamps for adorable designs.
- Interactive Elements: Add a pop-up feature or a pocket for a gift card or a small note for an exciting twist.
If you're looking for more inspiration, here are two cool styles to consider:
| Card Style | Description |
|---|---|
| Minimalist | Simple lines and a restrained color palette that emphasize elegance. |
| Seasonal | Design cards based on holidays or seasons (e.g., winter wonderland or summer vibes). |
Let your imagination run wild! The beauty of DIY cards is that they’re all about you, your style, and what inspires you. Have fun with it!
Also Read This: Turning Images Into Cake Decorations for Beginners
5. Tips for Personalizing Your Cards

Giving a personal touch to your cards can transform them from simple greetings into cherished keepsakes. Here are some fun and effective ways to add that special flair:
- Use Unique Materials: Explore different papers, textures, and embellishments. Consider using recycled materials like old maps, book pages, or even fabric scraps. These choices can add a unique touch that separates your card from the rest.
- Add Handwritten Messages: Nothing beats a personal handwritten note. Take your time to write a heartfelt message, or include inside jokes and memories that are meaningful to both you and the recipient.
- Incorporate Photos: Attach a small photo to your card or make a mini collage. A snapshot of shared memories can evoke nostalgia and make the card unforgettable.
- Utilize Decorative Techniques: Try techniques like embossing, watercolor painting, or even collaging. Layering different materials or colors can evoke different sentiments, making your card even more impactful.
- Choose a Theme: Tailor your card to specific occasions or the recipient's interests. Whether it be a birthday, holiday, or a simple thinking-of-you card, aligning the design with the theme encapsulates the intention behind your message.
- Include a Quote or Poem: A quote or a few lines from a favorite poem can add depth to your card. Make it relevant to what you're trying to convey—be it love, friendship, or encouragement.
These personalized touches can elevate a simple card to something truly meaningful. The best part is, adding these elements doesn't need to be complicated or time-consuming!
6. Conclusion
And there you have it—a straightforward guide to making beautiful and personalized paper cards! DIY crafting can be a delightful and satisfying way to express your feelings or celebrate the people you care about. Remember, the beauty of creating your own cards lies in the freedom to choose your designs, colors, and messages.
As you embark on your card-making journey, let your creativity flow! Don't be afraid to experiment with different materials or designs. The more you practice, the better you'll become, and soon you'll be crafting cards that truly reflect your personality and thoughtfulness.
Whether you’re making cards for birthdays, holidays, or just to say “I’m thinking of you,” each card is an opportunity to spread joy. So gather those supplies, get started, and enjoy the process. You might just find that card-making brings you a sense of peace and fulfillment that extends beyond the craft.
Happy crafting! Your loved ones will surely appreciate the time, effort, and love you put into each handmade card.
 admin
admin


