Creating a fun Minion cake is a delightful project that can add a touch of whimsy to any celebration. Whether it’s a birthday party, a themed event, or just a surprise treat for someone special, a Minion cake is sure to bring smiles all around. In this guide, we'll walk you through the steps to create your own adorable Minion cake, focusing on the ingredients, supplies, and baking strategies that will make the baking experience enjoyable and rewarding!
Gathering Your Ingredients and Supplies
The first step in baking a masterpiece is gathering everything you need. You don’t want to get halfway through your cake and realize you’re missing a crucial ingredient! Below is a comprehensive list of ingredients and tools you’ll need to create your fun Minion cake.
Ingredients
- Cake Batter:
- 2 cups all-purpose flour
- 1 ½ cups granulated sugar
- ½ cup unsalted butter, softened
- 1 cup milk
- 3 ½ teaspoons baking powder
- 1 teaspoon vanilla extract
- ½ teaspoon salt
- 3 large eggs
- Frosting:
- 2 cups unsweetened cocoa powder
- 4 cups powdered sugar
- 1 cup unsalted butter, softened
- 1 teaspoon vanilla extract
- Milk as needed for consistency
- Decorations:
- Yellow food coloring (for Minion color)
- Black edible gel or fondant (for eyes and mouth)
- Blue fondant (for overalls)
- Candy eyes or chocolate candies (for the Minion's eyes)
Supplies
Besides the ingredients, here are some essential supplies that will make your cake creation smoother:
- A mixing bowl and whisk or electric mixer
- Measuring cups and spoons
- 2 round cake pans (9-inch each)
- Cooling rack
- Piping bags (for frosting and details)
- Smoothing spatula
- Rolling pin (for fondant)
- Mixing spatula
- Knife or cake leveler (to level your cake)
Having everything on hand before you start is the key to a fun and stress-free baking experience. Now that you're all set up, let the baking adventure begin!
3. Preparing Cake Batter
Now that you've gathered all your ingredients, it’s time to roll up your sleeves and dive into preparing the cake batter. This step is both exciting and crucial because it sets the foundation for your delightful Minion cake!
First, let’s gather our ingredients. Here’s a quick list of what you’ll need:
- 2 cups of all-purpose flour
- 1 ½ cups of granulated sugar
- ½ cup of unsalted butter, softened
- 1 cup of whole milk
- 3 large eggs
- 2 ½ teaspoons of baking powder
- 1 teaspoon of vanilla extract
- 1/2 teaspoon of salt
Let’s get started:
- Mix Dry Ingredients: In a mixing bowl, combine the flour, baking powder, and salt. Whisk them together until they are evenly mixed.
- Cream Butter and Sugar: In a separate large bowl, cream the softened butter and sugar using an electric mixer on medium speed until it’s light and fluffy. This usually takes about 3-4 minutes.
- Add Eggs and Vanilla: Crack in the eggs one by one, mixing well after each addition. Then, pour in that lovely vanilla extract. This will not only add flavor but also a delightful aroma!
- Combine Mixtures: Alternate adding the dry mixture and milk to the creamed butter mixture. Start with the dry ingredients, mix thoroughly, then add some milk, repeating until everything is mixed well.
- Final Touch: Ensure there are no lumps by giving your batter one last gentle mix.
And voilà! Your cake batter is ready! You’re now just one step away from baking this tasty masterpiece.
4. Baking the Cake
Now that you have your delightful cake batter, it’s time to move on to the equally thrilling part: baking the cake! This step transforms your batter into the fluffy, delicious cake that'll be the star of your Minion-themed celebration.
Here’s what you need to do:
- Preheat the Oven: Whether you’re using a conventional or convection oven, make sure it’s preheated to 350°F (175°C). This ensures that your cake bakes evenly.
- Prepare Your Cake Pans: Grease your round cake pans (typically 8 or 9-inch pans work best) with a little butter or non-stick spray, then lightly dust with flour. This prevents sticking and makes for an easier release after baking.
- Pour the Batter: Divide your batter evenly between the prepared pans. Using a spatula, smooth the top if required. You want an even surface for that perfect Minion cake look!
- Baking Time: Bake the cakes in the preheated oven for about 25-30 minutes. A good test is to insert a toothpick in the center—if it comes out clean, you’re good to go!
- Cool Down: Once baked, remove the cakes from the oven and let them cool in the pans for about 10 minutes. After that, gently turn them out onto a wire rack to cool completely.
And there you have it! Your cakes are baked and ready for the next steps in decorating your delightful Minion creation. Isn't that exciting?
Cooling and Leveling the Cake

After you've baked your delightful cake and it's filled your kitchen with that irresistible aroma, it's essential to let it cool properly. Cooling the cake is a crucial step that ensures your layers are sturdy and easy to work with—nobody wants a crumbling cake when it comes time for assembly!
First, allow your cake to cool in the pans for about 10-15 minutes. This brief resting period helps the cake to firm up a little, making it easier to remove without breaking. Next, carefully transfer the cakes to a wire rack to cool completely. This step usually takes about 1-2 hours. Make sure they’re completely cool before leveling, to avoid any collapse or distortion in shape.
Once back from their cooling adventure, it’s time to level those layers! Leveling ensures that your cake is flat and uniform, which is super important for a fun and professional-looking Minion cake. Here’s how you can do it:
- Tools you’ll need: A serrated knife or cake leveler, a ruler (to measure), and a steady hand!
- Measure: Use your ruler to determine the highest point of the cake.
- Slice: Position your knife, and with a careful sawing motion, cut off the domed top to make it level.
Repeat this for each layer you plan on stacking. Voila! You now have perfectly leveled cakes just waiting for those whimsical Minion decorations!
Creating Minion Decorations
Now the fun really begins! Decorating your cake to resemble the adorable Minions requires a little creativity but can be an awesome experience. These yellow, googly-eyed characters lend themselves beautifully to cake designs! Here’s how to bring those Minion vibes to your cake:
To create the classic Minion look, you’ll want to gather your materials:
- Yellow Fondant: This will cover your cake.
- Black Fondant: For their goggles and overalls.
- White Fondant: For the eyes.
- Blue Fondant: For the overalls.
- Edible Eyes: You can either purchase these or create them with fondant.
Now, let’s jump into the decoration process:
| Step | Description |
|---|---|
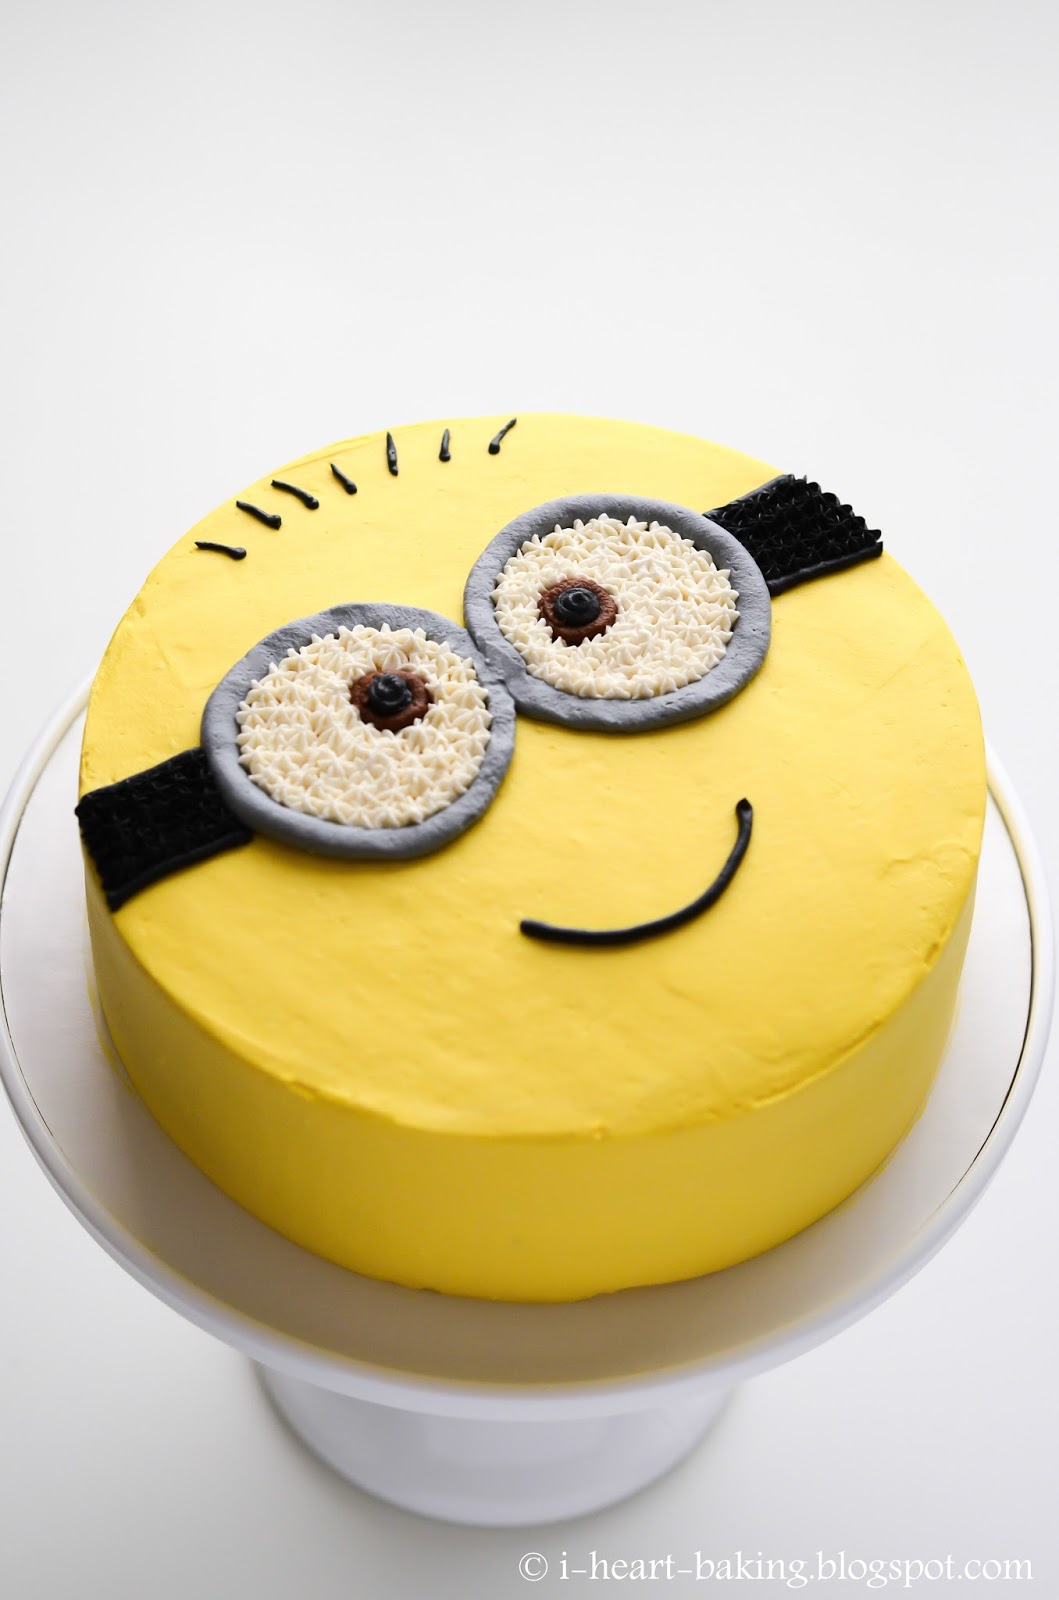
| 1 | Cover the cake with yellow fondant, smoothing out any bubbles. |
| 2 | Create the Minions' goggles using black and white fondant. Roll small circles for eyes and create a strip for the goggle band. |
| 3 | For the overalls, cut the blue fondant into shapes and attach them to the cake. |
| 4 | Finish with extra details—like a smile using black fondant or even placing a few candy 'minions' around the base! |
And there you go! With these steps, your Minion cake will not only taste delicious but will also be an absolute delight to look at. It’s bound to bring smiles to faces all around—especially to the little ones!
7. Assembling Your Minion Cake
Once you have all your layers baked, frosted, and ready, it’s time to assemble your fun Minion cake! This is where the magic happens, and your cake transforms into a lively Minion character.
Here’s a simple step-by-step guide to help you through the assembly process:
- Layering: Start by placing the bottom layer of your cake on a sturdy cake board or a plate. If you're using multiple layers, make sure they’re all leveled. You want a stable foundation!
- Filling: Spread a layer of frosting on top of the first cake layer. Use a spatula to get it nice and even. If you have any filling, like jam or whipped cream, now's the time to add it!
- Adding Layers: Gently place the second cake layer on top. If your cake is cool, it should sit nicely without sliding off. Repeat the frosting and filling process with additional layers, if you have them.
- Covering the Cake: Once you’ve stacked everything, coat the sides and top with a generous layer of blue frosting, mimicking the classic Minion overalls.
- Creating Minion Features: Use yellow frosting to cover the cake, mimicking the Minion’s body. You might want to pour it on or spread it evenly with a spatula.
Now take a moment to step back and enjoy your work before moving on to the fun part—adding the finishing touches!
8. Finishing Touches and Presentation
Now that your Minion cake is assembled, it’s time for the finishing touches! This is where you can really let your creativity shine and bring your cake to life.
Here are some ideas for those delightful final details:
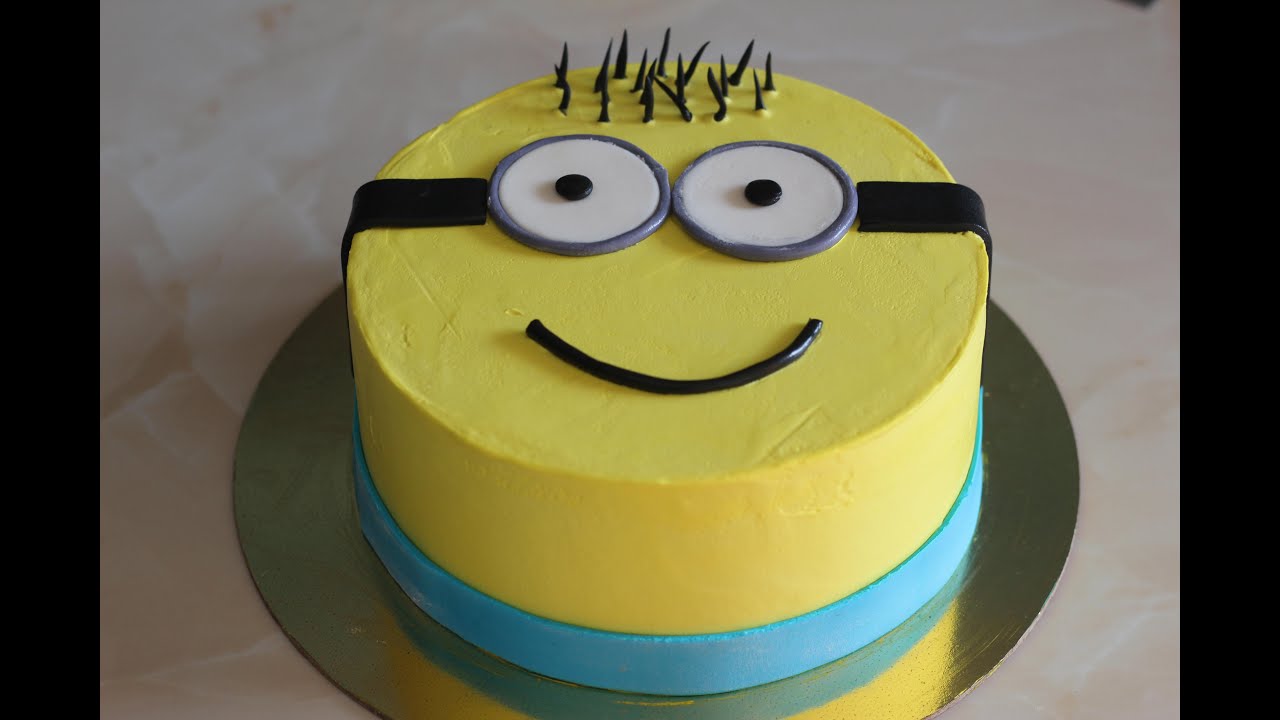
- Eyes and Goggles: Use chocolate candies, like M&Ms or Oreos, for the eyes. Pipe a bit of black frosting around them to create goggles—Minions wouldn’t be the same without their signature look!
- Mouth and Smile: You can create a smiling mouth using black icing or candy licorice. Adding a little food-safe confetti can also give it that lively personality.
- Hair and Accessories: Use black candy wires or spun sugar for those fun wisps of hair sticking out from the top. Consider adding a little bowtie or other accessories for a personal touch.
Finally, it’s all about presentation! Place your completed Minion cake on a fun, colorful cake stand, and sprinkle some edible confetti around it for that extra pop! With these finishing touches, your cake is bound to be the star of any celebration!
How to Create a Fun Minion Cake
Creating a fun Minion cake can be an exciting DIY project for any celebration. With their vibrant yellow color and playful design, Minions are a hit among children and adults alike. Here’s a simple guide to help you craft a delightful Minion-themed cake that will surely impress your guests.
Ingredients You Will Need
- 2 round cakes (8 inches each) – vanilla or chocolate flavor
- Buttercream frosting (yellow, black, and white)
- Blue fondant for overalls
- Edible black marker or black fondant for eyes
- Cake board
- Various candies for decoration
Steps to Create Your Minion Cake
- Bake the Cakes: Prepare the cakes according to the recipe and allow them to cool completely.
- Layer and Frost: Stack the two layers, applying a generous amount of buttercream frosting between them. Coat the entire cake with a layer of yellow buttercream to create the Minion's body.
- Decorate with Fondant: Roll out the blue fondant and cut it into strips to create the Minion’s overalls. Add black fondant eye shapes and attach them with frosting.
- Add Final Touches: Use the black edible marker to draw the mouth, and place candies around the cake for additional decoration.
Tips for Success
| Tip | Description |
|---|---|
| Chill the Cake | Refrigerate the cake after frosting to make it easier to decorate. |
| Use Piping Bags | For more precise designs, use piping bags for the frosting. |
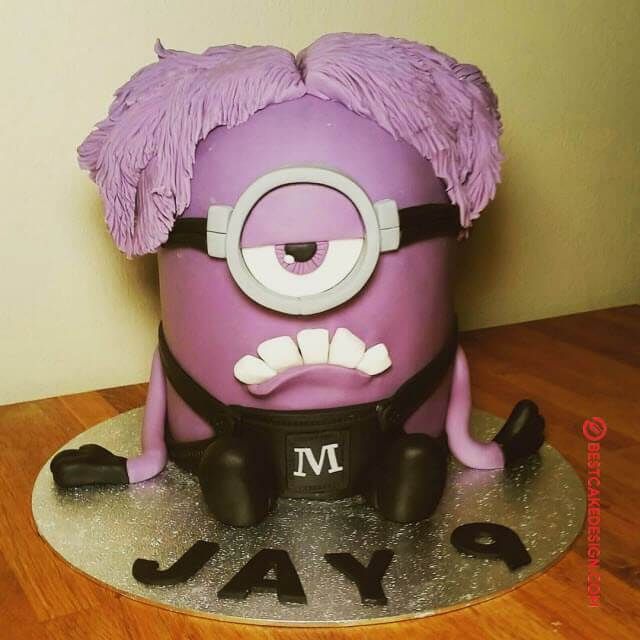
| Color Variation | Feel free to make different Minion characters by changing the colors! |
Creating a fun Minion cake is a great way to bring joy to any occasion. With the right ingredients, a little creativity, and some time, you can craft a cake that will not only taste amazing but also serve as a fantastic centerpiece for your celebration.


