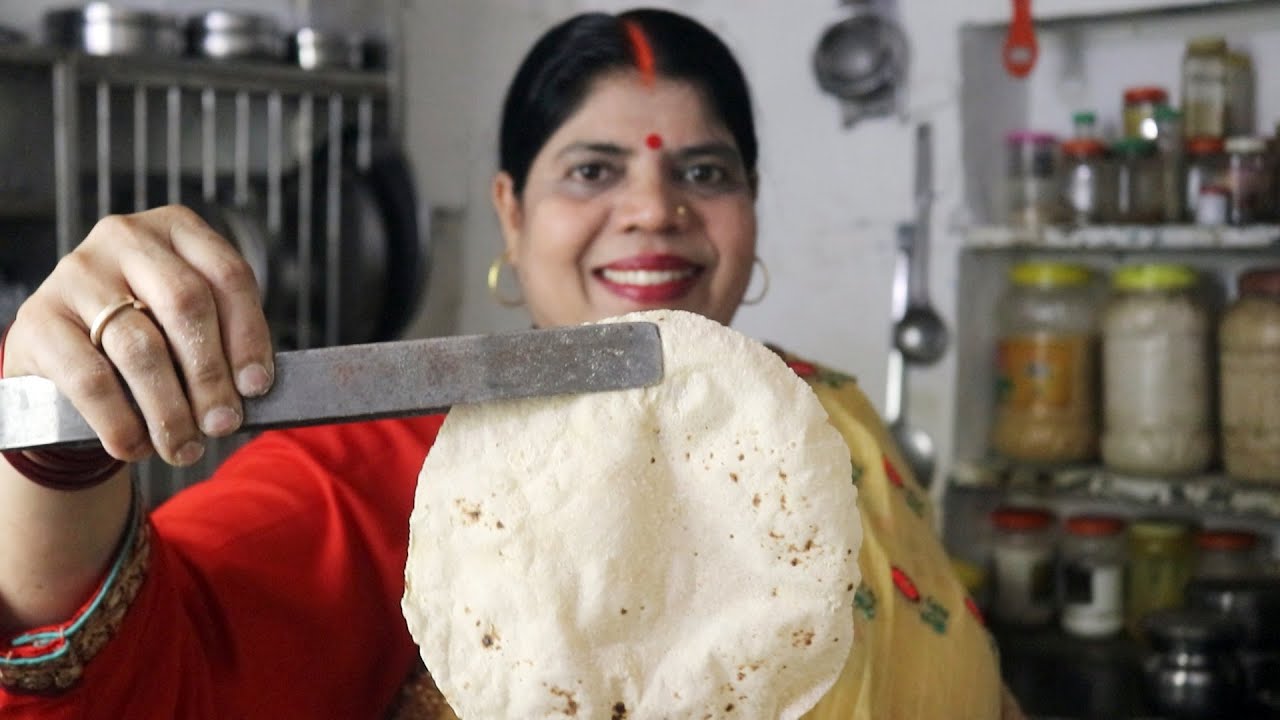
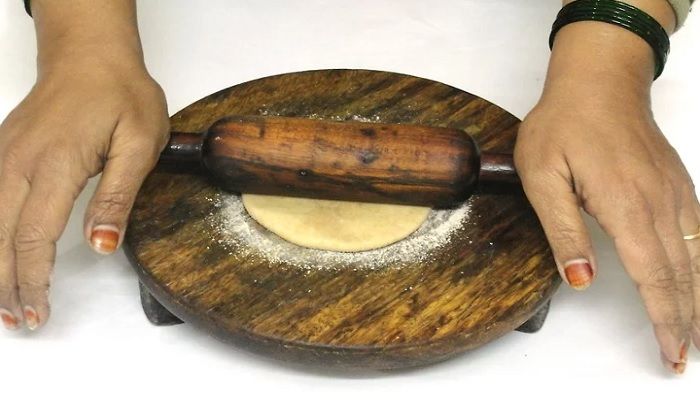
Roti making is a beautiful culinary art that brings tradition and comfort to many households, especially in South Asian cultures. It's not just about flattening dough; it's a ritual that connects generations, often celebrated during family gatherings or festive occasions. The simple act of preparing roti, a staple flatbread, is steeped in history and heartfelt stories. Whether you enjoy it with a delicious curry or simply slathered in butter, making the perfect roti can elevate your mealtime.
As you embark on this journey of mastering roti, it's essential to understand the fundamentals. The beauty of roti lies in its simplicity; with just a few ingredients and some practice, you can create a soft and delightful flatbread that pairs well with nearly anything. Ready to dive in and become a roti pro? Let's get rolling!
Essential Ingredients for Roti

When it comes to roti, the magic truly lies in the ingredients. You don’t need a long list; just a handful of essentials will do the trick. Here's a concise list of what you’ll need:
- Whole Wheat Flour (Atta): This is the star of your roti. Opt for high-quality whole wheat flour, as it’s key to achieving the right texture and flavor.
- Water: Ideally, use room temperature water for kneading. The quantity can vary, but you’ll generally need enough to form a smooth dough.
- Salt (optional): A pinch of salt can enhance the taste of your roti, though many make it without to keep it light.
- Ghee or Oil (optional): While traditional roti is made without fat, some prefer to add a bit of ghee or oil into the dough or for cooking to achieve a richer flavor.
Once you have your ingredients in place, you're ready to start creating! Mastering the right proportions and kneading techniques will significantly impact the final product. So, roll up your sleeves and prepare to impress your family with perfectly made rotis.
Also Read This: Enhance Your Appearance by Growing Strong Nails Naturally
Step-by-Step Roti Preparation

Making roti is both an art and a science, and once you get the hang of it, it can be incredibly satisfying. Let's break down the process step-by-step to ensure you master the technique!
- Gather Your Ingredients: You'll need:
- 2 cups of whole wheat flour (atta)
- Water (as needed)
- A pinch of salt (optional)
- Ghee or oil (for serving, optional)
Also Read This: How to Save Dailymotion Videos Without Installing Additional Software
Common Mistakes to Avoid in Roti Making
Even experienced cooks can sometimes run into issues while making roti. Here are some common mistakes to steer clear of:
- Not Kneading Enough: A common error is under-kneading the dough. Proper kneading develops gluten which is essential for a soft texture. Always aim for at least 10 minutes of kneading!
- Skipping the Rest: Don’t rush to roll out the dough immediately after kneading. Let it rest! This allows the gluten to relax, which results in easier rolling and softer rotis.
- Too Much Flour on the Surface: While it's good to use flour while rolling, too much can lead to dry rotis. Use just enough to prevent sticking and avoid excessive flour buildup.
- Cooking on Low Heat: One of the biggest culprits for chewy rotis is cooking them on low heat. Ensure your tawa is properly preheated. A hot pan provides that quick puff and keeps the roti soft.
- Ignoring Dough Consistency: The dough should be soft and pliable but not sticky. Adjust water and flour as necessary to achieve that perfect balance.
- Rushing the Cooking Process: Take your time! Cooking the roti too quickly can lead to uneven cooking. Let each side cook properly before flipping.
- Storing Incorrectly: If not stored properly, rotis can quickly become dry. Keep them in an insulated container lined with a cloth to maintain moisture!
Avoiding these common pitfalls can make a world of difference in your roti-making journey! Keep practicing, and soon, you'll be rolling out perfect rotis every time!
Also Read This: Heartwarming Stories for Everyone on Dailymotion
Tips for Achieving the Perfect Texture
Making the perfect roti is more of an art than a science. To ensure that your roti has that soft and flaky texture we all crave, keep the following tips in mind:
- Choose the Right Flour: Whole wheat flour (atta) is the traditional choice for roti. It is high in gluten, which is essential for creating that soft texture.
- Water Temperature Matters: Use lukewarm water to knead your dough. It helps in gluten development, making your roti softer.
- Kneading Technique: Knead the dough for at least 10 minutes. This step encourages the gluten to form, resulting in a more pliable dough.
- Dough Resting Time: Allow your dough to rest for at least 30 minutes. This breaks down the gluten, leading to a smoother texture.
- Rolling Technique: Roll out your dough evenly. If it's too thick, it won't cook well; if it's too thin, it may break. Aim for about 1/8 inch thickness.
- Cooking Surface: Use a cast iron tawa or a non-stick pan for cooking. These surfaces distribute heat evenly, which helps in cooking the roti uniformly.
- Correct Heat Level: Start cooking on medium-high heat and then reduce to low once your roti begins to puff up. This ensures it cooks properly without burning.
- Basting with Ghee: For that extra moist and rich texture, brush your roti with a bit of ghee or butter immediately after cooking.
By following these tips, you'll be well on your way to mastering the perfect roti! Remember, practice makes perfect, so don't get discouraged if it doesn’t turn out right the first time.
Also Read This: Generate Electricity from Magnets: Step-by-Step Guide on Dailymotion
Video Tutorials on Dailymotion
Sometimes, seeing is believing! If you prefer a visual guide to help perfect your roti-making skills, Dailymotion has some fantastic video tutorials. Here are a few recommendations for channels and videos you might find helpful:
| Video Title | Channel Name | Description |
|---|---|---|
| How to Make Soft Roti | Roti Masterclass | A comprehensive guide that covers everything from dough preparation to cooking techniques. |
| Perfect Roti Every Time! | Indian Kitchen Secrets | Tips and tricks shared by a pro chef on how to achieve that symbol of perfection in every roti! |
| Fluffy Roti Techniques | The Culinary Journey | Step-by-step instructions focusing on achieving a fluffy and soft texture. |
These video tutorials offer a great hands-on experience and can help reinforce the techniques I’ve mentioned earlier. So, grab your flour and rolling pin, and let those video guides take you on a culinary journey to perfect roti-making!
Mastering the Art of Making Perfect Roti
Roti, a staple in many households, is a simple yet delightful flatbread that can elevate any meal. Mastering the art of making perfect roti requires understanding the right technique and tools. Here’s a comprehensive guide to help you create soft and delicious roti every time.
Ingredients
- Whole wheat flour: 2 cups
- Water: As needed (about ¾ cup)
- Salt: 1 teaspoon (optional)
- Ghee or oil: For brushing (optional)
Essential Tools
| Tool | Purpose |
|---|---|
| Rolling Pin | To roll the dough into thin flatbreads |
| Tawa (Griddle) | To cook the roti evenly |
| Dough Bowl | To mix and knead the dough |
Steps to Make Perfect Roti
- Mix the Ingredients: In a bowl, combine the whole wheat flour and salt. Gradually add water to form a soft dough.
- Knead the Dough: Knead the dough for about 5-10 minutes until smooth. Cover it with a damp cloth and let it rest for at least 30 minutes.
- Divide and Shape: Divide the dough into small balls (about the size of a small orange). Flatten each ball slightly.
- Rolling: On a floured surface, use a rolling pin to roll each ball into a thin circle, approximately 6-7 inches in diameter.
- Cooking: Heat the tawa over medium heat. Place the rolled roti on the hot tawa. Cook for about 30 seconds on one side until small bubbles form.
- Flip and Cook: Flip the roti and cook for another 30 seconds. Press lightly with a spatula to ensure even cooking.
- Puffing Up: For the final touch, directly place the roti on an open flame using tongs for it to puff up. Remove from heat.
- Brushing: If desired, brush the hot roti with ghee or oil for added flavor.
With these steps, you can achieve the soft, delicious roti that can complement any meal. Practice makes perfect, so don’t be discouraged by initial attempts!
Conclusion: Enjoying Your Homemade Roti
Now that you have mastered the art of making perfect roti, savor the taste of your homemade creation alongside your favorite curries and dishes, making every meal a delicious experience.
 admin
admin


