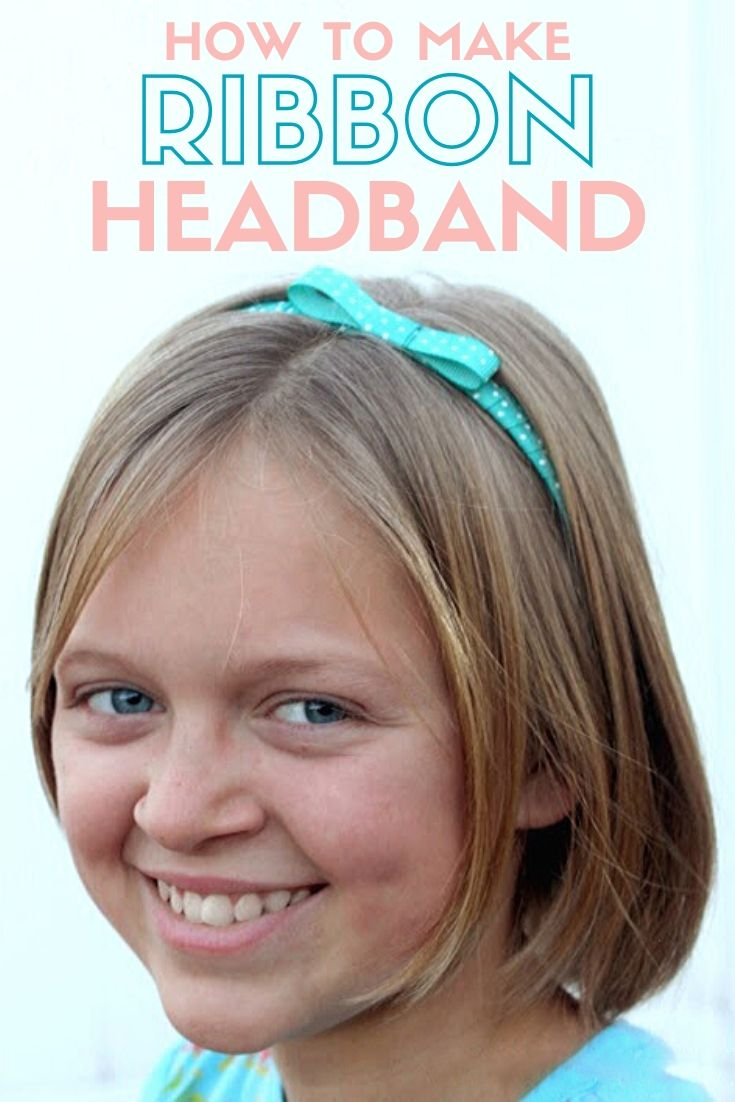
Ribbon headbands are the perfect blend of style and creativity. They're not only fashionable but also a great way to express your personality. Whether you’re dressing up for a special occasion or just looking for a fun accessory to brighten up your everyday outfit, handmade ribbon headbands can add that unique touch you're after. Plus, crafting your own headbands can be a delightful way to spend a rainy afternoon or a weekend with friends.
What's more, the beauty of these headbands lies in their versatility. You can customize them according to your favorite colors, patterns, and styles. From floral prints to polka dots, the options are endless! In this blog post, we’ll go through everything you need to know to create your own gorgeous ribbon headbands, so grab your supplies and let's get started.
Materials Needed for Your DIY Project

Before diving into the crafting process, it’s important to gather all the necessary materials. Having everything at hand ensures a smooth and enjoyable DIY experience. Here’s a handy list of what you’ll need:
- Ribbons: Choose a variety of ribbons in different widths, colors, and patterns. Satin, grosgrain, or even lace ribbons can create stunning effects.
- Headband Bases: You can use plain plastic or metal headbands as your base. These are available in various sizes and can be easily found at craft stores.
- Scissors: A sharp pair of scissors is essential for cutting the ribbons to your desired length.
- Hot Glue Gun: This is your best friend! A hot glue gun will securely attach your ribbons to the headband.
- Embellishments: Feel free to add some flair! Think buttons, flowers, beads, or even feathers—whatever suits your style.
- Measuring Tape: To ensure your ribbons are the right length, a measuring tape can be helpful.
- Pliers (optional): If you’re using metal headbands and embellishments that require attachment, pliers will come in handy.
Once you have all these materials gathered, you’ll be well on your way to creating beautiful ribbon headbands. So, let’s dive into the fun part—crafting!
Step-by-Step Instructions

Creating your own ribbon headbands is not only a fun DIY project but also a great way to express your creativity. Let's break it down into simple steps.
- Gather Your Materials:
Before jumping into the fun, make sure you have all the necessary materials:
- Wide ribbon (1-2 inches thick)
- Narrow ribbon for embellishments
- Plain plastic headband
- Fabric glue or hot glue gun
- Scissors
- Measuring tape
- Decorative items (like flowers, beads, or buttons)
- Measure and Cut the Ribbon:
Measure the length of ribbon you need by wrapping it around the headband, leaving extra for any desired overlap. A good starting point can be around 1-2 yards, depending on the width of the headband.
Once measured, cut your ribbon to the appropriate length, making sure to cut at an angle to prevent fraying.
- Glue the Ribbon to the Headband:
Begin applying glue to one end of the headband and press the ribbon firmly onto the adhesive. Gradually wrap the ribbon around the headband, securing it with glue as you go. When you reach the other end, trim any excess ribbon and secure the end with more glue.
- Add Embellishments:
Now the fun part! Use your narrow ribbon to make bows, or add decorative items like soft fabric flowers, beads, or even faux jewels. Just apply a dab of glue and place them wherever your heart desires. Get as creative as you'd like!
- Let it Dry:
Allow the headband to dry completely before trying it on. This will ensure everything stays in place and looks fabulous!
Creative Ideas for Personalizing Ribbon Headbands

Once you’ve mastered the basics of ribbon headbands, it's time to unleash your creativity and personalize them! Here are some delightful ideas to help you make unique headbands that are purely you.
- Theme-Based Designs:
Create headbands based on different themes. For example:
- Seasonal: Use floral ribbons for spring, warm colors for fall, or snowy patterns for winter.
- Holidays: Festive colors and patterns for holidays like Halloween, Christmas, or Valentine’s Day can add a fun flair.
- Fabric Choices:
Experiment with different types of ribbons:
- Velvet: Provides a luxurious feel.
- Sequined: Adds sparkle for parties or special occasions.
- Printed: Choose ribbons with fun prints like polka dots or stripes to reflect your personality.
- Layering Techniques:
Layer different types of ribbons together for a unique look. You can create a base with a wide ribbon and accent it with a narrower contrast ribbon. Don't shy away from textures—mix satin with burlap or lace for an eclectic vibe!
- Functional Embellishments:
Consider adding items that serve a purpose! For instance:
- Pocket for small hair ties or clips.
- Attach your favorite pins or brooches to the headband for a unique touch.
- Color Blocking:
Create a colorful statement by using multiple ribbons in contrasting colors. This technique makes the headband pop! Try combining two or three colors that complement each other.
Remember, the beauty of DIY projects is that there are no strict rules. So gather your materials, get creative, and enjoy crafting your personalized ribbon headbands!
Tips for Success and Common Mistakes
Creating your own ribbon headbands can be a delightful experience, but sometimes things don’t go as smoothly as planned. Here are a few helpful tips to guide you along the way, along with some common pitfalls to avoid!
- Choosing the Right Ribbon: Opt for ribbons that are comfortable to wear. Fabrics like cotton or soft polyester work well. Avoid anything too scratchy, as it can irritate your skin.
- Measure Twice, Cut Once: Before cutting your ribbon, measure your headband length more than once. This extra step can save you from making mistakes that could ruin your project.
- Secure Your Ends: Use fabric glue or a lighter to seal the ends of the ribbon to avoid fraying. This small step will keep your headbands looking sharp and neat.
- Experiment with Patterns: Don’t be afraid to mix and match different ribbons. Sometimes a quirky combination can create a unique, eye-catching design!
- Take Your Time: Rushing a DIY project often leads to errors. Enjoy the process, and take your time to ensure everything looks just right.
Now, let’s look at some common mistakes that DIY enthusiasts often make:
| Common Mistakes | Solution |
|---|---|
| Using Too Much Glue | Apply a small amount to avoid messy results. |
| Not Matching the Hardware | Ensure the clips or bands match your ribbon in color and style. |
| Ignoring Comfort | Test the headband on your head before finalizing to ensure comfort. |
Conclusion and Final Thoughts
Making your own ribbon headbands is not just about creating pretty accessories; it's also a fantastic way to express your creativity and style! Whether you're crafting for yourself, gifting to a friend, or creating a collection to sell, the possibilities are endless.
Remember, the most satisfying part of a DIY project is being able to customize every detail to your liking. Allow yourself to play with colors, textures, and patterns, making headbands that reflect your personality. Plus, the process can be incredibly therapeutic and a great way to unwind!
So, roll up your sleeves, gather your materials, and get started on this fun and fulfilling project! You might find that you'll never want to buy headbands again after making your own. Happy crafting!


