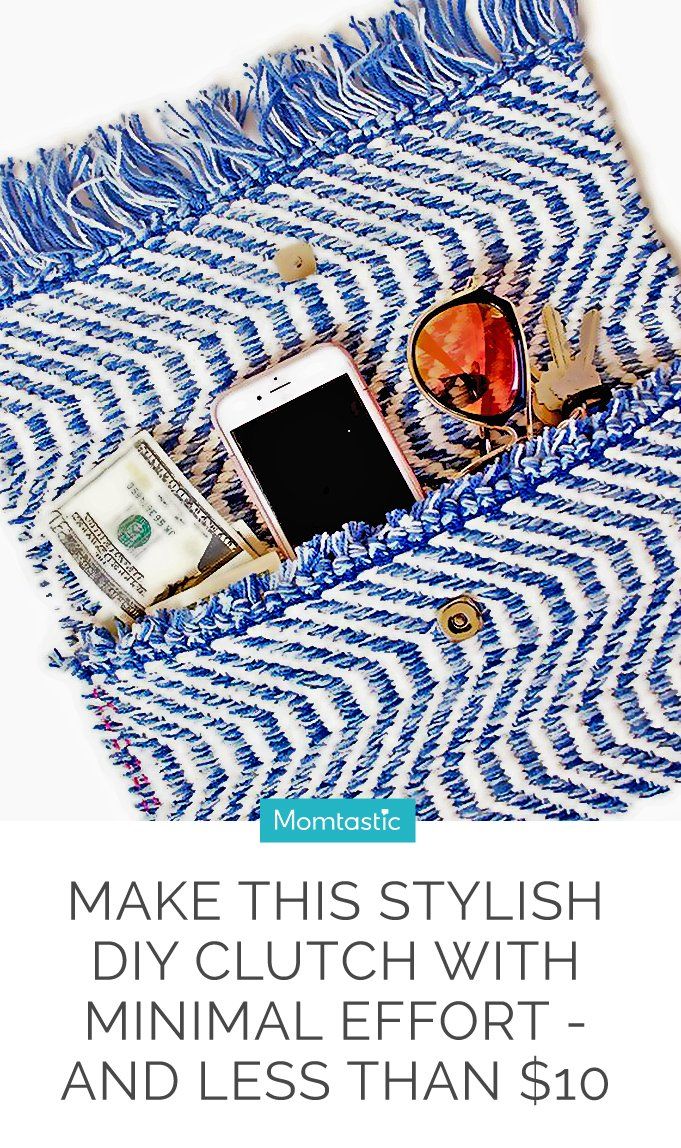
Are you looking to elevate your accessory game with a touch of personal flair? Creating your own stylish clutches is a fun and rewarding DIY project that allows you to express your creativity while producing something truly unique. Whether you’re preparing for a night out, need a chic storage solution, or want to gift something special, a handmade clutch can make all the difference. In this tutorial, we’ll walk you through each step, ensuring you have an enjoyable crafting experience. Let’s dive in!
Materials Needed
Before we jump into the fun part, let’s gather all the materials you’ll need to create your fabulous clutch. The best part? Many of these items can be found at your local craft store, or you might already have some of them at home!
- Fabric: Choose a sturdy yet stylish fabric. Cotton, denim, or faux leather are great options. You’ll need about half a yard, depending on the size.
- Interfacing: This is optional, but using interfacing will give your clutch added structure and durability.
- Sewing Machine: While you can sew by hand, a sewing machine will speed up the process.
- Thread: Match the thread color with your fabric for a seamless look.
- Scissors: A good pair of fabric scissors will make cutting much easier.
- Clip or Pin: Use these to hold your fabric pieces together while sewing.
- Closure: Zippers, buttons, or magnetic snaps work perfectly for securing your clutch.
- Iron: To press your fabric and seams for a polished finish.
Once you have all your materials ready, you’re just a few steps away from creating a stylish clutch that you can proudly show off. Let’s get started!
Step-by-Step Instructions
Creating your own stylish clutches can be a fun and rewarding project! Follow these step-by-step instructions to make a clutch that’s uniquely yours.
- Gather Your Materials: To start, collect all the materials you'll need. This includes fabric (like cotton or leather), sewing notions (thread, pins), a zipper or clasp, scissors, and a cutting mat. Having everything on hand will streamline the process.
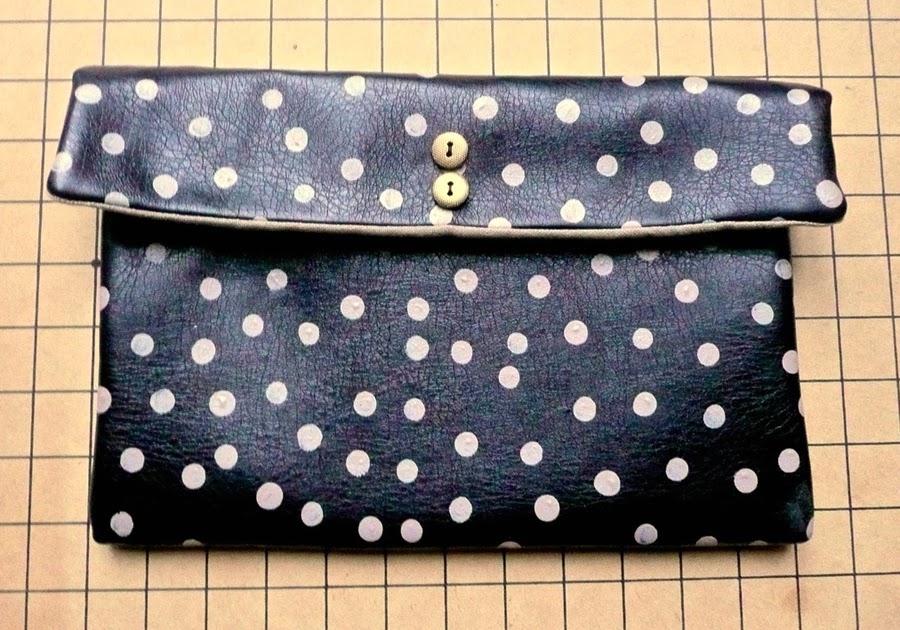
- Design Your Clutch: Before you cut into your fabric, sketch out your design. Think about size, shape, and any embellishments you might want. A standard envelope clutch is a great beginner project with a simple triangular flap.
- Cut the Fabric: Using your design as a guide, carefully cut your fabric pieces. You'll need two pieces for the outer layer and two for the lining, as well as a piece for the flap.
- Assemble the Pieces: Start by pinning the outer fabric pieces together, right sides facing each other. Sew along the sides and bottom, leaving the top open for the flap. Repeat this for your lining pieces but leave a small gap in the bottom seam to turn it inside out.
- Add the Zipper or Clasp: If you’re using a zipper, attach it to the top edge before sewing the lining. For a clasp, sew it securely into place according to its instructions.
- Turn and Finish: Now, turn your clutch right side out through the gap in the lining. Tuck the lining inside, and sew up the gap. Press the seams to give your clutch a polished finish.
And there you have it! Your chic DIY clutch is ready to be showcased at your next outing.
Tips for Customization
Making your clutch unique involves some fun customization options! Here are several ways to personalize your creation:
- Choose Bold Fabrics: Opt for vibrant patterns or solid colors that reflect your personality. Think about pairing different materials like linen and leather for an eclectic look.
- Add Embellishments: Buttons, sequins, or patches can quickly elevate the aesthetic of your clutch. Glitter can also add a touch of glam – just be prepared for some sparkle fallout!
- Experiment with Shapes: Don’t feel confined to traditional envelope shapes. Try round or geometric forms for something truly eye-catching. A circular clutch could be an unexpected twist!
Here’s a quick customization checklist to keep in mind:
| Customization Option | Description |
|---|---|
| Fabric Type | Choose unique fabrics like denim, silk, or even upholstery material. |
| Closure Type | Experiment with zippers, magnets, or snaps for closures that suit your style. |
| Size and Proportions | Tweak the dimensions to fit your essentials, from minimalistic to larger evening bags. |
With these tips, you’ll be able to create a clutch that not only functions but also tells your personal story! Have fun designing!
5. Finishing Touches
When it comes to creating stylish clutches, the details matter! The finishing touches can elevate your DIY clutch from good to fabulous. Here are some ideas to consider:
- Snaps or Zippers: Think about how you want to secure your clutch. Snaps provide a chic, minimalist look, while zippers add a sense of security. Choose one that fits your design.
- Embellishments: Ribbons, beads, or decorative patches can add personality to your clutch. Pick embellishments that resonate with your style. For instance:
- Pearls for a vintage vibe
- Bold studs for an edgy look
- Colorful tassels for a pop of fun
- Internal Organization: Consider adding pockets inside your clutch to keep essentials organized. A little interior pocket can be great for your phone or makeup, ensuring you don’t have to dig every time you reach in.
- Final Cleaning: Once you’ve put everything together, give your clutch a good once-over. Wipe down any fabric or leather to remove fingerprints or dust and ensure it’s looking its absolute best.
Remember, the finish of your clutch is the cherry on top. Take your time to make sure each detail is just right, and your creation will stand out as a unique piece that you’re proud to show off!
6. Where to Share Your Creations
So, you’ve crafted a beautiful clutch—now what? Sharing your creations not only allows you to showcase your talents but also inspires others in the DIY community! Here are some awesome platforms to consider:
- Social Media: Sites like Instagram and Facebook are perfect for sharing photos of your clutch. Use relevant hashtags (like #DIYClutch or #HandmadeFashion) to reach a wider audience.
- Crafting Forums: Websites like Reddit have dedicated threads for showcasing DIY projects. You can post on subreddits like r/DIY or r/Sewing, and get feedback from other craft enthusiasts.
- Personal Blog or Website: Consider creating a blog if you’re passionate about DIY projects. Document the process of making your clutch, share tips, and provide step-by-step guides!
- YouTube or TikTok: Create a fun video demonstrating your clutch-making process. People love visual tutorials, and it can help more DIY enthusiasts learn from you.
- Crafting Communities: Join local or online craft groups. Sites like Meetup can lead you to face-to-face gatherings, or you can participate in online groups that share your passion.
Don’t shy away from showing the world your creative work. The joy you get from crafting can inspire others, and who knows, you might make some friends along the way!
How to Create Stylish Clutches with This Fun DIY Tutorial
If you're looking to add a personal touch to your accessories, creating your own stylish clutches can be both fun and rewarding. This DIY tutorial will guide you step-by-step through the process of making custom clutches that express your unique style. Whether you're preparing for a special occasion or just want something new for your everyday outfits, this project is perfect for you!
Here's what you'll need:
- Materials:
- Fabric (cotton, satin, or any material of your choice)
- Interfacing for added structure
- Thread (matching the fabric color)
- Zipper or magnetic clasp
- Sewing machine
- Scissors
- Measuring tape
- Pins or fabric clips
- Tools:
- Sewing machine
- Iron
- Cutting mat
- Rotary cutter (optional)
Now that you have your materials ready, follow these steps:
- Measure and cut your fabric to desired dimensions. A standard clutch size is usually 12 inches by 8 inches.
- Cut your interfacing to the same dimensions as the fabric. This will provide stability to your clutch.
- Fuse the interfacing to the wrong side of the fabric using an iron.
- Attach the zipper to one edge of the fabric, following a zipper installation guide if necessary.
- Fold the fabric and sew the sides, leaving the top open.
- Turn your clutch inside out and iron it for a neat finish.
- Add embellishments, if desired—such as sequins, beads, or patches—for a personalized touch.
Your stylish clutch is now complete! Show it off and enjoy your fabulous creation.
Conclusion: Creating your own stylish clutches not only allows you to express your creativity but also gives you custom accessories that are unique to your taste. Try this fun DIY project and enjoy the satisfaction of crafting something beautiful with your hands!