Making your own rugs at home can be an incredibly rewarding and creative experience. Not only do you get to design something that perfectly fits your personal style, but you also save money compared to buying a store-bought rug. Imagine stepping onto a soft, handmade rug every day, knowing you crafted it with your own hands! Whether you're looking to add warmth to your living space or trying your hand at a new hobby, creating rugs at home is a fulfilling project. In this guide, we’ll walk you through the entire process—from selecting the right materials to the step-by-step creation of your beautiful rug. So, roll up your sleeves and let's get started!
Materials Needed

Before diving into rug-making, it's essential to gather all the materials you'll need. Having everything on hand will make the process smoother and more enjoyable. Here’s a comprehensive list of what you’ll need:
- Fabric: Choose your fabric based on the type of rug you want to create. Common options include:
- Cotton
- Wool
- Polyester
- Jute
- Backing Material: This is crucial for stability. Options include:
- Canvas
- Non-slip rubber rug mat
- Adhesive: If you’re using fabric, a strong fabric glue or hot glue gun works well.
- Rug Pad: Optional, but it can help keep your rug in place and add extra cushioning.
- Scissors: Sharp scissors are necessary for cutting your fabric accurately.
- Measuring Tape: To ensure your pieces are the perfect size.
- Marker or Chalk: Useful for marking fabric for cutting.
Once you have gathered your materials, you’ll be ready to embark on your rug-making journey. Don’t hesitate to get creative with colors and textures—this is your chance to personalize your space!
Also Read This: How to Insert an Image in SolidWorks for Enhanced Visuals
Choosing the Right Technique

When it comes to making rugs at home, the first big decision you'll face is selecting the right technique. The method you choose should not only align with your skill level but also reflect your personal style and the look you want to achieve. Here are some popular rug-making techniques to consider:
- Tufting: This technique uses a tufting gun or a hand-tufting tool to punch yarn into a backing fabric. It’s quite popular due to its ability to create thick and plush rugs.
- Weaving: If you're comfortable with more traditional methods, weaving can be a delightful way to create unique patterns. You can use a loom or handweave for smaller projects.
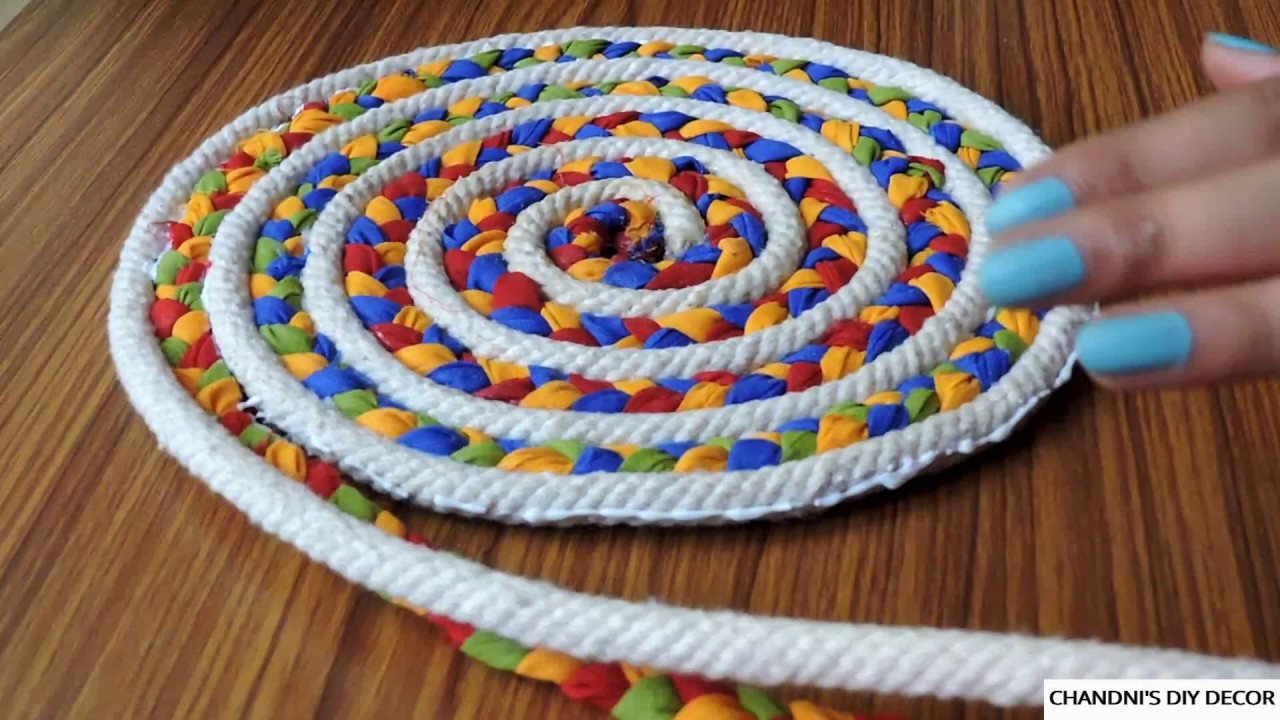
- Braiding: Braided rugs add a rustic charm to your home. You can use fabric strips or yarn and braid them together to form different shapes and sizes.
- Crocheting: Crocheted rugs are often made from recycled materials and can add a cozy vibe. This technique allows for a lot of creativity, particularly with color and texture.
- Punch Needle: This method involves using a needle to push yarn into a backing fabric, creating a textured surface. It’s relatively simple, making it a great option for beginners.
Once you've established your preferred technique, gather the necessary materials and tools. This could include yarn, fabric, scissors, and the appropriate tools specific to the technique you've chosen. Remember, it’s not just about the end product; the journey of creating your rug can be just as rewarding. Enjoy the process and let your creativity flow!
Also Read This: Simple Steps to Copy Images into Paint
Step-by-Step Instructions

Now that you've chosen your rug-making technique, it's time to dive into the step-by-step instructions. Here’s a basic guide using the tufting technique, which is both accessible and results in beautiful rugs:
- Gather Your Materials: Collect your backing fabric, tufting gun or hand-tufting tool, wool yarn, and any additional supplies like scissors and a ruler.
- Prepare the Design: Sketch out a design on a piece of paper or directly onto your backing fabric using fabric chalk. This will be your guide as you work.
- Attach the Backing Fabric: Secure the backing fabric tightly onto your work surface. This ensures that it doesn't move while you’re tufting.
- Start Tufting: Using your tufting tool, push the yarn through the backing fabric following your design. Make sure to keep your stitches even for a uniform look.
- Layer Yarn: For a thicker rug, you can layer the yarn. Just ensure that you alternate colors and directions for depth and interest.
- Finish Edges: After you’ve completed tufting, trim any excess yarn and finish the edges to prevent fraying. You can also back the rug with fabric for added durability.
- Final Touches: Clean up any loose threads or yarn bits, give your rug a shake, and admire your handiwork!
With these steps in hand, you're well on your way to creating a beautiful rug that can add a personalized touch to any space in your home. Remember, practice makes perfect, so don't hesitate to experiment and enjoy the journey!
Also Read This: Which Free Canva Template Downloader Tools Support Multiple File Formats?
Tips for Designing Your Rug
Creating a rug is not just about the weaving process; it’s also about design. Before you start your project, it’s essential to think about how your rug will fit into your space. Here are some tips to help you design a rug that complements your room:
- Consider Your Color Palette: Choose colors that harmonize with your existing décor. Look at the walls, furniture, and other textiles in the room. A good rule of thumb is to select 2-3 main colors for your rug, along with a few accent colors.
- Think About Size: The size of your rug can dramatically impact the space. Whether you want a small accent piece or a large statement rug, be sure to measure the area where the rug will go. A common guideline is to leave a space of about 12-18 inches between the edge of the rug and the walls of the room.
- Experiment with Patterns: Don’t shy away from incorporating patterns! Stripes, geometric shapes, or floral designs can add significant interest to your rug. However, balance is key; if you have a lot of patterns in your room, consider a more subdued design for the rug.
- Sketch Your Ideas: Before you start creating, sketch out your rug design on paper or use digital design software. This will help you visualize the final product.
- Get Inspired: Browse through magazines, social media, or Pinterest for inspiration! Gathering ideas from various sources can spark creativity and help you hone in on your design vision.
Also Read This: How to Combine Images in Inkscape for Layered and Complex Designs
Finishing Touches
Once you’ve completed your rug, it’s time to add those finishing touches that will elevate your project from good to fantastic. Here are some steps to ensure your rug looks polished and professional:
- Trimming Excess Material: After cutting your rug to the desired shape, trim any excess fibers or materials. This attention to detail can make a world of difference in the final appearance.
- Apply a Rug Backing: Consider adding a backing material to prevent slipping and extend the life of your rug. You can use a non-slip rug pad or fabric backing, depending on your project.
- Finishing Edges: Whether you choose to fringe your rug, bind the edges, or simply leave them raw, make sure the edges are neat. Fringing adds a whimsical touch, while binding gives a more refined look.
- Cleaning and Maintenance: Before using your rug, give it a quick clean to remove any dust or debris. Regular maintenance will keep it looking fresh. Learn how to properly clean your specific rug material for long-lasting durability.
- Placement: Finally, consider the best placement for your rug. Make sure it not only complements your design but also serves its intended purpose, whether that's adding warmth underfoot or defining a space.
Also Read This: DIY Nail Art Techniques at Home with Dailymotion Video Guides
7. Care and Maintenance of Your Handmade Rug
Congratulations on your beautiful handmade rug! Now that you've invested time and effort into creating it, it's essential to understand how to care for it properly. With the right maintenance, your rug can last for years while remaining as vibrant as the day you made it. Let's dive into some essential tips for care and maintenance.
Regular Cleaning
Keeping your rug clean is crucial. Here’s how you can do it:
- Vacuum Regularly: Use a vacuum without a beater bar to gently remove dirt and dust. Aim for at least once a week.
- Spot Cleaning: For small spills, blot the area with a clean cloth and mild detergent mixed with water. Avoid scrubbing, as it can fray the fibers.
- Rotate Periodically: Every few months, rotate your rug to ensure even wear from foot traffic and sunlight.
Deep Cleaning
It’s a good idea to give your rug a deep clean periodically. Here’s how:
- Check the care label for any specific instructions.
- Depending on the material, you might need to use a professional cleaning service or a home cleaning product designed for rugs.
- Ensure your rug is completely dry before placing it back in its spot to avoid mildew.
Storage Tips
If you need to store your rug:
- Clean it thoroughly before storage.
- Roll it up rather than folding to maintain its shape.
- Store it in a cool, dry place, ideally in a breathable cotton bag.
Taking these steps ensures your handmade rug stays beautiful and lasts for generations!
8. Conclusion
Making a handmade rug is not just a creative endeavor; it’s an opportunity to infuse your home with personal flair. From choosing the right materials to employing techniques that suit your style, every step contributes to a unique piece that tells your story.
In this guide, we covered everything from the initial planning stages right through to care and maintenance, ensuring you have the tools and knowledge needed to succeed. Remember, creating a rug can be both rewarding and therapeutic—don’t rush the process!
Here’s a quick recap of the steps we've discussed:
| Step | Summary |
|---|---|
| 1 | Choose Your Materials |
| 2 | Plan Your Design |
| 3 | Prepare Your Workspace |
| 4 | Begin Creating |
| 5 | Finishing Touches |
| 6 | Care and Maintenance |
So, gather your materials, unleash your creativity, and start crafting that perfect rug! Happy weaving!
 admin
admin


