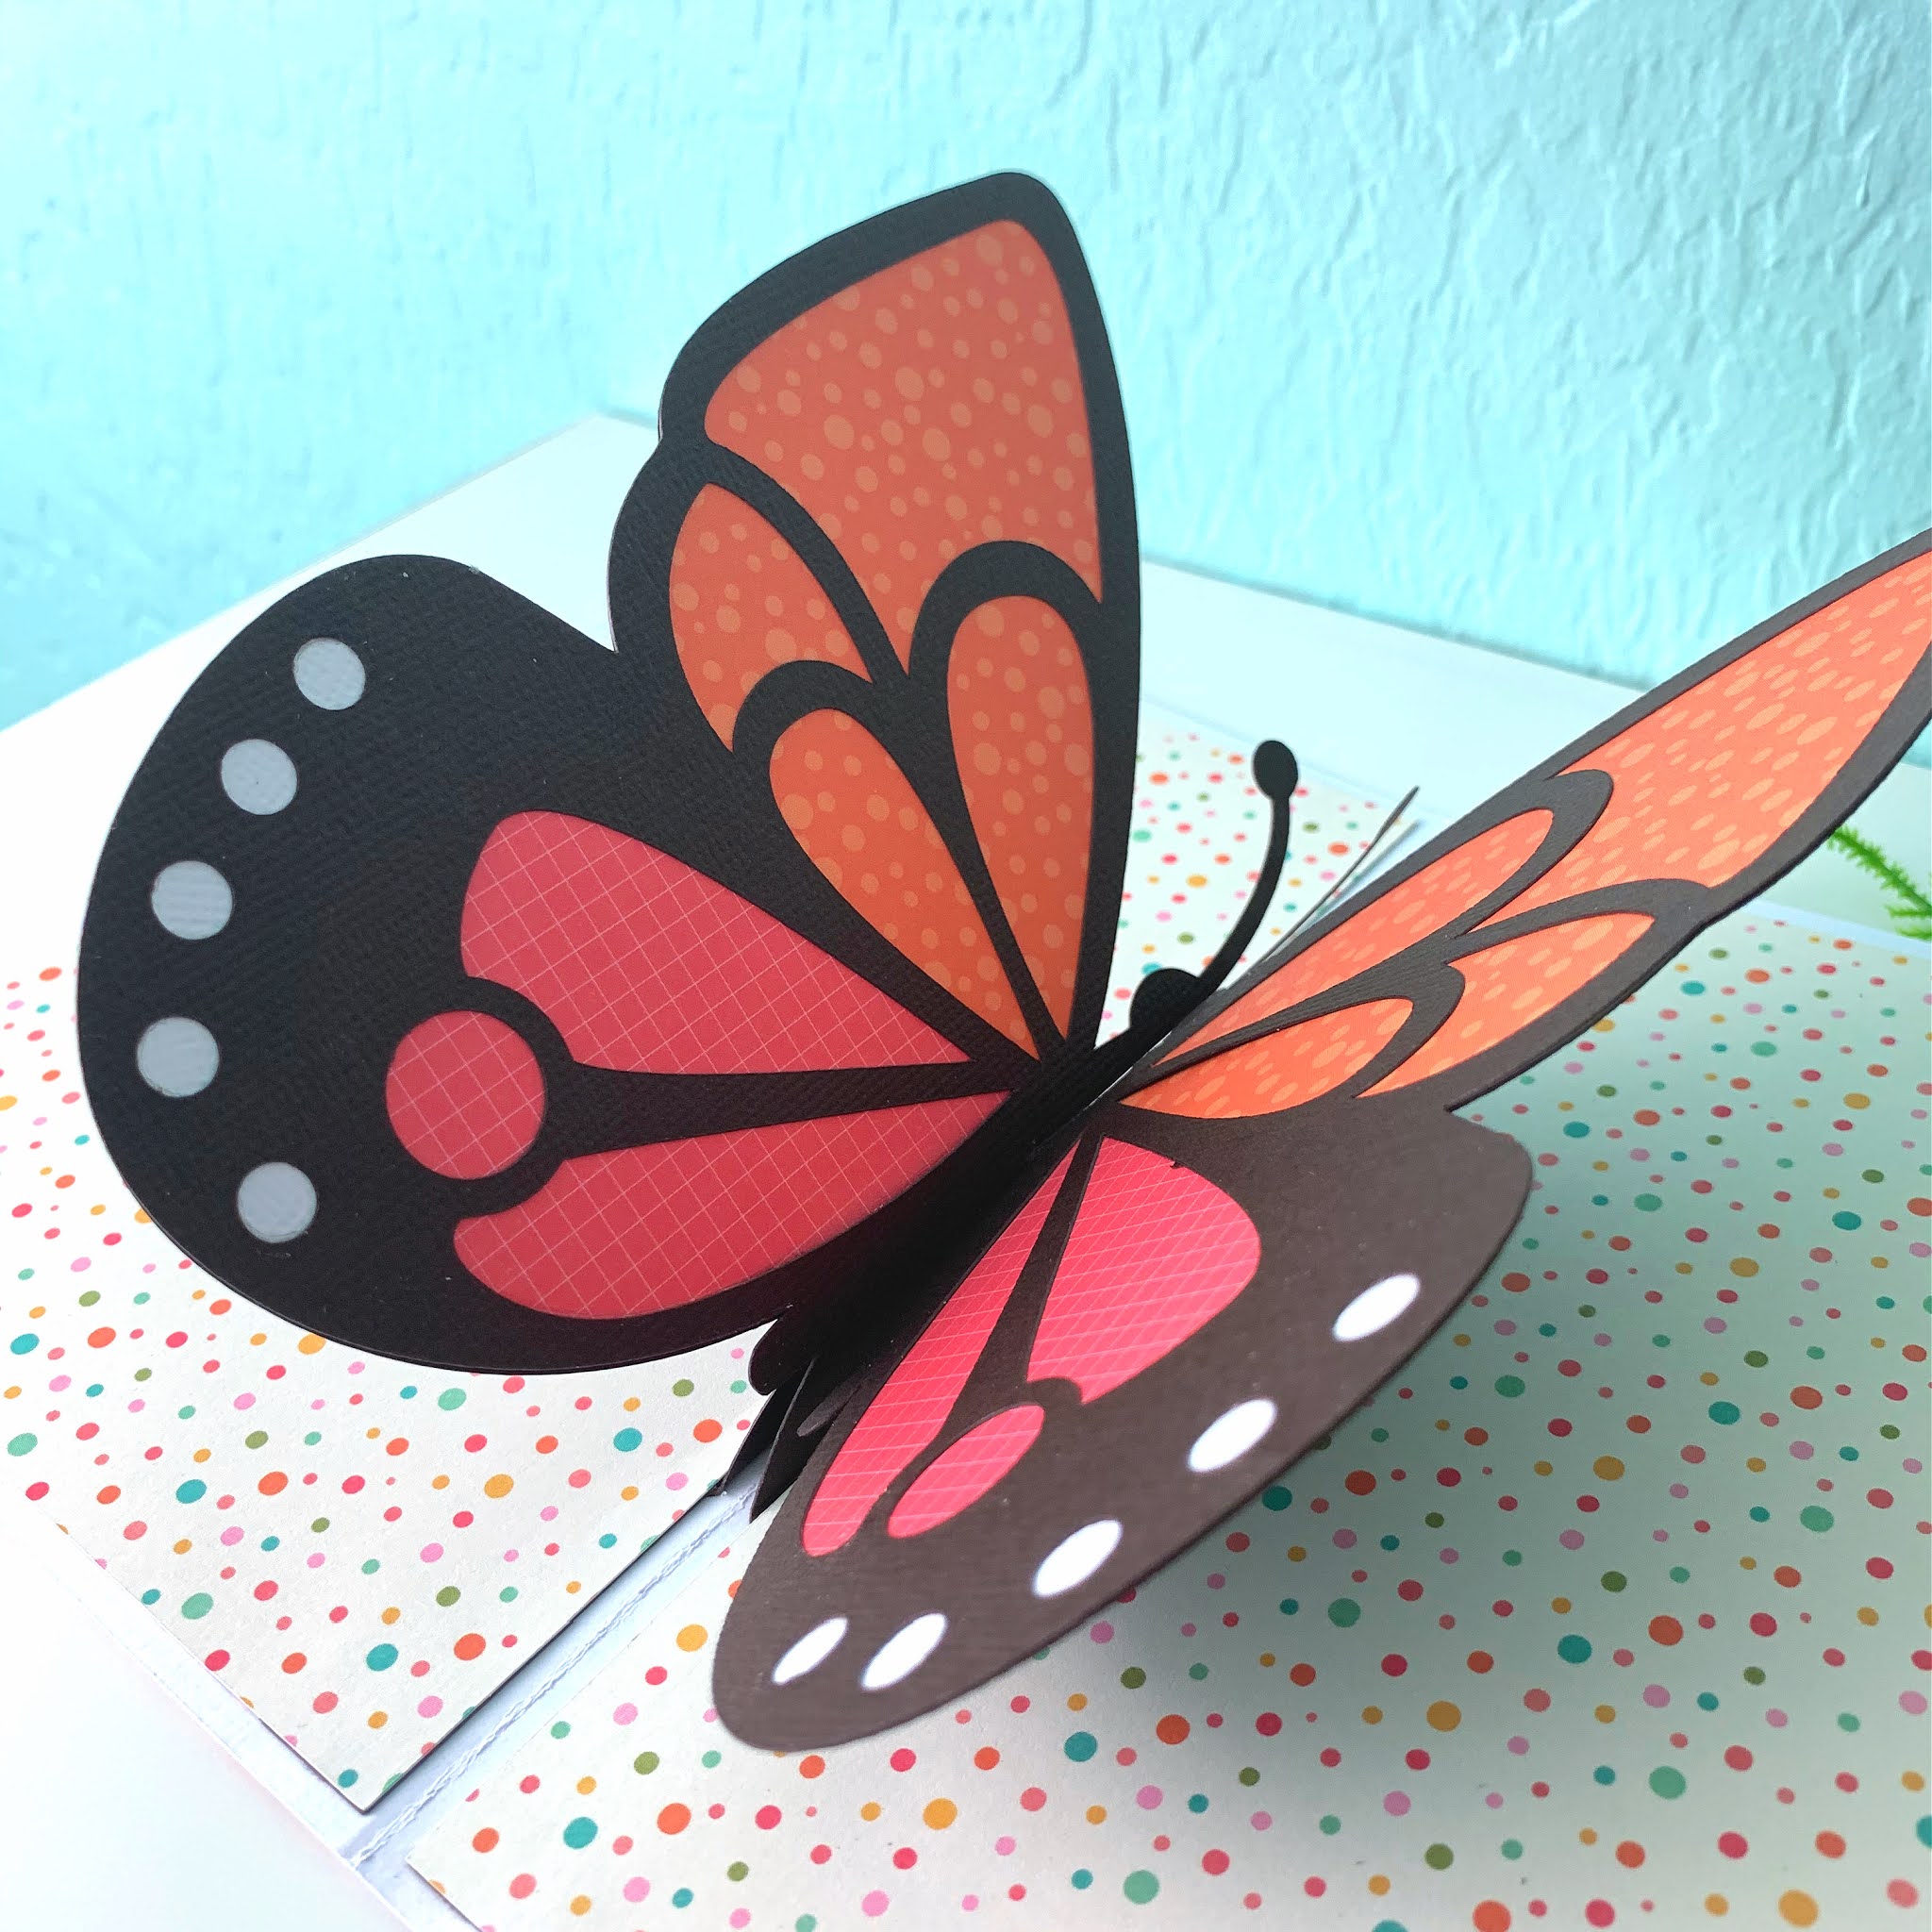
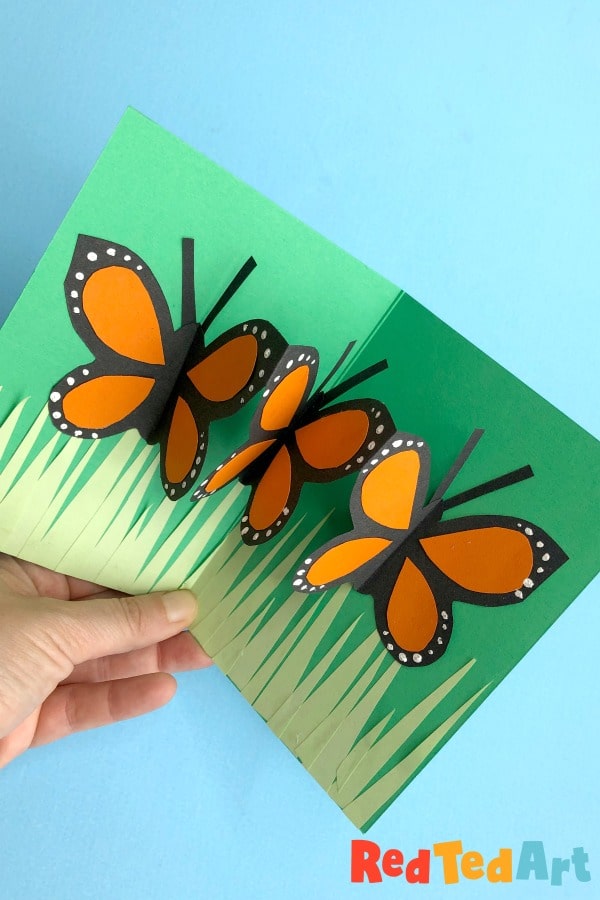
Have you ever received a greeting card that simply took your breath away? Crafting a butterfly pop-up card is a delightful way to combine creativity with a touch of whimsy. These cards are not just ordinary; they flutter to life when opened, leaving the recipient marveling at your artistic skills. Whether you’re planning to surprise a loved one with a heartfelt message or just want to enhance your crafting repertoire, creating a butterfly pop-up card is an enjoyable and rewarding project. Let’s dive into the materials you’ll need to get started on this enchanting card!
Materials Needed

Before we begin crafting, it’s essential to gather all the materials that will make your butterfly pop-up card come to life. Here’s a comprehensive list to help you set up your crafting zone:
- Cardstock: Choose colored or patterned cardstock for the base of your card. You’ll need at least two different colors for contrast.
- Scissors: A good pair of scissors will make cutting out your butterfly and card shapes easy and precise.
- Glue or Double-Sided Tape: These adhesives will hold your components together. Double-sided tape is especially neat for assembly.
- Pencil and Ruler: You'll want to sketch your designs first, ensuring everything is symmetrical and aligned.
- Butterfly Template: You can either draw your own butterfly or find free templates online to trace. Consider different wing shapes for variety!
- Markers or Colored Pencils: Use these to decorate your butterflies or add personal messages inside the card.
- Bones Folder or Creasing Tool: This tool helps create crisp folds on your card for a professional finish.
- Embellishments (Optional): Think glitter, stickers, or sequins for extra sparkle and flair!
Having these materials on hand will set you up for success as you embark on your butterfly pop-up card adventure. Ready to spread your wings and start crafting?
Step-by-Step Instructions

Ready to make your very own butterfly pop-up card? It's easier than you might think! Just follow these simple steps, and you'll be on your way to creating a beautiful card that will wow your friends and family.
- Gather your materials: You'll need cardstock, colored paper, scissors, a craft knife, glue, and markers. You might also want some decorative items like stickers or washi tape.
- Create the base: Start by cutting a piece of cardstock into a rectangle, about 8.5 x 5.5 inches when folded. This will be the card's main body.
- Design the pop-up mechanism: For the butterfly, cut two small slits in the center of the card’s interior (about 2 inches apart). This will create the perfect fold for your butterfly to spring up!
- Make the butterfly: On a separate piece of colored paper, draw and cut out the shape of a butterfly. You can get creative here; feel free to add colorful patterns or even glitter!
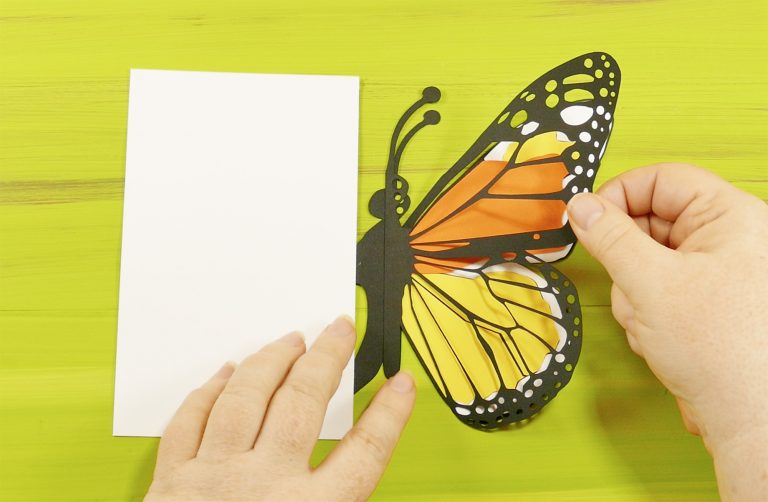
- Attach the butterfly: Fold the body of the butterfly slightly and slide it through the slits you made. Open the card to ensure the wings stand up nicely.
- Add a personal touch: Write a heartfelt message on the inside of the card and decorate the front with your favorite embellishments.
- Final touches: Make sure everything is glued down securely and let the card dry completely before displaying it or giving it as a gift.
And there you have it! You've crafted a stunning butterfly pop-up card that’s sure to bring a smile to anyone's face.
Design Ideas and Customizations

Now that you've got the basic butterfly pop-up card down, let’s talk about how to jazz it up! Adding personal design elements can make your card truly unique and special.
- Color Schemes: Experiment with different color combinations. Use pastel colors for a soft, delicate feel or bright, bold colors for a fun pop.
- Patterns and Textures: Consider using patterned paper for the butterfly, or add texture with materials like fabric or embossed paper.
- Personalization: Include the recipient's name or initials on the front of the card. You could also write a special date or quote inside.
- Layered Butterflies: Try creating multiple butterflies of different sizes. Layer them in the card to create depth and interest.
- Nature Themes: Embellish the card with other nature-inspired elements, like flowers or leaves, to create a beautiful outdoor scene.
- Interactive Elements: Add more pop-up elements or even a small surprise inside the card, like a mini handwritten note or a gift card holder.
Get creative and don't be afraid to mix and match these ideas! The more you personalize your card, the more meaningful it will be for the person receiving it. Enjoy the crafting process!
Tips for Success
Creating a stunning butterfly pop-up card can be a delightful experience, but like anything else, it benefits from a little guidance. Here are some tips to help you craft your card with confidence and finesse:
- Gather Your Materials: Before you dive in, make sure you have everything you need. Basic supplies include cardstock, scissors, a craft knife, glue, and decorative items like markers, stickers, or washi tape.
- Follow a Template: If you're new to crafting or pop-up designs, consider using a template. There are plenty available online that can lead you through the process step by step.
- Be Patient: Crafting can take time, especially if you're trying something new. If your first butterfly doesn’t turn out perfectly, don’t get discouraged! Practice makes perfect.
- Use Quality Materials: High-quality paper and tools can make a big difference in the outcome. Thicker cardstock will hold its shape better and make your card more durable.
- Add Personal Touches: Spice up your card with personal elements! Hand-drawn accents or a heartfelt message can transform your card into a meaningful keepsake.
- Try Different Designs: Don’t feel confined to the traditional butterfly shapes. Experiment with different butterfly styles and colors to find your unique flair!
By keeping these tips in mind, you're setting yourself up for success. Remember, crafting is all about expressing yourself, so have fun with it!
Conclusion
Crafting a butterfly pop-up card is not just about making a beautiful piece of art; it's about infusing your creativity and personal touch into something special. Whether it’s for a birthday, a thank-you note, or just to brighten someone's day, a pop-up card can leave a lasting impression.
Throughout this process, you’ve learned how to bring a flat piece of paper to life, transforming it into a delightful 3D experience! As you develop your skills, remember that every card tells a story and carries a sentiment.
Here’s a quick recap of what you’ve got:
| Step | Description |
|---|---|
| 1 | Design your butterfly. |
| 2 | Prepare your card base. |
| 3 | Create and attach the pop-up mechanism. |
| 4 | Decorate your card. |
Now, gather your materials, let your imagination soar, and start crafting. Soon enough, you’ll have a beautiful butterfly pop-up card that’s sure to bring smiles to those who receive it. Happy crafting!


