Embedding a link into an image is a fantastic way to make your content more interactive and engaging. Whether you're creating a blog post, an online portfolio, or an e-commerce site, clickable images can enhance user experience and drive traffic. In this guide, we'll break down the process of embedding links into images, why you'd want to do it, and some best practices to keep in mind.
Why Embed Links in Images?
So, why should you consider embedding links in your images? Here are a few compelling reasons:
- Enhanced User Engagement: Clickable images can capture a viewer’s attention. Instead of just scrolling past, users are more likely to interact with your content.
- Improved Visual Appeal: Images grab attention. By embedding a link, you seamlessly blend engaging visuals with functional content, making your page more dynamic.
- Driving Traffic: If you’re running a business or promoting content, linking images to relevant pages can guide users to your target resources, resulting in increased traffic and potentially more conversions.
- Better Storytelling: Images can convey complex ideas and emotions quickly. Adding links can provide additional layers of context and information, allowing for a richer narrative experience.
- SEO Benefits: While it’s not the primary reason, embedded links in images can contribute to better search engine optimization. When done correctly, they can help establish relationships between your images and the content they represent.
In addition to these reasons, embedding links in images can also help streamline navigation on your site. Users can easily find related articles, products, or other resources just by clicking on an image. So, whether you're a blogger, a marketer, or a business owner, integrating clickable images should definitely be on your radar!
Also Read This: Mastering Image Movement in GIMP
Step-by-Step Guide to Embedding Links
Embedding a link into an image is easier than you might think! Let’s break it down step by step so you can get your images clickable in no time.
- Choose Your Image: First things first, pick the image you want to use. Whether it’s a dazzling photo or a quirky illustration, make sure it aligns with your content.
- Upload the Image: If you’re working on a blog or a website, upload your image to your media library. Most platforms like WordPress make this super easy!
- Link Selection: Decide where you want the image to lead. It could be another page on your site, a product page, or even an external link.
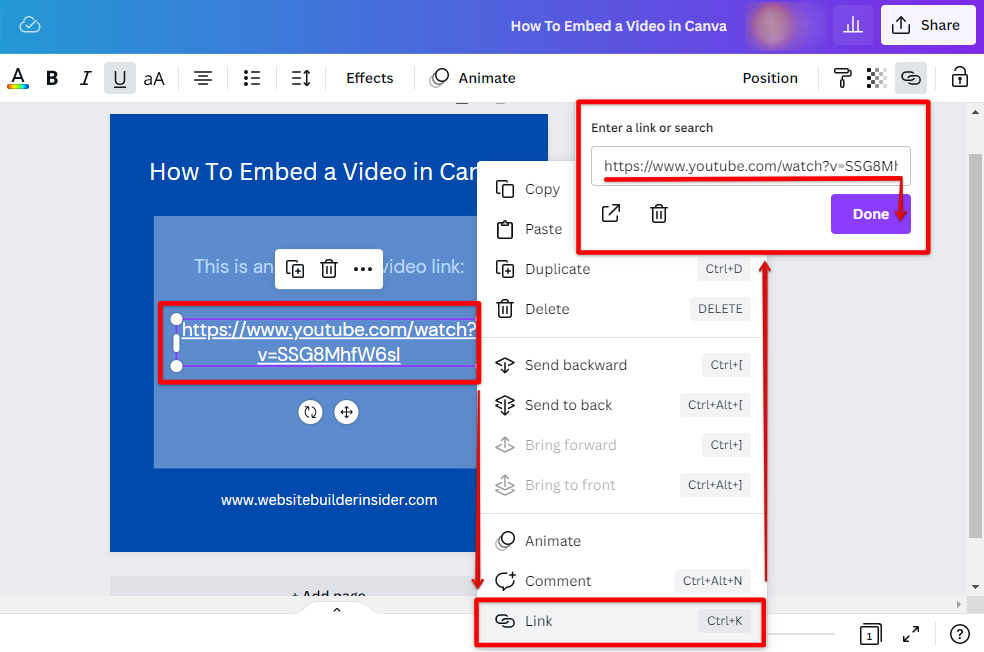
- Embed the Link: Here’s the fun part! In your editor—whether it’s visual or text—select the image and look for a link icon. Click it, and paste the URL you want.
- Set Link Settings: You might also want to set how your link behaves. For instance, do you want it to open in a new tab? If so, be sure to check that option!
- Save and Preview: Finally, save your changes and preview your post or page to make sure everything looks and works as expected. It’s always good to double-check!
And there you have it! In just a few simple steps, you’ve transformed your image into a functional, clickable link. Doesn’t that feel great?
Also Read This: Learn to Make Handmade Rings with Easy Videos on Dailymotion
Methods for Different Platforms
Now that you've got the hang of embedding links into images, let’s explore how to do it on different platforms. Depending on where you're publishing, the steps can vary a bit. Here’s a handy breakdown:
| Platform | Method |
|---|---|
| WordPress | In the WordPress editor, upload your image, click on it, and use the link icon to add your URL. Don’t forget to set it to open in a new tab if desired! |
| Wix | Click on the image, choose "Link," and enter the desired URL. Wix allows you to set link behavior easily right there. |
| Squarespace | In Squarespace, click on the image block and select “Clickthrough URL” to insert your link. Boom, done! |
| HTML/CSS | For those who enjoy coding, you can wrap your image tag in an anchor tag like this: |
No matter your platform of choice, embedding links into images enhances user experience and encourages engagement. So, get out there and start adding those links!
Also Read This: How to Change Layout on Behance Portfolio Mobile Version
Common Issues and Solutions
When embedding a link into an image, several issues may pop up, but don’t worry! Most of these can be easily resolved. Here’s a rundown of common problems you might encounter and how to tackle them:
- Image Not Clicking: Sometimes, the link might not work when the image is clicked. This issue often arises from incorrect HTML syntax. Ensure your code resembles this:
<a href="LINK_HERE"><img src="IMAGE_SOURCE_HERE" alt="ALT_TEXT_HERE"></a>img { width: 100%; height: auto; }<img src="IMAGE_SOURCE_HERE" alt="LINK_DESCRIPTION">By keeping these common issues in mind and knowing how to solve them, you can confidently enhance your web content with clickable images!
Conclusion
Embedding a link into an image is a straightforward yet powerful strategy to enhance user engagement and improve navigation on your website. By following the simple steps outlined above, you can turn any image into a dynamic call to action. Here’s a quick recap:
- Use the correct HTML structure with
<a>and<img>. - Ensure your image source links directly to the file.
- Add alt text for SEO and accessibility.
- Test thoroughly to ensure your links function as intended.
Remember, visual content is king in the online world. By integrating clickable images, you create more interactive experiences for your visitors, drawing them deeper into your content. Whether you’re promoting a product, linking to a blog post, or simply directing traffic to another page, images with embedded links form an essential component of a well-designed website.
So, what are you waiting for? Start embedding links into your images today and watch your engagement soar!

 admin
admin


