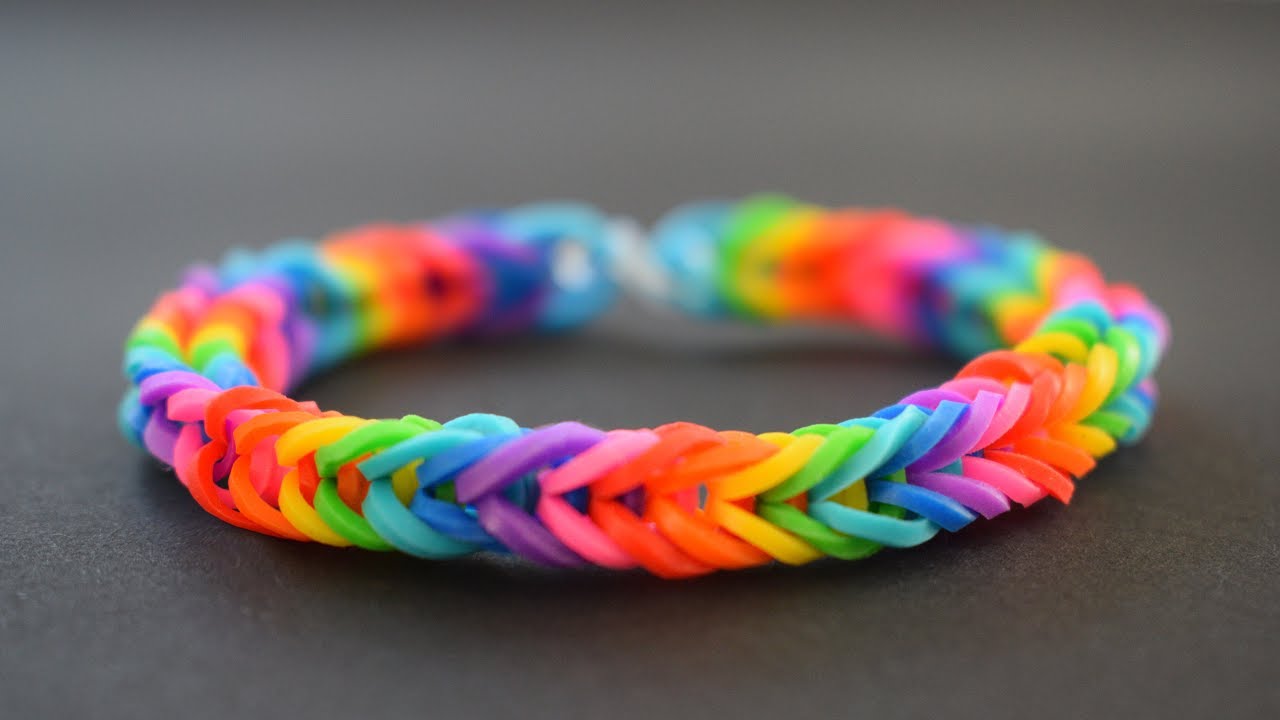
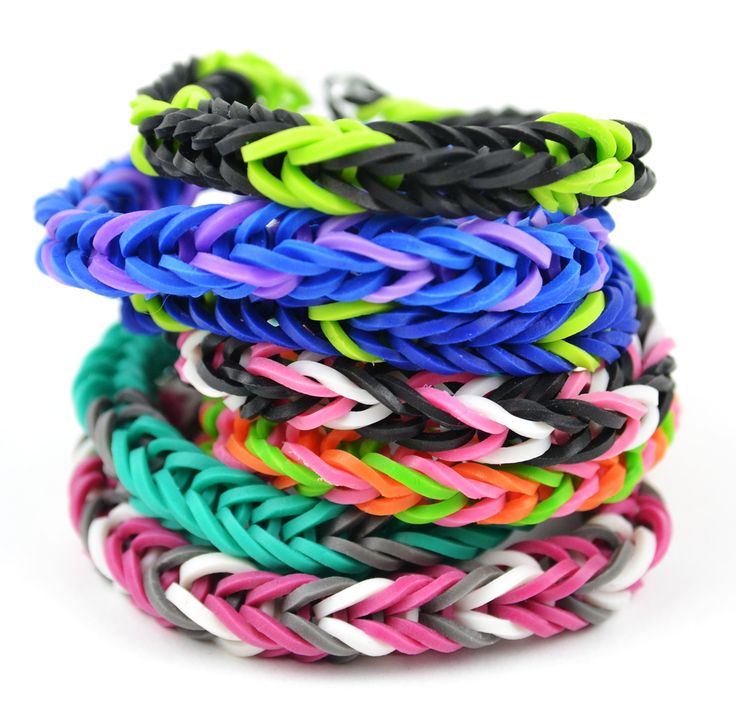
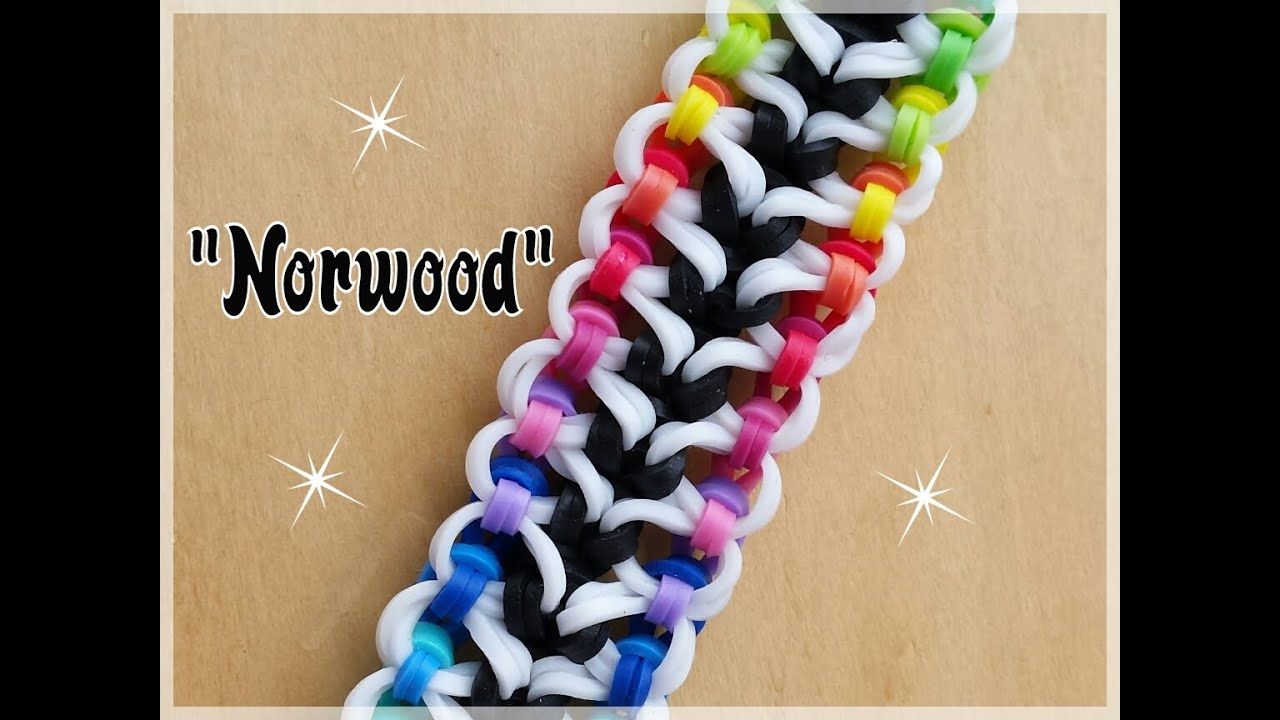
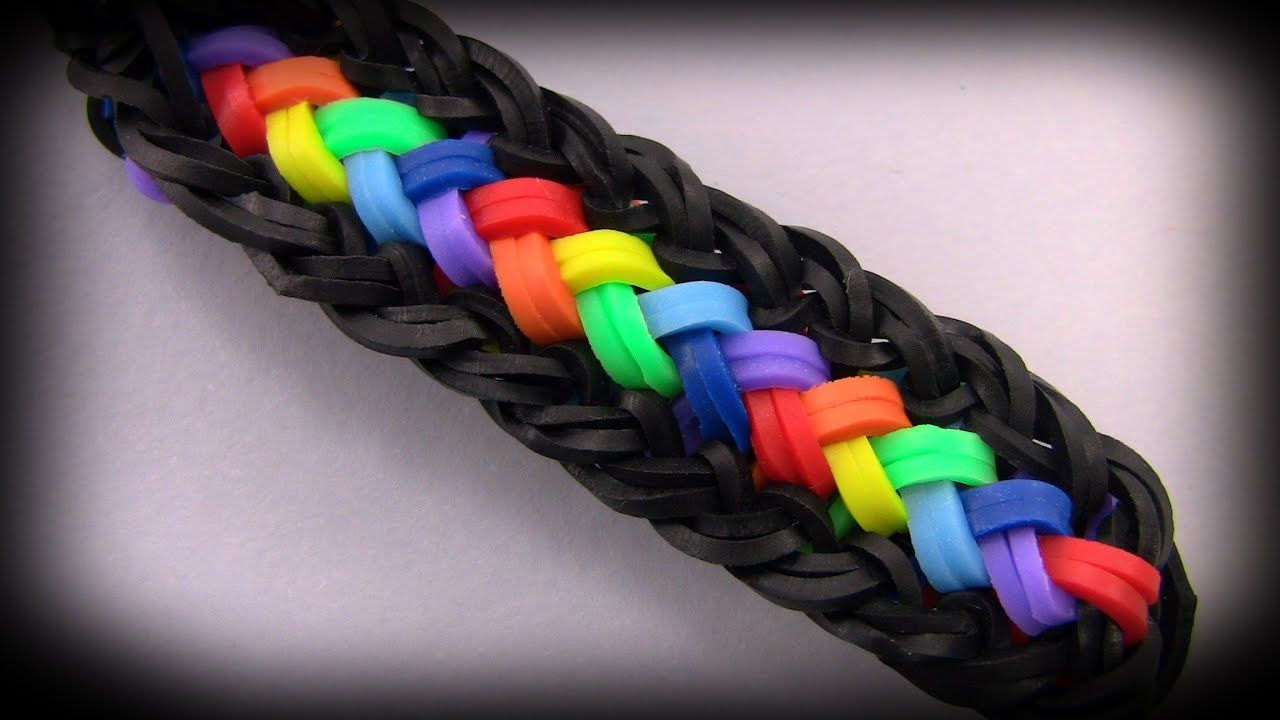
Loom band bracelets have taken the crafting world by storm! These vibrant, stretchy accessories are not just fun to wear; they also offer endless creative possibilities. Whether you're a seasoned crafter or a curious beginner, making loom band bracelets is an enjoyable way to express your creativity. With just a few easy-to-follow tutorials and some basic materials, you'll be on your way to creating stunning pieces that you can wear or gift to friends and family!
Materials Needed for Loom Band Bracelets

Before diving into the fun of creating loom band bracelets, it’s essential to gather all the necessary materials. Here's a simple list of what you'll need:
- Loom Bands: These colorful rubber bands come in various sizes, colors, and styles. Choose a mix to express your individual style!
- Loom Board: This tool is used to hold the bands in place while you weave them together. You can purchase a loom board or use your fingers if you want to keep it casual.
- Hook Tool: A small hook is crucial for picking up and moving the bands. You can find specific loom band hooks or use a crochet hook in a pinch.
- Clips or S-Clips: These little fasteners hold your finished bracelet together. They prevent your creation from falling apart, so it’s essential to have a good supply.
- Scissors: Handy for trimming any excess bands, especially if you’re attaching multiple colors.
- Optional Accessories: Add charms, beads, or decorative items to personalize your bracelets even more!
With these materials, you're ready to start making your very own loom band bracelets! Gather your supplies and let your imagination run wild as you craft beautiful pieces that showcase your unique style.
Getting Started with Loom Looming Techniques

If you're eager to dive into the captivating world of loom band bracelets, understanding the basic looming techniques is your first step! Whether you’re a complete beginner or have dabbled a bit, these techniques will help you create unique and beautiful designs with ease.
To start off, you will need a few fundamental items:
- Loom Board - This is where the magic happens. You can find them in various shapes and sizes, so choose one that fits your preference.
- Loom Bands - These are colorful little bands that you will weave together to create your bracelet.
- Hook Tool - A crucial tool, helping you grasp and maneuver the bands as you work your design.
- Clip or Closure - Essential for sealing your bracelet at the end.
Once you have your materials, it's time to familiarize yourself with some essential techniques:
| Technique | Description |
|---|---|
| Single Chain | One of the simplest designs that create a lovely, classic look. |
| Fishtail | A bit more intricate but offers a gorgeous braided effect. |
| Triple Single | A combination of single chains that creates a thicker, more textured design. |
Once you grasp these techniques, you’ll find endless possibilities to express your creativity! So, let’s get those fingers moving and start looming!
Step-by-Step Tutorials for Easy Loom Band Designs

Now that you've got the basics down, it’s time to roll up those sleeves and jump into some fun tutorials! Here, we'll explore some easy loom band designs that will have you creating fantastic bracelets in no time.
*1. Basic Single Chain Bracelet
- Start by placing a peg from the loom board in a straight line.
- Take one band, stretch it across the first two pegs, then hook it to the next two pegs.
- Repeat the process until you reach your desired length.
- Secure the ends with your clip.
2. Colorful Fishtail Bracelet
- Begin by placing two bands in a "V" shape from the first peg.
- Take the left band and pull it over the center peg, then do the same with the right band.
- Continue alternating sides until you reach the desired length.
- Finish with a clip to hold it all together.
3. 4-Color Twist Bracelet*
- Choose four different colors and start with the first two bands in the twist pattern.
- Add the next pairs of bands in the same order, twisting between them.
- Use the clip at the end for your finishing touch.
With these easy tutorials, you'll quickly become a loom band pro! Just remember, practice makes perfect, and soon you’ll be designing your creations with flair and confidence!
Creative Ideas for Customizing Your Loom Band Bracelets

Customizing your loom band bracelets can be a fun and exciting way to showcase your unique style and creativity. Here are some nifty ideas to get your imagination running wild:
- Color Combinations: Experiment with different color patterns! Use a monochromatic scheme for a sleek look, or go wild with rainbow patterns to show your vibrant personality.
- Charming Additions: Attach charms, beads, or small trinkets to your bracelet. This could be anything from mini flowers to personalized initials that make your bracelet truly yours.
- Layering: Create a stacked look by piling multiple bracelets of varying colors and thicknesses on your wrist. This adds depth and personality to your outfit!
- Seasonal Themes: Change your designs based on the seasons. Bright florals for spring, warm colors for fall, or festive red and green for the holidays can keep your style fresh.
- Textured Designs: Use different techniques, such as fishtail, triple single, or the starburst to add texture and visual interest to your bracelets.
Feel free to combine these ideas or come up with your own! The only limit is your imagination. The more personal touches you add, the more one-of-a-kind your creation will be. So grab your loom bands and let your creativity flow!
Tips and Tricks for Perfecting Your Loom Band Skills
Getting the hang of loom band bracelet making may take a bit of practice, but don't worry! Here are some handy tips and tricks to help you sharpen your skills:
- Start Simple: If you're a beginner, start with basic patterns. Try the single chain or a simple fishtail. Mastering these will build your confidence.
- Watch Tutorials: Online video tutorials can be incredibly helpful. A visual guide can sometimes make complex techniques much easier to grasp.
- Organize Your Bands: Keeping your looms, hooks, and bands organized can save you time and frustration. Consider using small containers or ziplock bags to categorize your colors.
- Be Patient: It can be tempting to rush, but patience is key. If something doesn't seem right, take a moment to unravel and start over rather than force it.
- Practice Regularly: Like any skill, practice makes perfect. The more you create, the better you'll become at recognizing patterns and mastering techniques.
Remember, the goal is to have fun and express yourself through your creations. So, don’t be afraid to make mistakes—they're just stepping stones on your journey to becoming a loom band pro!
7. Where to Find More Tutorials and Inspiration
If you've caught the loom band fever and are itching to explore more beyond the basics, you're in luck! The internet is brimming with fantastic resources just waiting for you to discover them. Whether you're a visual learner or prefer reading step-by-step guides, there's something for everyone!
Here are some top places to find more tutorials and inspiration:
- YouTube: This platform is a goldmine for loom band tutorials. Channels dedicated to crafting often offer videos ranging from beginner to advanced techniques. You can pause, rewind, and learn at your own pace, which is perfect if you're trying something new.
- Pinterest: If you haven't explored Pinterest yet, you’re missing out! Just search for "loom band tutorials," and you'll be greeted with a colorful array of images and links to various projects. It's a great way to visualize what you want to create.
- Craft Blogs: Many craft enthusiasts share their passion on personal blogs. A quick Google search can lead you to detailed step-by-step instructions, tips, and even unique patterns that you won't find anywhere else.
- Facebook and Instagram Groups: Social media is a fantastic way to connect with fellow loomers. Join groups or follow hashtags like #loombands to see what others are creating and to share your own projects.
With these resources at your fingertips, the possibilities are endless. So grab your loom, dive into these tutorials, and let your creativity shine!
8. Conclusion: Enjoying the Art of Looming
As we wrap up this dive into the colorful world of loom bands, it's clear that looming is more than just a craft; it’s a delightful journey that combines creativity, patience, and a sprinkle of magic. When you make these vibrant bracelets by hand, you're not just following a trend; you're engaging in a therapeutic process that can be both calming and rewarding.
Here are a few reasons why the art of looming is worth embracing:
- Creative Expression: Each bracelet you create can reflect your personal style. Experiment with colors, patterns, and even custom designs.
- Bonding Activity: Looming can be a great way to spend time with friends or family. Host a loom band party and watch as everyone channels their inner artist!
- Skill Development: As you practice, you’ll find yourself improving, learning new techniques, and perhaps even inventing your own unique patterns.
- Gift-Making: Handmade items are always treasured. Share your creations with friends and family; they make thoughtful, personalized gifts!
So grab your loom, let your imagination run wild, and most importantly—have fun! The art of looming is all about enjoying the process, creating lasting memories, and wearing your creativity with pride!


