Are you looking to spice up your conversations on iMessage? Sending images can be a great way to add a personal touch or share memorable moments with friends and family. Whether it’s a funny meme, a beautiful landscape, or a candid shot from your day, we’re here to guide you through the ins and outs of adding images to your iMessage chats. In this post, we’ll explore a straightforward step-by-step approach to help you seamlessly share photos with just a few taps on your screen.
Step-by-Step Guide to Adding Images

Adding images to iMessage is simple, and with these steps, you'll be sending photos in no time!
- Open the Messages App:
Start by tapping the Messages app icon on your iPhone. It's usually found on your home screen and looks like a green icon with a white speech bubble.
- Select a Conversation:
Either choose an existing conversation or start a new one by tapping the pencil icon in the top right corner to create a new message. Select the contact you want to message.
- Tap the Image Picker:
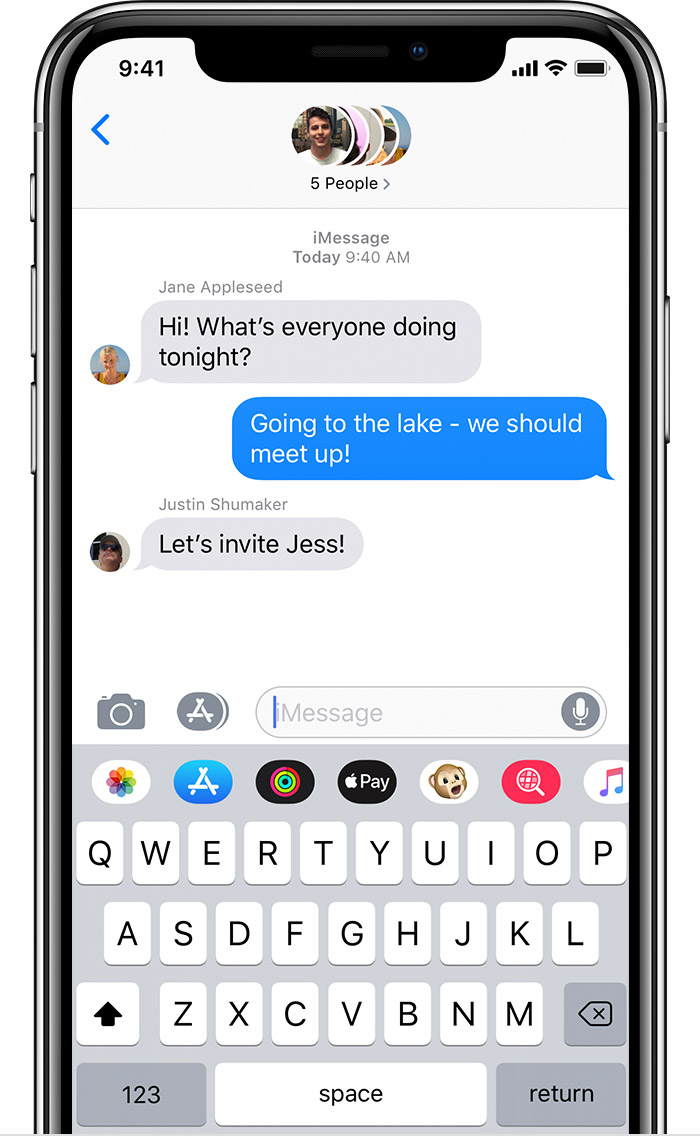
In the message typing area, look for the little camera icon or the Photos app icon next to the text box. Tap on it to get access to your images.
- Select Your Photo:
This will open your photo library. Scroll through your images and tap on the one you want to send. You can also use the search feature if you're looking for something specific.
- Editing Options:
Before hitting send, you can add a caption or use image editing tools. Here are some options available:
- Draw: Add some doodles or annotations.
- Text: Add some witty remarks or comments.
- Hit Send:
Once you're satisfied with your selection and any edits, just tap the blue send button, and voila! Your image is on its way.
And there you have it! You've successfully added an image to your iMessage, making your conversations even more vibrant and enjoyable.
Also Read This: How to Upload a Video on YouTube Fast
Using the Camera to Capture and Send Images

If you want to share a moment instantly, using the camera within iMessage is a fantastic option. You can capture a photo and send it within seconds—no need to navigate through your photo library. Here’s how to do it:
- Open iMessage: Launch the Messages app on your iPhone or iPad.
- Select Your Recipient: Choose the contact you want to send the photo to. You can do this by tapping on an existing conversation or starting a new one.
- Access the Camera: Look for the camera icon (usually located next to the message input field). Tap on it.
- Capture the Photo: The camera interface will open. Frame your shot and tap the shutter button to take the photo. If you want to take a video, just hold the shutter button down.
- Send the Image: After capturing, if you like what you see, tap on the send button (the blue arrow) to deliver the photo. If not, hit the 'X' to discard it.
And that’s it! Now your friend will receive an immediate snapshot of your experience.
Also Read This: Arranging Projects in Behance for Maximum Impact
Accessing Your Photo Library

Sometimes, you may want to share a photo that you've already captured and stored in your Photo Library. This is just as easy and allows you to select your favorite memories. Here’s how to access your Photo Library within iMessage:
- Launch iMessage: Open the Messages app and select a conversation with the person you want to share your images with.
- Locate the Photo Icon: Tap on the camera icon next to the message input area, but this time opt for the photo library option that appears.
- Navigate Your Photos: Your Photo Library will pop up. From here, you can scroll through your albums or recent photos to find what you wish to share.
- Select Your Photo: Once you find the right image, tap on it. You can select multiple photos if you wish.
- Send It Off: After choosing the photos, tap the send button (the blue arrow) to share them instantly!
By accessing your Photo Library, you have the freedom to curate the perfect images to send, ensuring they capture exactly what you want to share.
Also Read This: How to Successfully Sell Your Photographs on iStock
Sending Images from Other Apps

Sending images from other apps through iMessage can add a whole new layer of fun and functionality to your conversations. Whether you're sharing a stunning sunset photo from your favorite photography app or a meme that made you laugh from your meme library, it’s super easy! Here’s how to do it:
- Choose Your Image: Begin by opening the app where your desired image is located. This could be your gallery, a social media app like Instagram or Facebook, or even a cloud storage service like Google Drive.
- Find and Select the Image: Scroll through your images and select the one you want to share. If you're using a gallery or photo app, you might need to tap on the image to open it up first.
- Copy the Image: Look for the share icon, which usually looks like an upward arrow or three dots. Tap on it and select “Copy” or “Share” depending on the app.
- Open iMessage: Now, switch over to your iMessage app. Start a new chat or navigate to an existing one.
- Paste the Image: In the text input area, you can either long-press and tap “Paste” to insert the image or just tap the share button from the other app and choose iMessage directly if available.
- Send It Off: Once you’ve pasted the image, hit send! Your friend will get the image in just a moment.
And just like that, you can effortlessly share amazing visuals from any app! It’s a quick and easy way to brighten up your conversations.
Also Read This: how to rotate an image in google docs
Tips for Optimal Image Sending
We all love sharing images, but sometimes things don’t go as planned. Ever had a photo get blurry or take ages to send? Let’s dive into some practical tips to ensure your image sending is a smooth experience.
| Tip | Description |
|---|---|
| Use Good Quality Images | High-resolution images look better when shared. Ensure you’re picking images that are clear and crisp! |
| Compress If Necessary | If you’re sharing large files, consider compressing them first to reduce upload time and increase chances of successful delivery. |
| Check Your Internet Connection | A good internet connection is key. Make sure you're connected to Wi-Fi or have a strong cellular signal. |
| Avoid Sending Multiple Images at Once | Sending too many images in one go can overload the recipient's app or slow down the sending process. Share them in batches! |
| Use the Right Format | JPEGs and PNGs are safe formats for sharing images. Avoid uncommon formats that could confuse the receiver’s device. |
By following these tips, you can ensure that your images come through looking their best and that your conversations remain engaging. Happy messaging!
How to Add Images to iMessage
iMessage is a powerful messaging platform available on Apple devices that allows users to send texts, videos, stickers, and, of course, images. Adding images to your iMessage conversations can enhance the communication experience and make conversations more engaging. Here’s how you can easily add images to iMessage on your iPhone or iPad.
Follow these simple steps to send images via iMessage:
- Open iMessage: Launch the iMessage app from your home screen.
- Select a Conversation: Tap on an existing conversation or start a new one by selecting the recipient.
- Tap the Camera Icon: In the text input field, locate and tap the camera icon. This will allow you to take a new photo or choose an existing image.
If you choose to send an existing image, follow these steps:
- Choose the image: Tap on the “Photos” app icon in the bottom left corner (if enabled), or select “Photo Library” after tapping the camera icon.
- Select an Image: Browse through your photo library and tap on the image you want to send.
- Send the Image: Once selected, tap the blue send button (an upward arrow) to deliver your image.
Additionally, you can use the following tips to enhance your image sending experience:
| Tip | Description |
|---|---|
| Use GIFs: | Send animated GIFs for a fun twist in your conversations. |
| Add Captions: | Include a text caption with your image by typing a message before sending. |
In conclusion, adding images to iMessage is a straightforward process that can significantly enhance your messaging experience, allowing for richer communication and expression.
 admin
admin


