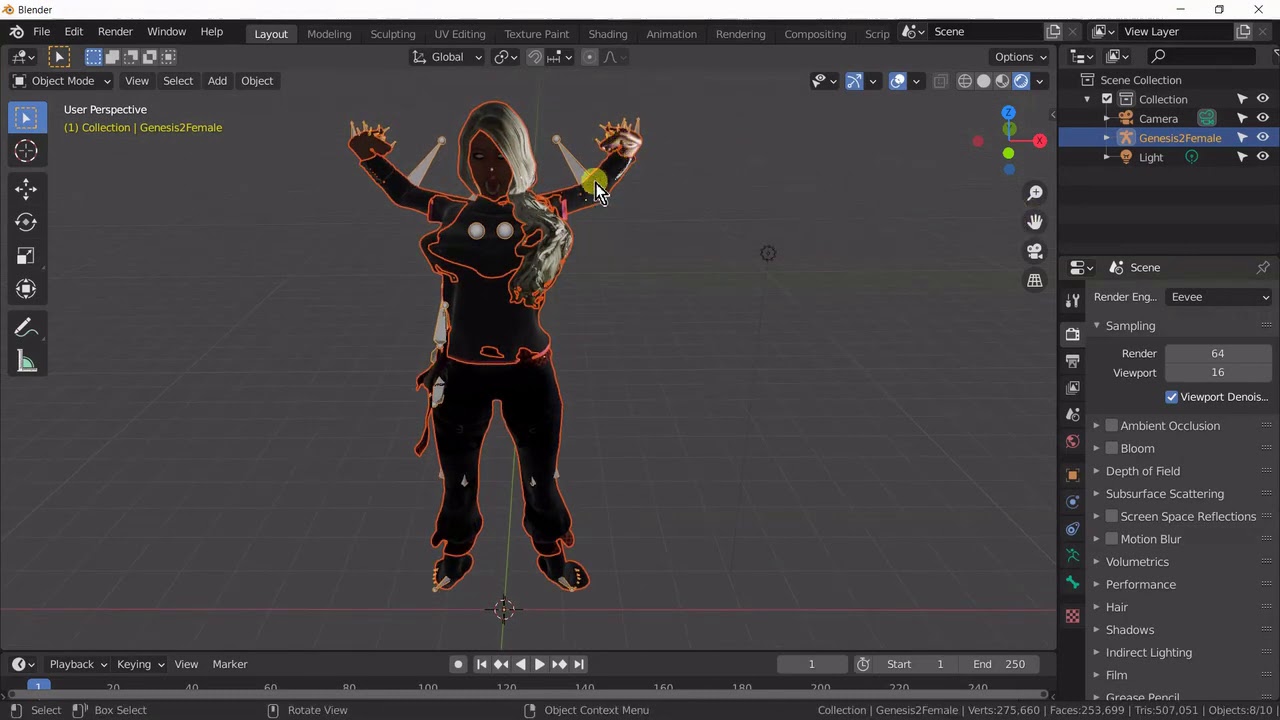
Blender is an incredibly versatile tool for 3D modeling, animation, and rendering. One of its powerful features is the ability to import images, which can be used as textures, references, or backgrounds in your projects. This feature allows artists and designers to bring their creative visions to life by incorporating real-world images directly into their 3D environments. In this blog post, we’ll explore how easy it is to import images into Blender and also discuss the various image formats that Blender supports, ensuring you have all the tools and knowledge you need to elevate your projects.
Supported Image Formats

When it comes to importing images into Blender, you'll be pleased to know that it supports a variety of formats. Each format has its own advantages, depending on what you're aiming for in your project. Let’s dive into some of the most commonly used formats:
- PNG: A popular choice due to its lossless compression, making it perfect for images that require transparency.
- JPEG: Ideal for photographs and colorful images. This format uses lossy compression, which helps in reducing file size but may compromise quality slightly.
- TIFF: Known for high-quality images, TIFF files are often used in professional settings, especially for detailed artwork.
- BMP: Though not as common as other formats, BMP is uncompressed and retains rich detail, but can lead to larger files.
- OpenEXR: This format is great for high dynamic range imaging, often used in visual effects and compositing.
- GIF: Though primarily known for animations, GIFs can also be imported as static images if desired.
By understanding these supported formats, you can easily choose the right one for your specific needs in Blender. Whether you want high-quality textures or simple reference images, knowing the ins and outs of these formats can save you time and enhance your project outcome.
Preparing Your Images for Import

When it comes to importing images into Blender, preparation is key. Properly preparing your images ensures a smoother import process and helps you achieve the best results in your 3D projects. Let's dive into some essential steps to get your images ready:
- Choose the Right Format: Blender supports several image formats, but using .PNG or .JPEG is ideal. These formats strike a good balance between quality and file size.
- Image Resolution: High-resolution images can provide better details, but they also require more memory. Aim for a resolution that is appropriate for your project, balancing quality with performance.
- Color Space: Make sure your images are in the correct color space. For 3D rendering, RGB is typically preferred. If your images come in different color spaces (like CMYK), consider converting them to RGB using software like Photoshop.
- Background Transparency: If you’re working with logos or assets that need transparent backgrounds, ensure your images are saved with an alpha channel. This will help in preserving transparency when importing into Blender.
- Naming Conventions: Use clear and consistent naming conventions for your files. This will not only help you locate files easily but also keep your Blender project organized, especially when dealing with multiple images.
By following these preparation steps, you'll set yourself up for a smooth importing experience in Blender!
Step-by-Step Guide to Importing Images

Now that your images are prepped and ready, let’s go through a straightforward step-by-step guide to import them into Blender. This will help even beginners to navigate through the process easily.
- Open Blender: Launch Blender and create a new project or open an existing one where you want to import the image.
- Select the Right Context: Depending on your needs, switch to the suitable workspace in Blender (like the 3D viewport) where you want to add your image.
- Access the Import Menu: Go to the top left corner, click on File, then navigate to Import. Here, you’ll find various file formats you can choose from.
- Pick Image as Planes: If you're importing 2D images, opt for Images > Images as Planes. This option automatically creates a plane with your image mapped on it.
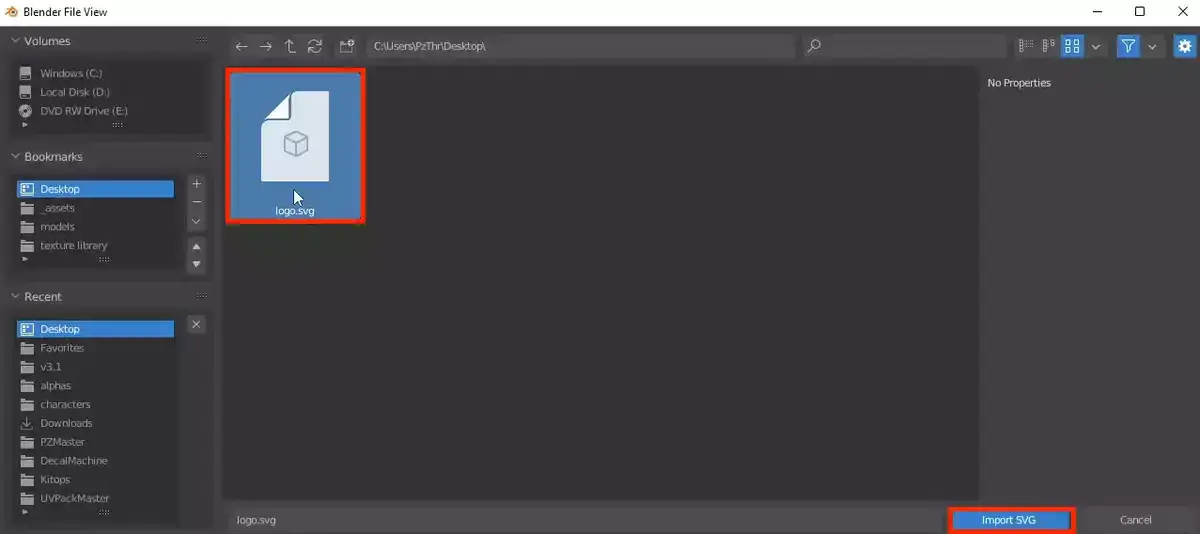
- Locate Your File: A file browser window will pop up. Navigate to the directory where your prepared images are stored, select the image you wish to import, and click Import Images as Planes.
- Adjust Settings: Before finalizing the import, you can tweak various settings in the sidebar, like scaling and material options, to suit your needs.
- Finalize Import: After you’re satisfied with the adjustments, confirm the import. Your image will now appear in your 3D workspace!
And that's it! You've successfully imported your image into Blender. As you get comfortable with these steps, you’ll be able to focus on creating and rendering stunning 3D visuals in no time!
Using Images as Textures
One of the most exciting features in Blender is the ability to use images as textures to bring life to your 3D models. Whether you're building a character, an environment, or any object, textures can add that much-needed detail and realism. Let’s break down how to use images as textures easily.
First off, you’ll want to make sure you have your image ready. It can be anything from a simple color pattern to a high-resolution photograph. Once you have that sorted, follow these steps:
- *Select the Object: Click on the object you want to texture in the 3D viewport.
- Open the Material Properties: Go to the Properties panel and locate the Material Properties tab (the sphere icon).
- Create a New Material: Click on the “+ New” button to create a new material. This is where you’ll apply your image texture.
- Add an Image Texture: Scroll down and find the “Base Color” option. Click on the dot next to it, then choose “Image Texture.” Now, you can load your image.
- Load Your Image*: After selecting "Image Texture," hit the “Open” button and locate your image file. Select it and hit “Open Image”!
And voilà! Your image should now be applied to your 3D object. You can tweak the settings in the same Material Properties panel to adjust how the texture looks, such as its scale and orientation.
Remember, experimentation is key! Feel free to play around with other options like bump maps, specular maps, or even mixing images for more dynamic textures.
Troubleshooting Common Issues During Import
Sometimes, importing images into Blender can be a bit tricky. Don't sweat it! Many commonly encountered issues can be resolved with a little know-how. Here’s a rundown of some typical problems and their solutions:
| Common Issue | Possible Solution |
|---|---|
| Image Not Showing | Make sure the image is loaded correctly and check that the correct UV map is selected. |
| Texture Appears Blurry | Try increasing the resolution of your image or adjust filtering settings in the Texture Properties. |
| Image Loss After Saving | Ensure your file paths are relative. When saving, use “Save As” to embed images into your Blender file. |
| Wrong Size or Orientation | Adjust the UV mapping of your object to fit the scale and orientation of your texture. |
If you encounter any other issues, don’t hesitate to check the Blender community forums or the official documentation. The chances are high that someone has faced the same challenge and found a solution! With a bit of patience, you’ll be importing images like a pro in no time.
Conclusion and Best Practices
In conclusion, importing images into Blender is a straightforward process that can significantly enhance your projects. By following the above steps and utilizing best practices, you can ensure a seamless workflow in your 3D modeling and animation tasks.
Here are some best practices to keep in mind when importing images into Blender:
- Use Appropriate File Formats: Stick to common image formats like PNG, JPEG, or TIFF for compatibility.
- Organize Your Assets: Maintain a clear folder structure for images to prevent confusion and make it easier to locate files.
- Optimize Image Resolution: Ensure that the image resolution is appropriate for your project to enhance performance and render times.
- Check Lighting and Textures: After importing, adjust lighting and material settings to achieve the desired visual effect.
- Utilize UV Mapping: If applying images as textures, ensure proper UV mapping for accurate placement on 3D models.
By implementing these best practices, you can make the most out of Blender's capabilities, resulting in stunning visual outputs and efficient project management.


