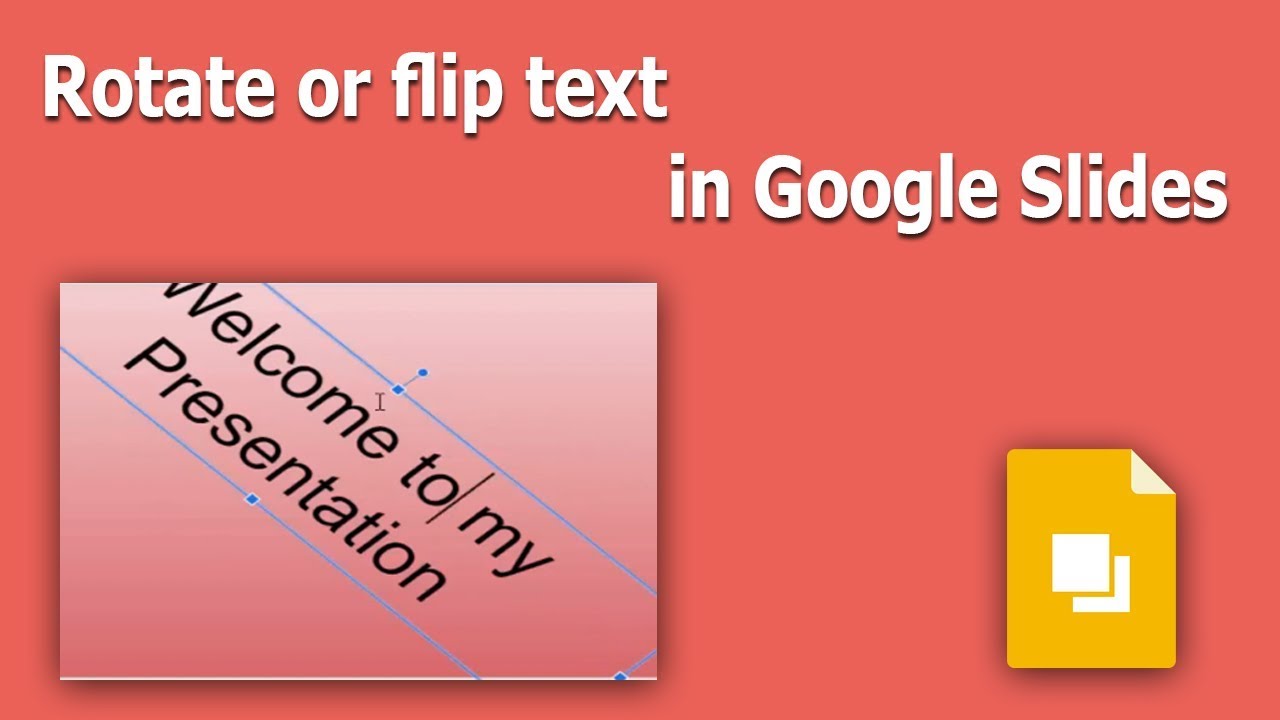
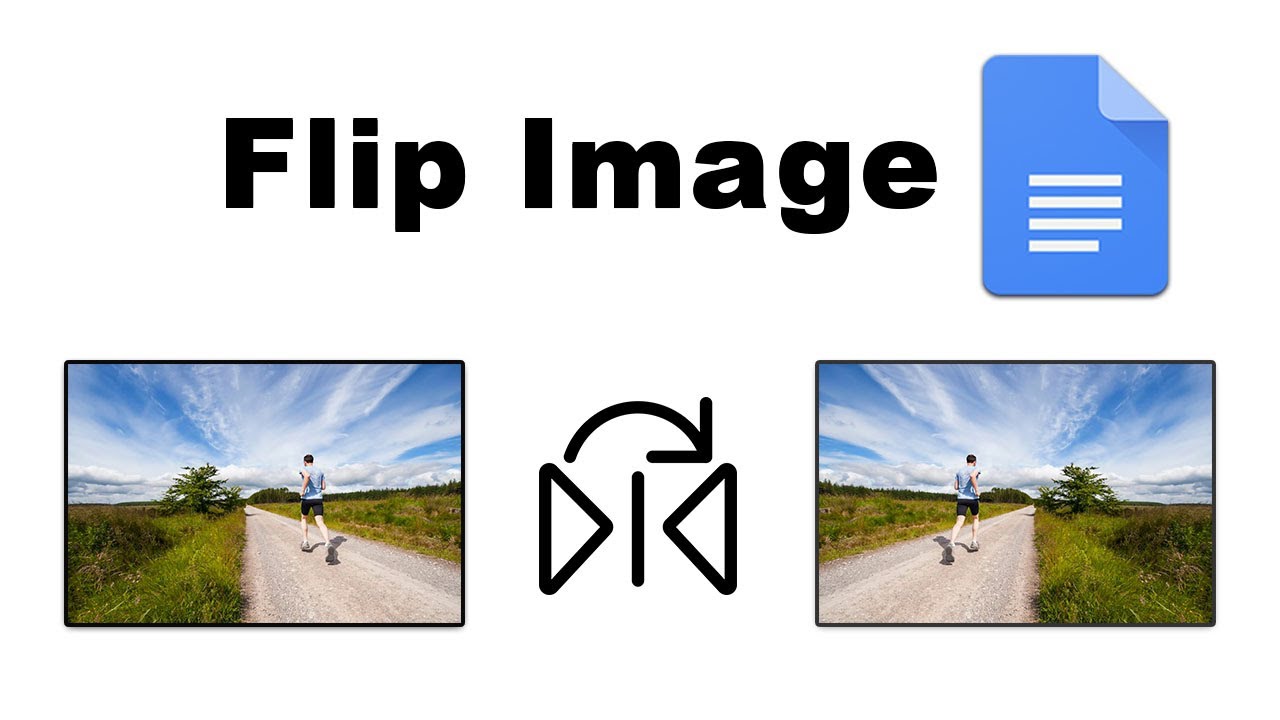
Have you ever wanted to flip or invert an image in Google Slides? Maybe you’re working on a presentation and need to create a dramatic effect or perhaps flip an image to match a specific layout. In this guide, we’ll walk you step-by-step through the process of inverting an
Step-by-Step Guide to Invert an Image

Inverting an image can be a great design trick to create contrast or highlight specific elements of your presentation. Here’s how you can do it in just a few simple steps:
- Open Google Slides: Start by opening the Google Slides presentation where your image is located. You can do this by navigating to Google Slides and selecting your presentation.
- Select the Image: Click on the image you wish to invert. If you haven’t added the image yet, you can insert it by going to the top menu, selecting Insert, and then Image to upload your desired photo.
- Access the Format Options: Once your image is selected, you’ll notice a panel on the right side of your screen. If it’s not visible, click on Format options in the toolbar at the top.
- Apply the Invert Effect: Under the Adjustments section, you’ll see various settings including brightness and contrast. To achieve the inversion effect, locate the Color option. Click on it and select Invert or adjust the settings manually to create the desired look.
- Fine-tune Your Image: After inverting, you might want to revise other settings such as brightness or contrast to perfect your image. Tweak these until you’re satisfied with the result.
- Save and Present: Once you’re happy with how your image looks, simply save your presentation. Now you’re all set to impress your audience with your inverted image!
By following these straightforward steps, you can easily invert images in Google Slides, giving your presentations a unique flair that captures attention. Happy presenting!
Also Read This: Embroidering Images for Unique DIY Projects
Using Google Slides Tools for Image Editing

Editing images in Google Slides can unfold a world of creativity right in your presentation. Although you might think of Google Slides primarily as a platform for creating slideshows, its image-editing capabilities are quite robust. So, how do we get started with using these tools to invert an image? Let’s break it down!
Firstly, you can easily insert an image into your slide by navigating to the “Insert” menu, selecting “Image”, and then choosing where to upload your
- Format Options: Click on your image, then select “Format options” from the toolbar. This opens up a menu where you can play around with various settings.
- Adjustments: Under “Adjustments,” you can make changes to brightness, contrast, and even add an outline.
- Recolor Tool: For inverting an image, go to the “Recolor” option. There, you can explore different color filters, including a fun option that might achieve a monochrome effect.
Remember, while Google Slides doesn’t have a direct “Invert” button, these tools can give you a similar outcome. Experimenting with these features not only allows you to customize your images but can also help them stand out on your slides!
Also Read This: What Does the Glove Mean on Rumble App? Let’s Uncover
Alternative Methods for Inverting Images
If you find that the native tools in Google Slides aren’t cutting it for inverting images, don’t worry! There are several alternative methods you can explore. Sometimes, it's easier to perform the task using different software or online tools before bringing the edited image back into your presentation. Here are some effective alternatives:
- Image Editing Software: Programs like Adobe Photoshop or GIMP allow you to easily invert images. Simply open your image, use the “Invert Colors” function, save it, and then upload it to Slides.
- Online Image Editors: Websites such as Photopea or Pixlr can achieve similar results without needing to download software. You can upload your image, find the “Invert” filter, and save the edited file.
- Mobile Apps: If you're on-the-go, apps like Snapseed or PicsArt can quickly invert images on your smartphone. After editing, simply upload the image back into Google Slides.
Going this route can give you a more polished or complex effect, allowing for a more professional presentation. So don’t shy away from innovating a little outside of Google Slides itself!
Also Read This: How to Change Dress Color in Photoshop 7.0
Troubleshooting Common Issues
Sometimes when you're working with Google Slides, things don’t go as smoothly as you'd hope. If you find yourself struggling to invert an image, don't worry! Let’s go through some common issues you might encounter and how to resolve them.
- Image Not Inverting: If the image isn’t inverting when you select the option, ensure that it’s not a grouped object. Right-click on the image and select "Ungroup" first, then try again.
- Image Quality Degradation: In some cases, images may lose quality after inversion. To prevent this, always maintain a backup of the original image. If you notice pixelation, consider starting over with a higher-resolution image.
- Browser Compatibility: Occasionally, the browser you’re using can cause functionality problems. If you're experiencing issues, try switching to another browser like Chrome or Firefox. Clearing your browser's cache may also help.
- Image Types and Formats: Make sure the image you’re trying to invert is in a supported format (like JPEG or PNG). Some formats may not support inversion, so it’s good to stick with common file types.
- Account Permissions: If you’re collaborating on Google Slides and someone else has restricted your access, make sure you have the necessary permissions to edit the image.
If you encounter problems that aren’t listed above, consider reaching out to Google Support or checking out their official forums for additional help. Sometimes, a fresh perspective or a simple update can make all the difference!
Conclusion
Inverting an image in Google Slides might seem like a small detail, but it can significantly enhance your presentation's visual appeal and help convey your message more effectively. Whether you're looking to create a striking design or simply want to emphasize specific elements in your slides, the inverted image technique is a handy tool in your design arsenal.
As we've discussed, the process is quite straightforward, but it’s also good to be aware of potential hiccups that may arise. Troubleshooting common issues can save you from frustration down the line. Remember, with a little practice, you'll not only be able to invert images like a pro but also explore other creative ways to manipulate visuals in Google Slides.
If you haven't already, dive in and try inverting some images today! With these tips under your belt, you should feel more empowered to make your presentations shine.
 admin
admin


