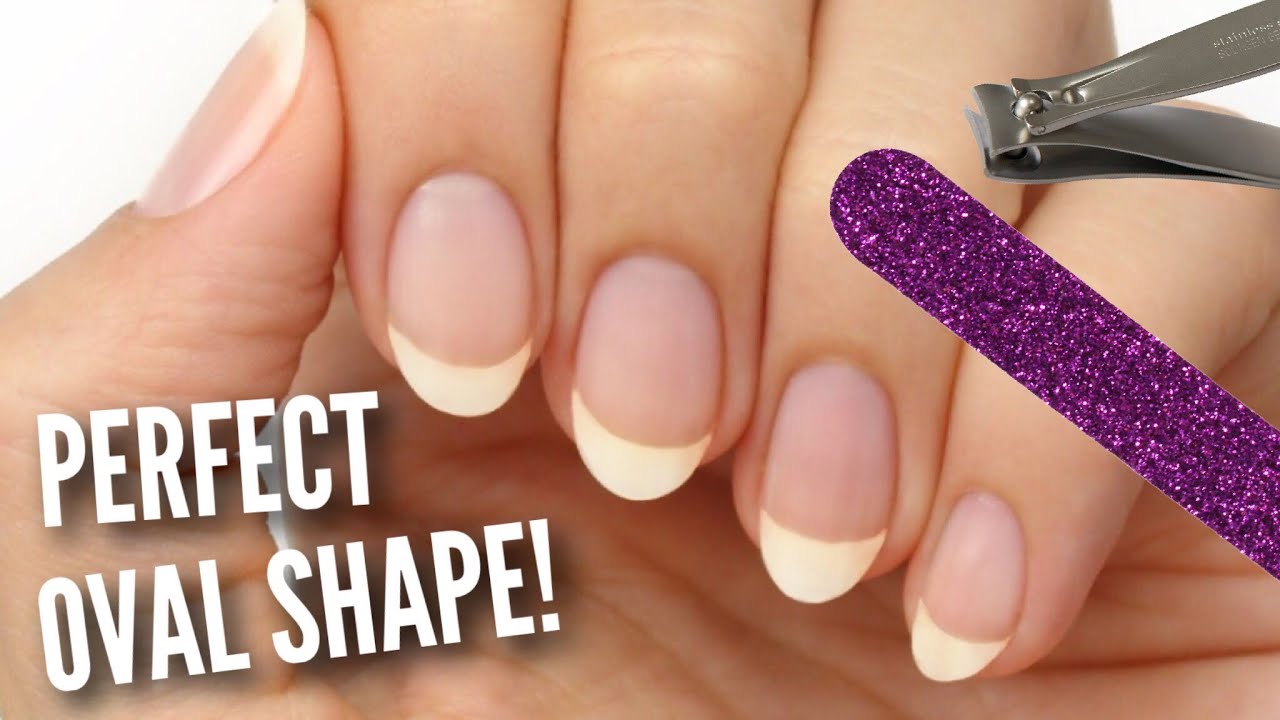
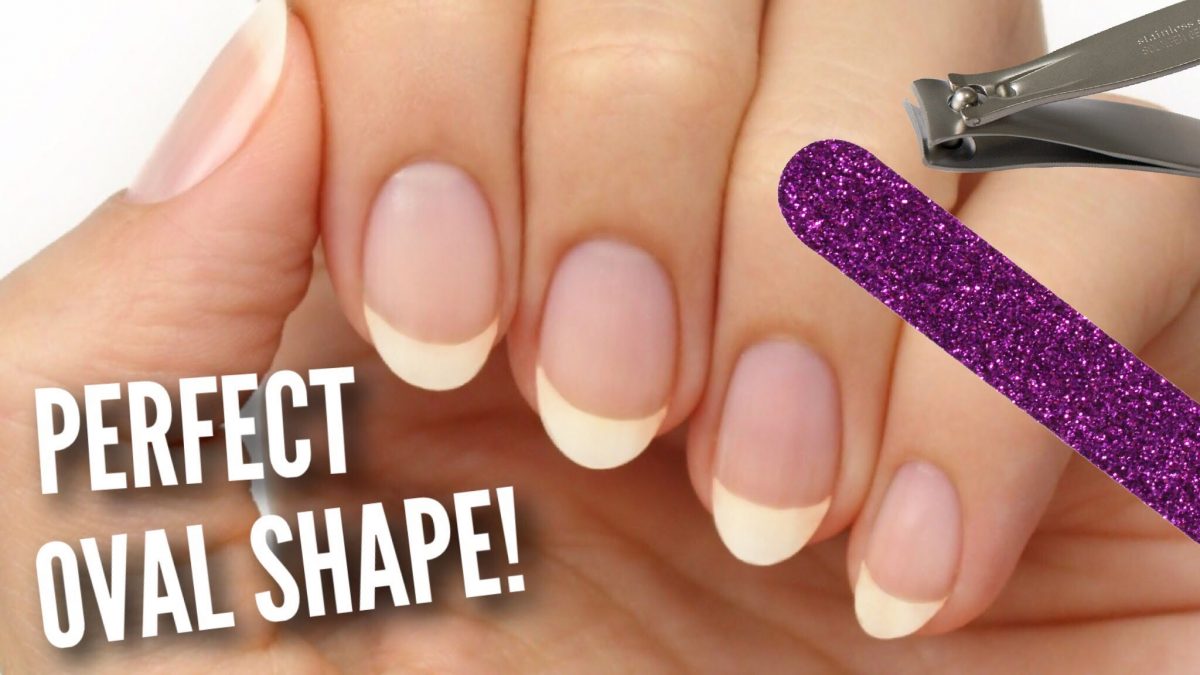
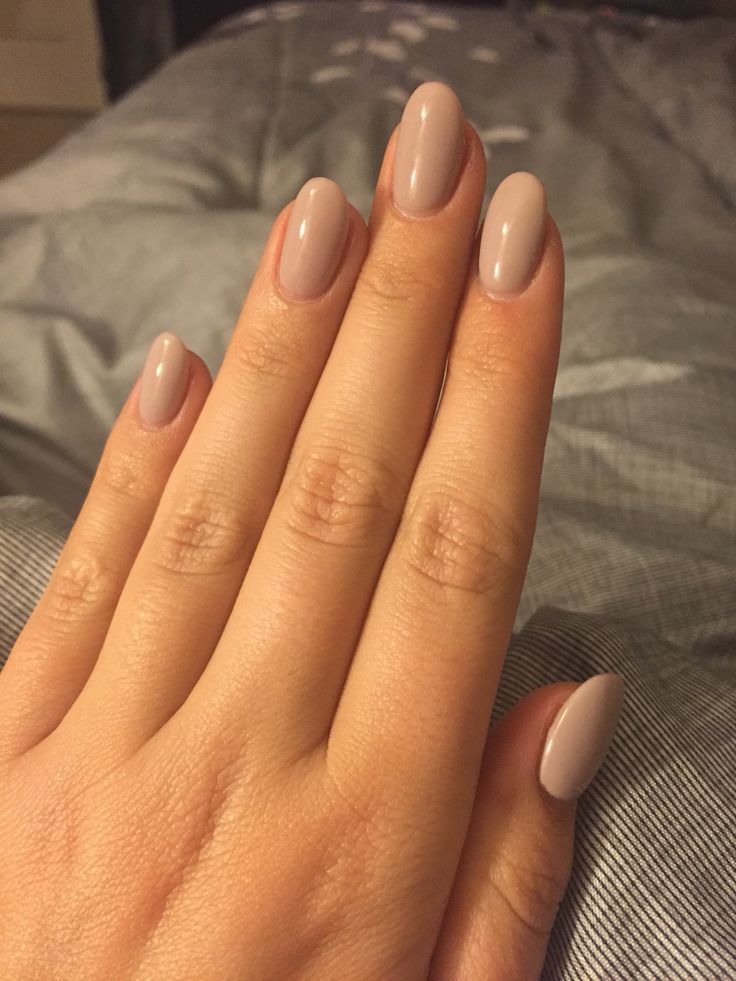
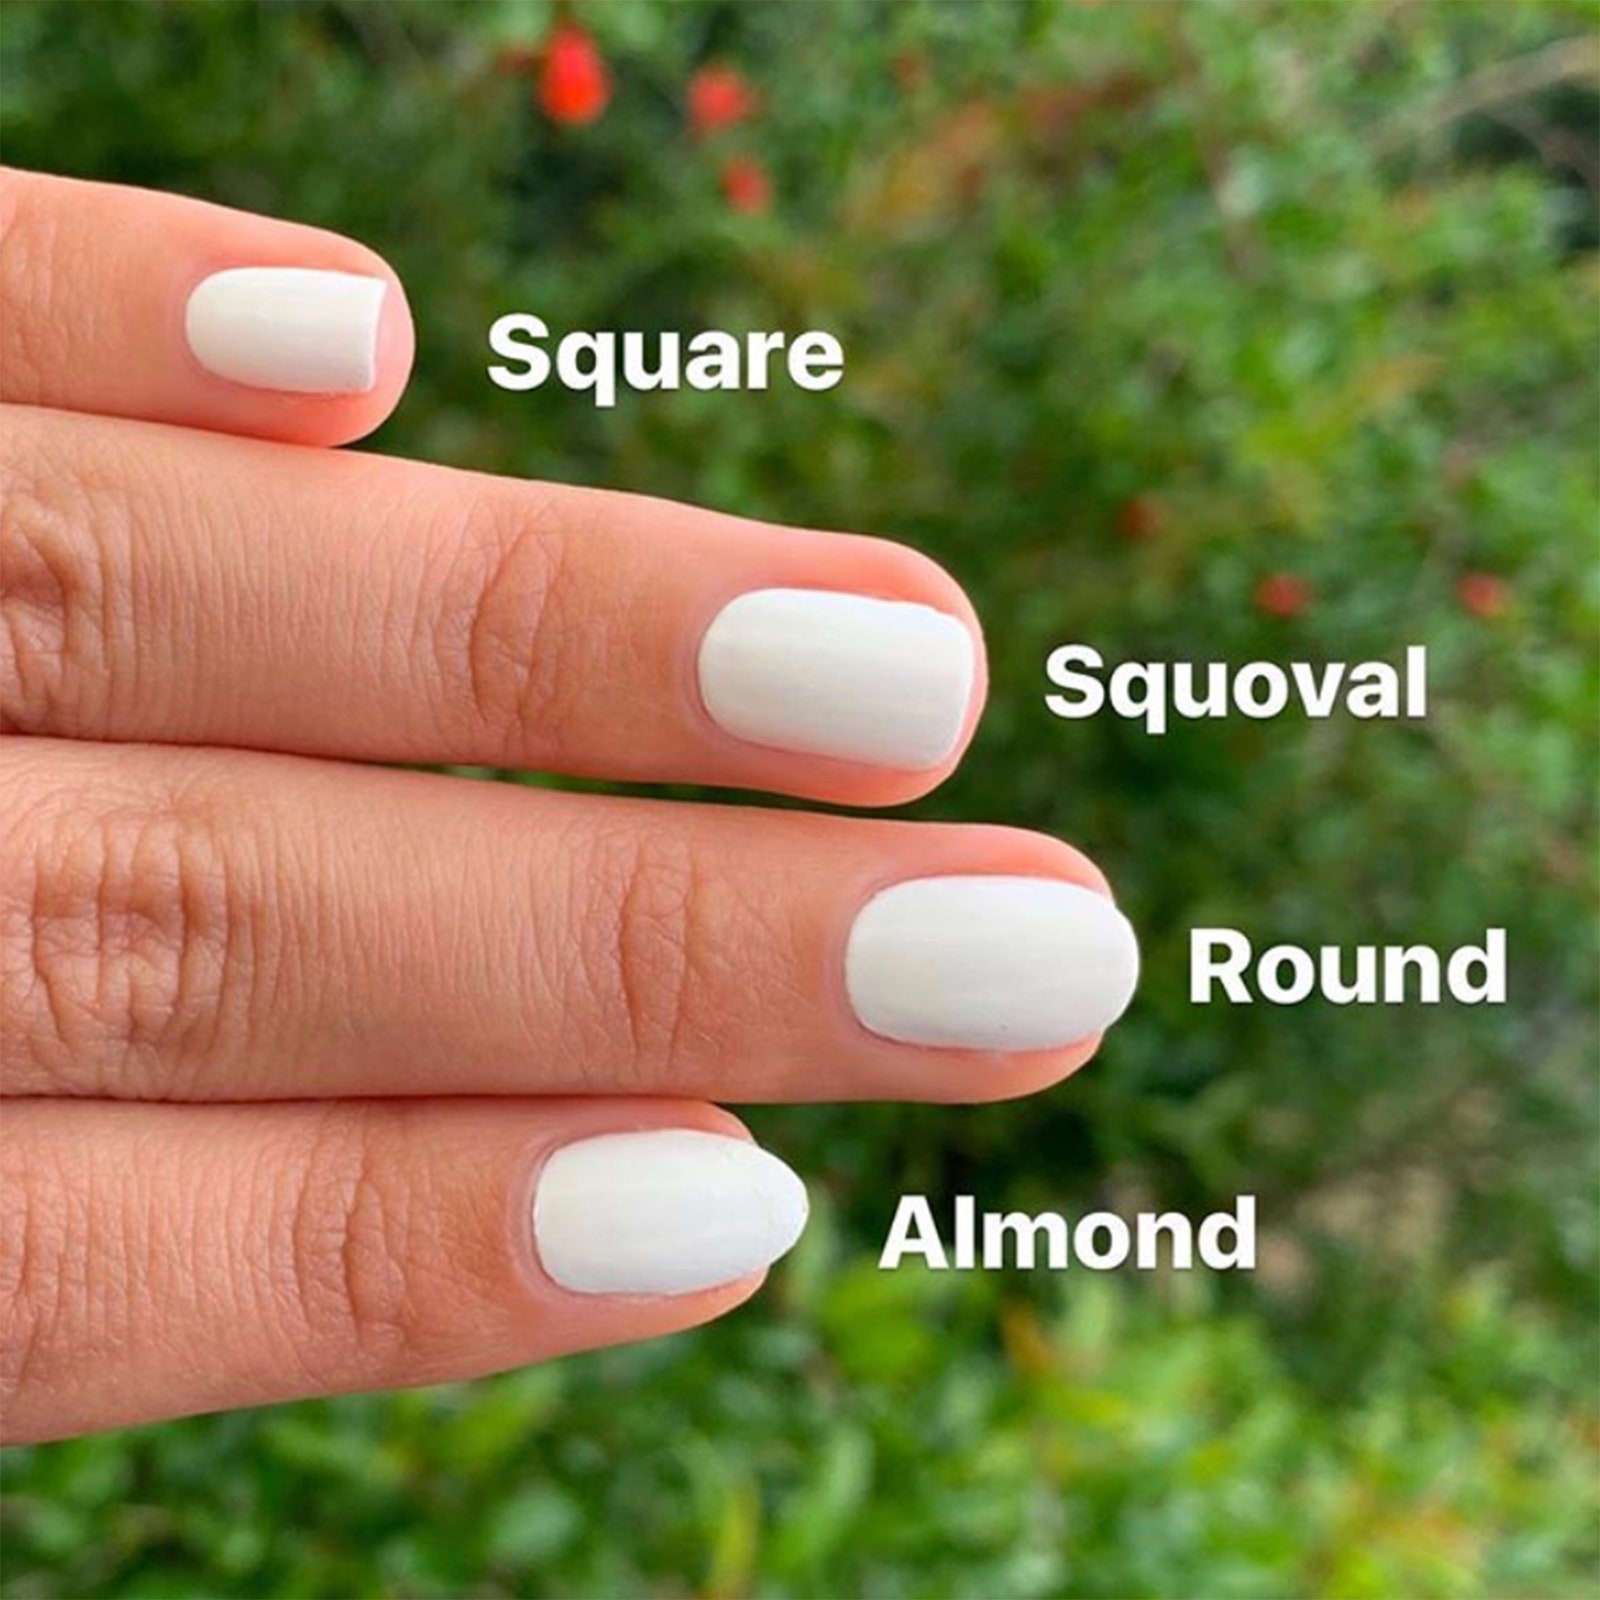
Oval nails are a timeless and elegant nail shape that beautifully complements almost any hand. They strike a balance between the starkness of pointed nails and the roundness of round nails, making them a popular choice for many. This shape not only elongates the fingers but also adds a touch of femininity and sophistication. Whether you’re looking to enhance your everyday look or flaunt something special, mastering the art of shaping oval nails can elevate your style. In this guide, we’ll explore handy techniques and tips to help you achieve that perfect oval shape.
Essential Tools for Nail Shaping

Before diving into the actual nail shaping, let’s discuss the essential tools you’ll need to achieve gorgeous oval nails. Having the right tools at your fingertips can make all the difference in the quality of your manicure.
- Nail Clippers: A good pair of nail clippers is crucial for getting your nails to the desired length before shaping. Look for clippers designed specifically for fingernails.
- Nail File: An emery board or crystal nail file will help you smooth the edges after you’ve clipped your nails. Crystal files are gentler and less likely to cause splits.
- Nail Buffer: Buffing pads can give your nails a polished look while keeping the surface smooth. Use this tool gently to avoid thinning your nails.
- Cuticle Pusher: To achieve a clean oval shape, you’ll want to push back your cuticles. A wooden or metal cuticle pusher works wonders.
- Moisturizer: Don't forget to keep your nails and cuticles hydrated with a nourishing lotion or oil before and after shaping.
Pro Tip: Always ensure your tools are clean and sanitized. This not only enhances your manicure experience but also protects your nails from potential infections.
Step-by-Step Guide to Shaping Oval Nails

Shaping oval nails can feel a little daunting, but with the right steps, anyone can master this technique. Here’s a simple, step-by-step guide to help you achieve those perfect oval shapes.
- Gather Your Tools: Before you start, make sure you have the necessary tools on hand. You’ll need nail clippers, a nail file (preferably a glass or crystal file), a buffer, and a cuticle pusher.
- Start with Clean Nails: Wash your hands thoroughly and remove any old polish. Dry them well to ensure you’re working with clean nails.
- Trim Your Nails: Use nail clippers to cut your nails to a manageable length. Aim for a length that extends slightly beyond your fingertips.
- Shape the Free Edge: Using your file, start at one side of the nail and file towards the center, then do the same on the opposite side. This will create a rounded edge that is characteristic of oval nails.
- Check for Symmetry: Every few strokes, check if both sides are even. Doing this step regularly helps prevent lopsided nails.
- Buff the Surface: Once you’re satisfied with the shape, gently buff the surface of your nails. This will give them a smooth finish and make them look polished without needing a top coat.
- Hydrate Your Cuticles: Finish up by pushing back your cuticles with a cuticle pusher and applying some cuticle oil. This nourishes them and helps maintain the beauty of your oval nails.
And there you have it! With these simple steps, you’ll be on your way to flaunting beautifully shaped oval nails in no time.
Common Mistakes to Avoid

While shaping oval nails is a fun DIY activity, there are a few common mistakes that can hinder your results. Avoiding these blunders can save you time and frustration on your nail journey.
- Over-filing: One of the biggest mistakes is over-filing your nails. This can lead to weak, brittle nails. Always file cautiously and check your progress frequently.
- Neglecting Symmetry: Many people focus on just one nail and forget to match it with the others. It’s crucial to step back and view all your nails together to ensure they’re symmetrical.
- Ignoring the Shape: Trying to create a square or pointed look when you aim for oval can lead to frustration. Keep in mind the goal: to achieve a gentle curve that resembles an egg or oval.
- Using the Wrong Tools: Nail files with coarse grit can damage your nails. Opt for softer files that are better for smoothing and shaping.
- Skipping the Buffer: A common oversight is skipping the buffer. This tool not only smooths the surface but also gives your nails a natural shine.
- Forgetting Cuticle Care: Neglecting your cuticles can detract from the overall look of your nails. Regular care is essential to maintain a polished appearance.
By being mindful of these common pitfalls, you’ll be well on your way to achieving those flawless oval nails you’ve always wanted!
Maintaining Your Oval Nails

So you've nailed the art of shaping your oval nails—congrats! But the journey doesn’t end there; maintaining the beautiful look is just as important. Here are a few tips to keep your oval nails looking fabulous:
- Regular Trimming: Aim to trim your nails every couple of weeks. This will prevent them from becoming too long, which can make them more prone to breakage and can alter that perfect shape.
- Hydration is Key: Keep your nails and cuticles hydrated using cuticle oils or nourishing creams. This not only helps in maintaining the shape but also prevents dryness and cracking.
- Careful Filing: Use a gentle nail file to smooth any rough edges whenever necessary. Always file in one direction to avoid splitting your nails.
- Protect Your Nails: If you're engaging in activities that could stress your nails, consider wearing gloves. Protection is vital for keeping that oval shape intact.
- Avoid Excessive Use of Nail Products: Strong nail polishes and removers can weaken your nails. Use acetone-free removers and apply a strengthening base coat to keep them healthy.
Last but not least, try to give your nails a break from polish every now and then. This allows them to breathe and recover, ensuring they stay strong and oval-shaped for seasons to come!
Conclusion and Final Tips
Mastering the art of shaping oval nails is a rewarding endeavor that can elevate your entire look. It’s not just about achieving that perfect oval shape; it’s about maintaining it with care and love. Here’s a quick recap of essential takeaways:
| Tip | Description |
|---|---|
| Choose the Right Tools | Invest in good-quality nail clippers and files for a clean finish. |
| Keep It Hydrated | Use oils and creams regularly to maintain moisture. |
| Regular Maintenance | Trim and file your nails consistently to prevent damage. |
| Be Gentle | Avoid biting or picking at your nails to preserve their shape. |
As you continue your journey with oval nails, remember that practice makes perfect. Don’t be afraid to experiment with slight changes to find what works best for you. And most importantly, enjoy the process! Beautiful nails are not just a fashion statement—they are a form of self-care that reflects your personality.
 admin
admin


