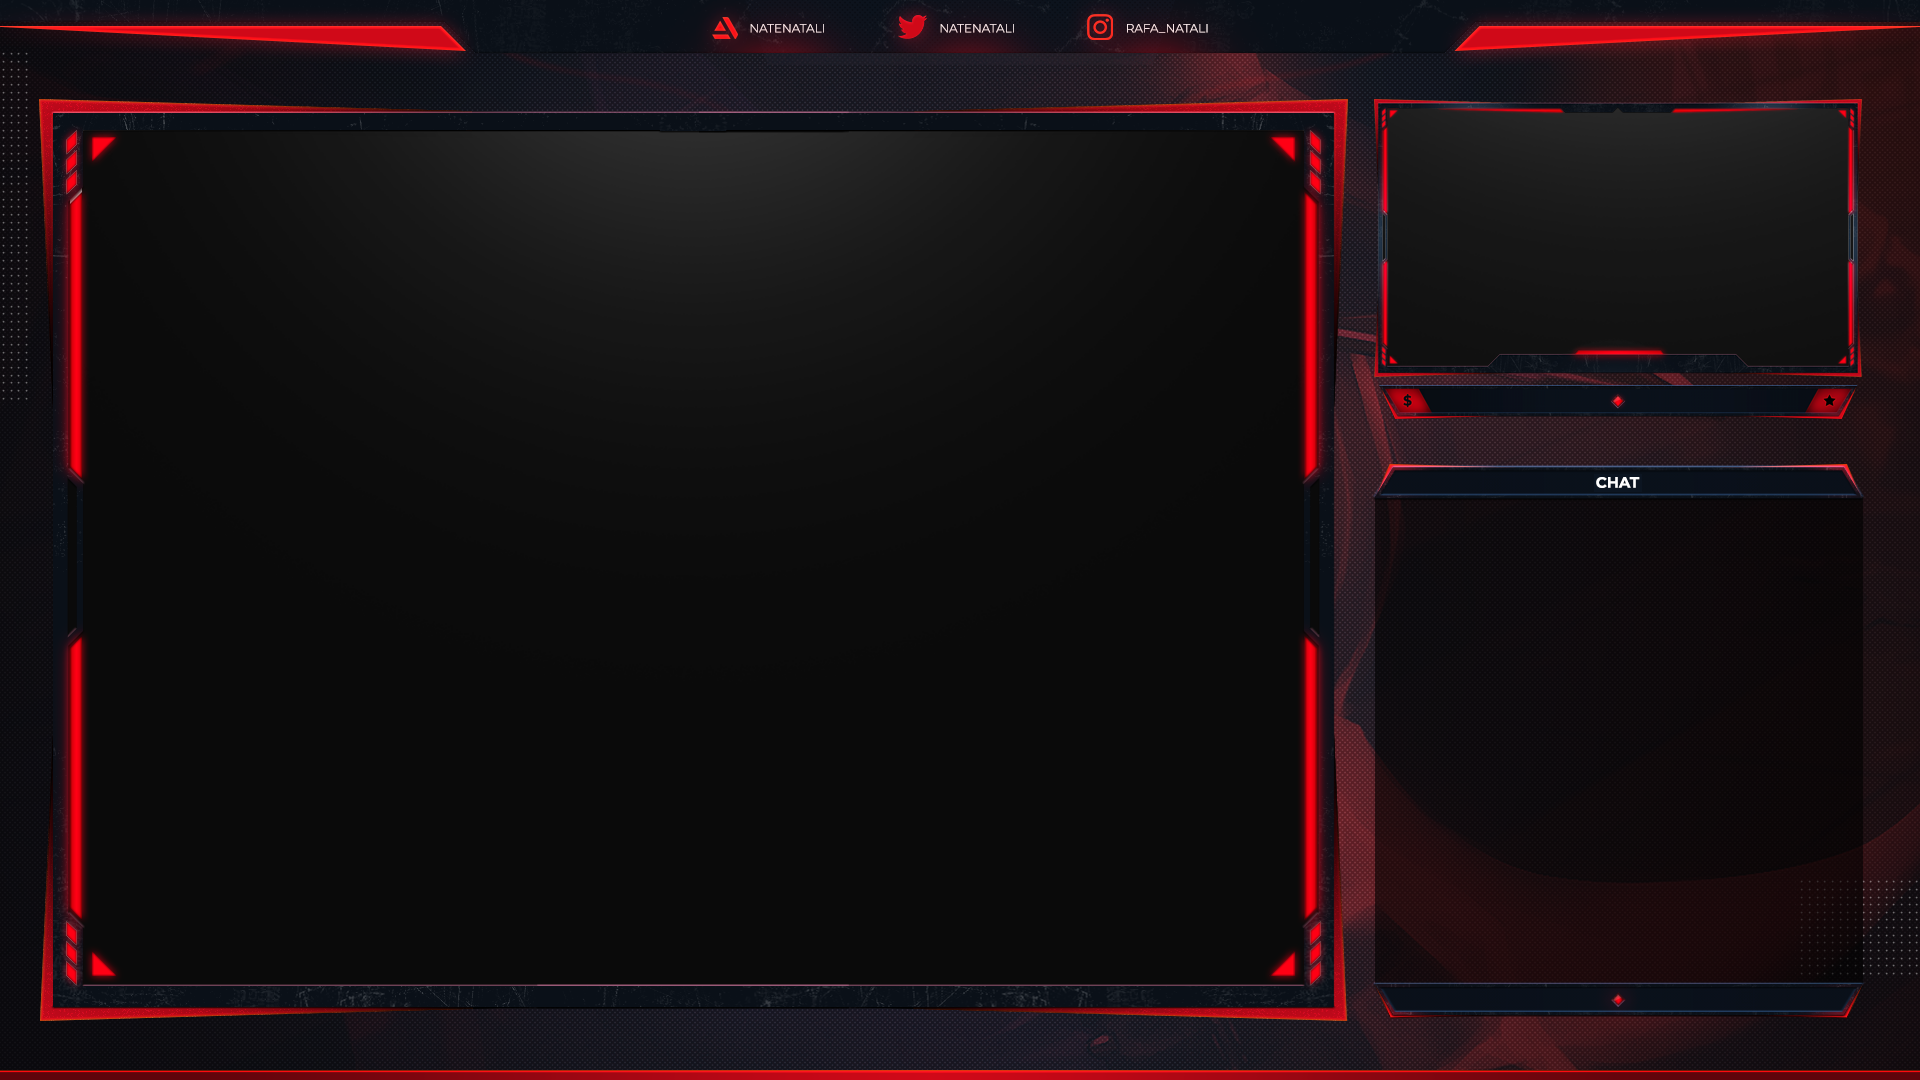
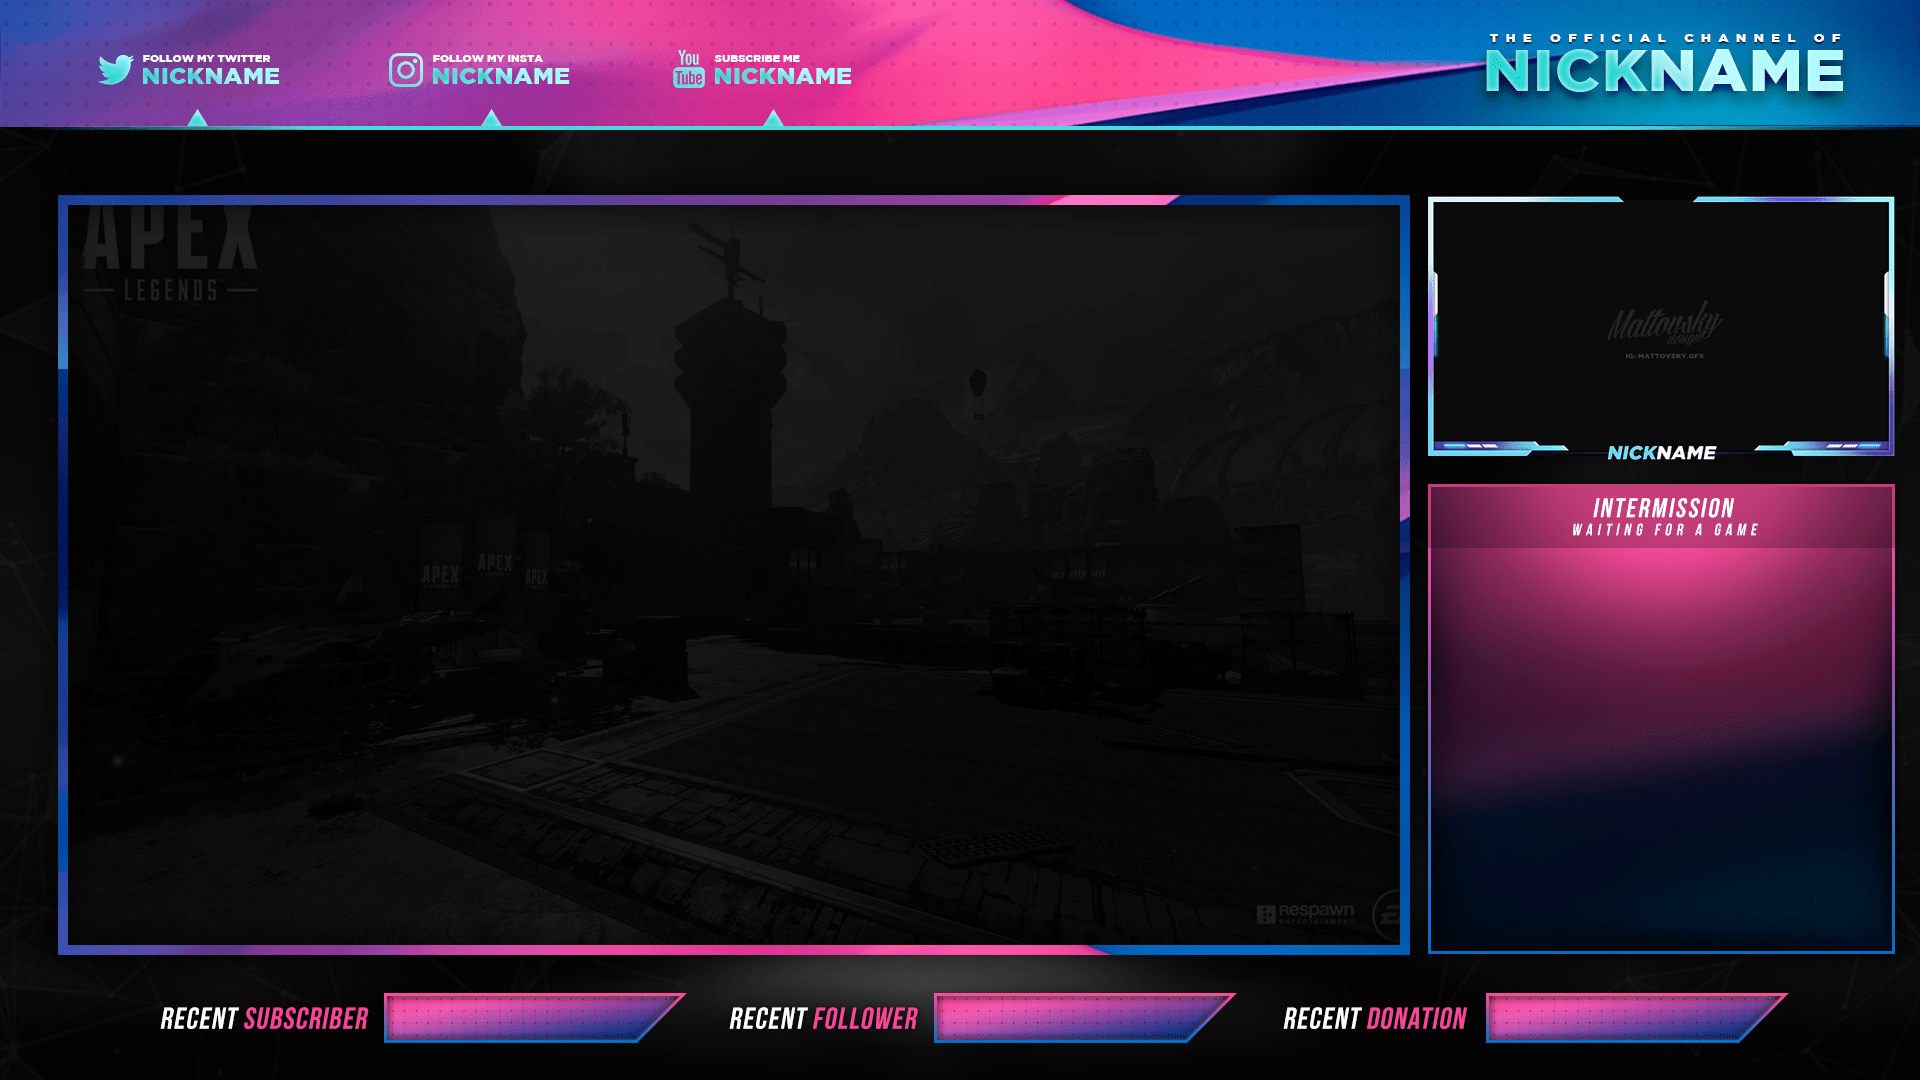
In the age of digital content creation, video editing has become an essential skill for many. One popular technique that can really enhance your videos is overlaying images. Whether you’re looking to add a logo, a fun graphic, or informative text, overlays can help convey your message in a visually appealing way. In this blog post, we’ll talk about the different techniques you can use to overlay an image on a video, turning those basic clips into eye-catching pieces of content. So, roll up your sleeves and let’s dive into the world of video overlays!
Understanding Overlay Techniques

Overlays can transform your videos, but understanding the different techniques is crucial to achieving the best results. Here, we’ll break down some common overlay techniques you might consider using:
- Image Overlay: This involves placing an image over your video. It can be anything from a logo to a decorative graphic. You control its size and position to create the perfect blend.
- Text Overlay: Sometimes, adding text is just as impactful as images. Whether it’s a title, subtitle, or call-to-action, text can be overlayed on your video to emphasize important points.
- Video Overlay: You can even overlay another video on top of your main footage. This technique is often used in tutorials or interviews where you want to provide additional context.
- Image Masking: This advanced technique allows for a more seamless integration of the image into the video. It's where an image is blended with a specific shape or area, making it appear more natural.
To achieve these overlay techniques, you typically use video editing software, which provides tools and options for layering images and controlling their appearance. Whether you are a beginner or an experienced editor, these techniques can help elevate your video content significantly.
Also Read This: Mastering Image Movement in GIMP
Choosing the Right Software

When it comes to overlaying an image onto a video, the software you choose can make a world of difference. Thankfully, there’s a plethora of tools available, each with its own unique features and benefits. Here are a few options, categorized by skill level:
- Beginner-Friendly Software:
- Canva: Great for simple edits. You can easily upload your video and images, then drag and drop to create overlays.
- iMovie: Perfect for Mac users. This intuitive software allows you to add images in a snap.
- Intermediate Software:
- Filmora: Offers a user-friendly interface with more advanced overlay options, including animations.
- Adobe Premiere Elements: A step up from iMovie with powerful editing capabilities, including image overlays.
- Professional Software:
- Adobe Premiere Pro: Industry-standard software equipped with advanced tools for precise overlaying.
- Final Cut Pro: Another powerful tool for Mac users that provides extensive customization options.
Choosing the right software really depends on your skill level and the complexity of your project. It might even be worth trying a couple of different programs to see which interface you prefer! Remember, the best software is the one that makes you feel comfortable and creative.
Also Read This: A Simple Guide on How to Publish Projects on Behance for Maximum Reach
Step-by-Step Guide to Overlaying an Image

Now that you’ve picked your software, let’s dive into the nitty-gritty of overlaying an image on a video. While specific steps may vary slightly based on the program, here’s a general guide to get you started:
- Open your Video Project: Launch your chosen software and load the video you want to work with.
- Import your Image: Look for an option like "Import" or "Upload" to bring your image into the project. Make sure the image is ready and saved on your device!
- Drag and Drop: Once imported, click on the image and drag it onto your timeline above the video track. This will create the overlay effect.
- Resize and Position the Image: With the image layer selected, adjust its size and position by clicking and dragging the corners. Ensure it complements your video—no need to cover important elements!
- Adjust Opacity & Effects: Play around with the opacity settings if you want to create a more subtle effect. Many software programs also allow you to add borders, shadows, and animations.
- Preview Your Work: Always preview your project before exporting. Make sure the image overlay looks good and flows with the video content.
- Export Your Final Product: Once satisfied, hit that export button! Choose the right format based on how you plan to share your video.
And there you have it! Overlaying images on videos can be simple and fun. Don’t hesitate to play around with different styles and techniques to find what works best for you!
Also Read This: Are VectorStock Credits Worth It?
Adjusting Position and Size of the Overlay

Once you've added your image overlay to your video, the next step is adjusting its position and size to ensure it looks just the way you envision. This process can greatly affect the visual appeal of your video, so let’s delve into the details!
First, consider where you want your overlay to sit on the screen. Is it a logo you want in the corner? Or perhaps a face you're trying to highlight? The positioning is key, and most editing software allows you to click and drag the overlay to your desired location.
To adjust the size of the overlay, follow these steps:
- Click on the overlay: This will activate transform controls.
- Use the corner handles: Click and drag the corner handles to scale the image up or down.
- Maintain aspect ratio: Hold the shift key while dragging to keep the overlay proportional.
If your software allows, you might also find options for specific size adjustments in the properties panel. Here’s how you can do this:
| Adjustment Type | Description |
|---|---|
| Positioning | Set coordinates or drag to position your overlay on the video. |
| Scaling | Input specific dimensions or use handles to resize. |
Once you're satisfied, preview your adjustments to ensure everything looks harmonious with the video content.
Also Read This: Here’s How to Download Dailymotion Videos with Subtitles in Any Language
Adding Effects and Enhancements
Now that your overlay is perfectly placed and sized, let’s spice things up! Adding effects and enhancements can make your overlay pop and blend seamlessly with your video.
There are several types of effects you might consider:
- Transitions: Create smooth entrances or exits for your overlay. This can be a simple fade, a slide in from the side, or even a zoom.
- Opacity: Adjust the opacity to let some of the video show through the overlay, which can help with blending.
- Shadows and Outlines: Adding a shadow or outline can make a text overlay more readable against complex backgrounds.
- Color Filters: Experiment with color correction or filters to match the overlay’s colors with your video’s theme.
Many editing programs have built-in effects that can be easily applied. Here’s how to enhance your overlay:
| Effect | How to Apply |
|---|---|
| Fade In/Out | Set keyframes at the start and end for your overlay time. |
| Drop Shadow | Navigate to effects and enable drop shadow settings to adjust distance and opacity. |
Once you’ve added your desired effects, play through the video. Make sure the overlay complements the content rather than distracts from it. And remember, subtlety is key!
Also Read This: Understanding YouTube Video Length Limits
7. Exporting the Final Video
Now that you've completed the fun part of overlaying your image on the video, it’s time to wrap everything up by exporting the final product. This is a crucial step because the export settings you choose can significantly affect the quality and compatibility of your video.
Here are some key points to consider when exporting your video:
- Format: Choose a video format that suits your needs. Common options include MP4, MOV, and AVI. MP4 is highly recommended since it balances quality and file size effectively, making it ideal for sharing online.
- Resolution: Make sure to match the resolution to your original video or adjust it according to where you'll be sharing it. For example, 1080p is widely accepted for high-quality outputs.
- Frame Rate: Keep the frame rate consistent with the original video to avoid any playback issues. This usually means staying at 30 fps or 60 fps, depending on the source footage.
- Bitrate: Adjust the bitrate to control the quality and size of your video file. A higher bitrate means better quality but results in a larger file size. Aim for a balance that meets your needs.
Once you’ve selected your options, hit that export button and wait for your software to complete the process. Depending on the length and complexity of your video, this could take anywhere from a few seconds to several minutes. When it’s done, take some time to watch it through to ensure the image overlay looks just as you intended!
8. Conclusion
Congratulations! You've just learned how to overlay an image on a video, and your creative journey doesn’t have to stop here. Overlaying images is such a versatile skill — think about how you can apply it across different projects, whether it’s for personal memories, social media content, or professional presentations.
To recap:
- Start by choosing the right editing software that meets your needs.
- Carefully import your video and the image you want to overlay.
- Adjust the image’s position, size, and opacity to create the desired effect.
- Export your final product with attention to format, resolution, and quality settings.
The beauty of video editing lies in experimentation. Don’t hesitate to try different images, effects, and styles to truly make your video stand out. So, grab your tools, and get creative! Your next masterpiece is just a few clicks away.
 admin
admin


