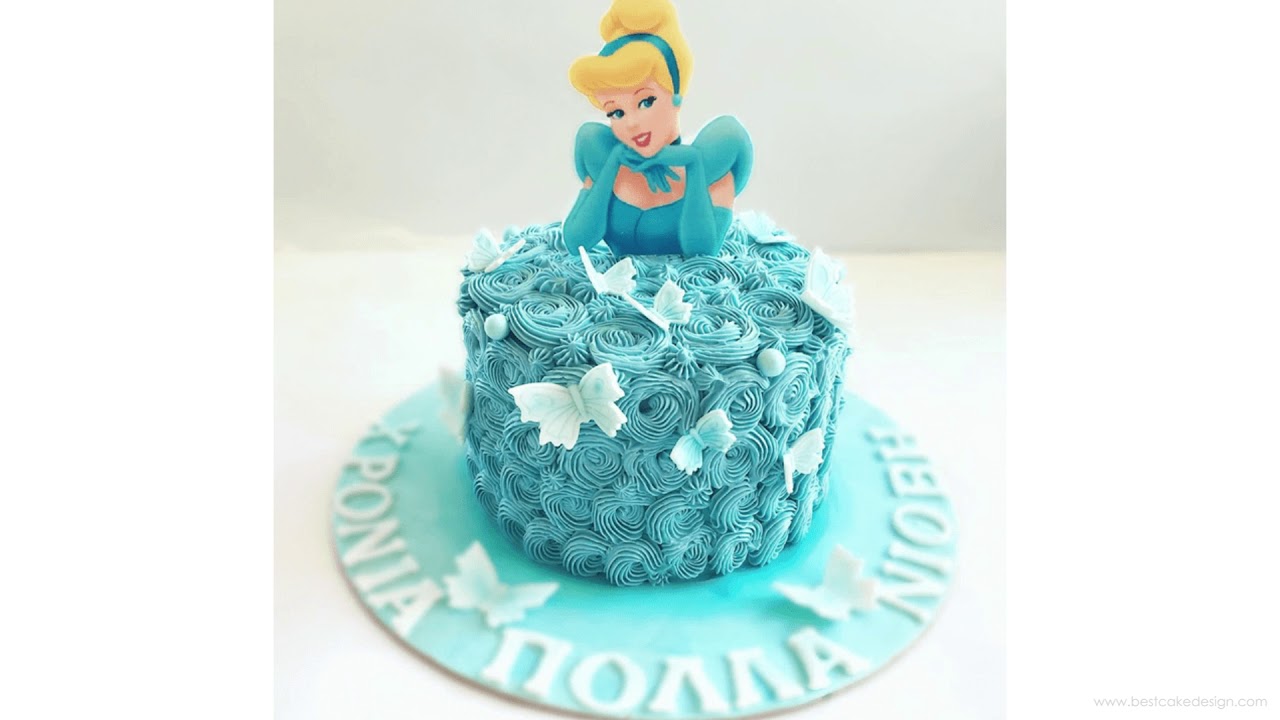
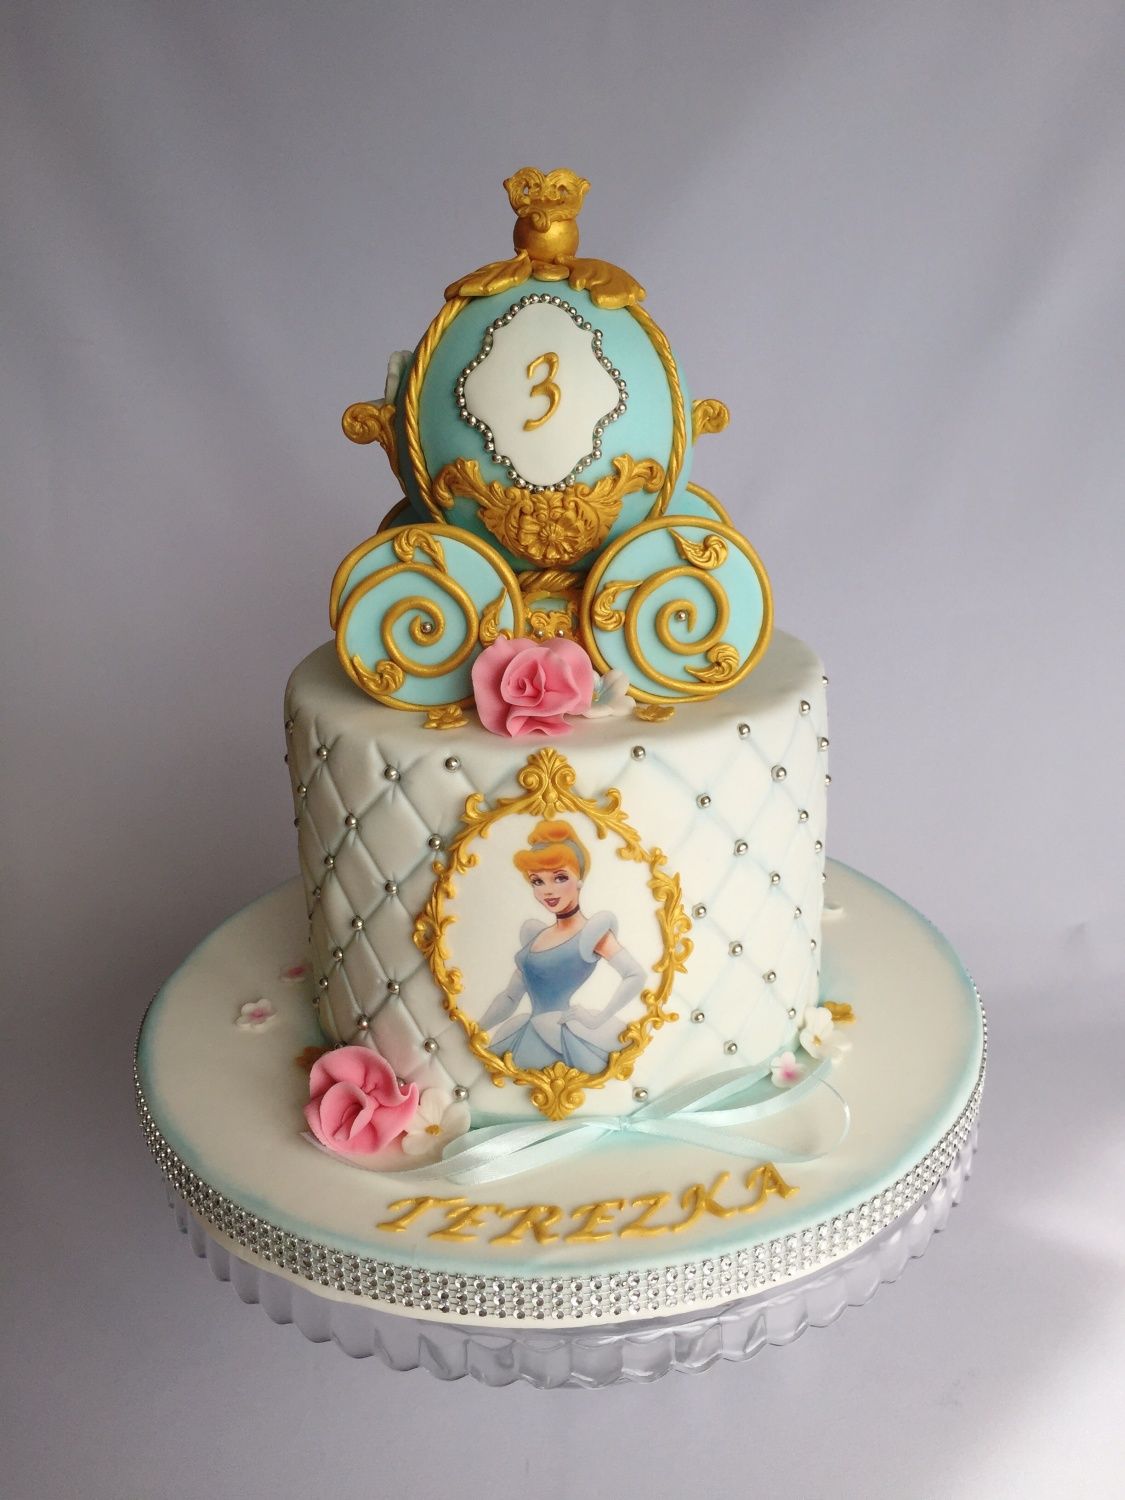
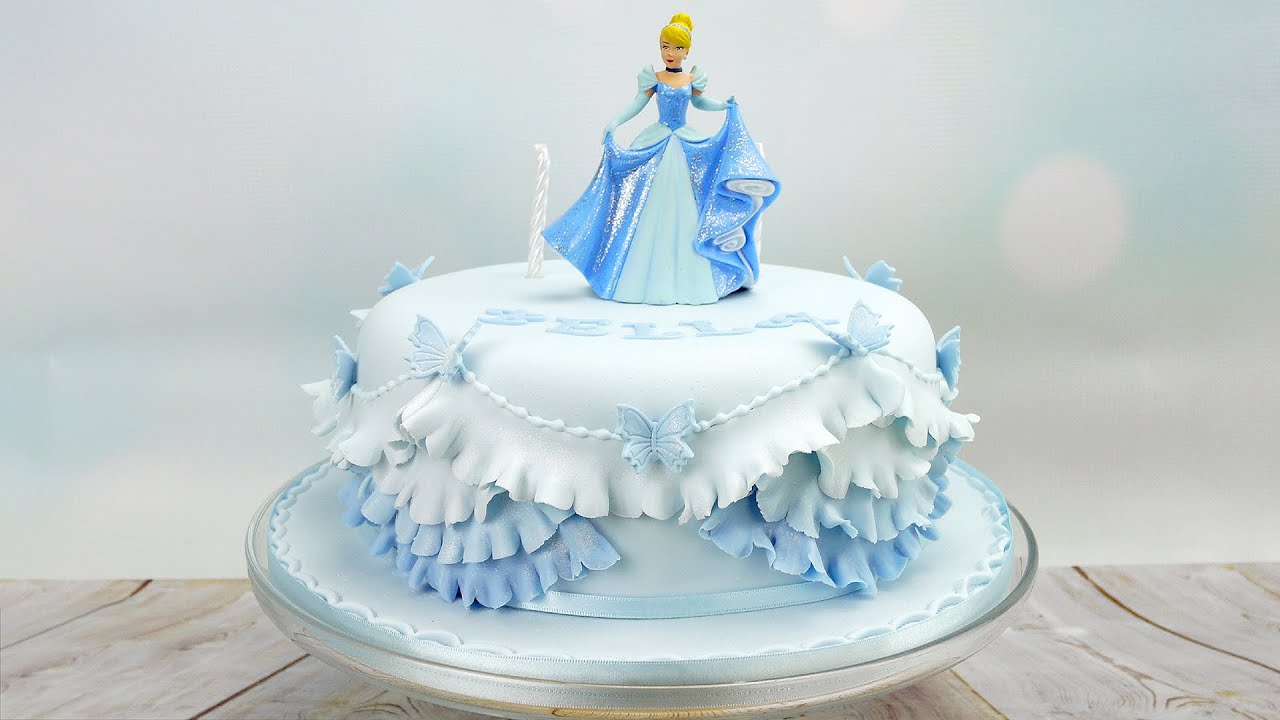
If you've ever dreamed of experiencing the magic of Cinderella, why not bring a slice of it to your kitchen with a stunning Cinderella cake? This enchanting dessert isn't just a treat for the taste buds; it's a feast for the eyes! In this blog post, we'll dive into the steps needed to create your very own Cinderella cake. Get ready to unleash your creativity as we explore some whimsical decorating ideas that will surely make your cake the talk of the party!
Gathering Ingredients and Materials

Before diving into the world of baking and decorating, it’s essential to gather all your ingredients and materials. The key to a successful Cinderella cake lies in preparation! Here’s what you’ll need:
Ingredients:
- For the Cake:
- 2 ½ cups all-purpose flour
- 1 ½ cups sugar
- 1 cup unsalted butter (softened)
- 4 large eggs
- 1 cup whole milk
- 2 ½ teaspoons baking powder
- 1 teaspoon vanilla extract
- For the Frosting:
- 1 cup unsalted butter (softened)
- 4 cups powdered sugar
- 1-2 tablespoons milk (as needed)
- 1 teaspoon vanilla extract
- Food coloring (blue, white, gold)
Materials:
- Cake pans (preferably round)
- Parchment paper
- Mixing bowls
- Electric mixer or whisk
- Piping bags and tips
- Offset spatula or knife
- Decorative elements (sugar pearls, edible glitter, fondant, etc.)
With these ingredients and materials on hand, you’re ready to embark on your Cinderella cake journey! Remember, the magic is in the details, so don’t hesitate to add personal touches and creative flair to make this cake truly yours.
Preparing the Cake Batter

Getting the cake batter right is a crucial step in creating your Cinderella cake. The texture and flavor of the cake will be the foundation of your magical creation, so let’s dive into how to prepare the perfect batter!
To start, you will need the following ingredients (feel free to tweak them according to your preferences or dietary needs):
- 2 ½ cups all-purpose flour
- 1 ½ cups sugar
- 1 cup unsalted butter, softened
- 1 cup milk (whole or buttermilk)
- 4 large eggs
- 2 ½ teaspoons baking powder
- 1 teaspoon vanilla extract
- ½ teaspoon salt
Now, let’s get to the method:
- Preheat your oven to 350°F (175°C) so it’s nice and hot when your batter is ready.
- In a large mixing bowl, cream the softened butter and sugar together until it’s light and fluffy.
- Beat in the eggs one at a time, ensuring each is fully incorporated before adding the next.
- Add in your vanilla extract and mix it in until it’s well combined.
- In a separate bowl, whisk together the flour, baking powder, and salt.
- Gradually add the dry ingredients to the wet mixture, alternating with the milk. Start and end with the flour mixture to keep your batter nice and fluffy.
- Mix until combined, but don’t overdo it! You want to avoid a dense cake.
And there you have it! Your cake batter is ready for the next adventure - baking!
Baking the Cake

Now that you have your lovely cake batter prepared, it's time to bring it to life in the oven! Baking the cake is where all your hard work will start to shine.
First, let’s get organized. Here’s what you’ll need:
- Two 9-inch round cake pans (or a mold of your choice)
- Baking spray or butter and flour to grease the pans
- A spatula or spoon for leveling
Now, let’s get to the baking process:
- Grease your cake pans with baking spray, or use butter and a sprinkle of flour for a classic touch. This will ensure your cakes come out easily without sticking!
- Pour the batter evenly into the two prepared pans, filling them about 2/3 full. This gives the cake room to rise without spilling over.
- Tap the pans gently on the counter to remove any air bubbles that might have gotten trapped in the batter.
- Place the pans in the oven and bake for about 25-30 minutes. You’ll know they’re ready when a toothpick inserted into the center comes out clean!
- Once baked, remove the pans from the oven and let them cool in the pans for about 10 minutes before transferring them to a wire rack to cool completely.
As the cakes cool, you can start dreaming about the enchanting decorations that will transform this ordinary cake into a beautiful Cinderella masterpiece!
Creating the Cinderella Theme
Creating a Cinderella-themed cake isn’t just about the cake itself; it’s about capturing the entire fairytale essence that makes the character so beloved. You’ll want to channel elements from the story, transforming your cake into a whimsical, magical centerpiece that will dazzle any guest.
First, think about the colors that symbolize Cinderella’s story. Soft blues, whites, and silvers are perfect for this theme. Consider using a light blue fondant to cover your cake for that ‘ball gown’ look, or incorporate shimmering silver edible glitter to mimic the twinkle of magic. Here’s a list of key elements to consider:
- Color Scheme: Soft blues, whites, and silvers.
- Cinderella’s Pumpkin Carriage: Incorporate edible decorations shaped like a pumpkin or carriage.
- Glass Slipper: Create a small shoe out of sugar or fondant to place elegantly on the cake.
- Royal Accessories: Use edible gold or silver pearls to mimic jewels and crown embellishments.
For an extra touch, consider adding some sparkle with edible sheen or luster dust to give your cake that magical fairy-tale glow. You could also include fondant elements representing the mice and birds that helped Cinderella, bringing charm and character to your creation. Don’t forget to choose a beautiful cake stand that complements the theme, making your Cinderella cake a true work of art!
Decorating Tips and Techniques
When it comes to decorating your Cinderella cake, creativity knows no bounds! Here are some tried and true tips to make your cake look enchanting:
1. Layering with Buttercream: Start by layering your cake with smooth buttercream frosting. This will not only create a beautiful base but also help the fondant adhere better.
2. Fondant Smoothing: Use a fondant smoother to eliminate any bumps or imperfections. This gives your cake a sleek, polished look. Remember, practice makes perfect!
3. Piping Techniques: Learn some simple piping skills to create elegant borders or floral designs. A star tip can create gorgeous rosettes, while a piping bag with a round tip can help with finer details.
4. Using Edible Paint: Want to add intricate designs without the fuss? Edible paint is a fantastic way to apply delicate patterns or even to draw Cinderella herself!
5. Height Variation: Play with different heights by stacking smaller cakes on top of larger ones or incorporating cake pillars. This adds dimension to your creation, making it visually appealing.
6. Add Lighting: For a truly magical effect, consider using LED lights under a glass dome to light up your cake. The glow can represent the magic of the fairy godmother’s enchantment.
Remember, decorating a cake should be fun! Don’t stress over perfection; embrace creativity and let your imagination run wild!
7. Final Touches and Presentation
Now that you've baked and assembled your beautiful Cinderella cake, it's time for the fun part: the final touches and presentation! This is where you bring your creative vision to life and make your cake truly enchanting.
*1. Smooth Out the Icing: The first step is to ensure your icing is smooth and beautiful. If you’ve used fondant, you might want to gently smooth out any air bubbles or creases with a fondant smoother. If you’ve used buttercream, you can warm your offset spatula slightly and run it over the icing to achieve a glossy finish.
2. Add Edible Glitter: To give your cake that magical Cinderella vibe, consider adding edible glitter or shimmer. Sprinkle it gently on top or along the sides, creating a fairy-tale sparkle that catches the light. Use it sparingly, of course—too much might overshadow your design!
3. Create Decorative Accents: You can make your cake even more special by adding decorations like sugar flowers, butterflies, or tiaras. Use royal icing to attach these accents securely. Feel free to get creative—maybe a little fondant pumpkin or a pair of cute glass slippers would fit the theme perfectly!
4. The Right Cake Stand: Presentation matters! Place your cake on a decorative cake stand that complements the theme. A simple white stand or one with gold accents can elevate the look and draw attention to your masterpiece.
5. Final Garnish: Top it off with fresh flowers or fruits that match your color scheme. Not only do they look stunning, but they also add a lovely touch of freshness.
And there you have it! With these final touches, your Cinderella cake is ready to be the star of the show!
8. Conclusion
Making a Cinderella cake can be a magical experience that combines creativity, skill, and a dash of fairy-tale whimsy. From selecting a delightful flavor to crafting stunning decorations, each step allows you to express your unique style and share a bit of joy with those who will indulge in your creation.
Remember, the key to a beautiful cake lies in the details*. Don’t shy away from experimenting with colors, textures, and shapes. This cake doesn’t have to be perfect; it just needs to reflect your love and imagination. Whether you are celebrating a child’s birthday, a special occasion, or simply indulging in a moment of creativity, your Cinderella cake is sure to bring smiles and a sense of wonder.
So grab your apron, gather your baking supplies, and let your creativity soar! Your very own fairy-tale creation awaits. Enjoy every moment of this sweet adventure!
 admin
admin


