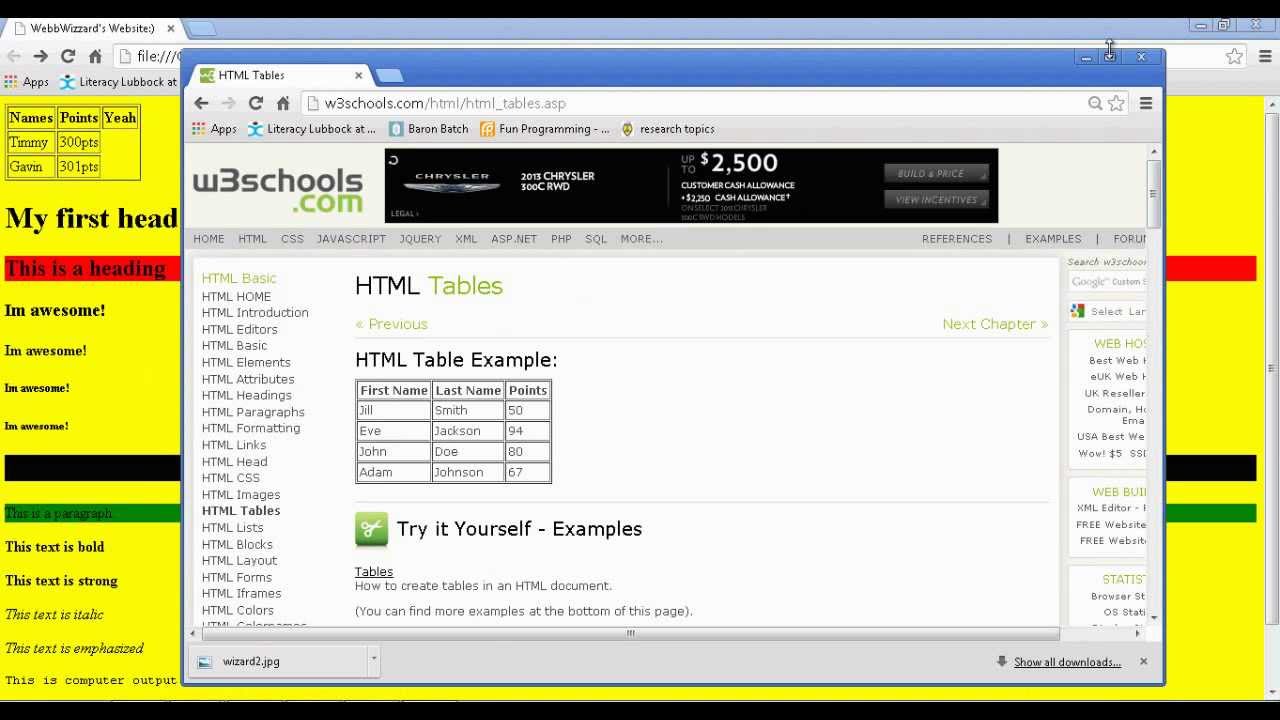
Creating a website might seem like a daunting task, especially if you’re not well-versed in programming languages or web development tools. But guess what? You can build a simple yet effective website using just Notepad! This guide will walk you through the ins and outs of creating a website from scratch using Notepad, a basic text editor that comes pre-installed on Windows. There’s no need for fancy software or expensive tools; all you need is a little creativity and determination. Let’s dive in!
Setting Up Your Environment
Before we get into the nitty-gritty of coding, we first need to set up our environment. It’s important to ensure that you have everything ready before you begin your web development journey.
Here’s how to do it:
1. Using Notepad
Notepad is one of the simplest text editors available on Windows. While it may lack the advanced features of dedicated web development environments, it’s perfect for beginners. To access Notepad:
- Click on the Start menu.
- Type “Notepad” into the search bar and hit enter.
- Alternatively, you can open it by navigating to Accessories in the Start menu.
2. Organizing Your Files
It’s essential to keep your files organized as you start creating your website. Creating a dedicated folder for your website files will make things much easier. Here’s how to do it:
- Navigate to the location where you want to create your project folder.
- Right-click and select New > Folder.
- Name the folder, such as MyWebsite.
3. Choosing Your Browser
You'll need a web browser to test and view your website. Here are a few popular choices you can use:
Browser | Notes |
---|---|
Google Chrome | Fast and modern; great for debugging. |
Mozilla Firefox | Excellent development tools. |
Microsoft Edge | Integrated with Windows; good performance. |
Once you have your text editor and a web browser ready, you can dive into the exciting world of HTML coding. Remember, starting simple is key, and soon enough, you'll be creating stunning web pages!
Also Read This: Is It Too Late to Say Sorry Exploring the Songâs Availability on Dailymotion
Basic Structure of an HTML Document
Now that you’re ready to dive into web development, let’s chat about what an HTML document looks like. Think of HTML as the foundation of your website, much like how a house needs a solid base to stand tall. Below is the essential structure of an HTML document:
<!DOCTYPE html><html> <head> <title>Your Website Title</title> </head> <body> <!-- Your Content Goes Here --> </body></html>
Let’s break this down a bit:
- <!DOCTYPE html>: This declaration tells the web browser that you’re using HTML5.
- <html>: This tag wraps the entire document and is the root of your HTML structure.
- <head>: This section contains meta-information about your page, including the title and links to stylesheets.
- <title>: What goes here appears in the browser tab. Make it catchy!
- <body>: The magic happens here! This is where all your content is displayed.
With this basic skeleton in place, you have a sturdy groundwork to build upon. Add your flair and creativity to each section, and you’re already on your way to creating something amazing!
Also Read This: Learn to Make Natural Nail Remover at Home
Adding Content to Your Website
Now that you’ve got the structure of your HTML document, it’s time to fill it up with some real content! The <body> section we discussed earlier is where your creativity can really shine. Let’s explore how to add different types of content to your website.
Here are some fundamental elements you can use:
- Headings: Use
<h1>
to<h6>
for titles and subheadings. For example:
<h1>Welcome to My Website</h1>
<p>
for blocks of text:<p>This is my first paragraph.</p>
<img>
:<img src="path/to/image.jpg" alt="Description">
<a>
:<a href="https://www.example.com">Visit Example</a>
<ul>
and <ol>
:<ul> <li>Item One</li> <li>Item Two</li></ul>
As you experiment, feel free to mix and match these elements. Don’t be afraid to look up new HTML tags or styling to make your content pop! Remember, the sky’s the limit when it comes to creativity.
Also Read This: Guide to Downloading YouTube Audio on Windows Effortlessly
5. Styling Your Website with CSS
Okay, let’s dive into the magical world of CSS, or Cascading Style Sheets. This is where your website’s flair comes alive. Imagine your website is like a blank canvas; CSS is the vibrant paint that adds color and style! Without it, your website would look pretty plain and uninspired.
To get started, we need to create a new file in Notepad and save it as styles.css. This file will hold all the styling rules for your HTML elements. The relationship between HTML and CSS is simple: HTML structures the content, while CSS enables you to control the look and feel. Here’s how you can add styles:
- *Selectors: Use selectors to target HTML elements. For example, if you want to change the heading color, you’d use the h1 selector.
- Properties & Values: For each selector, you'll assign properties. If you want to change the font color to blue, you'd write color: blue;.
- Styles:
- Change the background color
- Alter font sizes
- Stylize links
- Adjust spacing and margins
To link your CSS file to your HTML, you’ll add the following line in the head section of your HTML document:
<link rel="stylesheet" type="text/css" href="styles.css">
Now when you open your HTML file, you’ll see the changes take effect. It’s like transforming a simple black-and-white photograph into a vibrant masterpiece! So go ahead, experiment with colors, fonts, and layouts until your website reflects your personal style!
Also Read This: How to Curl Hair with an InStyler on Dailymotion
6. Testing and Previewing Your Website
Once you've created your masterpiece using HTML and CSS, it’s time for the exciting phase of testing and previewing! This is crucial to ensure everything looks and functions as you imagined. You wouldn’t want to unveil a crooked painting, right?
Start by opening your HTML file in a web browser. You can do this by right-clicking the file and choosing to open it with your preferred browser. As you look through your site, pay attention to:
- Layout: Is everything aligned the way you want? Are there any elements that seem out of place?
- Fonts: Do your chosen fonts display correctly? Are they readable?
- Colors: Are the colors you picked harmonious? Do they reflect your intended style?
- Links & Navigation:* Do all your links work? Can you navigate through your website smoothly?
Next up, what about responsiveness? Our goal should be a website that looks great on both desktops and mobile devices. To test this, simply resize the browser window. Does your layout adapt nicely?
When you’re satisfied, consider checking your website on different browsers (like Chrome, Firefox, and Safari) and devices (like smartphones and tablets). This helps identify any inconsistencies that need to be fixed. Remember, finding and fixing these little quirks will elevate the user experience!
With thorough testing, you're not just creating a website; you’re crafting a comprehensive experience for your visitors. So, don't skimp on this step—test away!
Also Read This: Amazon Sales Launchpad: Selling Stuff on Amazon from Alibaba Explained
7. Publishing Your Website Online
Once you’ve crafted your website in Notepad, the exciting next step is publishing it online! It’s like taking your creation from the drawing board and setting it out for the world to see. But how do you do that? Let's walk through the essential steps.
First and foremost, you’ll need to select a web hosting service. Consider options like:
- Shared Hosting: Affordable and a great start for beginners.
- VPS Hosting: Offers more control and resources for growing sites.
- Cloud Hosting: Flexible and scalable, ideal for fluctuating traffic.
- WordPress Hosting: Designed specifically for WordPress sites, providing specialized tools.
Once you choose a hosting provider, here’s a quick outline of the steps to follow:
- Sign Up: Create an account with your chosen hosting provider.
- Domain Registration: If you don't have a domain yet, you can often register one through your hosting provider.
- Upload Your Files: Use an FTP client (like FileZilla) to transfer your HTML files and assets to the server. Connect to your server and drag files into the public_html directory.
- Access Your Website: After uploading, visit your domain to see your masterpiece live!
Keep in mind that it can take some time for your website to go live, so don’t panic if it doesn’t show up immediately. Patience is key!
8. Conclusion
Congratulations! You've made it through the journey of creating a website using Notepad. From coding in HTML to publishing your site online, you now have a fundamental understanding of the process. It’s empowering to know you can create something from scratch and share it with the world.
As you wrap things up, let’s recap the major points of this guide:
- Learned the basics of HTML and how to structure your webpage.
- Used Notepad to write your code and design your site.
- Tested your website locally to iron out any pesky bugs.
- Published your website on the internet for everyone to view.
Remember, creating a website isn’t just a one-time task. It’s a continuous learning process. As the web evolves, so can your skills. Don’t hesitate to explore advanced topics like CSS or JavaScript to enhance your site further! Happy coding, and may your new website attract all the visitors you dream of!