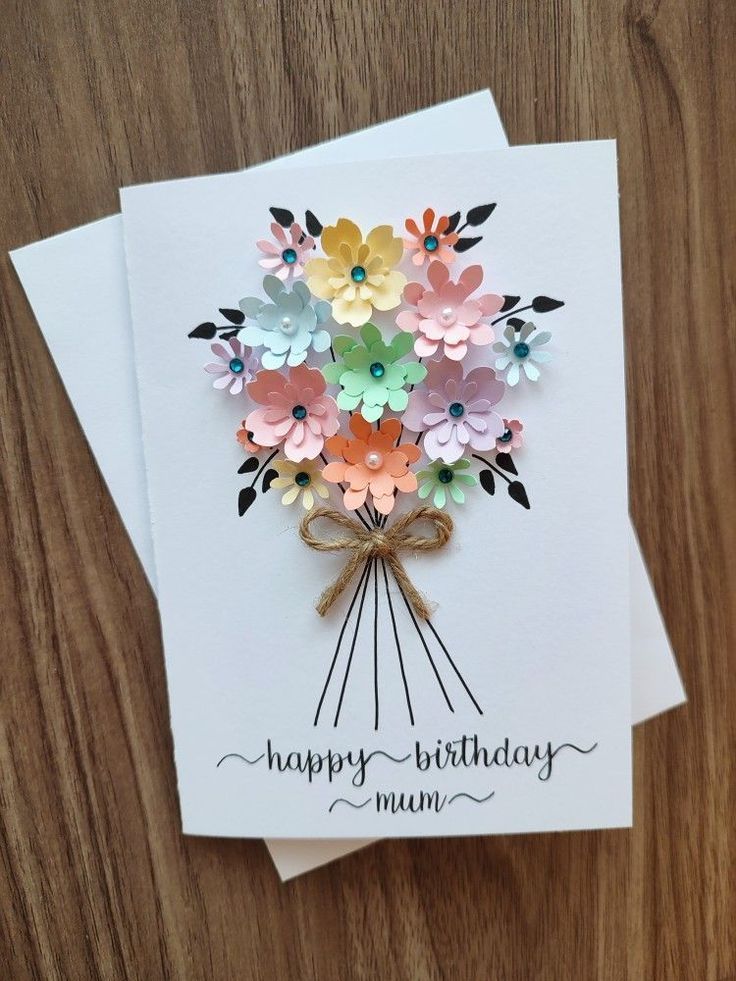
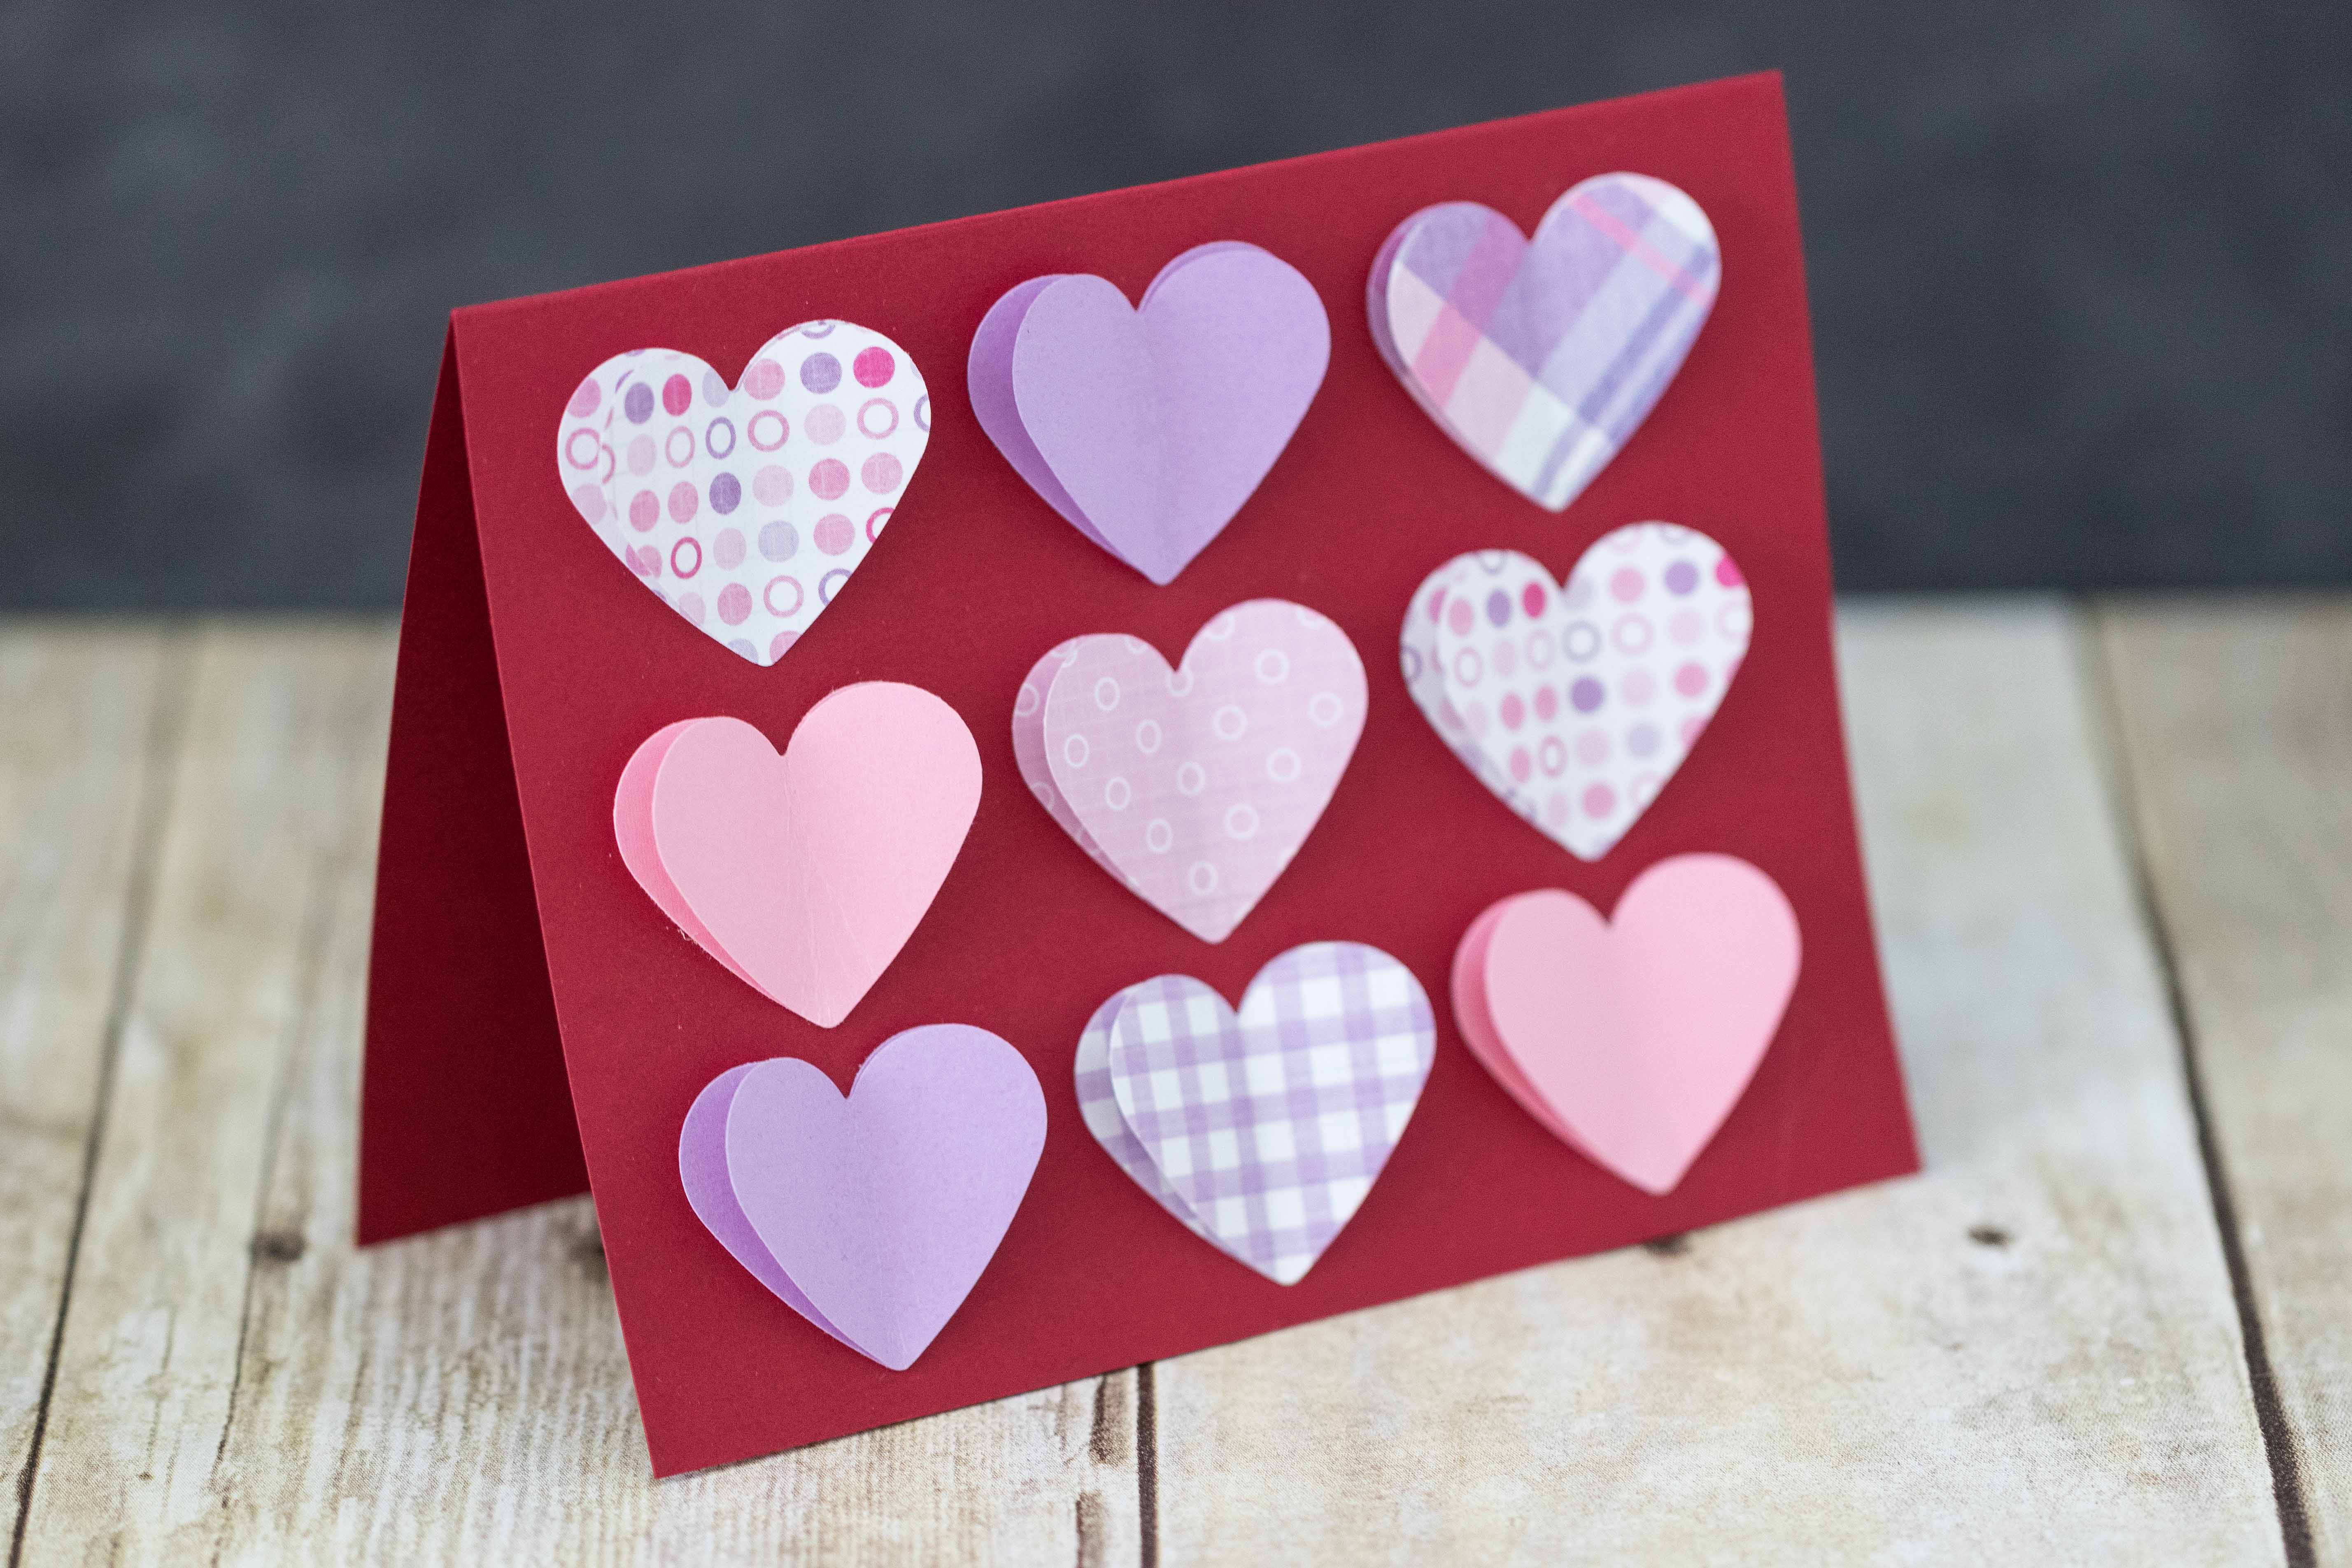
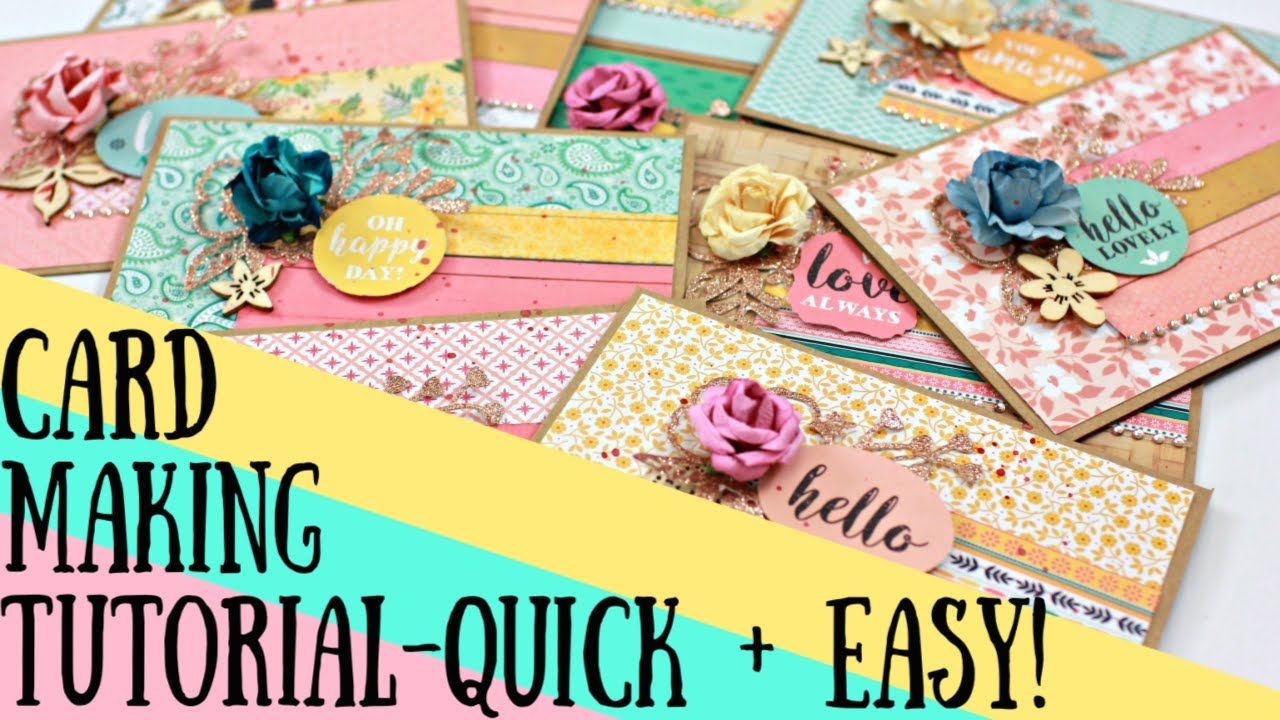
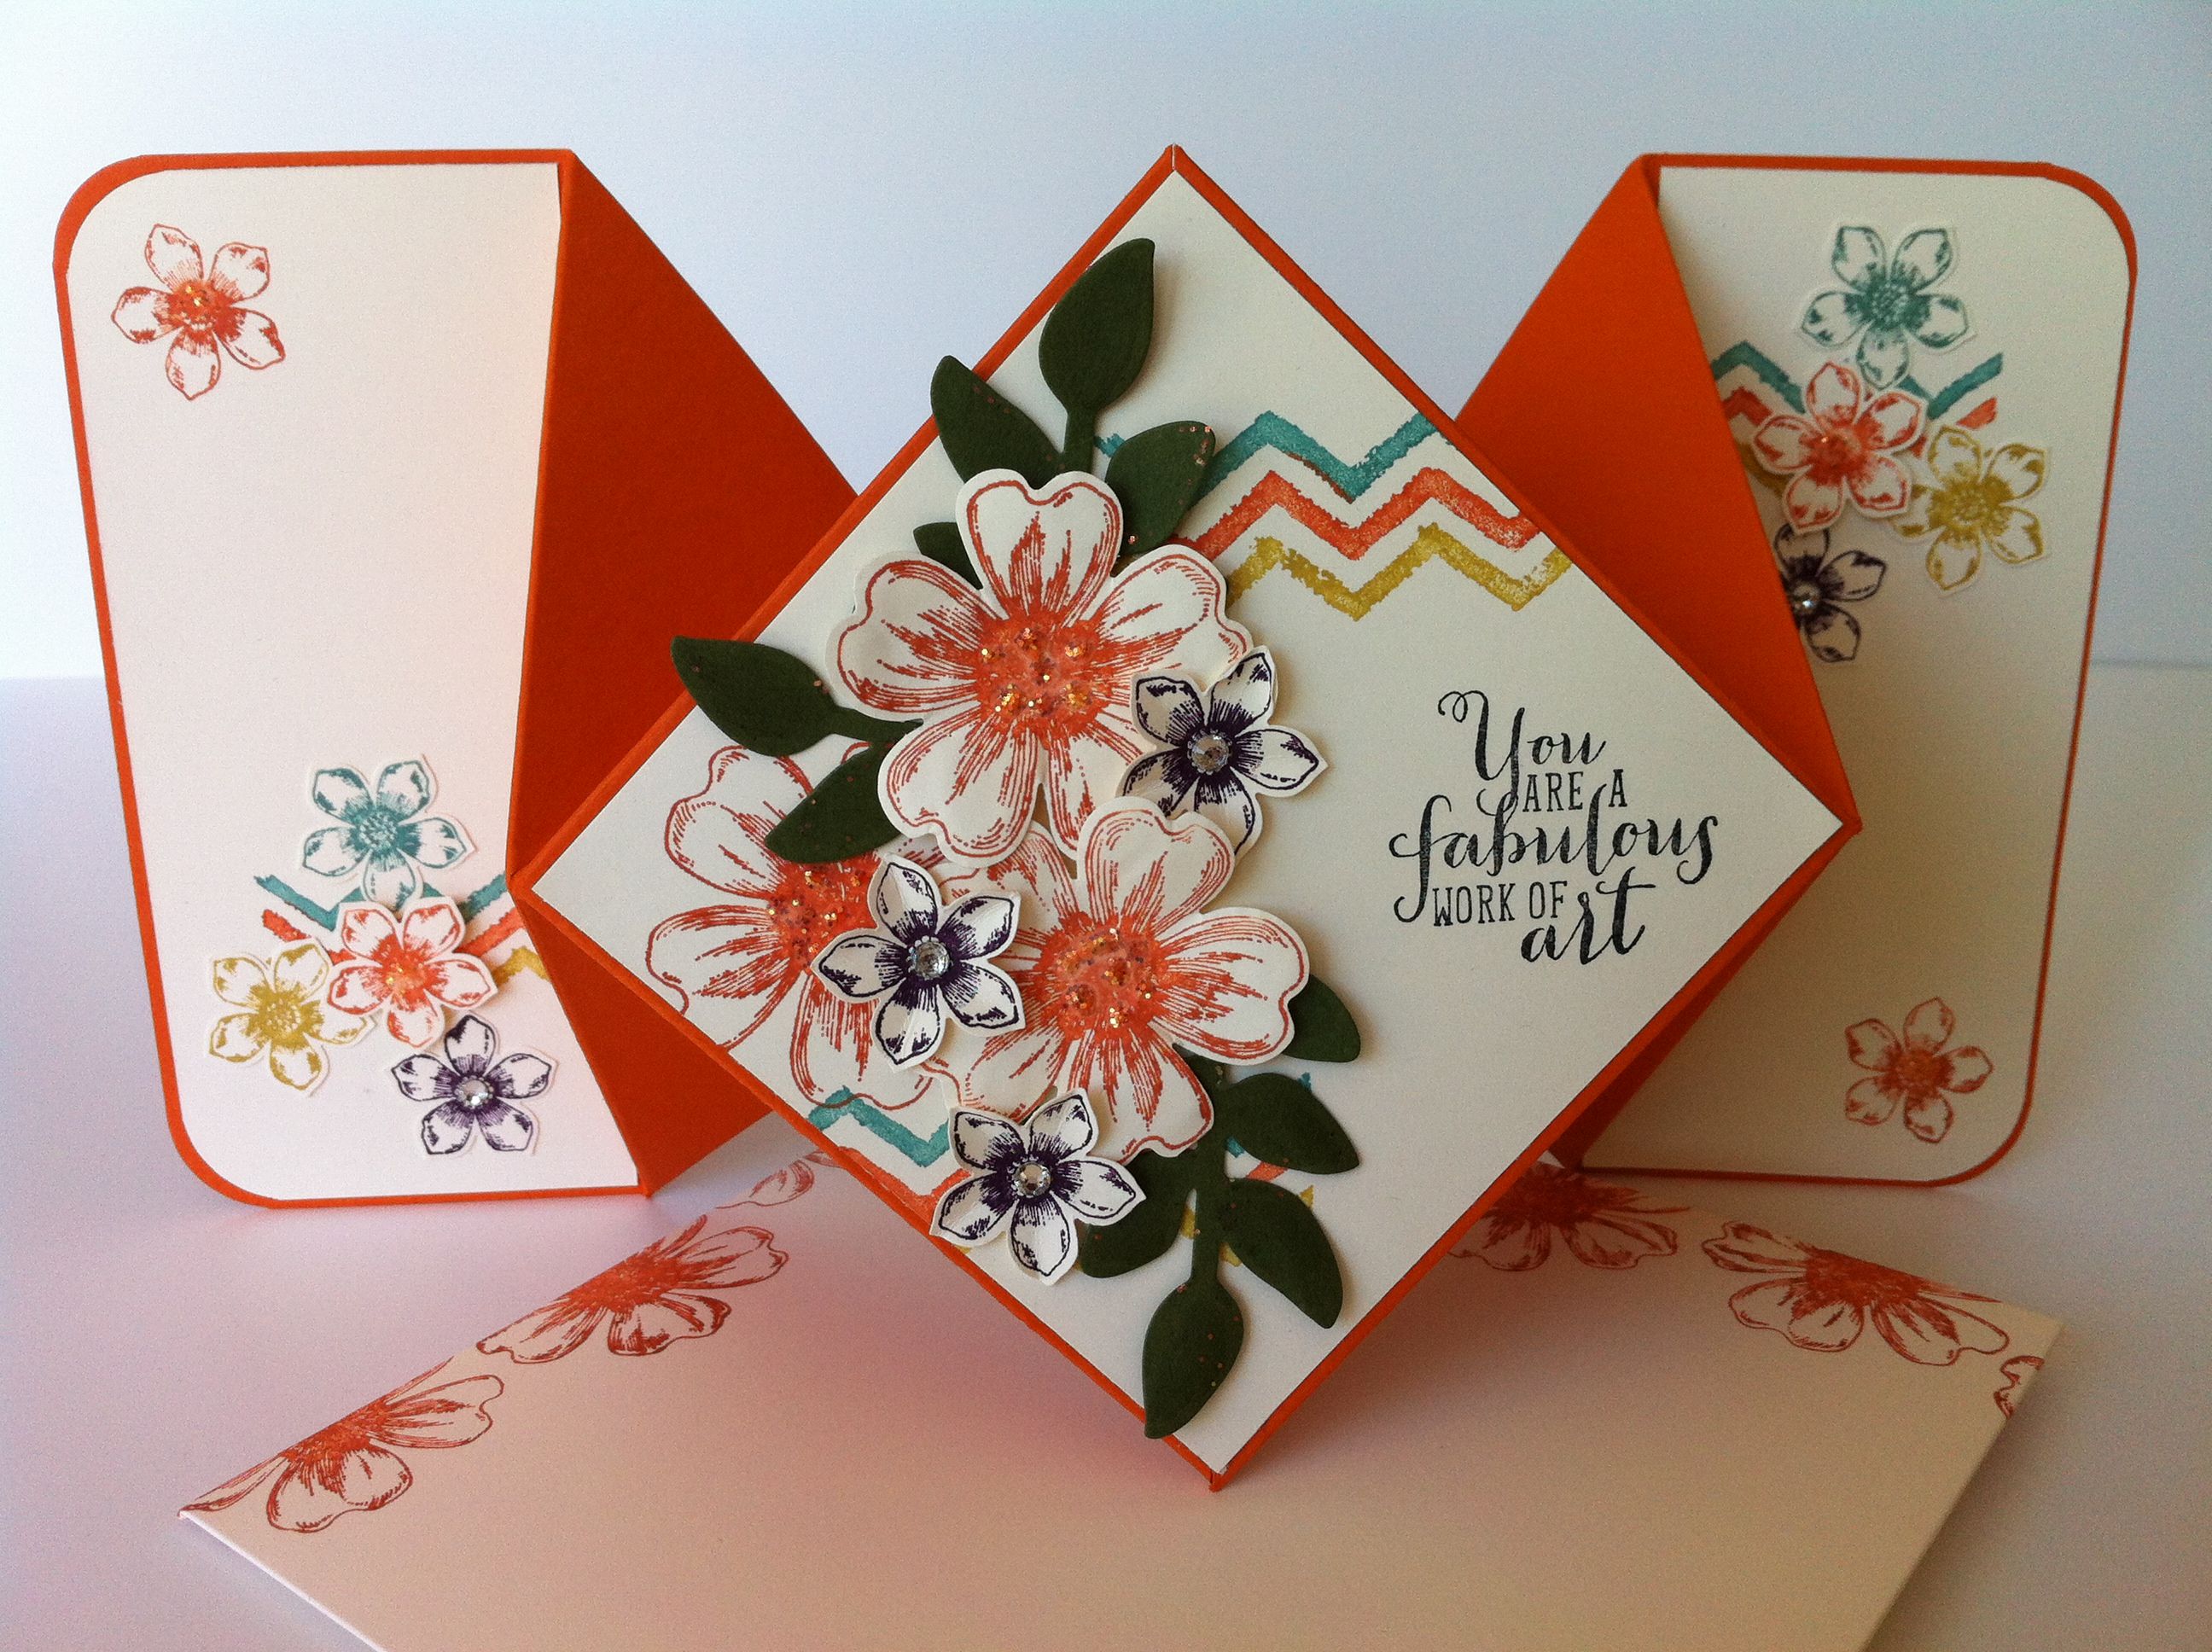
Creating cards at home is a delightful way to express your creativity while personalizing greetings for your loved ones. Whether you’re celebrating a birthday, sending a thank-you note, or even just saying "hello," handmade cards carry a special touch that store-bought options often lack. In this DIY tutorial, we’ll walk you through the steps to make stunning cards from the comfort of your home, using easily accessible materials. So, roll up your sleeves, and let’s get crafting!
Materials You Will Need

Before we dive into the fun part of card-making, it’s essential to gather all the necessary materials. Here’s a handy list to ensure you have everything you need:
- Cardstock Paper: This sturdy paper forms the base of your card. You can choose different colors or textured varieties to suit your design.
- Scissors: A good pair of scissors is essential for cutting your cardstock and any additional embellishments.
- Glue or Double-Sided Tape: Use these for attaching layers or decorations to your card.
- Markers or Colored Pencils: These are perfect for adding personal messages or illustrations.
- Stencils or Rubber Stamps: If you want to add patterns, using stencils or stamps can give your card a professional touch.
- Embellishments: Think stickers, ribbons, or sequins to elevate your card’s design.
- Ruler: This will help you measure and create straight lines, especially if you’re making a fold or cutting out specific shapes.
- Pencil: A pencil is handy for marking out where you want to cut or write before committing.
Having these materials ready will make the card-making process smooth and enjoyable. You don’t need to spend a fortune; often, you’ll find many of these items around your home, making this a budget-friendly creative outlet! Let’s gear up and get crafty!
Also Read This: Real Designers Share Honest Reviews and Feedback About VectorStock
3. Step-by-Step Instructions

Making cards at home is a delightful and rewarding process! Here’s a simple, step-by-step guide to help you create beautiful cards. Ready? Let’s dive in!
Materials You’ll Need
- Cardstock or thick paper
- Markers, colored pencils, or watercolor paints
- Glue or double-sided tape
- Scissors
- Decorative elements (stickers, washi tape, etc.)
- Envelopes (optional)
Instructions
- Choose Your Card Size: Decide on the size of your card. A common size is 5x7 inches, but you can choose whatever suits your needs.
- Cut the Cardstock: Use scissors to cut the cardstock to your desired size. Fold it in half evenly to create a card base.
- Add a Base Layer: Cut another piece of decorative paper slightly smaller than the card front. Glue it onto the front of your card for some extra flair.
- Design Your Front: Here’s where the fun begins! Use your markers, paints, and other supplies to design the front. You can write messages, draw pictures, or even add stickers.
- Let It Dry: If you used any paint or wet glue, let your card dry completely before moving to the next step.
- Add a Greeting: Don’t forget to write a heartfelt message inside! This adds a personal touch that your loved ones will cherish.
- Final Touches: If you like, embellish the inside or outside of the card with washi tape or other decorative elements.
- Envelope It: If you have an envelope, slide your card in, seal it up, and it’s ready to be sent off!
Also Read This: How to Change Background in Adobe Photoshop 7.0
4. Creative Card Design Ideas

Stuck for inspiration on what to design? No worries! Here are some creative card design ideas to spark your imagination. Get ready to unleash your inner artist!
1. Nature-Inspired Cards
Bring the outdoors inside by creating cards featuring flowers, leaves, or trees. You might try:
- Watercolor washes to mimic sunsets or skies.
- Pressed flower designs for a vintage look.
2. Minimalist Cards
Sometimes less truly is more! For a sleek look, go for:
- Simple geometric shapes with a short, impactful message.
- Monochromatic color schemes with bold lettering.
3. Photo Collage Cards
Personalize your cards by adding special photos. You can:
- Print small pictures of memories and arrange them on the front.
- Use a photo as the entire card background!
4. Pop-Up Cards
There's nothing like a surprise! Designing a pop-up card will surely impress the recipient. Consider these ideas:
- A cake that pops up for birthdays
- A scenic landscape that unfolds when opened
The key to card-making is creativity and the personal touch. Your efforts will surely bring joy to whoever receives your handmade card!
Also Read This: Best Getty Images Downloader: Simplifying the Image Downloading Experience
Tips for Making the Perfect Card

Creating the perfect card doesn't have to be daunting. It's all about getting a little creative and personalizing your work. Here are some helpful tips to help you craft gorgeous cards that impress:
- Choose Quality Materials: The foundation of a great card starts with quality paper. Opt for cardstock that is sturdy yet easy to fold and cut.
- Pick a Theme: Decide on a theme before you start. Whether it’s a birthday, holiday, or just a simple "thinking of you," a clear theme will guide your design choices.
- Consider Color Schemes: Colors can evoke emotions, so choose a palette that fits your card’s message. Websites like Adobe Color can provide great inspiration.
- Use Good Tools: Having the right tools can make a world of difference. Consider using a paper cutter, scoring tool, and high-quality adhesives for a professional finish.
- Add a Personal Touch: Make your card special by incorporating personal elements, like a handwritten note, a meaningful quote, or even pressed flowers.
- Practice Makes Perfect: Don’t be afraid to make a few practice cards before settling on your final design. Experimenting is part of the fun!
Remember, the thought you put into your card truly counts. Take your time, and enjoy the process!
Conclusion
Making cards at home can be a fulfilling and creative activity that allows you to express your feelings and share joy with others. With just a few supplies and a pinch of imagination, you can create something truly special.
To recap:
| Steps | Description |
|---|---|
| Gather Supplies | Collect all necessary materials including paper, scissors, and any embellishments. |
| Design Your Card | Sketch your layout and choose a color scheme that reflects your theme. |
| Assemble and Personalize | Cut, fold, and glue components together, then add personal touches. |
As you embark on your DIY card-making journey, remember that the sky’s the limit! Your creativity and efforts are what truly make the cards special. So, roll up your sleeves, unleash your imagination, and have fun crafting lovely cards that will surely brighten someone’s day!
 admin
admin


