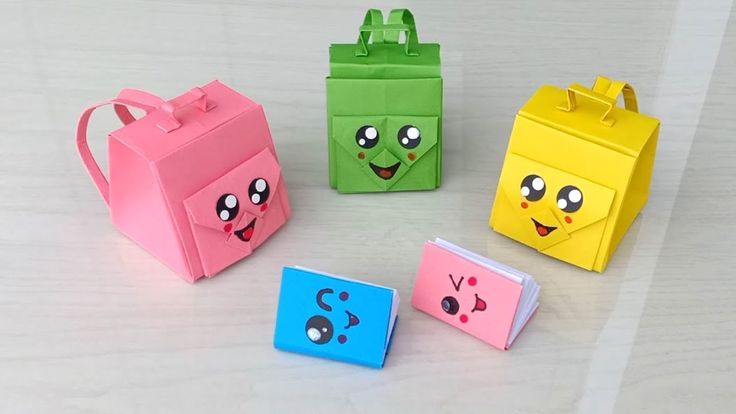
Welcome to our DIY Paper School Bag Crafting Tutorial! Are you looking for a fun and creative way to make your very own school bag? Well, you’re in the right place! Making a paper school bag is not only an enjoyable craft project but also an excellent way to unleash your creativity. Whether for your little ones or a fun gift for a friend, this project is perfect for all ages. Let's take a closer look at what you will need and how to get started on this crafty adventure!
Materials Needed

Before diving into your paper school bag creation, you'll need to gather all the necessary materials. Don’t worry; most of these items are likely lying around your home, making this a budget-friendly project. Here’s a handy list of everything you’ll need:
- Colored Paper: Choose your favorite colors or patterns! Construction or scrapbook paper works great.
- Scissors: A sharp pair for precise cutting of your paper.
- Glue Stick or Liquid Glue: Essential for adhering the different parts of your bag together.
- Tape: Helpful for extra reinforcement on the bag's edges.
- Ruler: For measuring and ensuring nice straight lines.
- Pencil: To sketch out your design before cutting.
- Markers or Crayons: To add fun designs, doodles, or your name on the bag.
- Stickers (Optional): For extra decoration and personalization.
Once you've gathered all your materials, you're ready to embark on this wonderfully creative journey. Just remember that crafting is all about having fun and expressing yourself, so feel free to experiment with colors and designs! Happy crafting!
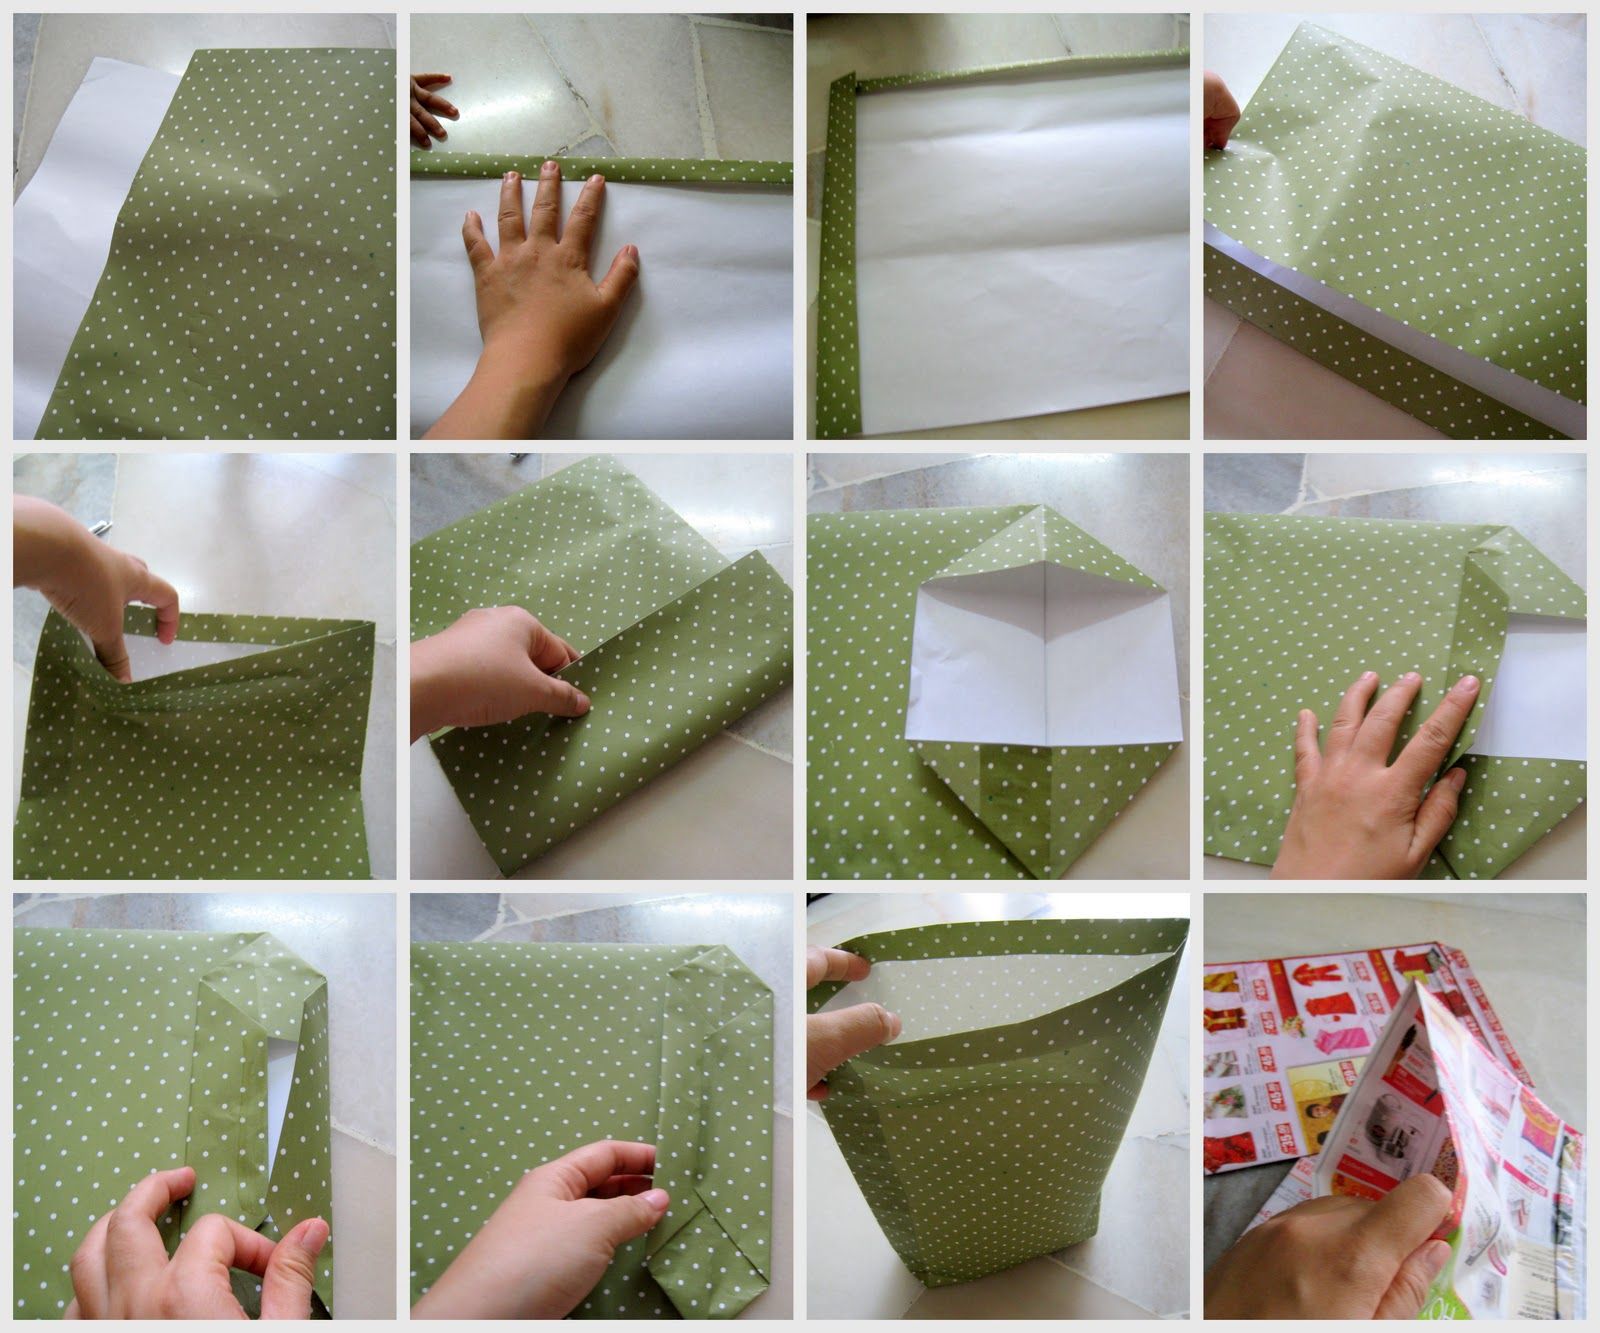
3. Step-by-Step Instructions

Creating your own paper school bag can be a fun and creative project! Let’s break it down into simple, manageable steps. Make sure you have all the materials ready before we dive in. Here’s what you’ll need:
- Several sheets of sturdy paper (craft paper or cardstock work well)
- Scissors
- Glue or double-sided tape
- A ruler
- A pencil
- String or thin rope (for the straps)
- Decorative materials (markers, stickers, etc.)
Now, let’s get started:
- Cut the Main Body: Take one sheet of paper and cut it into a rectangle measuring 12 inches wide by 20 inches long. This will be the main part of your bag.
- Create the Base: From another sheet, cut out a 12x4 inch rectangle. This will serve as the base of your bag.
- Make the Flaps: Cut out two additional rectangles, each measuring 12x6 inches. These will become the flap covers of your bag.
- Fold and Score: On the main rectangle, measure and score (lightly cut) lines at 6 inches and 14 inches vertically. Fold these lines to create the sides of your bag.
- Assemble the Bag: Use glue or tape to secure the sides together, attaching the base piece at the bottom. Make sure it's sturdy!
- Add the Flaps: Attach the two flap pieces to the top edges of the front of the bag. They’ll be folded over once you’re done decorating.
- Create Straps: Cut two long pieces of string or rope. Attach them to the sides of the bag using glue or tape, ensuring they’re secure.
And voila! You’ve completed the basic structure of your paper school bag!
4. Decorating Your Paper School Bag
Now that you have your paper school bag crafted, it’s time for the fun part: decorating it! This is where you can truly express your personality and style. Here are some creative ideas to get you started:
- Color It Up: Use markers, colored pencils, or crayons to add splashes of color to your bag. You could create patterns, doodles, or even a colorful gradient!
- Add Stickers: Stickers are a great way to give your bag some character. Choose stickers that represent your favorite characters, hobbies, or sayings.
- Attach Paper Cutouts: Make paper cutouts of shapes like stars, hearts, or animals, and glue them on the bag for added dimension.
- Personalized Tags: Create a name tag using a small piece of paper or cardboard. Write your name on it and attach it to the bag for a personal touch.
Remember, the beauty of DIY is that there are no strict rules; just follow your imagination! Here’s a quick idea for a decoration project:
| Decoration Idea | Materials Needed |
|---|---|
| Rainbow Stripes | Markers, Ruler |
| Flower Power | Paper cutouts, Glue |
| Inspirational Quotes | Pencil, Colored Markers |
Don't forget to seal any painted areas with a clear varnish or sealant if you want to keep your beautiful decorations intact. Now, go ahead and let your creativity shine through your one-of-a-kind paper school bag!
Tips for Ensuring Durability
When embarking on your DIY paper school bag crafting adventure, it’s essential to think about durability. After all, you want your creation to last through the school year while also securing all your precious supplies! Here are some handy tips to help you ensure that your paper school bag withstands the test of time:
- Choose the Right Materials: Use heavy-duty paper or card stock that can better resist wear and tear. Think about recycling old cardboard boxes, as they're often sturdier!
- Reinforce the Seams: Apply a layer of tape or glue at the seams where the paper gets the most stress. This could be the corners or where the straps attach to the bag.
- Consider Double-Layering: For areas that tend to get more wear, such as the bottom of the bag, consider adding a second layer of paper to bolster that section.
- Seal It Up: A coat of clear sealing spray can work wonders to protect your paper from moisture and dirt. Just ensure it’s suitable for the type of paint or paper you’re using!
- Mind the Weight: Remember to limit the amount of books and supplies you put in your bag. Keeping the load light will help maintain its shape and integrity.
By following these simple tips, you’ll boost the durability of your charming paper school bag and ensure it serves you well throughout your academic adventures!
Conclusion
Crafting your very own DIY paper school bag is not only an enjoyable project but also an empowering way to express your creativity. By carefully selecting your materials, following the crafting steps, and applying some durability tips, you can create a unique bag that reflects your personality.
Here’s a quick recap of why making a paper school bag is a fantastic idea:
- Eco-Friendly: Using recycled materials helps reduce waste and encourages sustainable practices.
- Customizable: You can design your bag exactly how you want it—colors, patterns, and shapes that represent you.
- Cost-Effective: It’s a budget-friendly option compared to buying a new bag from the store!
So, why not gather some supplies and dive into this fun craft? You'll not only create a functional item, but you'll also cherish the memories made during the process. Happy crafting, and let your imagination lead the way!
 admin
admin


