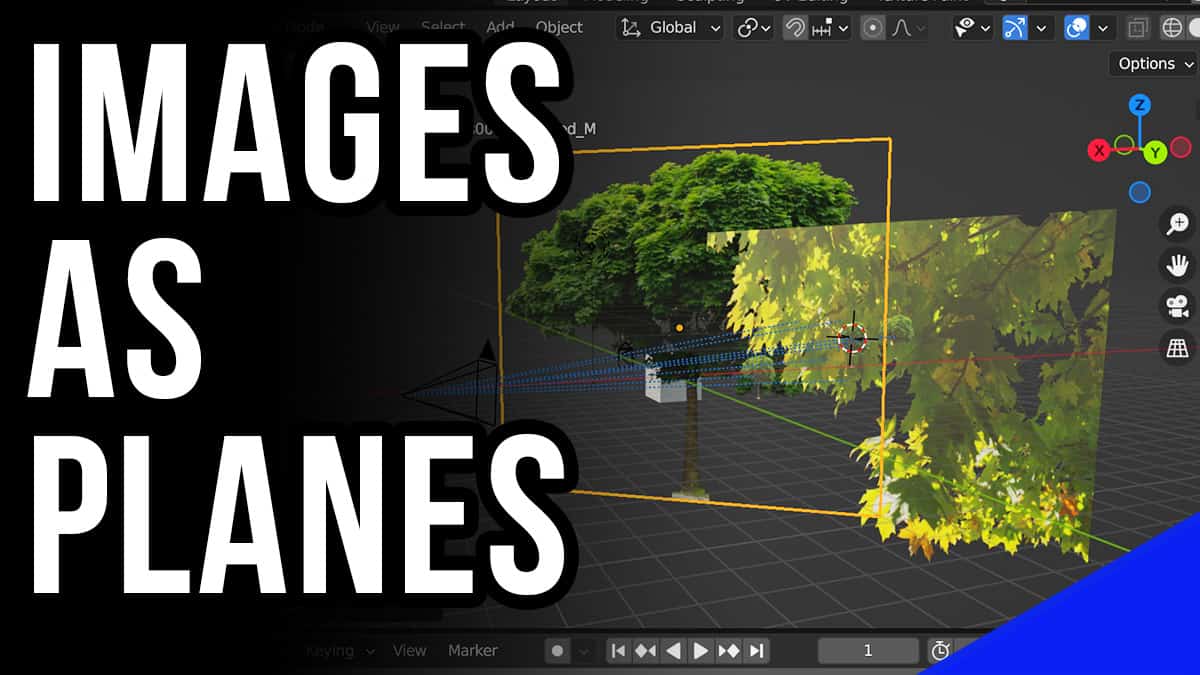
Welcome to the world of Blender! If you're diving into 3D modeling, you might have come across the term "images as planes." This powerful feature allows you to easily bring 2D images into your 3D scenes, enhancing your workflows and creative options. Whether you're using these images for backgrounds, textures, or as reference material for modeling, understanding how to add images as planes can significantly streamline your projects. In this guide, we'll walk you through the prerequisites and steps needed to seamlessly integrate images into your Blender projects. Let's get started!
Prerequisites

Before we jump into the nitty-gritty of adding images as planes in Blender, there are a few essential prerequisites you'll want to have in place. Ensuring that you have the right setup will help make your experience smoother and more enjoyable. Here’s what you need:
- Blender Installed: First and foremost, you need to have Blender installed on your computer. Make sure you're using a version that supports the 'Import Images as Planes' feature, preferably 2.8 and above.
- Basic Knowledge of Blender Interface: Familiarity with the Blender UI is crucial. You should know how to navigate between the 3D view, the properties panel, and other essential areas of the interface.
- Images Ready to Import: Prepare some 2D images that you want to use as planes. These could be PNGs, JPEGs, or other supported formats. Ensure they are of decent quality to make your 3D projects look great!
- Set Up Your Scene: It's always best to have a basic scene set up where you want to import your images. This can simply be an empty project or an existing file where you're building your models.
By checking off these prerequisites, you'll be well on your way to adding images as planes in Blender. Now, let's explore the exciting process in the following sections!
3. Setting Up Blender

Getting started with Blender is as easy as pie, but there are a few essential steps to make sure you're set up for success. First things first, if you haven't already, head over to the Blender website and download the latest version. Once you have it installed, launch Blender and take a moment to familiarize yourself with its interface.
The Blender interface may seem overwhelming at first, but don’t worry! Here’s a quick rundown of the key areas you'll be interacting with:
- Viewport: This is your main area where you navigate and manipulate your 3D models.
- Toolbar: Found on the left side, this is where you’ll find tools for selecting, transforming, and manipulating objects.
- Properties Panel: This is located on the right side, and it’s where you adjust settings and properties of your selected objects, including materials and textures.
- Outliner: This panel keeps track of all the objects in your scene, making it easier to manage and organize your projects.
To make your workflow smoother, ensure that you have optimized your settings. Go to Edit → Preferences and look for display settings to adjust the interface to your liking. If you're planning to work with high-resolution images, ensure your system meets the recommended requirements for optimal performance.
4. Enabling the Image as Plane Add-on
To add images as planes in Blender, you'll need to enable a fantastic built-in feature known as the "Image as Planes" add-on. Thankfully, this process is incredibly straightforward and takes just a couple of clicks!
Here's how you can enable it:
- Open Blender and navigate to the top menu bar.
- Click on Edit, and then select Preferences.
- In the Preferences window, click on Add-ons in the sidebar.
- In the search bar at the top, type in "Image as Plane".
- Check the box next to "Import-Export: Import Images as Planes" to enable it.
Once you’ve done this, you’ll notice that the add-on is now active. You can close the Preferences window safely. This step is crucial as it allows you to load images directly into your scene as flat planes, making it super easy to integrate visuals into your 3D designs.
Now that you’ve set up Blender and enabled the add-on, you’re ready to dive deeper into your creative process. Let’s bring those images to life!
5. Adding an Image as a Plane
Adding an image as a plane in Blender is a fantastic way to bring your designs and projects to life! It allows you to quickly incorporate images into your 3D workspace, making it a great tool for artists and designers alike. To get started, simply follow these steps:
- Open Blender and navigate to the 3D Viewport.
- Press Shift + A to open the Add menu.
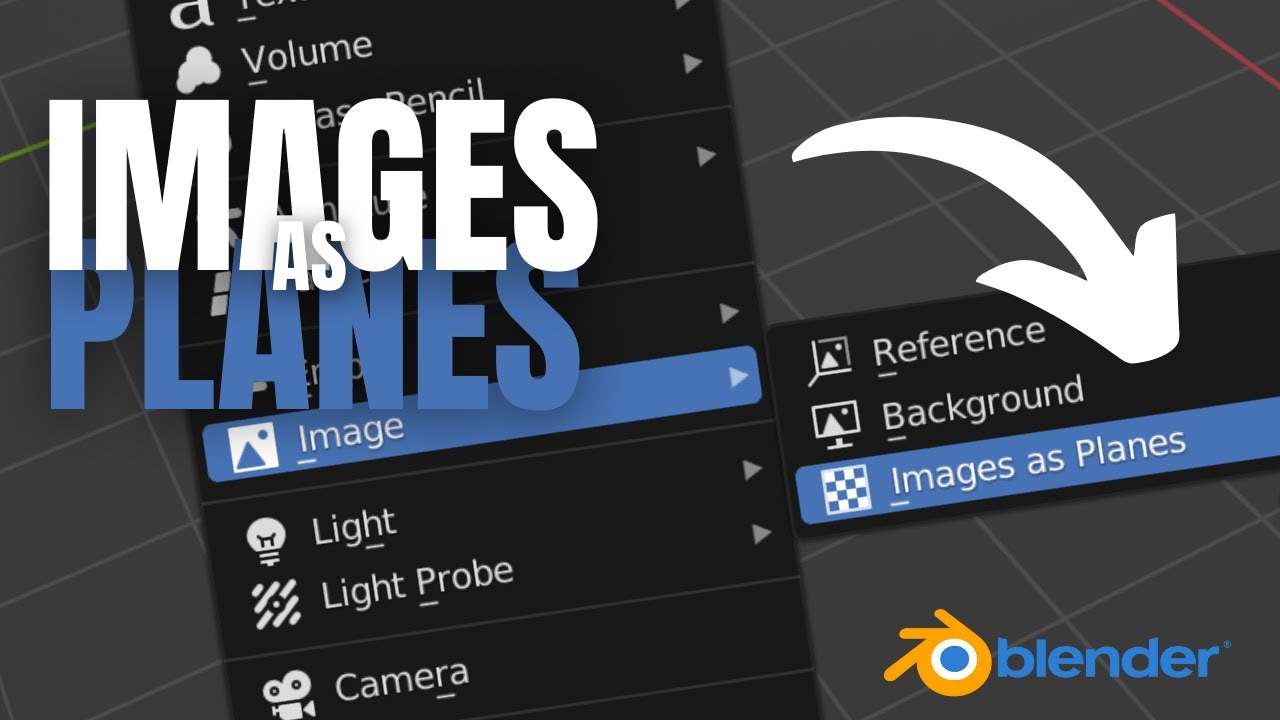
- Scroll down to find the Image option, and from the submenu, select Images as Planes. This option automatically creates a plane that carries your image texture.
- In the file browser that appears, locate and select the image you want to use.
- Hit the Add Image as Plane button.
And just like that, you’ll see your image displayed on a flat plane in the 3D Viewport! This makes it super easy to integrate references or backgrounds into your designs. Moreover, you have the flexibility to scale or rotate the plane to fit your scene perfectly.
6. Adjusting the Plane Settings
Once you’ve added your image as a plane, you might want to customize its appearance or behavior. Blender allows you to adjust a variety of plane settings to suit your project needs better. Here’s how you can tweak those settings:
- Scale: Use the S key to scale the plane up or down, ensuring that it fits well within your scene.
- Material Settings: Go to the Material Properties tab to find options for changing the opacity, brightness, or color of the image.
- Texture Mapping: Under Texture Properties, you can control how the image is displayed on the plane, including options for tiling and mapping coordinates.
Additionally, feel free to experiment with the Display Settings in the Object Properties panel. You can toggle options like visibility in renders and viewport displays, which is particularly helpful for optimizing your workflow.
By fine-tuning these settings, you’ll ensure your image fits seamlessly into your overall design, making your 3D projects more striking and effective!
Using the Image in a Scene
Once you’ve successfully added an image as a plane in Blender, it’s time to get creative! Integrating images into your 3D scene can greatly enhance the realism and appeal of your project. Here’s how to effectively use images as planes within your scene:
- Placement: Position the image plane where it best fits in your scene. You can use the G key to grab and move it around, or R to rotate it for the perfect angle.
- Scaling: Use the S key to scale the image plane up or down to ensure it fits proportionally with other elements in your 3D environment.
- Lighting: Adjust your lights in the scene to ensure your image plane is well-lit. Remember, shadows and highlights can add depth and realism.
- Camera Settings: As you set up your camera, consider the framing. A well-placed image can become a focal point of your scene.
- Texture Mapping: If your image needs adjustments, go into the Material Properties and tweak its UV mapping settings for better alignment.
Don’t forget to experiment with different settings and placements! Blender offers immense flexibility, and sometimes the best results come from a little trial and error.
Troubleshooting Common Issues
As with any software, you might encounter a few bumps in the road when adding images as planes in Blender. But don’t worry! Below are some common issues and handy fixes that can help you get back on track:
| Issue | Possible Solutions |
|---|---|
| Image Not Displaying |
|
| Image Appears Blurry |
|
| Texture Appears Flat |
|
If you run into other issues, the Blender community is a fantastic resource. Many users share their problems and solutions, so you’re likely to find someone who has faced the same challenge!
Blender Guide to Adding Images as Planes
Blender, a powerful open-source 3D modeling software, offers a variety of features to enhance your artistic projects. One useful technique that many artists utilize is adding images as planes. This technique allows you to import a flat image into your scene and makes it usable as a material or background element. Here we will guide you through the steps of adding images as planes in Blender.
Step-by-Step Instructions
Follow these steps to efficiently add images as planes:
- Enable the Add-on: Go to Edit > Preferences > Add-ons. Search for "Import-Export: Import Images as Planes" and enable it.
- Add a Plane: Navigate to the top left corner, click on Add > Image > Add Images as Planes.
- Select Your Image: Choose the image file you wish to import from your computer.
- Adjust Settings: In the file browser, adjust the settings for transparency, material, and how the image is displayed.
- Position the Plane: Once added, you can move, rotate, and scale the plane to fit your scene.
Customization Options
After adding an image as a plane, you can further customize it:
- Material Properties: Change color, transparency, and more in the Material Properties tab.
- Transform Settings: Use the Transform panel to precisely position your plane.
- UV Mapping: Adjust UV mappings if you desire to manipulate how your image looks on the plane.
Common Use Cases
| Use Case | Description |
|---|---|
| Background Images | Set up background scenes for your models. |
| Reference Images | Import images as reference for modeling. |
By utilizing the "Add Images as Planes" feature in Blender, you can significantly enhance your 3D projects and streamline your workflow, allowing for better creativity and more polished visuals.
 admin
admin


