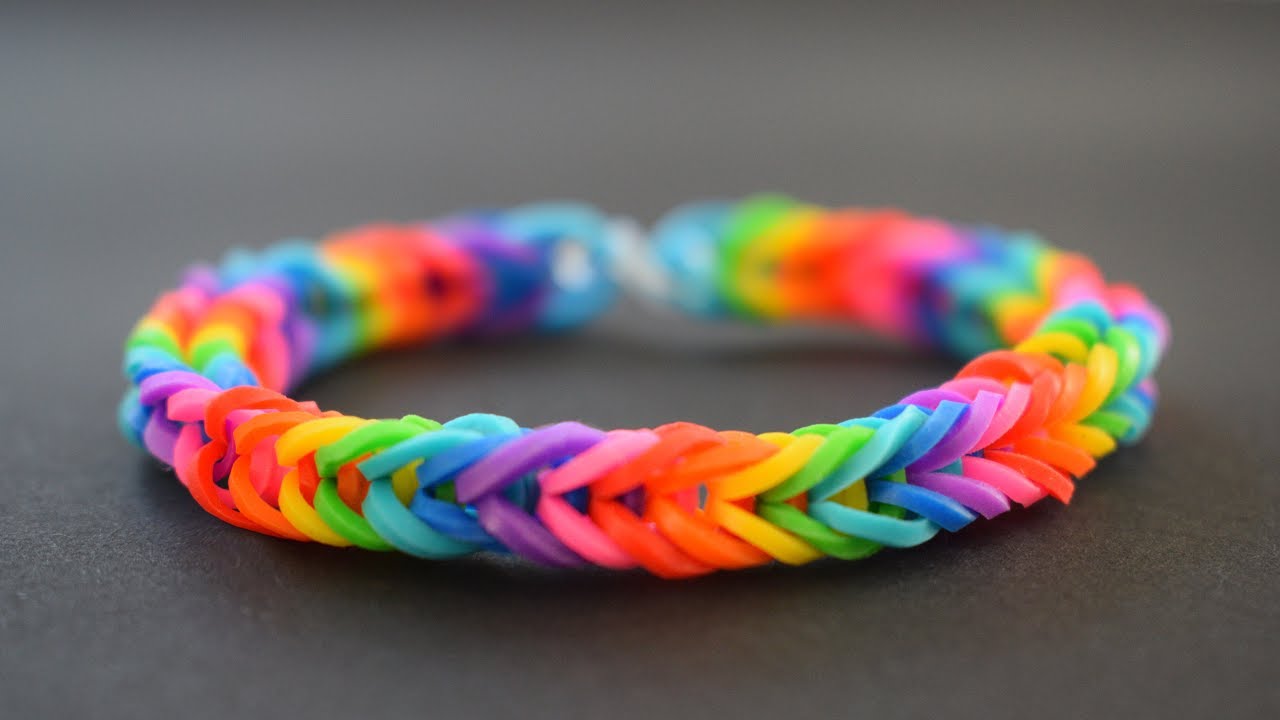
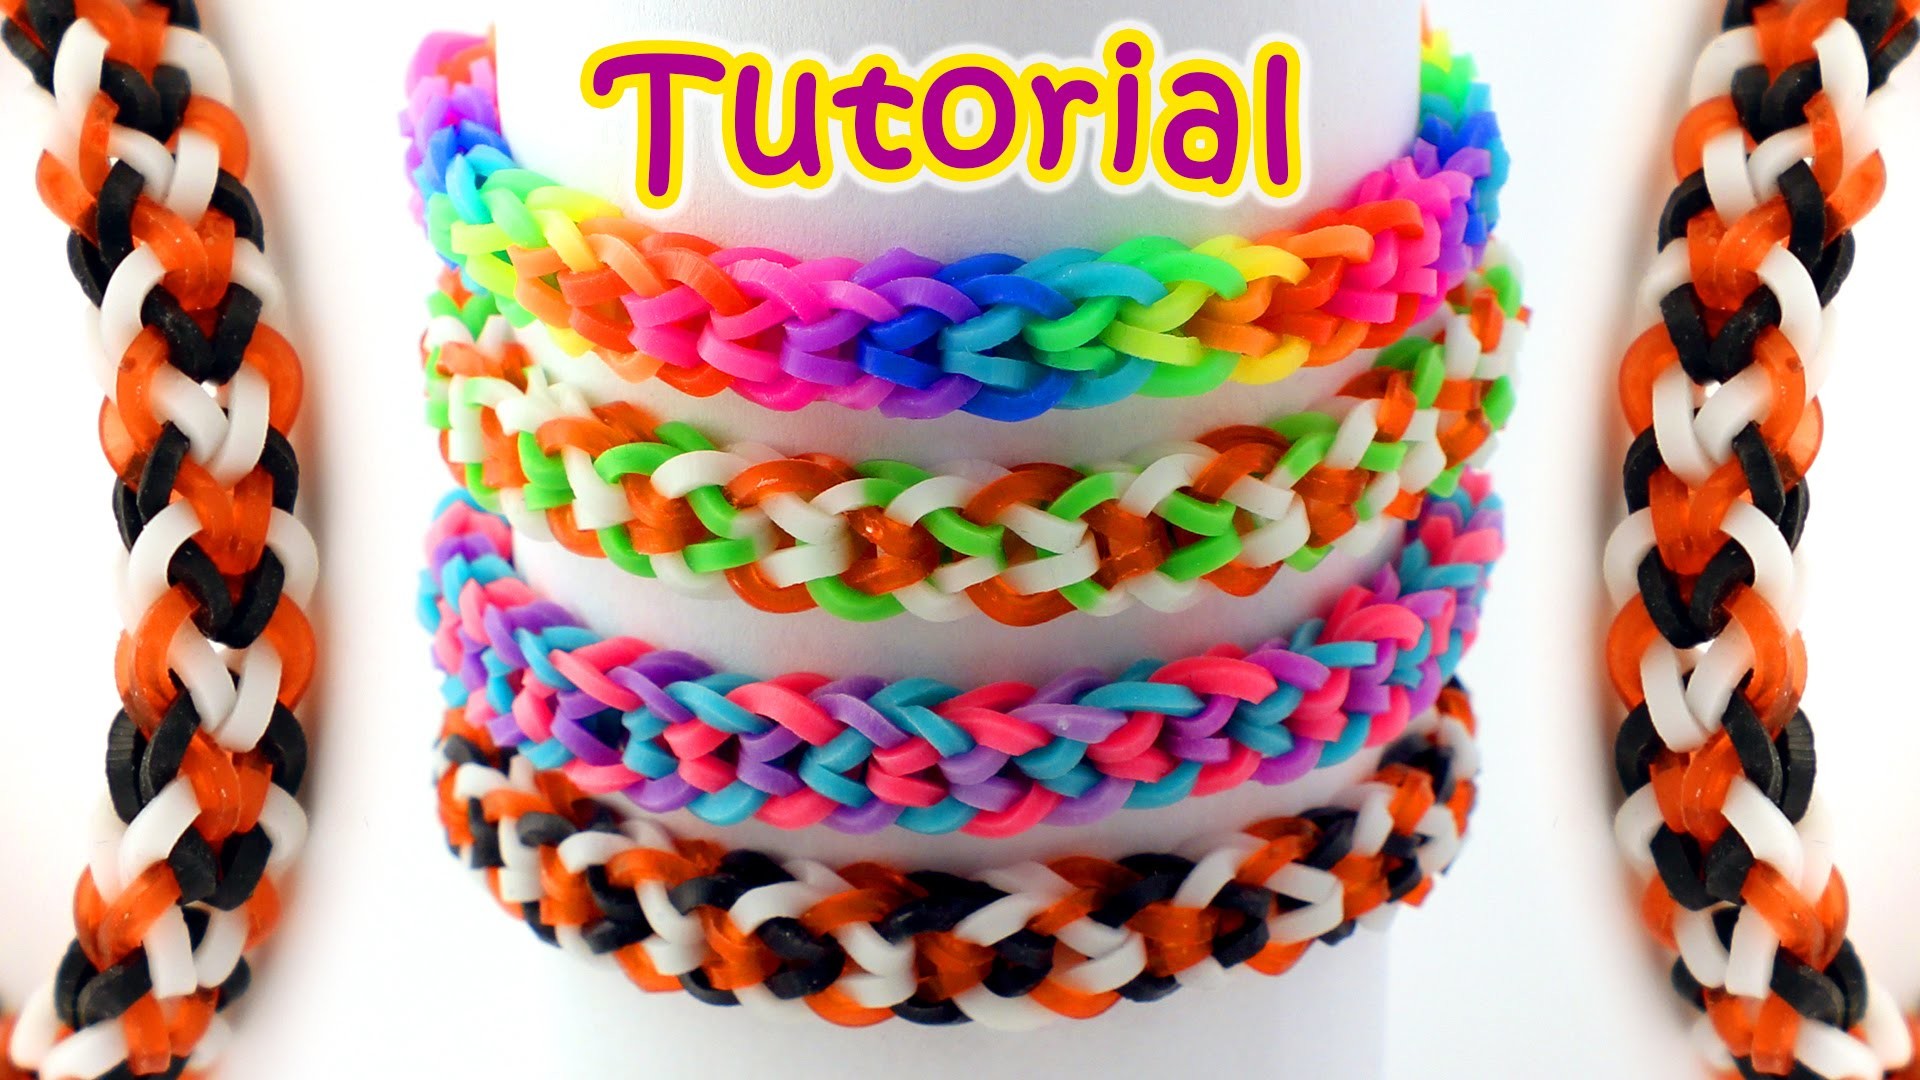
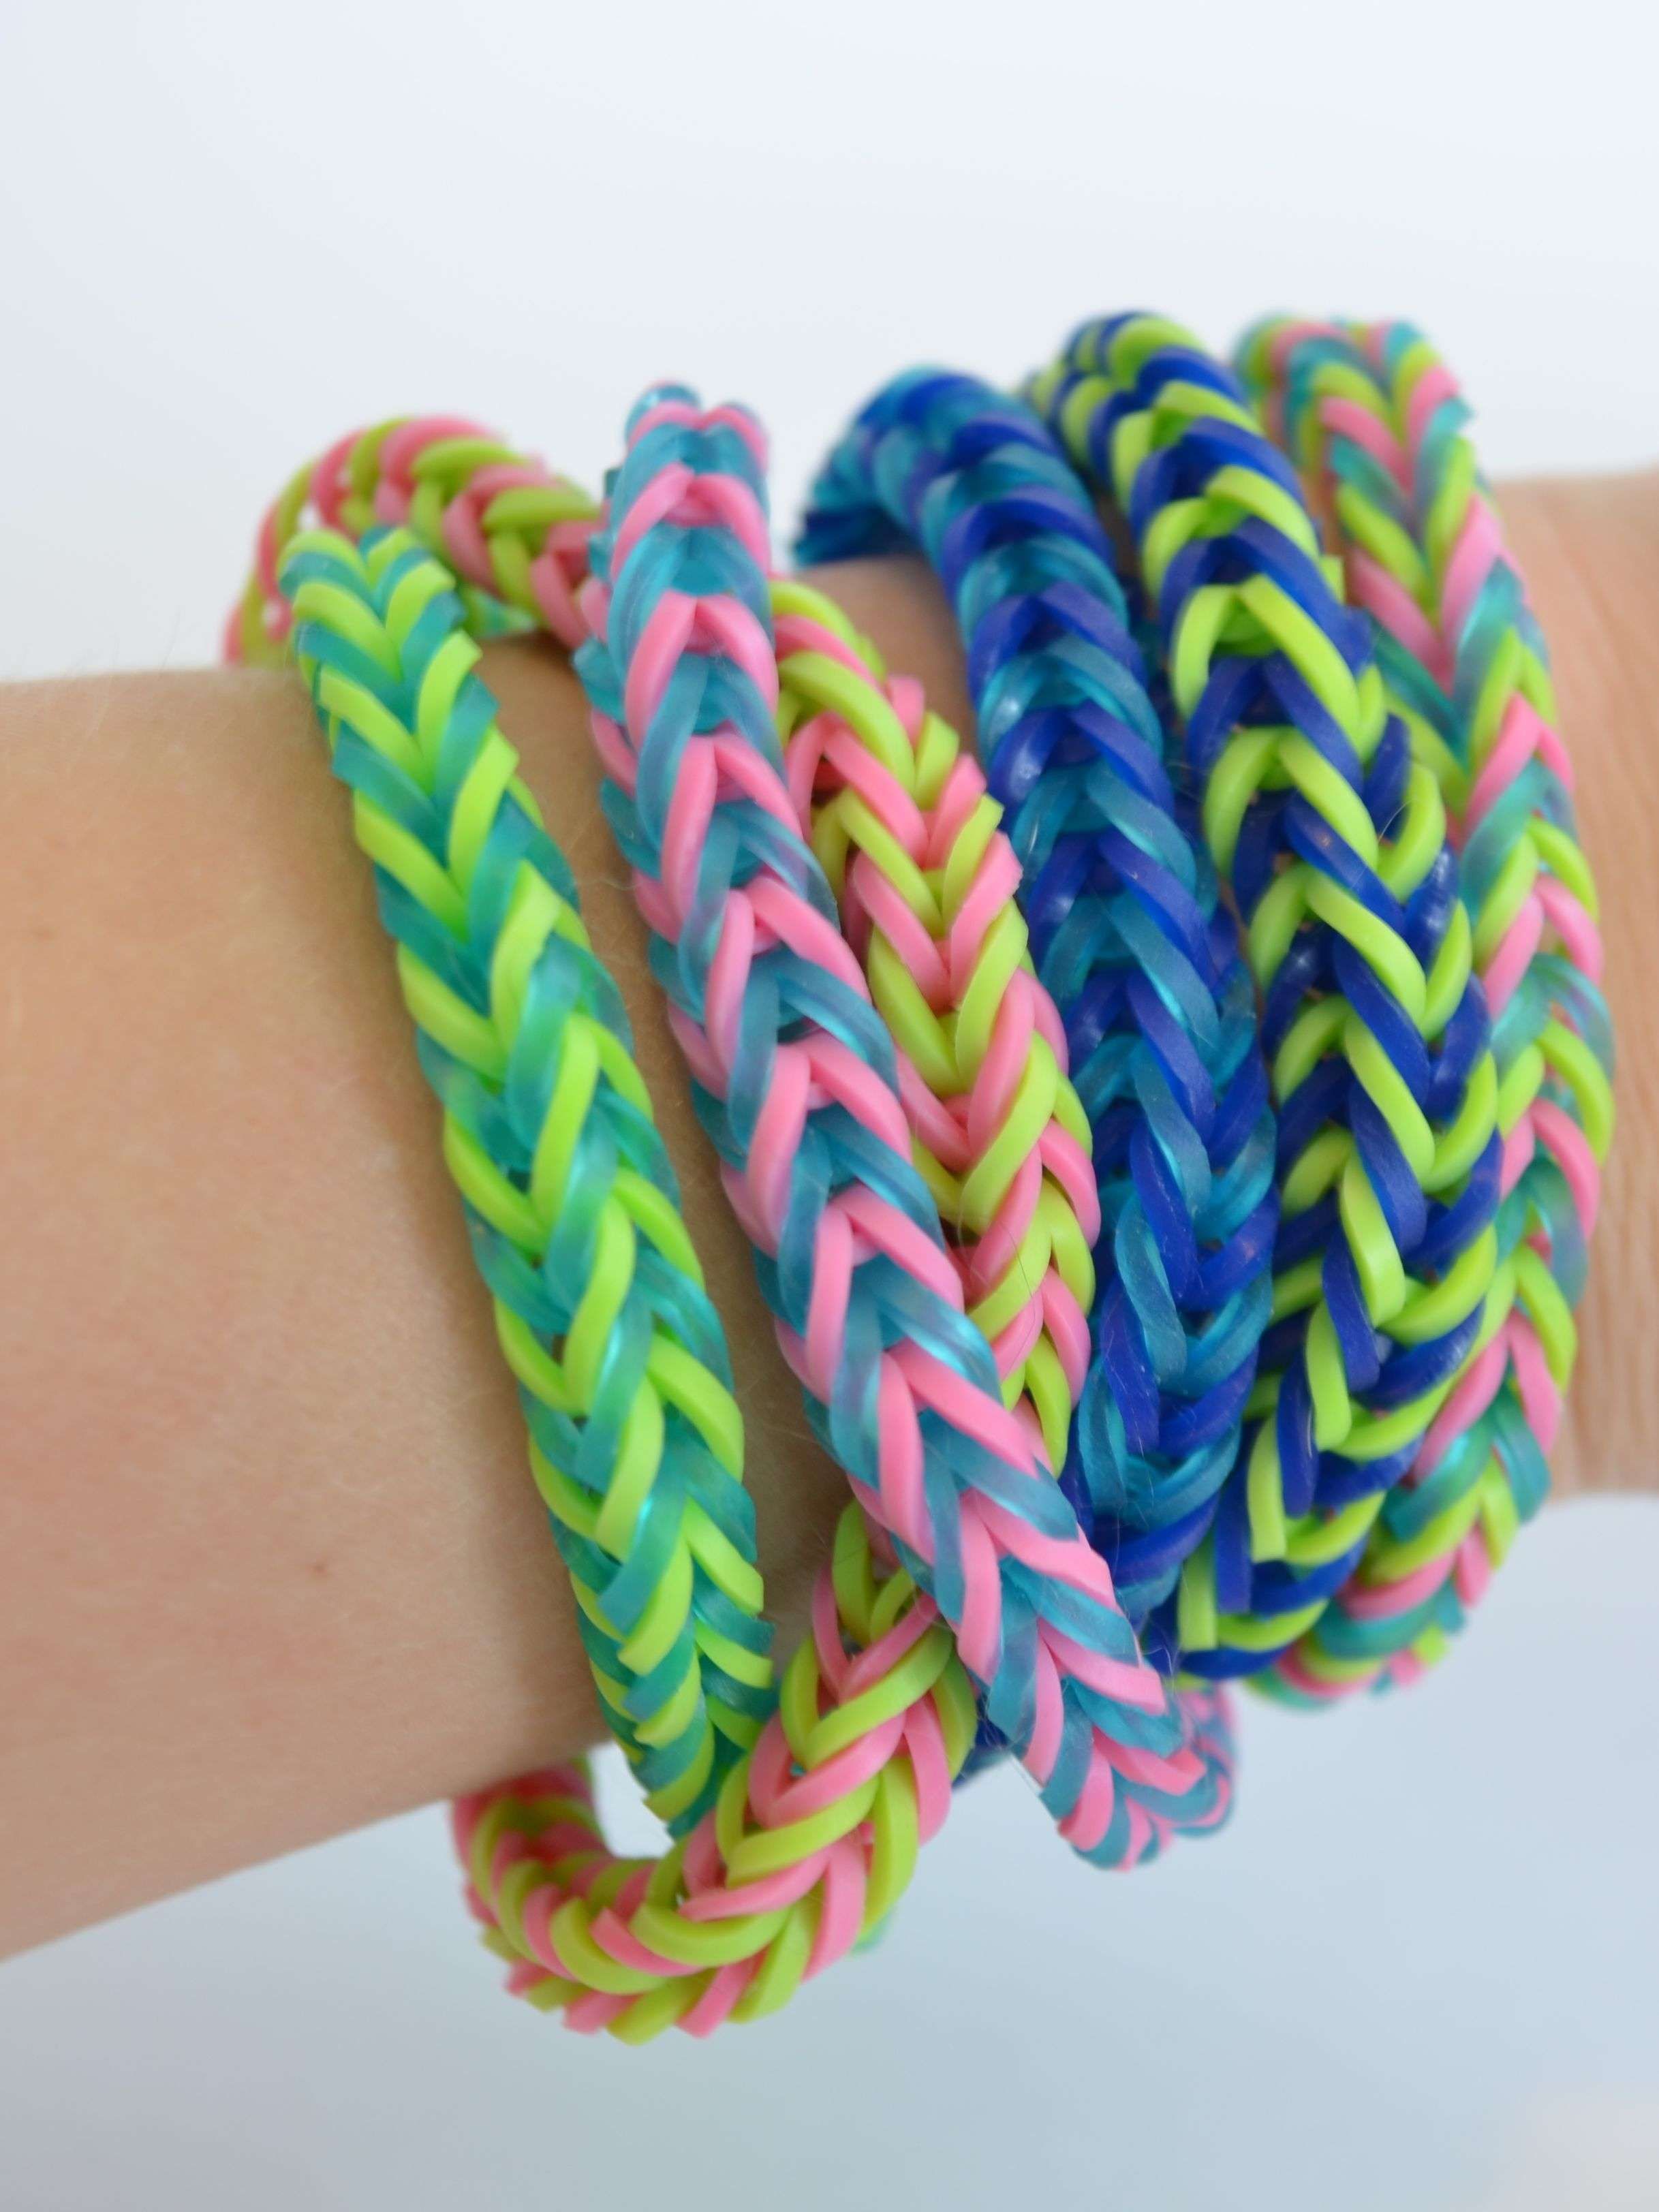
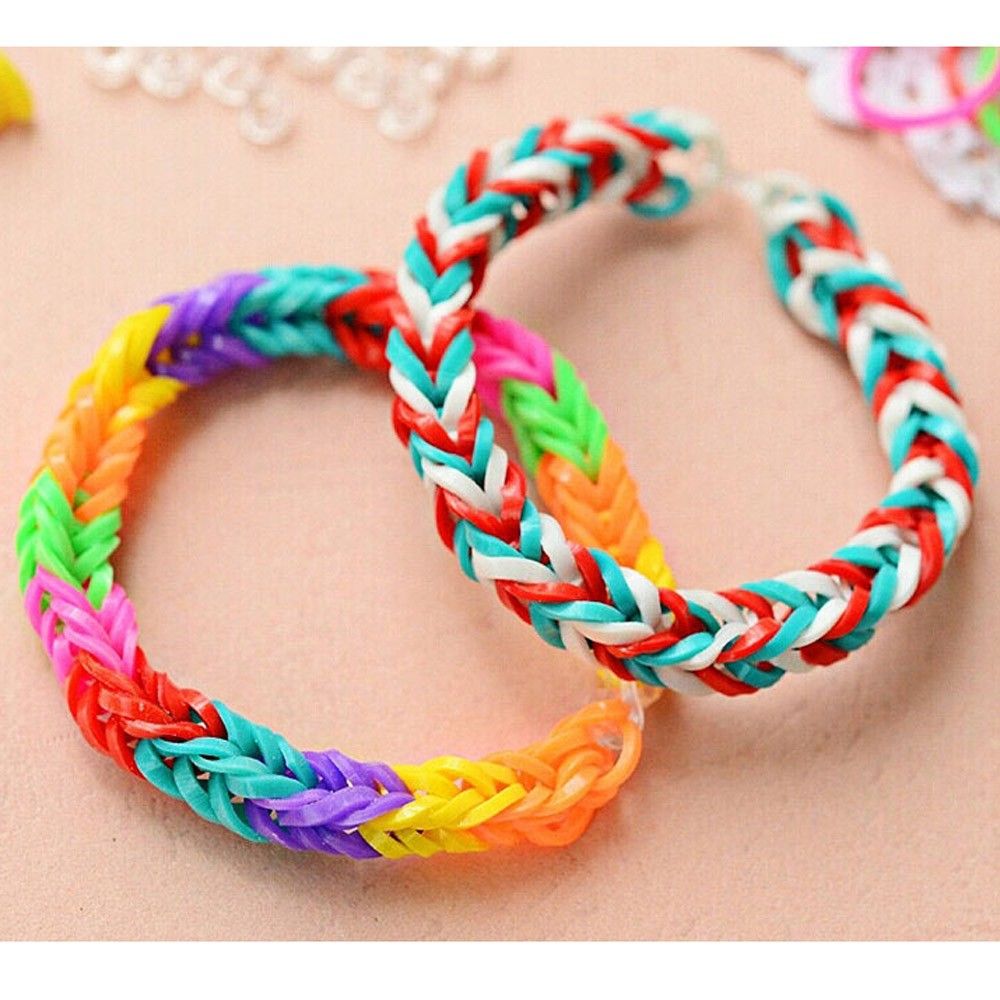
Loom bands have taken the crafting world by storm! Originating as a fun activity for kids, they have now evolved into a popular DIY project for all ages. These colorful, stretchy rubber bands can be crafted into various shapes and patterns, making them perfect for friendship bracelets, keychains, and even intricate jewelry pieces. The great thing about loom bands is their versatility—they can be woven, twisted, or linked together in countless creative ways. And the best part? You don’t need any special tools to start your loom band journey. With just a few simple materials, you can create stunning designs that are sure to impress.
Materials Needed for DIY Loom Bands

Before diving into the exciting world of loom bands, it’s essential to gather your materials. Fortunately, making loom bands is quite simple and doesn't require a lot of expensive supplies. Here’s a handy list of what you will need to get started:
- Loom Bands: You can find these colorful rubber bands at craft stores or online. They often come in packs of various colors.
- Pencils: Regular pencils are a great alternative to traditional loom tools. Their thin shape allows for easy weaving and manipulation of bands.
- Hook Tool (optional): While not necessary, a hook tool can help you pick up and loop bands for more intricate designs.
- Scissors: You may need these to trim any excess bands or to cut your creations at the end.
- Small Container: Keep your loom bands organized by using a small container or bowl to hold the different colors.
Once you have your materials sorted, you’re ready to unleash your creativity and start making fabulous loom band creations using just your pencils and a handful of bands. Let’s get crafting!
Also Read This: How to Make AC at Home Without Electricity: Creative Cooling Methods on Dailymotion
Step-by-Step Guide to Making Loom Bands with Pencils

Making loom bands with pencils is surprisingly simple and fun! All you need are a few basic materials and a bit of creativity. Here’s how to do it:
- Gather Your Materials:
- Loom bands (in various colors)
- Two pencils (preferably the same size)
- A hook or your fingers for pulling the bands
- Set Up Your Pencils: Take your two pencils and place them parallel to each other, about an inch apart. This will act as your loom.
- Start Looping: Take your first loom band and stretch it between the two pencils, creating a figure-eight pattern. This forms your initial loop. Remember, you can mix and match colors for a cool effect!
- Add More Bands: Continue to add more bands to your loom by looping them in a figure-eight fashion. You can add as many colors as you like, making sure to keep the pattern consistent if you want a specific design.
- Weave the Bands: Using your hook or fingers, pull the bottom band over the top band on each pencil. This creates a chain-like effect as you build up your design.
- Finishing Touch: Once your loom band is the desired length, carefully slide it off the pencils and secure the ends by connecting them with a band or tying them together.
And there you have it! You've crafted your very own loom band using just pencils. Try making multiple bands with different designs to create a collection!
Also Read This: DIY Paper Flower Tutorials: Learn Handmade Designs on Dailymotion
Creative Ideas for Loom Band Designs

Now that you know how to make loom bands using pencils, let’s explore some creative design ideas to take your crafting to the next level!
- Friendship Bracelets: Create a set of colorful bracelets to share with your friends. Use unique color combinations to personalize each one!
- Animal Shapes: Experiment with creating loom bands that mimic animals! Think cute bunny ears or a serpent shape.
- Seasonal Themes: Make bands that reflect the seasons; bright colors for summer and warm tones for autumn. You could even do holiday themes like Christmas or Halloween!
- Keychains: Use your loom bands to create fun keychains or zipper pulls. Just attach a charm to a looped band, and you’re all set!
- Jewelry Sets: Design matching pieces such as a necklace, bracelet, and earrings. You can create intricate designs using multiple bands woven together.
To inspire your creativity further, why not try out different techniques or themes? The beauty of loom bands is that you can be as detailed or as straightforward as you want! The possibilities are endless!
Also Read This: Don’t Breathe – Watch the Suspenseful Thriller on Dailymotion
5. Tips and Tricks for Successful Loom Band Projects

Creating loom bands can be a delightful experience, but it helps to have some handy tips and tricks up your sleeve to ensure everything goes smoothly. Here are some practical suggestions to elevate your DIY loom band projects:
- Choose Quality Loom Bands: Opt for high-quality rubber bands. Cheaper bands can break easily, leading to frustration. Look for bands that are stretchy yet durable.
- Use the Right Tools: While pencils are a creative alternative, having a loom board and hook can significantly enhance your crafting experience. If you're experimenting with pencils, ensure they are clean and sturdy.
- Organize Your Workspace: A clutter-free workspace can do wonders. Keep your bands sorted by color in small containers. This not only saves time but also makes your workspace visually appealing.
- Start Simple: If you're new to loom band crafting, begin with straightforward patterns. Once you feel comfortable, gradually move to more complex designs.
- Practice Patience: Some designs can be tricky, so don't rush. Take your time, and don't hesitate to undo and redo steps if necessary. That's part of the learning process!
- Watch for Tension: Maintain even tension in your bands. Too tight might lead to breakage, while too loose can cause your creation to unravel.
Remember, every mistake is just a chance to learn. Enjoy the process, and let your creativity shine!
Also Read This: Master the Art of Crafting Wool Balls with Dailymotion Tutorials
6. Exploring Dailymotion for Tutorial Videos
Dailymotion can be a fantastic resource for anyone looking to dive deeper into the world of loom bands. Not only can you find inspiring ideas, but there are all sorts of tutorials that cater to different skill levels. Let's explore how to navigate Dailymotion effectively:
- Search Smartly: Use keywords like "loom band tutorials" or "DIY loom bands" in the search bar. This will yield a variety of videos from basic to advanced tutorials.
- Filter by Duration: If you’re pressed for time, you can filter the results by duration to focus on shorter videos or, alternatively, longer detailed tutorials.
- Follow Creative Channels: Some users consistently post great content. Consider subscribing to channels that specialize in craft tutorials. You'll get updates when new videos are uploaded!
- Engage with Comments: Check out the comments section. Other crafters often share their experiences, tips, and sometimes additional links to helpful videos.
- Save Favorite Videos: Utilize the 'favorites' feature to save videos you want to try later. This will make it easier to revisit them when you’re crafting.
With a bit of exploration, Dailymotion can turn into your go-to site for all things loom bands, opening up a world of creativity and fun!
DIY Loom Bands with Pencils: Easy Ideas on Dailymotion
Loom bands have taken the crafting world by storm, allowing enthusiasts to create vibrant and intricate designs using simple rubber bands. But did you know that you can make these colorful accessories with just a pencil? This DIY project is a fun and creative way to engage with friends or enjoy a quiet weekend at home. Here’s how you can get started with the basics of DIY loom bands using common household items.
Materials You Will Need
- Colorful rubber bands
- Pencils (preferably with a standard diameter)
- Scissors (for cutting bands if necessary)
- Clips or hooks (for securing your designs)
- Optional: Beads for added decoration
Step-by-Step Guide
Follow these easy steps to create your own loom bands:
- Choose Your Colors: Pick a selection of rubber bands in various colors to match your design vision.
- Prepare the Pencils: Place two pencils parallel to each other, leaving a small gap between them.
- Starting the Band: Loop the first rubber band around the pencils in a figure-eight formation.
- Add More Bands: Continue adding bands, following your desired pattern, until you reach the desired length.
- Secure the Ends: Once finished, carefully remove the bands from the pencils and connect them using a clip or hook.
Video Tutorials
For visual learners, check out the easy-to-follow tutorials on Dailymotion that will guide you through each step, showcasing various designs and techniques.
Conclusion and Encouragement to Get Started
Creating DIY loom bands with pencils is an enjoyable craft that requires minimal supplies and can yield stunning results. So gather your materials, watch some inspiration on Dailymotion, and unleash your creativity today!
 admin
admin


