In the digital era, YouTube has become a treasure trove of music, ranging from official tracks to user-generated remixes. The allure of having your favorite tunes at your fingertips is undeniable. However, how do you record music from YouTube and save it for offline listening? In this guide, we’ll walk you through various methods while keeping your rights and the law in mind. Remember, it's crucial to respect artists and their hard work while enjoying their music! Let’s dive in.
Understanding Copyright Regulations
When it comes to recording music from YouTube, the first thing you need to understand is copyright law. Music, whether in videos or as standalone tracks, tends to be protected under copyright. Here’s a breakdown of what that means and why it’s essential:
- Ownership: Artists and production companies typically hold the copyright to their music. This means they have the exclusive rights to distribute, reproduce, and perform their work.
- Fair Use vs. Infringement: Fair use allows limited use of copyrighted material without permission for specific purposes, like critique or education. However, using music for personal listening usually falls outside this category.
- Licensing: Some platforms offer licensing programs that allow you to legally use songs for a fee. Always check if the music you intend to record falls under this.
- Potential Consequences: Recording and distributing copyrighted music without permission can lead to copyright infringement claims. This may result in fines and the removal of content.
To navigate these waters smoothly, consider searching for royalty-free music websites or platforms that offer music under Creative Commons licenses. By understanding copyright regulations, you can enjoy your favorite melodies without legal headaches. So, while the temptation to record is real, make sure you’re on the right side of the law!
Also Read This: Can I Use Streamable for Free? Here’s the Quick Answer
3. Requirements for Recording Music from YouTube
Before diving into the various methods of recording music from YouTube, it’s essential to gather your tools and ensure you meet the necessary requirements. This will help ensure a smoother experience and improve the quality of your recordings. Here’s what you’ll need:
- Computer or Laptop: A device capable of running recording software or applications.
- Stable Internet Connection: A good quality internet connection will prevent buffering, ensuring you get the best audio quality.
- Recording Software: There are many options available, both free and paid. Some popular ones include:
- Audacity (free)
- Adobe Audition (paid)
- OBS Studio (free)
- Headphones: While not strictly necessary, using headphones can help you monitor the recording without any interference from external sounds.
- File Format Requirements: Familiarize yourself with the audio formats you want to save your recordings in, such as MP3 or WAV. Most recording software will give you the option to choose.
With these essentials in place, you’ll be well prepared to start recording your favorite tracks from YouTube. Remember, respecting copyright and adhering to legal use guidelines is crucial. So while having fun creating your playlists, keep the laws in mind too!
Also Read This: how to anchor an image in word
4. Methods to Record Music from YouTube
Recording music from YouTube can be done in several ways, depending on your needs and technical preferences. Below, you will find a variety of methods that suit different skill levels and requirements:
- Using Recording Software:
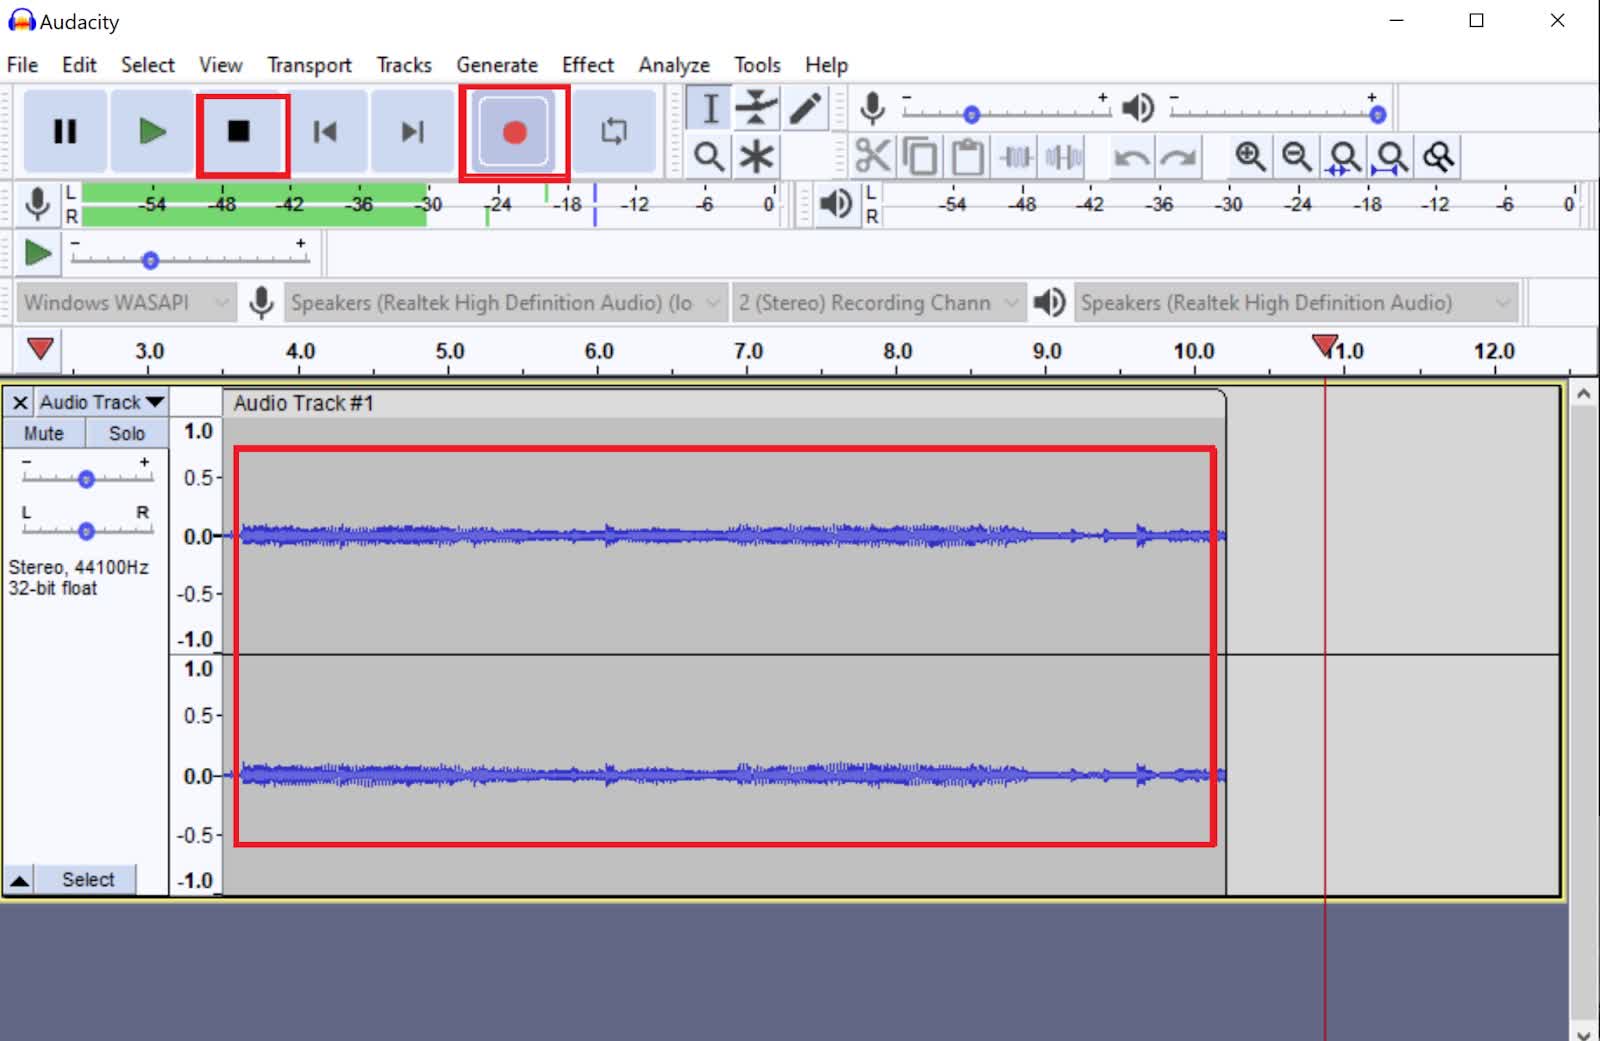
This is one of the most versatile options. Programs like Audacity or Adobe Audition allow you to record audio directly from your computer's sound system.
Here's how to do it:
- Download and install the recording software.
- Set your input source to system audio.
- Open YouTube and play the music you want to record.
- Hit the record button in your software.
- Stop recording when the music has finished.
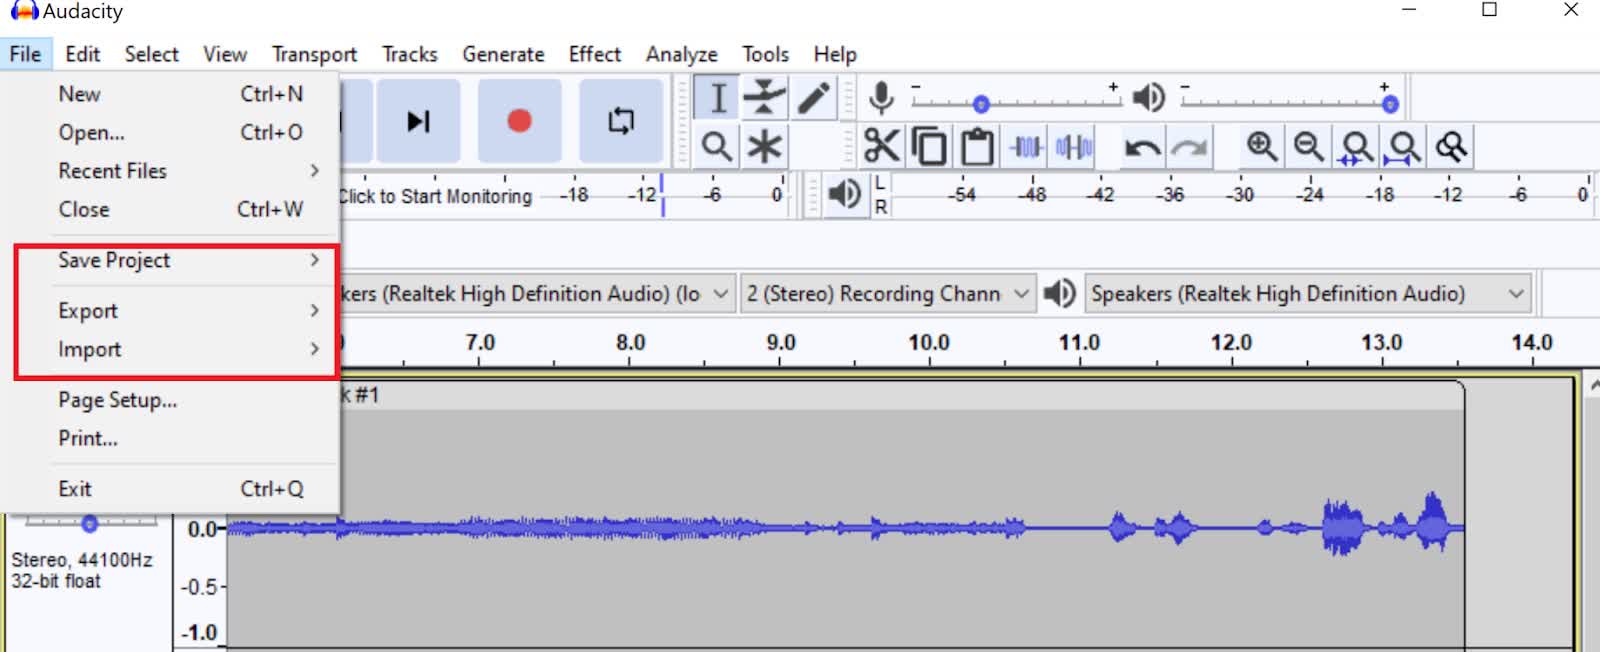
- Export the file in your desired format.
- Using an Online Converter:
If you're looking for a quick and easy option, online converters like YTMP3 or Convert2MP3 can be useful. Just paste the URL of the YouTube video, choose your desired audio format, and download it directly!
- Browser Extensions:
Many browser extensions are available for this purpose. For example, you can use YouTube MP3 Downloader or Video DownloadHelper. They often integrate directly with your browser and allow you to download audio with just a few clicks.
- Mobile Apps:
If you’re on the go, consider using smartphone apps like TubeMate for Android. These apps typically allow you to download music directly to your phone for offline listening.
Each of these methods has its pros and cons, so you can choose based on what suits you best. Happy recording!
Also Read This: how to cancel adobe stock plan
5. Using Software Applications
When it comes to recording music from YouTube, software applications are often the go-to solution for many enthusiasts and professionals alike. They are designed to capture audio seamlessly, making the process relatively straightforward. So, what are some of the best software applications you can use? Let’s break it down!
1. Audacity: This is a free, open-source audio editing software that works well for recording music. You can easily set it up to capture sound directly from your speakers. Plus, it offers various editing options to enhance the recorded audio. Just make sure to install the necessary plugins to record from your computer’s sound system.
2. Adobe Audition: If you’re looking for something more professional, Adobe Audition might be your best bet. It’s part of the Adobe Creative Cloud suite and provides advanced editing tools, multi-track editing, and excellent sound quality. However, it comes with a subscription fee.
3. GarageBand: If you’re a Mac user, GarageBand is a fantastic choice. It’s user-friendly, offers a wide range of audio effects, and allows you to create new tracks alongside the music you’ve recorded. Just grab your favorite YouTube track and add some of your own flair!
4. OBS Studio: Originally designed for live streaming, OBS Studio can also record your computer’s audio. It’s free and supports multiple platforms, making it versatile for different users.
In summary, choosing the right software boils down to your specific needs—whether you want simplicity, advanced features, or a combination of both. Happy recording!
Also Read This: How to Download a Clip from a YouTube Video Easily
6. Online Tools for Recording Music
For those who prefer convenience without downloading extra software, online tools for recording music from YouTube offer a great alternative. These tools typically work directly in your browser, allowing you quick access to recording without much hassle.
1. Online Voice Recorder: This straightforward tool allows you to record any sound playing from your computer’s speakers. It’s user-friendly—just press the record button while the music is playing. Plus, it saves audio files directly to your device in various formats.
2. Apowersoft Free Online Audio Recorder: This feature-rich tool enables you to record both audio from your computer and from your microphone. The interface is clean, making it easy for anyone to use. It even allows you to choose the audio source, so you can focus solely on recording the music.
3. Soundation: While primarily a music creation tool, Soundation also allows users to record audio via their platform. This can be fantastic for musicians looking to layer sounds or create new tracks from existing music.
4. Ytmp3.cc: Although it’s primarily a YouTube to MP3 converter, Ytmp3.cc also allows you to capture music from videos directly. It’s quick and easy—simply paste the YouTube link and download the audio in seconds.
When choosing an online tool, remember that most options are free, but some may come with limitations on file size or length. It’s always a good idea to explore a couple of options to find what fits your needs best. Enjoy your offline listening experience!
Also Read This: How to Sell My Photos to Getty Images for Profit
7. Saving and Organizing Your Recorded Music
So, you've successfully recorded your favorite tunes from YouTube—now what? The next step is all about saving and organizing that music in a way that makes it easy for you to access and enjoy later. Here’s how to do just that!
Saving Your Music: Once you finish recording, the first thing you want to do is save the file. Most recording software will prompt you to choose a location on your computer. Consider creating a specific folder solely for your music recordings. Here’s a simple way to set it up:
- Create a main folder called “YouTube Music” on your desktop or in your music library.
- Inside that folder, create subfolders categorized by artist, album, or genre.
- Save your recordings in their appropriate subfolder to keep everything tidy.
Organizing Your Music: Once your music is saved, organization is key! Here are some tips:
- *Use meaningful file names. Instead of "recording1.mp3," rename files to include the song title and artist. For example, "Imagine_John_Lennon.mp3."
- Add tags and metadata. This can help you find songs quickly using your music player.
- Create playlists. Group together similar songs, or create a “Chill Vibes” playlist for those laid-back moments.
Organizing your recordings won’t just make your life easier; it’ll enhance your listening experience, allowing you to find and enjoy your favorite tracks in a heartbeat!
8. Conclusion and Best Practices
Recording music from YouTube is a fantastic way to curate a personal library of your favorite tracks without the hassle of purchase subscriptions. However, while it can be rewarding, it’s essential to approach this with care and consideration for copyright laws.
In conclusion, here are some best practices:
- Check copyright regulations. Always be mindful of the legalities around recording music.
- Use high-quality recording software. This ensures better audio quality for your recordings.
- Label your files correctly. It makes it easier to find your music later.
- Create regular backups.* Consider using cloud storage to safeguard your files.
By following these tips and being responsible, you can create a fantastic offline music library that you can enjoy anytime, anywhere. Happy listening!
 admin
admin


