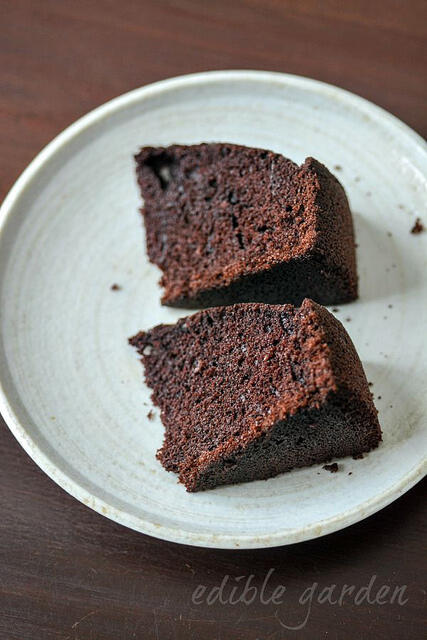
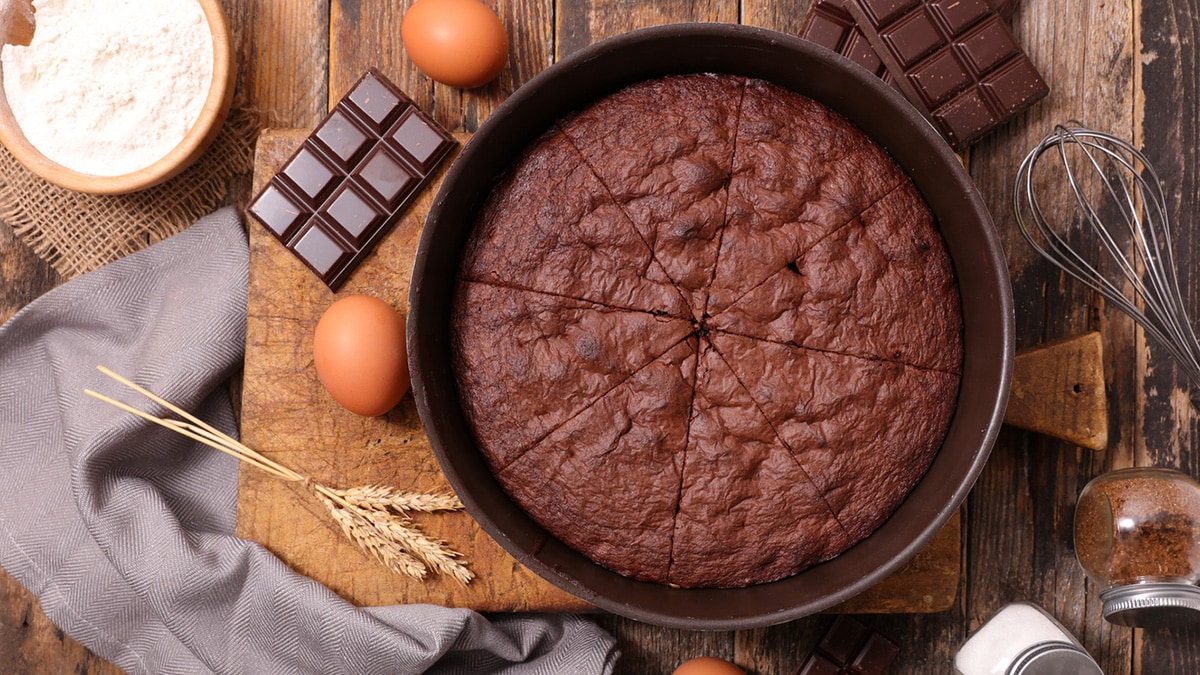
Have you ever craved a delicious homemade chocolate cake but felt daunted by the traditional baking methods? Well, you’re not alone! Baking can sometimes seem like a daunting task, especially when you're juggling a busy schedule. Thankfully, the pressure cooker is here to save the day! It's not just for savory dishes—this versatile kitchen gadget can whip up a moist, rich chocolate cake that will leave your taste buds begging for more. In this post, we’ll explore the simple ingredients and steps required to make a delightful chocolate cake in your pressure cooker. Let’s get baking!
Ingredients Needed

Before we dive into the fun part of making the cake, let’s gather all the ingredients you’ll need. Here’s a list of everything you need to create your chocolatey masterpiece:
- 1 ¾ cups all-purpose flour: This forms the base of your cake.
- 1 cup granulated sugar: For that sweet taste we all love!
- ¾ cup unsweetened cocoa powder: The star of the show that gives the cake its rich chocolate flavor.
- 1 ½ teaspoons baking powder: This helps the cake rise and achieve the perfect fluffiness.
- 1 teaspoon baking soda: Another leavening agent to ensure your cake doesn't turn out dense.
- ½ teaspoon salt: Just a pinch to enhance all the flavors.
- 2 large eggs: Eggs bind the ingredients together and add moisture.
- 1 cup milk: This keeps the cake tender and moist.
- ½ cup vegetable oil: For added richness.
- 2 teaspoons vanilla extract: This secret ingredient elevates the flavor.
- 1 cup boiling water: Believe it or not, this makes the cake incredibly moist.
Having all these ingredients ready will set you up for success! Let’s move on to the exciting part—actually making the cake!
3. Equipment Required

Before we dive into the delicious world of pressure-cooked chocolate cakes, it’s essential to gather the right equipment. Having the right tools not only simplifies the process but ensures that your cake turns out perfectly every time. Here’s what you’ll need:
- Pressure Cooker: This will be your main star! A 6-quart or 8-quart electric pressure cooker works best for making a chocolate cake.
- Cake Pan: A 7-inch or 8-inch round cake pan that fits comfortably inside your pressure cooker is ideal. If you don’t have one, a heatproof aluminum foil pan can be an alternative.
- Trivet or Steaming Rack: To elevate the cake pan above the water in the pressure cooker, use a trivet or steaming rack. This prevents the cake from getting soggy.
- Mixing Bowls: You’ll need a couple of mixing bowls to combine your dry and wet ingredients smoothly.
- Measuring Cups and Spoons: Precision is key when baking, so make sure you have measuring cups and spoons on hand.
- Whisk or Electric Mixer: For mixing up your batter, a whisk will do the job, or you can opt for an electric mixer if you want to save time.
- Spatula: A silicone or rubber spatula is perfect for scraping the batter out of the mixing bowl and into the pan.
- Cooling Rack: Once your cake is done, a cooling rack will help it cool evenly and prevent sogginess.
With all your equipment ready to go, you’re one step closer to creating a scrumptious chocolate cake in your pressure cooker!
4. Preparation Steps
Now that you have your equipment gathered, let’s get to the exciting part: the preparation steps! Making a chocolate cake in a pressure cooker is both fun and straightforward. Follow these steps carefully to ensure you get a moist and delicious result:
- Prepare the Cake Pan: Grease your cake pan with butter or cooking spray so that the cake doesn't stick. If you like, you can also line the bottom with parchment paper for extra safety.
- Mix Dry Ingredients: In a mixing bowl, whisk together the flour, cocoa powder, baking powder, baking soda, and sugar. Make sure there are no lumps.
- Combine Wet Ingredients: In another bowl, mix together the eggs, milk, oil, and vanilla extract until well combined.
- Combine Both Mixtures: Gradually add the wet ingredients to the dry ingredients, stirring gently. Try not to overmix; a few lumps are okay!
- Add Boiling Water: This might seem unusual, but adding boiling water helps to create a moist cake. Carefully stir it into the mixture.
- Transfer to Pan: Pour the batter into the prepared cake pan and smooth the top with a spatula.
- Add Water to Pressure Cooker: Pour about 1 to 1.5 cups of water into your pressure cooker. You want enough water for steaming but not so much that it touches the cake pan.
- Place the Cake Pan in the Pressure Cooker: Use the trivet to elevate the cake pan above the water level, then close the lid securely.
- Set Pressure Cooker: Cook on high pressure for about 30-35 minutes. After that, allow for a natural release for 10-15 minutes, then quick release any remaining pressure.
- Check for Doneness: Use a toothpick or skewer to check if the cake is done. If it comes out clean or with just a few crumbs, your cake is ready!
- Cool the Cake: Carefully remove the cake from the pressure cooker and let it cool in the pan for a few minutes before transferring it to a cooling rack.
And there you have it! Follow these steps, and you’ll soon be savoring a rich, moist chocolate cake made right in your pressure cooker. Enjoy the process and, of course, the delightful results!
5. Cooking Process in the Pressure Cooker
Cooking a chocolate cake in a pressure cooker might sound unconventional, but trust me, it’s a game changer! Not only do you get a moist and tender cake, but it’s also incredibly easy. Here’s a simple rundown of the cooking process:
- Prepare Your Cake Batter: Start with your favorite chocolate cake recipe or box mix. Follow the instructions to mix all your ingredients until you have a smooth batter.
- Grease the Baking Pan: Use a round cake pan that fits inside your pressure cooker. Ensure the pan is well-greased to prevent sticking.
- Pour the Batter: Gently pour your cake batter into the greased pan, filling it about halfway to allow room for rising.
- Add Water to the Pressure Cooker: Pour about 1 to 1.5 cups of water into the pressure cooker. This is essential for creating steam, which helps the cake cook evenly.
- Set the Cake Pan in Place: Place the cake pan on a trivet or a heat-proof dish inside the pressure cooker. This keeps the cake above the water.
- Seal the Pressure Cooker: Close the lid tightly and make sure the pressure valve is set to the sealing position.
- Pressure Cook the Cake: Set the cooker to high pressure for about 25-35 minutes, depending on your cake recipe. Remember, you can always check for doneness with a toothpick!
- Release Pressure & Cool: Once the time is up, carefully release the pressure. Let the cake cool in the pan for a bit before transferring it to a wire rack to cool completely.
6. Tips for Perfecting Your Chocolate Cake
Creating the perfect chocolate cake in a pressure cooker involves a little finesse. Here are some tips to ensure your cake turns out deliciously moist and rich every time:
- Use Quality Ingredients: The freshness of your ingredients makes a big difference. Choose high-quality cocoa powder and fresh eggs for the best flavor.
- Don’t Overmix: Once you combine your wet and dry ingredients, mix just until combined. This keeps your cake fluffy, rather than dense.
- Mind the Consistency: If your batter seems too thick, add a splash of milk or water. It should flow easily but not be watery.
- Choose the Right Size Pan: Ensure the cake pan you select fits comfortably in your pressure cooker to avoid overcrowding.
- Check Doneness: It’s always good to test your cake a few minutes before the timer goes off. Insert a toothpick in the center, and if it comes out clean, your cake is ready!
- Let It Cool: Don’t rush the cooling process. After cooking, allow your cake to cool slowly to avoid a dense texture.
- Experiment with Toppings: Once your cake is cool, consider frosting it with chocolate ganache, whipped cream, or even a sprinkle of powdered sugar for that perfect finish!
7. Serving Suggestions
Once your chocolate cake is perfectly baked in the pressure cooker, the fun part begins: serving it! There are countless delightful ways to present your cake that will leave your friends and family craving more. Here are some scrumptious serving suggestions:
- Classic Ganache Glaze: Drizzle a rich chocolate ganache over the top for an indulgent touch. Simply melt equal parts chocolate and cream, then let it cool slightly before pouring it over the cake.
- Fresh Berries: Add a burst of color and flavor by serving with fresh strawberries, raspberries, or blueberries. They not only enhance presentation but also complement the cake's sweetness.
- Whipped Cream: Lighten things up with a dollop of freshly whipped cream on each slice. You can even sweeten it with a hint of vanilla for extra flavor.
- Ice Cream: For a decadent dessert experience, serve warm chocolate cake with a scoop of vanilla or mint ice cream. The melty ice cream contrasting with the warm cake creates a heavenly bite!
- Nuts and Chocolate Shavings: Sprinkle some chopped nuts like pecans or walnuts on top for added texture and crunch. Add chocolate shavings for an elegant finish.
Feel free to get creative based on your favorite flavors. Serving your chocolate cake with these delicious companions will surely make every slice a memorable one!
8. Conclusion
Making a chocolate cake in a pressure cooker is not just a cooking method; it's an exciting adventure that can yield delicious results in a fraction of the time compared to traditional baking! By following the simple steps outlined in this guide, you’ve learned how to whip up a moist, rich chocolate cake that’s sure to impress. Remember, the key to a great pressure cooker cake is ensuring even cooking and allowing it to release steam properly.
As you explore different serving suggestions, don't hesitate to mix things up with your own personal flair. Whether you enjoy it with a ganache drizzle or a scoop of ice cream, each serving is sure to bring smiles to the faces of those who taste it.
So, the next time you're in the mood for a sweet treat or need a quick dessert for guests, just recall this simple process. Happy baking and enjoy every delightful bite of your homemade chocolate cake!
 admin
admin


