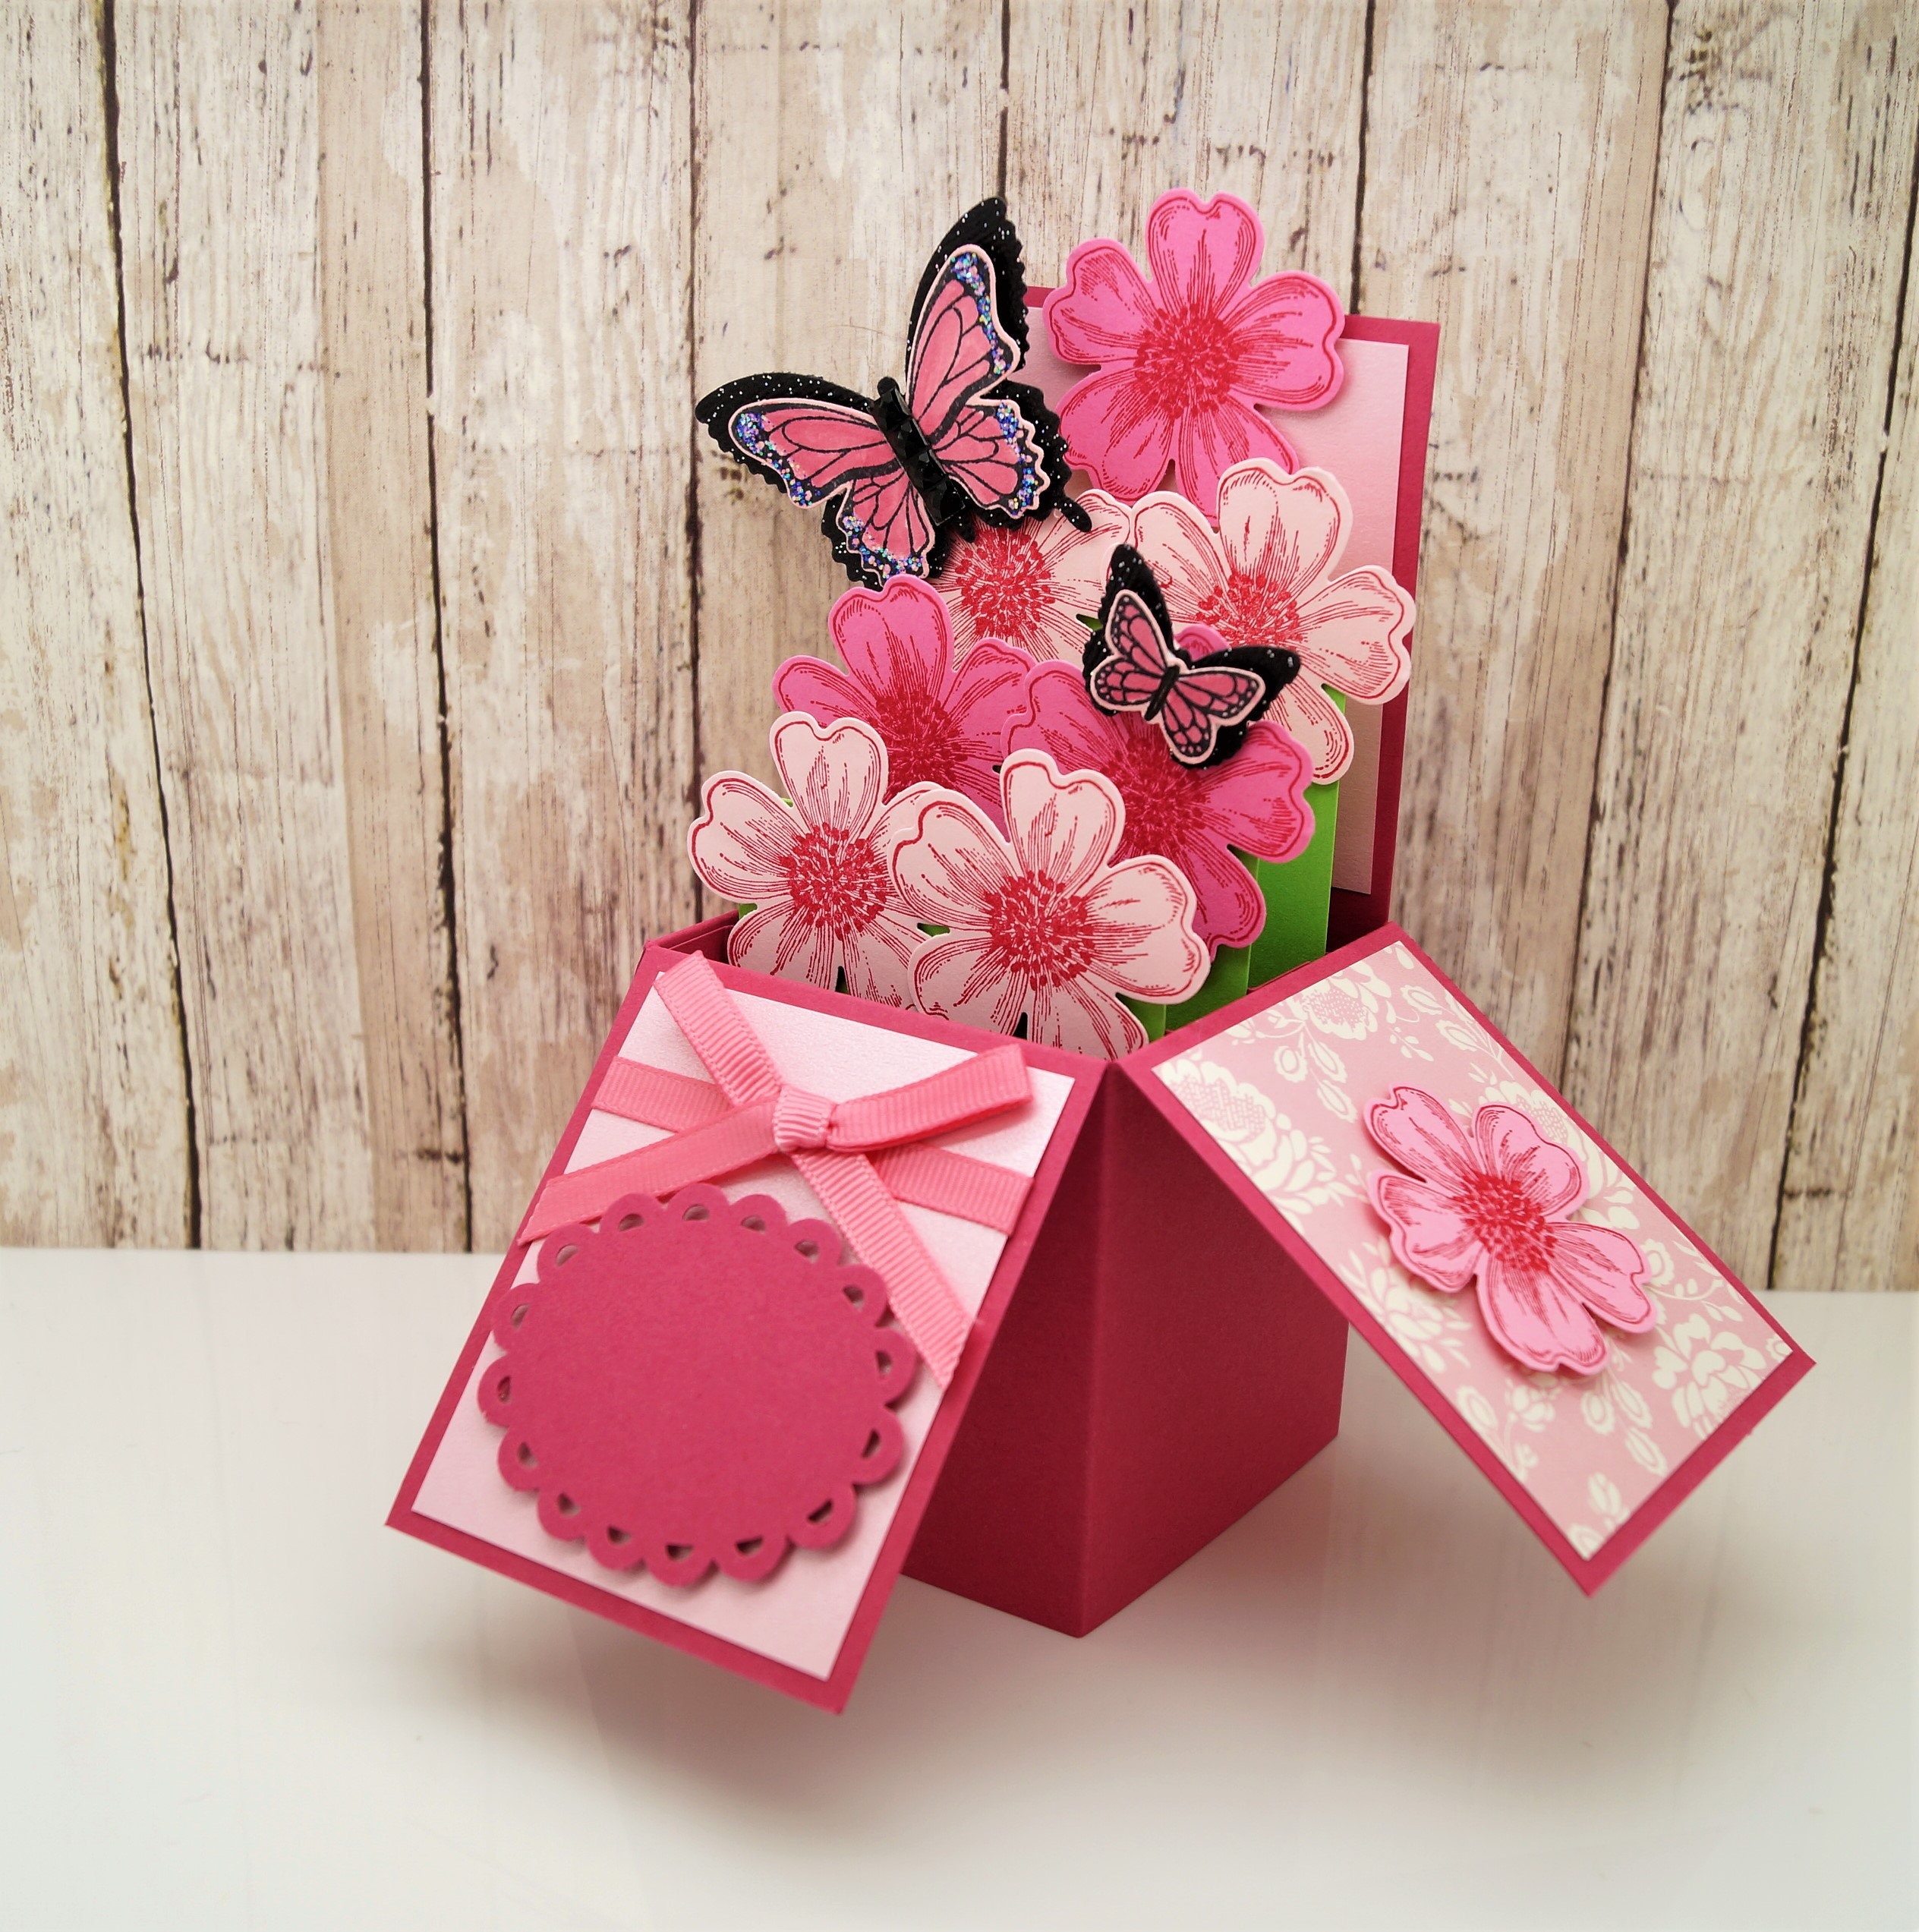
Pop-up cards have a unique charm that can elevate any greeting into something memorable. Unlike traditional cards, these delightful creations add a surprise element to your well-wishes, making your recipient’s day even more special. Whether it’s a whimsical cake, a vibrant bouquet, or a cute animal, the three-dimensional aspect of a pop-up card instantly brings a smile to faces of all ages.
Creating these cards at home can be a rewarding experience - not only does it allow you to express your creativity, but it also adds a personal touch that store-bought cards simply can’t match. Plus, you can customize every aspect from themes to messages, ensuring that your card is one-of-a-kind. So, gather your materials and let’s dive into the wonderful world of pop-up card crafting!
Materials Needed for Your Craft

Before you start bringing your pop-up card vision to life, it’s essential to gather all the necessary materials. Don’t worry; most of these items are easily found around the house or at your local craft store.
- Cardstock or Heavy Paper: This is the backbone of your card. Make sure it's thick enough to hold the pop-up feature but flexible enough to fold.
- Scissors: A good pair of scissors is crucial for cutting out your designs and card base cleanly.
- Glue or Double-Sided Tape: This will help secure your pop-up elements in place, ensuring everything stays where it should.
- Markers or Colored Pencils: To add a personal touch, use these to decorate and write messages inside your card.
- Ruler: To ensure your cuts and folds are straight and even, a ruler is a handy tool to have.
- Pencil: Use this to sketch out your designs before cutting or gluing anything.
Once you have all these materials at your disposal, you’re ready to embark on your pop-up card adventure! The real fun begins when you mix and match designs, colors, and themes to create your masterpiece.
Step-by-Step Guide to Making Pop-Up Cards
Creating a pop-up card at home is not just a fun activity; it’s a heartfelt way to celebrate someone’s special day. Let’s dive into a simple step-by-step guide that will have you making beautiful pop-up cards in no time!
- Gather Your Materials: You’ll need the following items:
- Cardstock or construction paper
- Scissors
- A ruler
- Pencil
- Glue or double-sided tape
- Coloring materials (markers, colored pencils, etc.)
- Embellishments (stickers, glitter, etc.)
Design Ideas for Your Birthday Pop-Up Cards
Now that you know how to create a pop-up card, let's explore some fun and creative design ideas to sprinkle some joy on that special birthday!
- Birthday Cake: Design a beautiful three-tier cake that pops up when the card is opened. Use different colors for the frosting and add some mini candles made from toothpicks.
- Balloons Galore: Include a bunch of colorful balloons that float above when the card is opened. You can use string to create the illusion of balloons rising.
- Party Animals: Create animal characters like a cheerful elephant or a playful cat wearing a party hat, perfect for kids’ cards!
- Floral Surprise: Make a pop-up flower arrangement with different types of flowers, using various colors and shapes for a vibrant display.
- Gift Boxes: Craft a couple of pop-up gift boxes that appear as if they're overflowing with confetti when the card is opened.
Feel free to mix and match these ideas! The beauty of making pop-up cards is that they're entirely customizable, reflecting your love and creativity. Happy card-making!
5. Additional Tips for Personalizing Your Card
Personalizing your pop-up card can turn a simple design into a heartfelt gift. Here are some fun tips to make your creation feel extra special:
- Choose a Theme: Think about the preferences of the birthday person. Do they adore flowers, cute animals, or perhaps characters from their favorite movie? Tailor your theme accordingly!
- Use Personal Photos: Incorporating a small photo of you and the birthday person or a memorable moment can add a beautiful touch. Just print the image and glue it inside the card.
- Incorporate Handwritten Messages: Instead of printing out your message, consider writing it by hand. This adds a personal style that’s truly warm and inviting.
- Add Fun Colors and Patterns: Use colorful papers, stickers, or washi tape to embellish your card. It’s amazing how a splash of color can bring your card to life!
- Design with Love: Embellish the card with little drawings, doodles, or even a small poem that reflects your relationship with the birthday person.
Remember, the goal is to make it unique to the recipient's personality. So, let your creativity run wild and don’t shy away from experimenting!
6. Conclusion and Sharing Your Creations
Creating fun birthday pop-up cards at home is not just about crafting; it’s about expressing love and joy on someone’s special day. You’ve learned how to design delightful pop-up mechanics, personalize them with thoughtful touches, and put your own artistic spin on them.
Once you’ve made your masterpiece, consider sharing your creations with friends and family. Here are a few ideas:
- Social Media Posts: Snap a picture of your card and share it on platforms like Instagram or Facebook. Use hashtags to inspire others!
- Send to a Craft Community: Join online forums or platforms like Pinterest where you can inspire and get inspired by other crafters.
- Organize a Craft Night: Invite friends over and share your newly acquired skills with them. Teach them how to make their own pop-up cards!
Whether it's a simple gesture or a grand creation, your handmade card is sure to bring a smile to the birthday person’s face. Now, go ahead, get creative, and make someone’s birthday memorable!
 admin
admin


