If you've ever found yourself wanting to watch a movie on a bigger screen without the hefty price tag of a professional projector, then you're in luck! Creating your own smartphone projector is not only a fun DIY project but also an incredibly rewarding one. With just a few simple materials and steps, you can transform your smartphone into a makeshift projector that will allow you to enjoy your favorite films and videos on a larger scale, whether at home or during a picnic. So, grab your tools, and let's get started on this exciting journey!
Materials Needed

Before diving into the creation of your DIY smartphone projector, let’s gather all the materials you’ll need. Most of them can be found around your home or at a nearby store. Here’s a handy list for you:
- Cardboard box – A shoebox or similar-sized box works perfectly.
- Magnifying glass – Look for one with a diameter of around 3-5 inches.
- Black paint or black paper – This will help reduce reflections inside the projector.
- Scissors – You’ll need these to cut the box to the required dimensions.
- Smartphone – Your trusty device will be the source of all the visuals.
- Tape or glue – This will help secure everything in place.
- Ruler – For precise measurements.
- Styrofoam or foam board (optional) – For better light reflection.
Once you have all these materials on hand, you're one step closer to creating your very own smartphone projector. It's a simple process that can yield impressive results. So let's roll up our sleeves and get started!
Step-by-Step Instructions

Creating your very own smartphone projector might sound daunting, but I assure you, it’s simpler than you think! Let’s break it down into easy-to-follow steps.
- Gather Your Materials:
- A cardboard box (shoebox works great)
- A magnifying glass
- Your smartphone
- A sturdy piece of black paper or tape
- Scissors
- A pencil
- Tape or glue
- A ruler (optional)
- Prepare the Box:
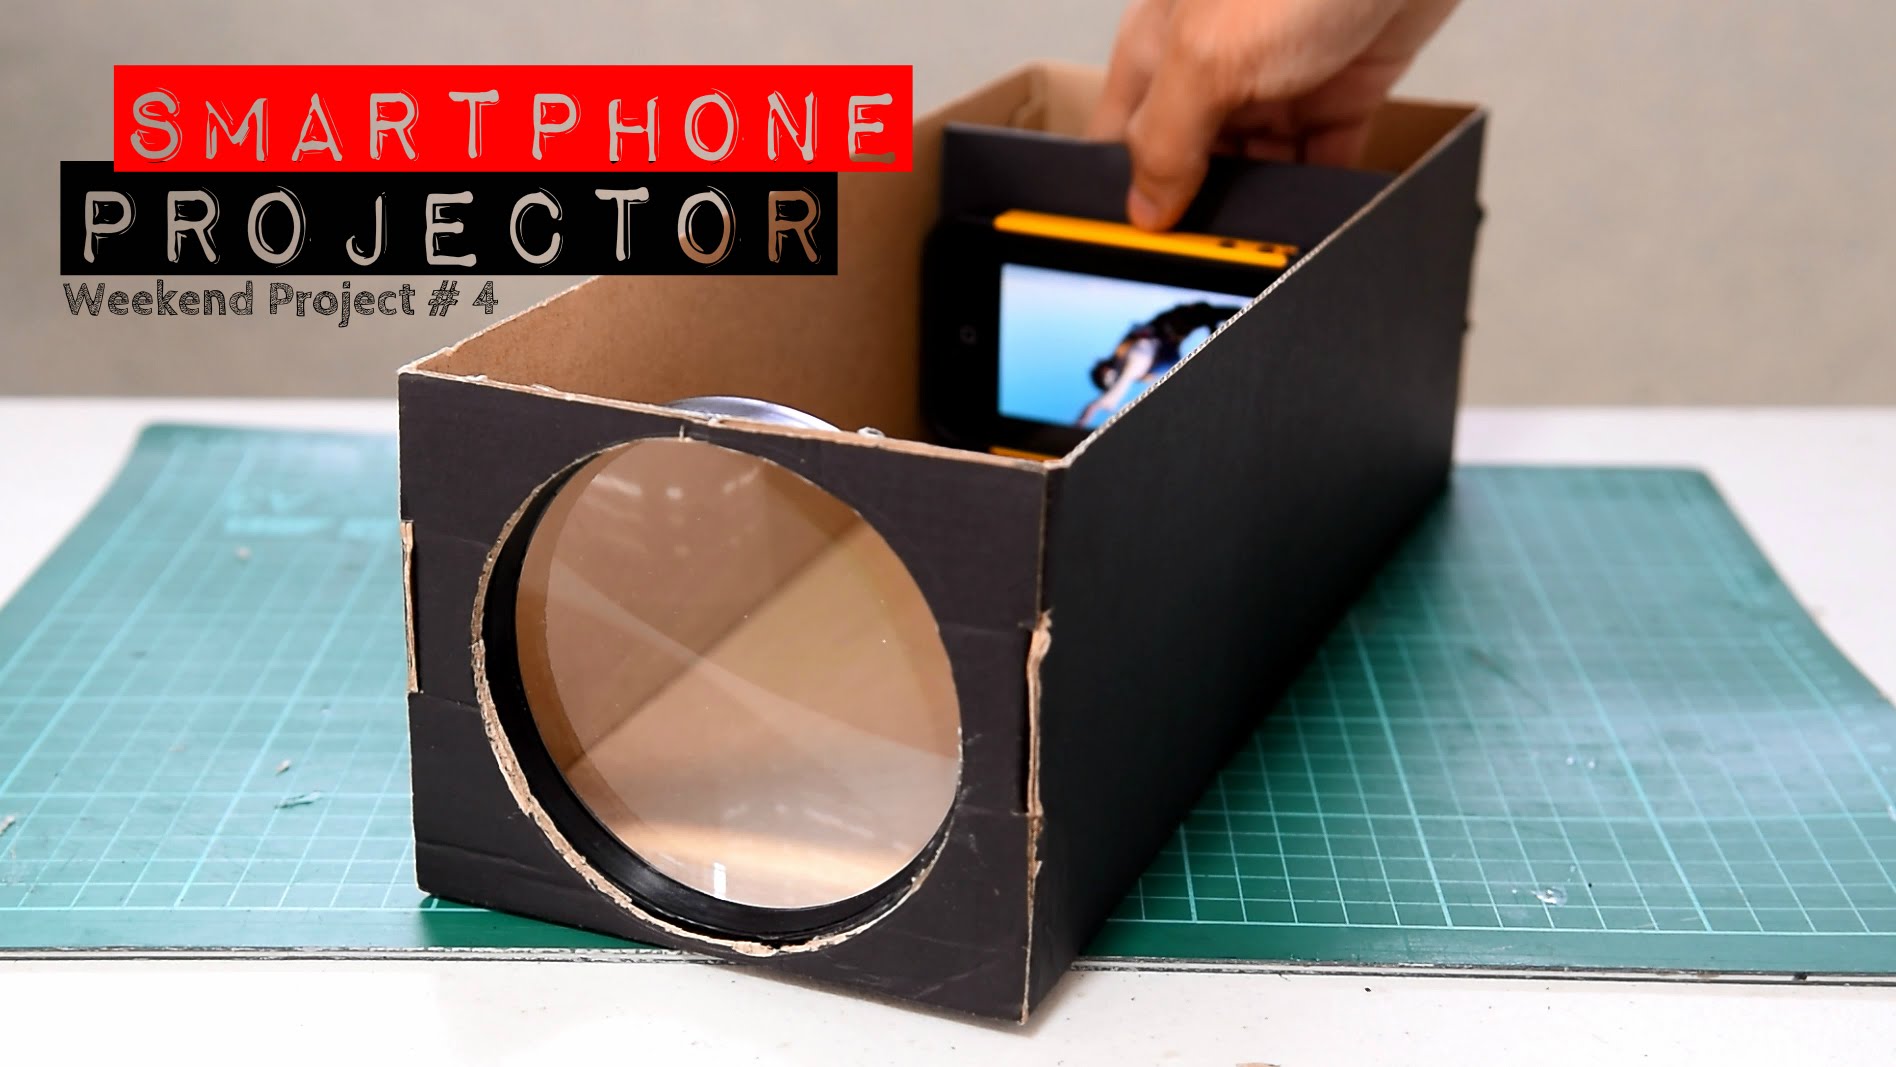
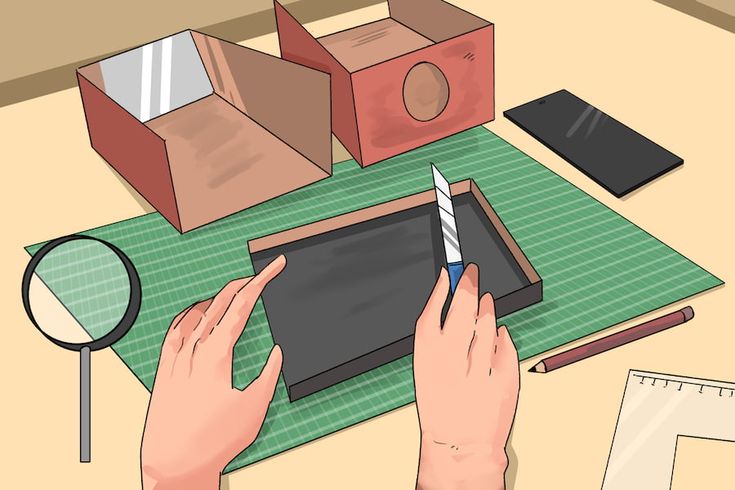
Take your shoebox and cut a hole in one end that’s slightly smaller than the diameter of the magnifying glass. This will serve as the lens. Make sure to keep the edge neat; we want light to pass through smoothly!
- Attach the Magnifying Glass:
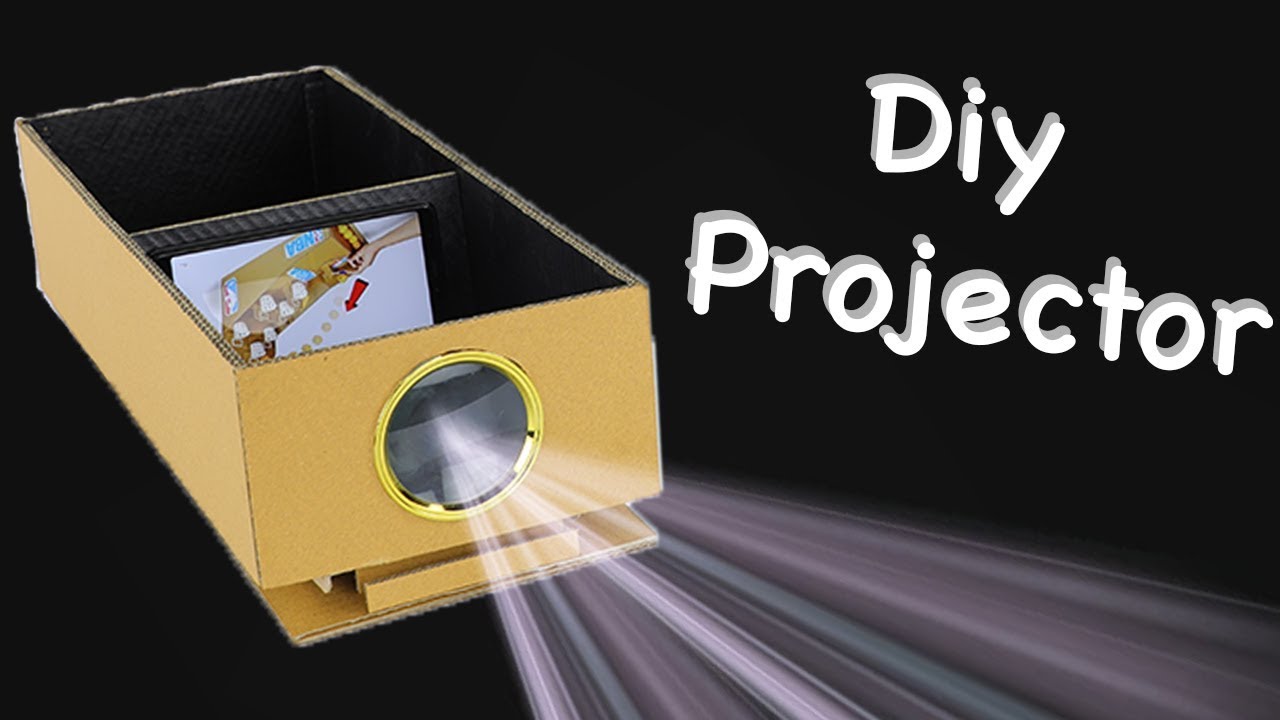
Insert the magnifying glass into the hole you just cut. Use tape or glue to secure it, ensuring it's airtight to prevent any light leaks.
- Make a Phone Holder:
On the opposite end of the box, create a slot to hold your smartphone in place. You can use cardboard to design a stand or just find a stable position for it. Ensure the camera is facing the lens.
- Darken the Inside (Optional):
To improve the projection quality, you can line the inside of the box with black paper or paint it black. This helps absorb excess light and enhances visibility.
- Final Assembly:
Now, place your phone in the holder, point the camera at the lens, and ensure the box is securely closed. You’re almost there!
- Adjust for Size:
To get the best projection size, move the box closer or further away from the wall or surface you intend to project onto. It might take a bit of trial and error to find the perfect distance!
Setting Up Your Projector

Now that you’ve crafted your very own smartphone projector, let’s set it up for a flawless movie night or a presentations session! Here’s how to get everything ready:
- Choose Your Projection Surface:
Find a flat, white surface to project on. A wall or a white sheet works best as it reflects light effectively. Avoid colored walls as they might distort the colors of the images.
- Prepare Your Smartphone:
Open the video or presentation you wish to show. Rotate your phone to landscape mode for a wider view. You may want to enable 'Do Not Disturb' mode to avoid interruptions.
- Adjust Brightness:
Before projecting, set your phone’s brightness to the highest level. This ensures that your images or videos are as visible as possible!
- Fine-Tuning the Distance:
Using the outlined projection method from the earlier section, adjust the distance between the projector and the surface until the image is focused and clear. It’s all about getting that sweet spot!
- Create an Optimal Lighting Environment:
Dim the lights in the room to reduce ambient light interference. The darker your surroundings, the better the projection quality. You could even use blackout curtains if it’s daytime.
- Enjoy the Show:
And just like that, you’re all set! Sit back, grab some popcorn, and enjoy your movie night with your homemade projector. Whether it’s a film or your latest creative project, have fun sharing it in this unique way!
Tips for Optimal Viewing Experience

Creating your own smartphone projector is an exciting DIY project, but to really enjoy your movie nights, you’ll want to ensure that the viewing experience is top-notch. Here are some handy tips to help you achieve that cinema-like vibe right at home:
- Choose the Right Room: Select a room with minimal ambient light. The darker the environment, the more vibrant your images will appear. Blackout curtains can help, or consider a space with controlled lighting.
- Screen Matters: For a better projection, use a smooth, white surface as your screen. This could be a white sheet, a projector screen, or even a blank wall. Avoid textured surfaces as they can distort the image.
- Adjust Distance and Focus: Experiment with the distance between your projector and the screen for the best image size. Don’t forget to adjust the focus on your lens; it can make a huge difference!
- Audio Setup: Don’t rely solely on your smartphone’s speaker. Consider using external speakers or a soundbar for better audio quality. Syncing the sound will elevate the whole experience.
- Device Orientation: Make sure your smartphone is positioned correctly in the projector. The angle and alignment can greatly affect the clarity and sharpness of the projection.
Taking these steps can elevate your DIY smartphone projector experience, turning an ordinary movie night into something extraordinary!
Common Issues and Troubleshooting
No DIY project is without its hiccups, and your smartphone projector may come with its own set of challenges. But don’t worry; many issues can be easily resolved. Here are some common problems and how to troubleshoot them:
| Issue | Solution |
|---|---|
| Fuzzy Image | Check the focus adjustment on the lens and make sure the distance between the projector and the screen is optimal. |
| Poor Sound Quality | Ensure that your smartphone is connected to external speakers. Check the volume levels on both the phone and the speaker. |
| Image Distortion | Adjust the alignment by repositioning your smartphone within the projector to minimize distortions. |
| Overheating | Take breaks between screenings to cool down your phone. Ensure proper ventilation around the projector. |
| Unclear Colors | Use a white projection surface to enhance color vibrancy. Check if your phone’s brightness is set to maximum. |
By being prepared for these common issues, you’ll spend less time troubleshooting and more time enjoying your favorite flicks!
How to Create Your Own Smartphone Projector with This Simple DIY Guide
Creating your own smartphone projector is a fun and rewarding DIY project that requires minimal materials and equipment. With just a few household items, you can transform your smartphone into a mini projector that allows you to enjoy videos and images on a larger screen.
### Materials Needed:
- Cardboard box (shoe box or similar)
- Magnifying glass (the larger the lens, the better)
- Smartphone
- Glue or tape
- Scissors or a box cutter
- Black paint or black paper (optional)
### Steps to Create Your Projector:
- Prepare the Box: Cut a hole in one end of the cardboard box. The hole should be slightly smaller than the diameter of your magnifying glass to ensure a snug fit.
- Attach the Magnifying Glass: Insert the magnifying glass into the hole and secure it with glue or tape. Make sure it is centered properly.
- Paint or Line the Inside: To enhance the projector’s effectiveness, paint the inside of the box black or line it with black paper. This will reduce light reflection.
- Position Your Smartphone: Place your smartphone at the opposite end of the box from the magnifying glass. You may need to adjust the distance to focus the image properly.
- Test Your Projector: Turn off the lights, play a video on your smartphone, and adjust the distance until the image is clear on your projector screen.
With this simple guide, you can easily build your own smartphone projector at home. It’s a fantastic way to enjoy movies with friends or share treasured memories with family on an oversized screen. Just remember to experiment with distance and focus for the best experience!
Conclusion: Building your smartphone projector is not only a creative project but also a fun way to enhance your viewing experience, and by following these straightforward steps, you’ll impress your friends and family with your DIY skills and innovative ideas.
 admin
admin


