Creating an engaging PowerPoint presentation often involves using visuals, like images, to enhance your message. But have you ever considered the importance of citing those images correctly? Proper citation isn’t just a formality; it’s an essential aspect of respecting intellectual property rights and maintaining credibility. In this post, we’ll break down why citing images is so crucial and provide good practices to ensure you’re giving credit where it’s due.
Importance of Citing Images

Citing images in your PowerPoint presentations is vital for several reasons. Here’s why it matters:
- Respect for Copyright: Most images are protected by copyright, meaning the creator has the exclusive rights to their work. Failing to cite images could lead to potential legal repercussions.
- Acknowledgment of Creativity: By citing images, you acknowledge the hard work and creativity of the photographers, artists, or designers. It shows respect for their contribution to your presentation.
- Enhancing Credibility: Including citations boosts your credibility as a presenter. It demonstrates that you’ve done your homework and provides a path for others to explore the sources further.
- Built-in Accountability: Citing images in your presentation adds an extra layer of accountability. You create trust when your audience knows that you are transparent about your sources.
- Professionalism: A well-cited presentation speaks volumes about your professionalism. It sets a positive tone and can even elevate the perception of your work as scholarly or credible.
In summary, properly citing images in your PowerPoint presentations isn’t just an ethical obligation; it enriches your work and builds your reputation as a diligent and responsible presenter. Take the time to do it right, and you’ll reap the benefits both legally and professionally!
Also Read This: Inverting Colors of a 2D Image by Hand
3. Types of Image Sources

When it comes to using images in your PowerPoint presentations, it's important to understand where those images come from. There are several types of image sources you can consider, and each has its own citation requirements. Let's break them down:
- Stock Photography: These are professional photos that you can purchase or download for free, depending on the licensing. Popular stock image sites include Unsplash, Shutterstock, and Adobe Stock.
- Creative Commons Images: Creative Commons licenses allow creators to share their work while retaining some rights. You can find these images on websites like Flickr and Wikimedia Commons. Just make sure to check the specific license to see how you can use them.
- Public Domain Images: Images that are free to use without permission fall into this category. They can be found in government databases or dedicated public domain sites such as Public Domain Review.
- Personal Images: If you have taken photos yourself or have the right to use a friend’s images, this source is straightforward. Just ensure you’re clear on the permission aspects.
- Attribution Required Images: Some images come with specific attribution requirements. Make sure to read the usage guidelines carefully, as they guide how to credit the creator properly.
Understanding these types of sources not only helps you find the right images for your presentation but also ensures that you cite them correctly. Image sourcing is about respecting copyright and acknowledging the original creators, so keep this in mind as you put your slides together!
Also Read This: How to Download Licensed Images from Adobe Stock
4. How to Cite Images from Online Sources
Citing images from online sources can feel tricky at first, but with a few simple guidelines, you'll have it down in no time! Here’s how to properly cite images, depending on the source type:
| Type of Image Source | Citation Format |
|---|---|
| Stock Photography | Author's Last Name, First Name. "Title of Image." Stock Photo Website, Year, URL. |
| Creative Commons Images | Author's Last Name, First Name. "Title of Image." Website Name, Year, License (e.g., CC BY-NC), URL. |
| Public Domain Images | "Title of Image." Source Name, Year, URL. |
| Personal Images | Your Name. Description of Image, Year. |
| Attribution Required Images | Author's Last Name, First Name. "Title of Image." License Info, Year, URL. |
Here's a quick breakdown of elements to include in your citation:
- Author's Name: Who created the image?
- Title of Image: What is the image called?
- Source: Where did you find it?
- Year: When was it created, published, or last updated?
- URL: A direct link to the image for easy access.
By properly citing your images, you not only enhance your presentation's credibility but also respect the intellectual property of others. It’s a small but significant step in showcasing professionalism in your work!
Also Read This: How to Download Getty Images Legally Without Watermarks
How to Cite Images from Books and Journals
Citing images from books and journals can be a bit trickier than citing standard text, but with a few pointers, you’ll get the hang of it in no time! When you pull an image from a printed source, whether it’s a book or a journal article, it’s essential to give credit to the creator and provide your audience with enough information to find the original work.
Here’s a straightforward approach:
- Identify the Image: Make sure to note the title of the image, the artist or creator’s name, and the year it was published.
- Gather Publication Details: Each source—whether it's a book or journal—comes with its own specific details. For books, you'll want the full title, author, publisher, and year of publication. For journals, include the journal title, volume, issue number, and page range.
- Format Your Citation: Each citation style (like APA or MLA) has its preset format for images. Be sure to follow the guidelines specific to your chosen style.
Here's a quick example of what that might look like:
| Citation Style | Example Citation |
|---|---|
| APA | Author, A.A. (Year). Title of image [Description]. In Title of Book or Journal. Publisher. |
| MLA | Author Last Name, First Name. "Title of Image." Title of Book or Journal, vol. number, no. number, Year, pp. page range. |
Remember, the goal is to make sure your audience knows exactly where to find the original image!
Also Read This: Discover How to Use Transparent Vector Files from Shutterstock
Using APA, MLA, and Other Citation Styles
Citation styles are like different dialects of a language; they may seem a bit confusing at first, but once you learn the basic structures, it becomes much easier! The most common styles you'll encounter are APA (American Psychological Association), MLA (Modern Language Association), and Chicago style. Each has its own conventions, especially when citing images.
Here’s a brief rundown of these styles regarding image citations:
- APA: In APA style, image citations include the creator’s name, the year it was created, the title of the image (italicized), a description of the medium, and the source. For example:
- MLA: For MLA, citations typically include the artist’s name, the title of the work in quotation marks, the medium, and where it can be found. For example:
- Chicago: Chicago style uses footnotes or endnotes and a bibliography. In-text citations are abbreviated, while full citations are provided in the bibliography:
Example: Van Gogh, V. (1889). The Starry Night [Painting]. Museum of Modern Art.
Example: Van Gogh, Vincent. "The Starry Night." 1889, Museum of Modern Art, New York.
Example: Vincent van Gogh, The Starry Night (1889; Museum of Modern Art, New York).
Regardless of the style you choose, the key is consistency. Picking one style and sticking to it throughout your presentation will make for a smoother experience for both you and your audience!
Also Read This: Adobe Stock Video Downloader Without Watermark: Step-by-Step Guide
7. Adding Citations in PowerPoint
Adding citations in your PowerPoint presentations is essential for giving credit to the original creators and avoiding plagiarism. It not only enhances your credibility but also provides your audience with resources for further exploration. Here’s how to do it effectively:
- Use a Consistent Style: Choose a citation style that fits your presentation format, such as APA, MLA, or Chicago. Be consistent throughout your slides.
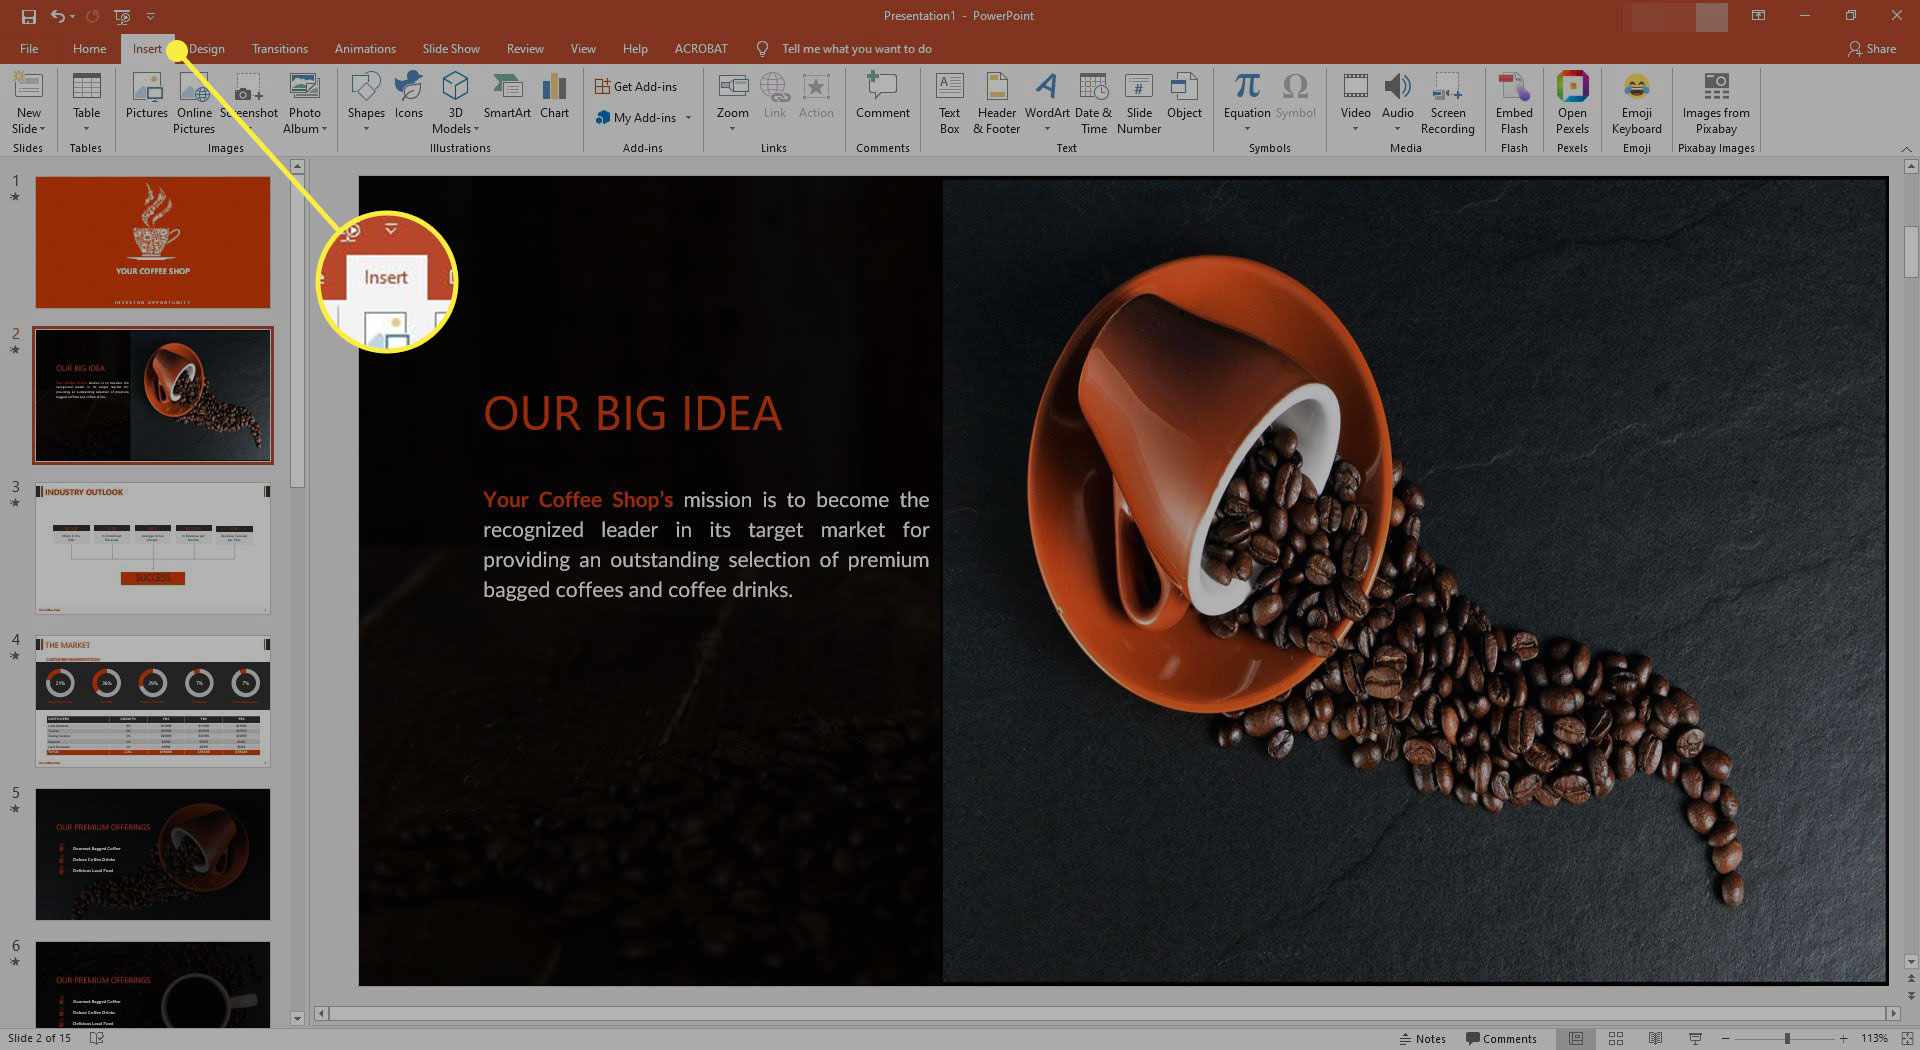
- Place Citations Strategically: Generally, citations should be placed directly below the image or figure. This keeps the attribution clear and accessible to your audience.
- Include Essential Information: Your citation should include the creator’s name, the date of publication, the image title, and a link to the source if applicable. For example: “Image Title” by Creator’s Name, Year, Source Link.
To make citing images visually appealing, consider using a smaller font or a different color for the citation text. This way, it’s distinguishable from the main content but still easily readable.
Here's a simple table summarizing what to include in your image citations:
| Component | Description |
|---|---|
| Creator's Name | Who created the image? |
| Date | When was it created or published? |
| Title | The title or description of the image. |
| Source Link | A hyperlink to the original source. |
Also Read This: How to Frame by Frame YouTube Videos
8. Common Mistakes to Avoid
When it comes to citing images in PowerPoint presentations, there are a few pitfalls that many people fall into. Avoiding these mistakes can make a big difference in the professionalism and credibility of your work.
- Neglecting Citations: One of the most common errors is not citing images at all. Always ensure that you provide appropriate citations to avoid plagiarism.
- Using Unverified Sources: Relying on images from unreliable sources can lead to misinformation. Always verify the source of an image and look for reputable providers.
- Excessive Text: While it’s essential to provide accurate citations, be mindful of how much text you include. Too much text can clutter your slide and distract from your message.
- Ignoring Citation Styles: Different fields require different citation styles. Make sure you’re familiar with the one required for your presentation.
- Forgetting Accessibility: Make sure that your citations are readable for all audience members, including those with visual impairments. Choose clear fonts and adequate sizes.
By avoiding these common pitfalls, you can enhance the effectiveness of your presentations and ensure that your audience has trust in the information you’re sharing. Happy presenting!
How to Properly Cite Images in PowerPoint Presentations
When creating a PowerPoint presentation, it's essential to give credit to the original creators of images you use. Proper citation not only respects copyright laws but also enhances the credibility of your work. Here are some effective strategies for citing images in your presentations:
1. Understand Copyright Laws
Before using images, familiarize yourself with copyright laws and fair use guidelines. Consider using images that are:
- Public domain: No copyright restrictions.
- Creative Commons: Licensed for public use with specific conditions.
- Stock images: Available for a fee and come with licensing information.
2. Create a Citation Slide
At the end of your presentation, include a citation slide dedicated to image sources. This slide should contain:
| Image Title | Source/Author | License |
|---|---|---|
| Beautiful Landscape | John Doe | CC BY-SA 4.0 |
| City Skyline | Jane Smith | Public Domain |
3. Inline Citations
If you only use a few images, you can include inline citations directly on the slide. This can take the form of:
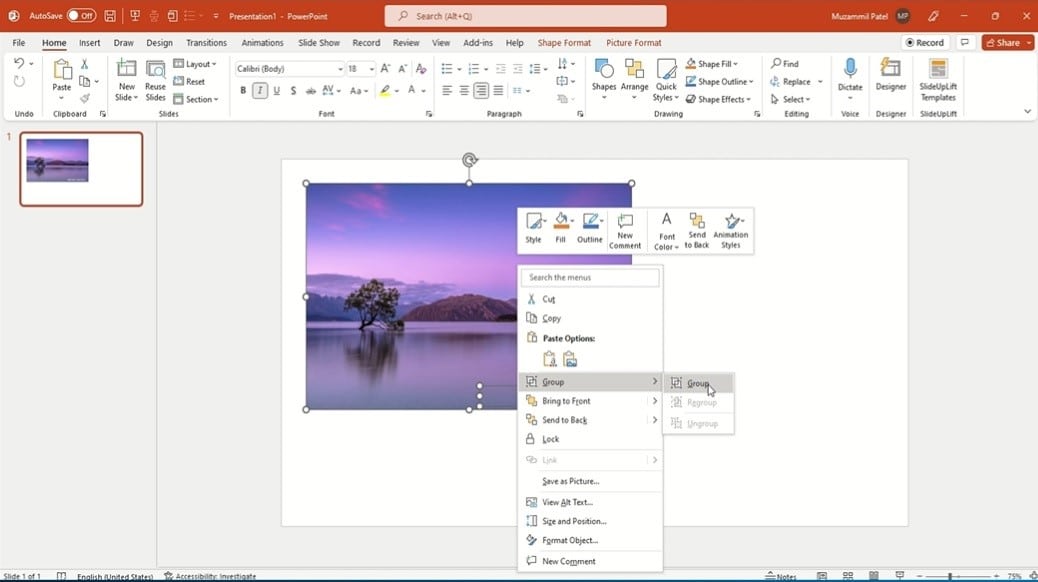
- Text beneath the image
- Watermark with the source/author name
Remember to maintain a consistent citation style throughout your presentation, whether it be APA, MLA, or another format. Properly citing images not only boosts your integrity as a presenter but also ensures your audience can verify the information.
Conclusion: Citing images in PowerPoint presentations is crucial for respecting copyright and enhancing the authenticity of your work. By adhering to copyright laws, creating a dedicated citation slide, and using inline citations, you can effectively acknowledge the creators behind the visuals you use.
 admin
admin


