Welcome to our guide on attaching images in your projects! Whether you're working on a blog, a presentation, or even a marketing campaign, images play a crucial role in making your content engaging and visually appealing. But attaching these images effectively can sometimes be a bit tricky. Fear not! In this guide, we’ll walk you through the essentials of attaching images, including understanding image formats and best practices to enhance your projects. Let's dive in!
Understanding Image Formats

When it comes to attaching images in your projects, one of the first things you need to grasp is the different image formats available. Each format has its own strengths and weaknesses, so let’s break them down:
- JPEG (Joint Photographic Experts Group)
- Best for photographs and complex imagery.
- Supports 24-bit color, making it vibrant.
- Lossy compression, meaning some quality is lost to reduce file size.
- PNG (Portable Network Graphics)
- Ideal for images that require transparency.
- Uses lossless compression, preserving image quality.
- Best suited for logos and graphics.
- GIF (Graphics Interchange Format)
- Perfect for short animations or simple graphics.
- Limited to 256 colors, which may not be suitable for complex images.
- Supports transparency but not as robust as PNG.
- SVG (Scalable Vector Graphics)
- Great for logos and icons as they scale without losing quality.
- XML-based format, allowing for easy modification.
- Not typically used for photographs.
- BMP (Bitmap Image File)
- Large file size with no compression.
- High-quality images, but not practical for web use.
- Support varies across platforms.
By understanding these formats, you’ll be in a better position to select the right one for your project needs. Choose wisely, and your images will shine!
Methods of Attaching Images

Attaching images to your projects can significantly enhance their appeal and functionality. There are several methods you can explore, depending on your needs and the platform you're using. Let’s dive into them!
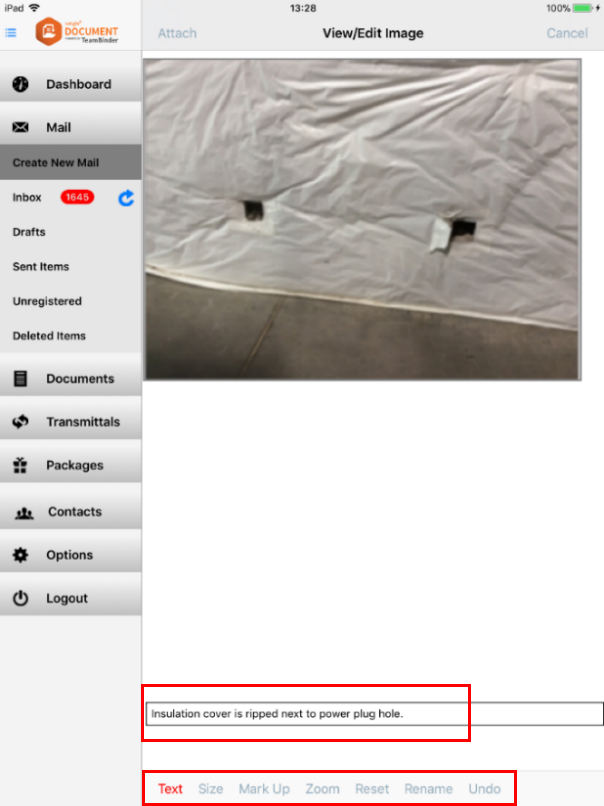
- Direct Upload: This is the simplest method where you upload images directly from your device to your project. Most platforms have an 'Upload' button that facilitates this process. Just click, select your image, and voilà!
- Linking from a URL: If you have a publicly accessible image on the web, you can link to it directly. This method is handy if you want to keep your project lightweight without uploading large image files. Use an absolute URL so that the image loads from the specified location.
- Using Cloud Storage: Services like Google Drive or Dropbox allow you to store images in the cloud. You can generate shareable links to these images and embed them in your project. Just make sure the permissions are set so that anyone can view the image!
- Image Management Systems: For larger projects, consider tools like Cloudinary or Unsplash that provide not only storage but also creative tools for optimizing and managing your images.
- Content Management Systems (CMS): If you’re using a CMS like WordPress, attaching images is built into the system. You can easily add media from your library, ensuring everything is organized and readily accessible.
Each method has its pros and cons, so think about your project's requirements and choose the one that fits best!
Using HTML to Embed Images

When it comes to web projects, embedding images using HTML is crucial. It not only allows you to display images but also gives you control over how they appear on your webpage. Let’s break it down!

Here are the main attributes you should know:
| Attribute | Purpose |
|---|---|
| src | This specifies the path to your image file. It can be a local path or a URL. |
| alt | Provides a text alternative for screen readers and displays when the image fails to load. |
| title | Displays additional information about the image when hovered over. |
| width/height | Allows you to control the image size in pixels, helping with layout consistency. |
To embed an image, all you need to do is replace URL_of_your_image with your actual image link and fill in the other attributes as needed. Enjoy crafting visually appealing projects!
5. Attaching Images in Different Platforms
When it comes to incorporating images into your projects, the process can vary greatly depending on the platform you’re working on. Let's break down some of the most popular platforms and how you can easily attach images to enhance your content.
- WordPress: Attaching images in WordPress is a breeze! Simply go to your post editor, click on the “Add Media” button, and you can either upload new images or select from your media library. Don’t forget to fill in the alt text for accessibility!
- Social Media: Each platform has its own method. For Instagram, just click on the '+' icon when you create a post. On Facebook, you can attach images directly in the “Create Post” box. Be sure to check image dimensions for optimal display!
- HTML/CSS Projects: If you're coding, you can insert images directly into your HTML with the
<img>tag. For example:<img src="your-image-url.jpg" alt="description">. Make sure you’re linking to the correct image path! - Google Docs: To insert an image in Google Docs, simply go to the “Insert” menu and select “Image.” You have options to upload from your computer, Google Drive, or even search the web directly!
Remember, each platform has its quirks, but once you get the hang of it, incorporating stunning visuals into your projects becomes second nature!
6. Best Practices for Image Usage
Using images in your projects isn’t just about making them look good—it's also about functionality and accessibility. Here are some best practices to keep in mind when attaching images:
| Practice | Description |
|---|---|
| Optimize Images | Always compress your images to reduce file size without sacrificing quality. Tools like TinyPNG can be a lifesaver! |
| Use Alt Text | Adding descriptive alt text helps with SEO and makes your content accessible to visually impaired users. |
| Maintain Consistency | Stick to a consistent style guide for your images, such as color palette and image format, to create a cohesive look. |
| Think Responsively | Always check how images appear on different devices. Use CSS to make sure your images scale correctly on various screen sizes. |
Following these best practices not only enhances your project’s overall appeal but also ensures your content is user-friendly and engaging. Happy image attaching!
Guide to Attaching Images in Your Projects
Images are a critical component of any project, whether it be a website, presentation, or report. They enhance visual appeal, convey messages effectively, and help keep your audience engaged. This guide will walk you through the essential steps and best practices for attaching images in various types of projects.
Here are key considerations to keep in mind before you attach images:
- Image Format: Choose appropriate formats like JPEG, PNG, or GIF based on your needs. JPEG is ideal for photographs, while PNG is better for graphics with transparency.
- Image Size: Optimize images for faster loading times. A general guideline is to keep images under 500 KB for web usage.
- Image Quality: Ensure that images are high resolution, particularly when presenting in larger formats.
- Licensing: Use images that you have the right to use. Consider using stock photo sites or Creative Commons images.
When it comes to attaching images, the following steps should be followed:
| Step | Description |
|---|---|
| 1 | Choose the right image |
| 2 | Upload the image to your project |
| 3 | Embed the image using the correct HTML tags or tools, ensuring responsive design |
| 4 | Include proper alt text for accessibility |
By following these guidelines, you’ll ensure that images in your projects are not only visually impactful but also enhance the overall user experience. Proper image attachment promotes professionalism and communicates messages effectively.
Conclusion: Attaching images in your projects is a straightforward process if you pay attention to the right formats, sizes, and optimizations. With these best practices in mind, you'll create visually appealing and engaging projects that resonate with your audience.
 admin
admin


