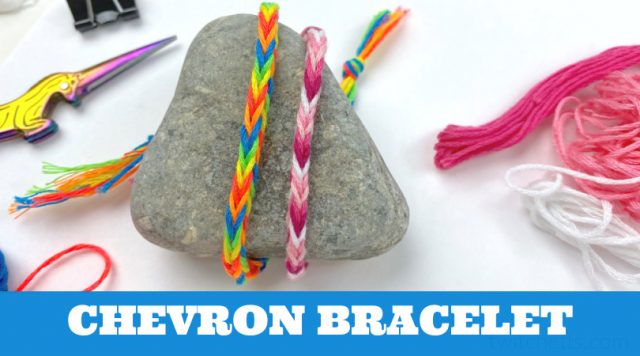
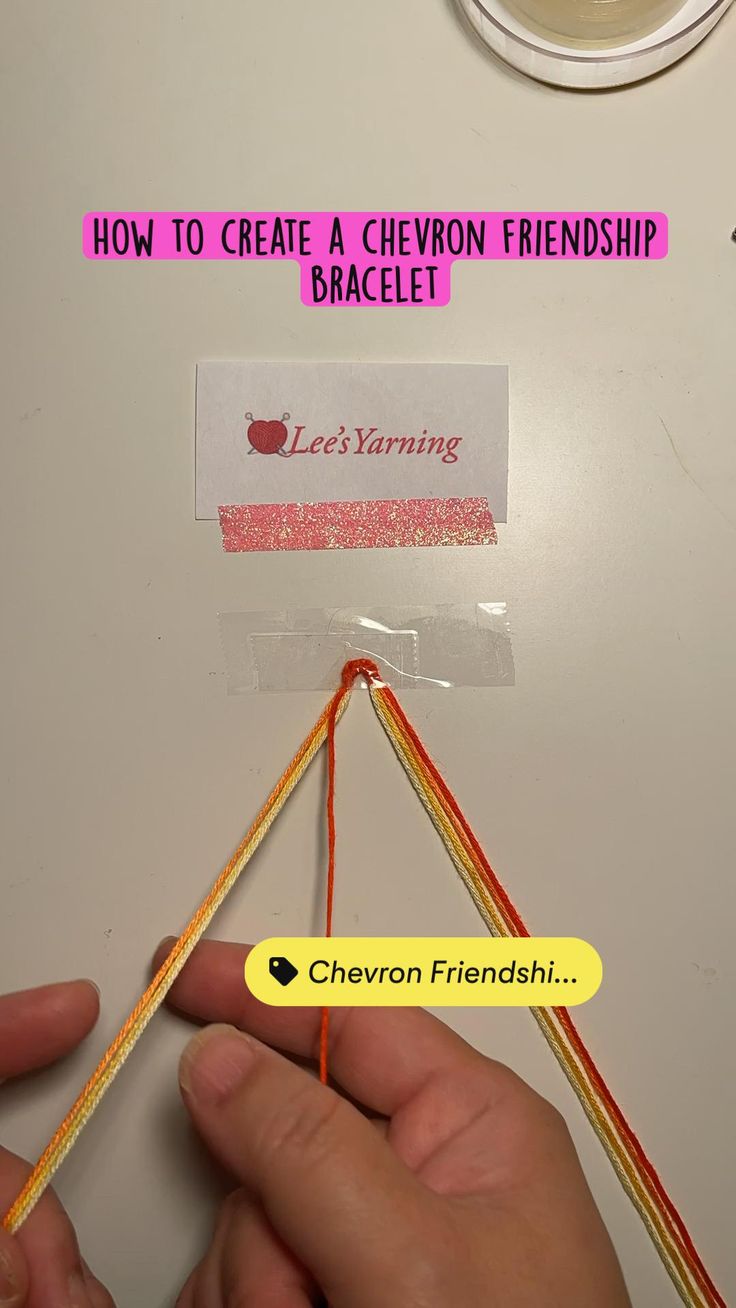
If you’re looking for a fun and creative way to show your friends how much you care, creating Chevron friendship bracelets with loom bands is an excellent choice! These colorful, zigzag-patterned bracelets are not only stylish but also symbolize friendship and connection. Whether you want to gift them to your pals or make one for yourself, these bracelets are a hit among younger and older generations alike. In this blog post, we’ll walk you through the process of making your own Chevron friendship bracelets step by step, along with all the materials you’ll need. So, grab your loom bands and let’s get started on this crafty adventure!
Materials Needed for Your Chevron Bracelet

Before you dive into making your Chevron friendship bracelet, you’ll want to gather all the necessary materials. Fortunately, the list is quite simple and easy to assemble. Here’s what you need:
- Loom Bands: You’ll need a variety of colors to achieve that vibrant Chevron pattern. The classic choices are bright pinks, blues, yellows, and greens. Feel free to choose your favorite color combinations!
- Loom Board: This is the base tool that holds the bands in place while you craft. Most loom boards come with a sliding tool that makes it easier to lift and place the bands.
- S-Clips or C-Clips: These little clips are essential for securing your bracelet at both ends. They keep everything together so that your hard work doesn’t fall apart!
- Hook Tool: A small hook is crucial for weaving the bands together tightly and creating that beautiful Chevron pattern.
- Scissors: You might need these to trim any excess bands or to snip the small ends for a neat finish.
Once you have everything on hand, you’re all set to start crafting your Chevron friendship bracelet. Just make sure to have a fun playlist or podcast ready to enjoy while you work on your masterpiece! Happy crafting!
Step-by-Step Guide to Loom Band Chevron Bracelets

Creating a fun chevron friendship bracelet with loom bands is super easy and oh-so-rewarding! Follow these steps, and you'll be flaunting your unique bracelet in no time!
- Gather Your Materials: You'll need loom bands (in at least two different colors), a loom board, a hook, and a clip. Keeping everything organized will make your bracelet-making experience much smoother!
- Set Up Your Loom Board: Position your loom board with the arrows facing you. This will help you stay on track as you weave your bands.
- Create Your Base Rows: Start with your first color. Place two bands on the first two pegs, and repeat this on the next set of pegs, alternating colors as you go. Think of this as the foundation for your chevron pattern!
- Weaving the Chevron Pattern: Now comes the fun part! Take the bottom band on each peg, and using your hook, pull it up and over the peg, finishing on the peg to its left. Continue this process to create the chevron shape. It helps to view it as a zigzag, letting your colors merge.
- Keep Adding Layers: Repeat the weaving process until your bracelet reaches the desired length. You can add as many rows as you like—mix and match colors for a vibrant look!
- Finishing Touches: Once you're happy with your bracelet, secure the ends together with a clip. Give it a little stretch, and voilà—you've just created a stunning chevron friendship bracelet!
Tips for a Successful Bracelet Making Experience
Making chevron friendship bracelets can be a delightful experience, especially when you have a few tips and tricks up your sleeve! Here are some suggestions to enhance your crafting journey:
- Choose Your Colors Wisely: Picking a color palette that resonates with you can make the bracelet extra special. Consider your friend's favorite colors for a personalized touch!
- Keep Consistent Tension: While working, maintain a consistent tension on your bands. Too loose, and the bracelet may fall apart; too tight, and it may break.
- Practice Makes Perfect: If you’re new to using loom bands, don’t stress if your first attempt isn’t perfect. With practice, your technique will improve, and your bracelets will look even better!
- Double Up on Bands: For a thicker bracelet, double up on your loom bands. This can also add more texture and color depth to your finished product.
- Invite Friends!: Making bracelets can be a fun group activity. Grab a few friends, share materials, and create friendship bracelets together. It makes for an exciting crafting session!
- Store Your Supplies Properly: After you're done, ensure you store your loom bands in a cool, dry place to keep them from losing elasticity. Organizers or small bins work wonders!
5. Creative Variations and Designs
Creating fun Chevron friendship bracelets with loom bands allows for a world of creativity and personalization! While the classic Chevron pattern is heartwarming, there are countless variations and designs you can explore to make your bracelet unique. Let's dive into some of these creative ideas!
1. Rainbow Chevron: This vibrant design uses multiple colors that gradually transition into one another. Imagine a bracelet that starts with red, then flows into orange, yellow, and so forth. The result? A colorful masterpiece that shines on your wrist!
2. Ombre Chevron: Instead of a full rainbow, consider an ombre effect where colors blend from light to dark shades of the same hue. It's subtle yet stunning, offering a chic look that’s perfect for any occasion.
3. Beaded Chevron: Incorporate beads into your bracelet! You can add beads that glide on the bands, or you can use them at the beginning and end of the bracelet for added flair. This will not only enhance the aesthetic but also give your bracelet some texture.
4. Double Chevron: For those looking for a bolder statement, try a double Chevron design. This involves creating two adjoining Chevron patterns. It’s a bit more complex but definitely worth the effort for the visual impact!
5. Themed Bracelets: Choose colors based on themes! For a beach vibe, opt for blues, yellows, and whites. For a favorite sports team, use their colors. This personal touch can bring more meaning to your creations.
With these creative variations and designs, you’ll never run out of ideas to make your Chevron friendship bracelets stand out!
6. Conclusion and Sharing Your Friendship Bracelets
Now that you've mastered the art of creating Chevron friendship bracelets with loom bands, it’s time to embrace your creativity and share your delightful creations with the world! Making these bracelets is not just a fun pastime; it’s a way to express yourself and showcase your unique style.
If you’ve made some beautiful bracelets, consider spreading the joy! Here are a few ways to share your handiwork:
- Social Media: Post pictures of your creations on platforms like Instagram, Facebook, and TikTok. Use hashtags such as #LoomBands and #FriendshipBracelets to connect with fellow enthusiasts!
- Craft Fairs: Local craft fairs or artisan markets are fantastic venues to display and sell your bracelets. You might even inspire others to try making them!
- Gift Giving: Gift your handmade bracelets to friends and family. Personal touches always create memorable moments, and they’ll cherish your thoughtful gesture.
- Make It a DIY Party: Organize a crafting party with friends where everyone makes their own friendship bracelet. This not only builds bonds but also allows sharing of designs and techniques.
In conclusion, creating Chevron friendship bracelets with loom bands is a delightful way to showcase your creativity, strengthen friendships, and spread joy. So gather your loom bands, unleash your imagination, and have fun crafting! Each bracelet tells a story, and sharing them can spark inspiration in others to start their bracelet journey!
 admin
admin


