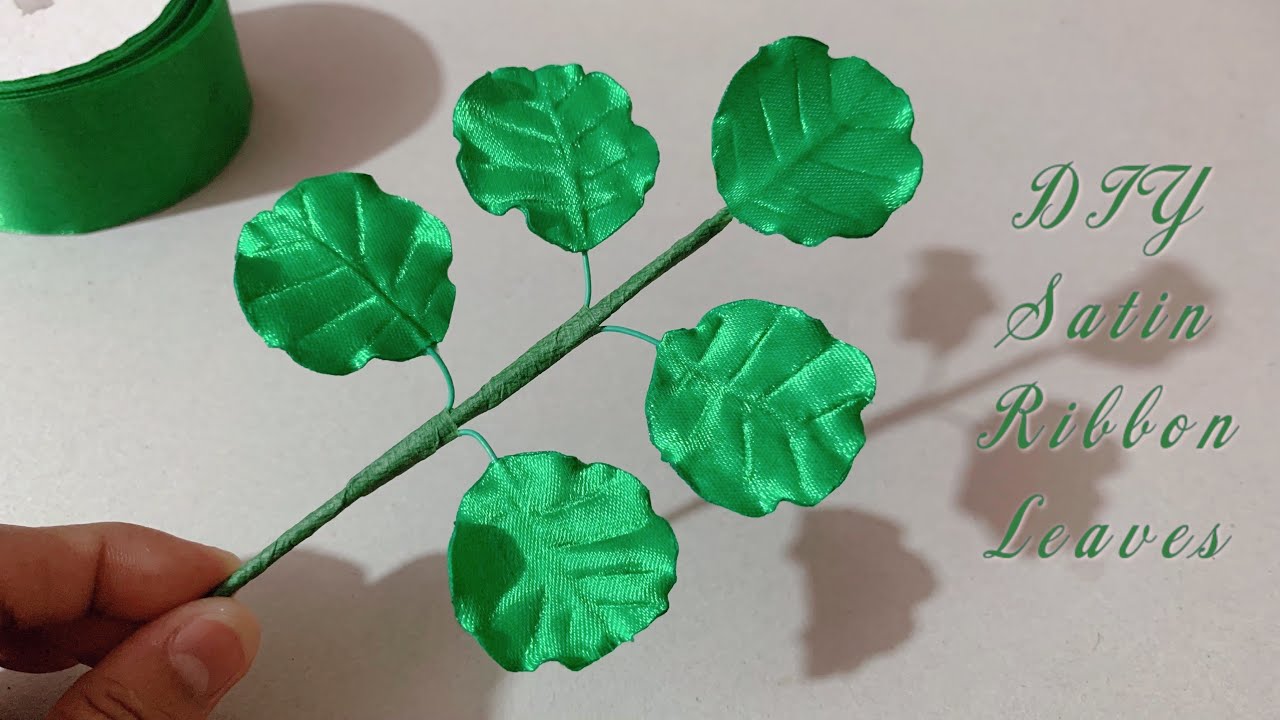
Welcome to the enchanting world of ribbon leaves! If you're someone who loves crafting and admires the beauty of decorative arts, you're in for a treat. Ribbon leaves are not just simple embellishments; they can add an elegant touch to your projects, whether it’s for a bouquet, a gift wrap, or even home decor. This guide will take you step-by-step through creating your own ribbon leaves, perfect for beginners who want to try their hand at this delightful craft.
Understanding ribbon leaves begins with appreciating their versatility. You can use various ribbons in different colors and patterns, which opens up a realm of creative possibilities. Plus, once you master the basics, you'll find yourself incorporating these charming little leaves in numerous projects. So, grab your ribbons and let’s dive into this exciting crafting adventure!
Materials Required for Ribbon Leaves

Before you start crafting, gather all the materials you'll need. Here’s a comprehensive list to help you prepare:
- Ribbons: Choose the type, color, and width you prefer. Satin or grosgrain ribbons are popular options.
- Scissors: A good pair of sharp scissors is essential for cutting the ribbons neatly.
- Hot Glue Gun: This will be the main tool for adhering your leaves to other projects.
- Floral Wire or Pipe Cleaners: Use these to give structure to your leaves if you want them to be more durable.
- Wire Cutters: These help you trim the floral wire or pipe cleaners safely.
- Ruler: A ruler can assist with measuring your ribbons accurately.
- Optional - Fabric Stiffener: If you want your leaves to hold a specific shape, fabric stiffener can be handy.
Here's a simple table that illustrates the significance of each material:
| Material | Purpose |
|---|---|
| Ribbons | Creates the main leaf shape |
| Scissors | For cutting ribbons |
| Hot Glue Gun | For attaching leaves to projects |
| Floral Wire/Pipe Cleaners | Add strength and structure |
| Wire Cutters | Trim wires safely |
| Ruler | Ensure accurate measurements |
| Fabric Stiffener (Optional) | Helps in maintaining shape |
Having these materials ready will make your crafting experience smooth and enjoyable. Now that you are equipped with everything you need, let’s get crafting!
Step-by-Step Instructions to Create Ribbon Leaves

Creating ribbon leaves is not only fun, but it’s also a fantastic way to spruce up your crafting projects. With just a few materials and steps, you can make beautiful ribbon leaves that can be used in various DIY projects. Let’s dive into the process!
- Gather Your Materials:
- Wire ribbon (preferably in green or your desired color)
- Scissors
- Pliers (optional, for manipulating wire)
- Craft glue (optional, for securing leaves)
- Cut the Ribbon:
Start by cutting a length of ribbon—about 10 to 12 inches is a good starting point. If you want larger leaves, you can cut longer strips. The width of the ribbon can vary, but around 1.5 inches works well.
- Form the Leaf Shape:
Fold the ribbon in half lengthwise to find the center, then pinch the ends together to form a teardrop shape.
- Secure with Wire:
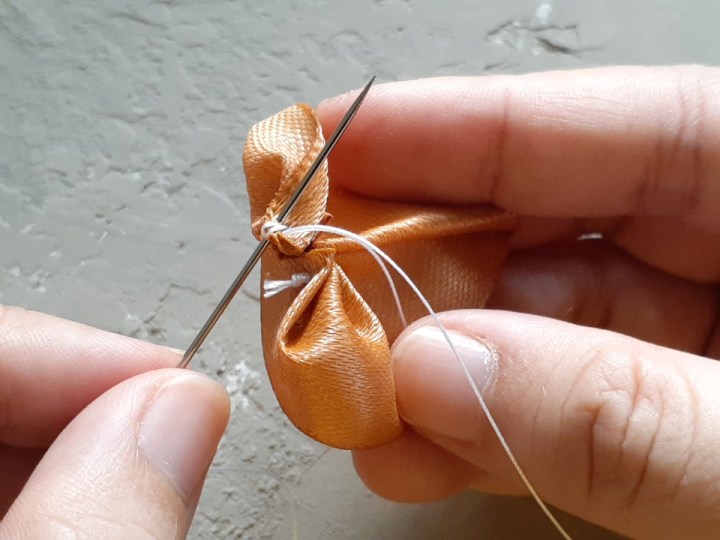
Take a small piece of floral wire and wrap it around the base of the leaf to hold its shape. Twist the wire tightly to ensure it’s secure.
- Finish the Leaf:
You can fray the edges of the ribbon slightly or leave them as is for a more polished look. Repeat the process to create as many leaves as you need!
Tips and Tricks for Perfecting Your Ribbon Leaves

While creating ribbon leaves is fairly straightforward, a few tips and tricks can take your crafting to the next level. Here are some suggestions to help you perfect your ribbon leaves:
- Choose Quality Ribbon: The type of ribbon you use can make a big difference. Opt for wired ribbons that hold their shape well, making it easier to create beautiful leaves.
- Experiment with Colors: Don’t just stick to green! Try using different colors to create unique leaves that can add a pop of color to your projects.
- Vary the Sizes: Make leaves in different sizes and shapes for a more dynamic look. Play around with cutting shorter or longer ribbon pieces.
- Add Texture: Consider using textured ribbons like satin or organza for a more stylish effect. You can also layer ribbons to create visual interest.
- Practice Makes Perfect: If you're new at this, don’t be discouraged if your first few leaves don’t turn out perfectly. Keep practicing, and you’ll notice improvement over time!
Creating ribbon leaves should be enjoyable, so let your creativity flow and don’t hesitate to make each leaf uniquely yours!
5. Creative Uses for Ribbon Leaves in Crafts
If you’re diving into the world of ribbon leaves, you might be wondering just how versatile this simple craft element can be. The truth is, ribbon leaves can be used in a dazzling array of creative projects, adding texture and color while allowing your imagination to run wild. Let’s explore some exciting ways to incorporate ribbon leaves in your crafting endeavors!
- Gift Wrapping: Add a charming touch to any gift by attaching ribbon leaves to your wrapping. You can create a beautiful bow with leaves peeking out, or simply glue them onto a gift tag for a personal touch.
- Home Decor: Use ribbon leaves to make stunning wall hangings or table centerpieces. By combining different sizes and colors, you can craft a unique decoration that reflects your personal style.
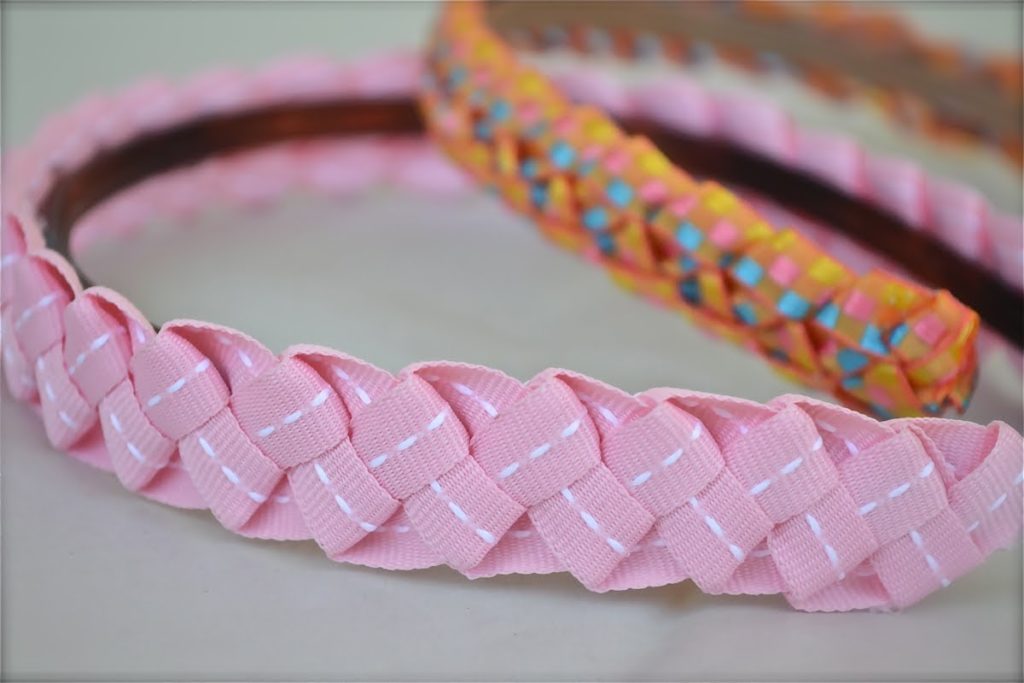
- Hair Accessories: Elevate your hair game by creating hair clips or headbands adorned with ribbon leaves. It’s a great way to add a splash of color to your everyday look or special occasions.
- Scrapbooking: For those who love to document memories, ribbon leaves make fantastic accents for your scrapbook pages. They can help bring nature-inspired themes to life and provide a tactile quality to your layouts.
- Card Making: Whether it’s a birthday card or a thank you note, embellishing the card with ribbon leaves can add a touch of elegance. Combine them with stamps and other embellishments for a completely unique design.
- Seasonal Decorations: Use ribbon leaves to craft seasonal decorations, such as autumn wreaths or spring garlands. By changing the colors and styles, you can easily adapt your designs for various holidays.
The possibilities are endless! So grab your ribbon and let these ideas inspire your next crafting session.
6. Conclusion and Final Thoughts
As we wrap up this beginner's guide to crafting ribbon leaves, it's essential to reflect on the journey you’ve embarked upon. Crafting is not just about the end product; it’s about the joy of creating something with your own hands and expressing your creativity. Whether you’re using ribbon leaves for decoration, accessories, or gifts, remember that the beauty lies in your personal flair.
Don’t be afraid to experiment—mix and match colors, play with shapes, and try different applications. It’s through exploration that you’ll find your unique style. Additionally, connecting with other crafters, either in person or in online communities, can provide a wealth of knowledge and inspiration. Sharing your creations and learning from others can significantly enhance your crafting experience.
So, gather your materials, unleash your creativity, and dive into crafting with ribbon leaves. Happy crafting!
 admin
admin


