Mirroring an image in Preview on a Mac is a quick and simple process that allows you to flip your image horizontally. Whether you're looking to create a reflection effect or just need a different perspective on your
Why Would You Want to Mirror an Image?
Mirroring an image can serve various purposes, and it’s not just about flipping pictures for fun. Here are some common reasons why people mirror their images:
- Creating Visual Balance: Mirroring can help balance an image by creating symmetry, which is appealing in design, art, and product photography.
- Reflection Effects: Want to create a water reflection or a mirrored floor effect? Mirroring images can give you the right visual illusion.
- Product Photography: For e-commerce, flipping images can showcase your product from a different angle, giving a fresh perspective to potential buyers.
- Fixing Orientation Issues: Sometimes, images can be uploaded the wrong way or need to be flipped to match your desired look. Mirroring can fix this quickly.
Mirroring is a powerful tool, especially for product images, where showcasing different angles or perspectives might be necessary to attract buyers. Additionally, it helps designers create clean, symmetrical images for use in various projects. It's not just about flipping an image for fun; it’s about enhancing visual appeal and getting the best results from your visuals.
Also Read This: How to Redeem iStock Items on Magisto: A Step-by-Step Tutorial
Steps to Mirror an Image in Preview
Now that you know why you might want to mirror an image, let’s get into the actual process. Fortunately, it’s really simple to do in Preview. Just follow these easy steps:
- Open the Image in Preview: First, locate the image you want to mirror on your Mac. Right-click on it and select "Open With" and then choose "Preview." This will open the image in Preview's default viewer.
- Access the Tools Menu: In the Preview app, you’ll find a menu bar at the top. Click on “Tools,” which will show you various options for editing the image.
- Select "Flip Horizontal": Under the Tools menu, click on “Flip Horizontal.” This will instantly mirror the image, flipping it from left to right.
- Save Your Image: After mirroring, be sure to save the new version of your image. You can either overwrite the original image or choose “Save As” to create a new file with the mirrored effect.
And that’s it! You’ve successfully mirrored an image in Preview. It’s such a quick and easy process, making it ideal for anyone looking to make simple adjustments without using complex software. Now your image is ready for whatever purpose you need it for—whether that’s product photography, digital design, or just for fun!
Also Read This: Essential Video Editing Software Used by YouTubers
Common Mistakes to Avoid When Mirroring Images
While mirroring images in Preview is an easy task, some users make common mistakes that can cause frustration. Here are a few things to keep in mind to avoid those mishaps and ensure your images are mirrored correctly:
- Forgetting to Save the Mirrored Image: One of the most common mistakes is not saving the mirrored version of your image. After flipping the image, make sure to save it either by overwriting the original file or by creating a new one. If you don't save, you'll lose the mirrored version!
- Not Checking Image Quality: After mirroring, the image might not look as sharp as before. It's important to check if the quality has changed. If the resolution appears off, you may need to adjust the sharpness or contrast to bring it back to the desired quality.
- Flipping Images with Text: Mirroring an image with text can cause the text to reverse, making it unreadable. If you're flipping images with text or logos, consider if this is what you want. In some cases, it's better to avoid mirroring images with text or to manually fix the text afterward.
- Mirroring the Wrong Side: Ensure that you’re flipping the correct side of the image. Sometimes people accidentally flip images vertically instead of horizontally, which can result in a flipped upside-down image rather than a mirrored one.
- Not Adjusting for Reflection: If you're trying to create a reflection effect, simply mirroring the image is just one step. You might also need to adjust the image's opacity, shadow, or alignment to get the perfect effect.
By avoiding these simple mistakes, you can ensure that your mirrored images come out looking just the way you want them. Always double-check your edits before saving, especially if you're working on important visuals like product photos or marketing materials.
Also Read This: Mastering Image Rounding in Google Slides
How to Mirror Multiple Images at Once
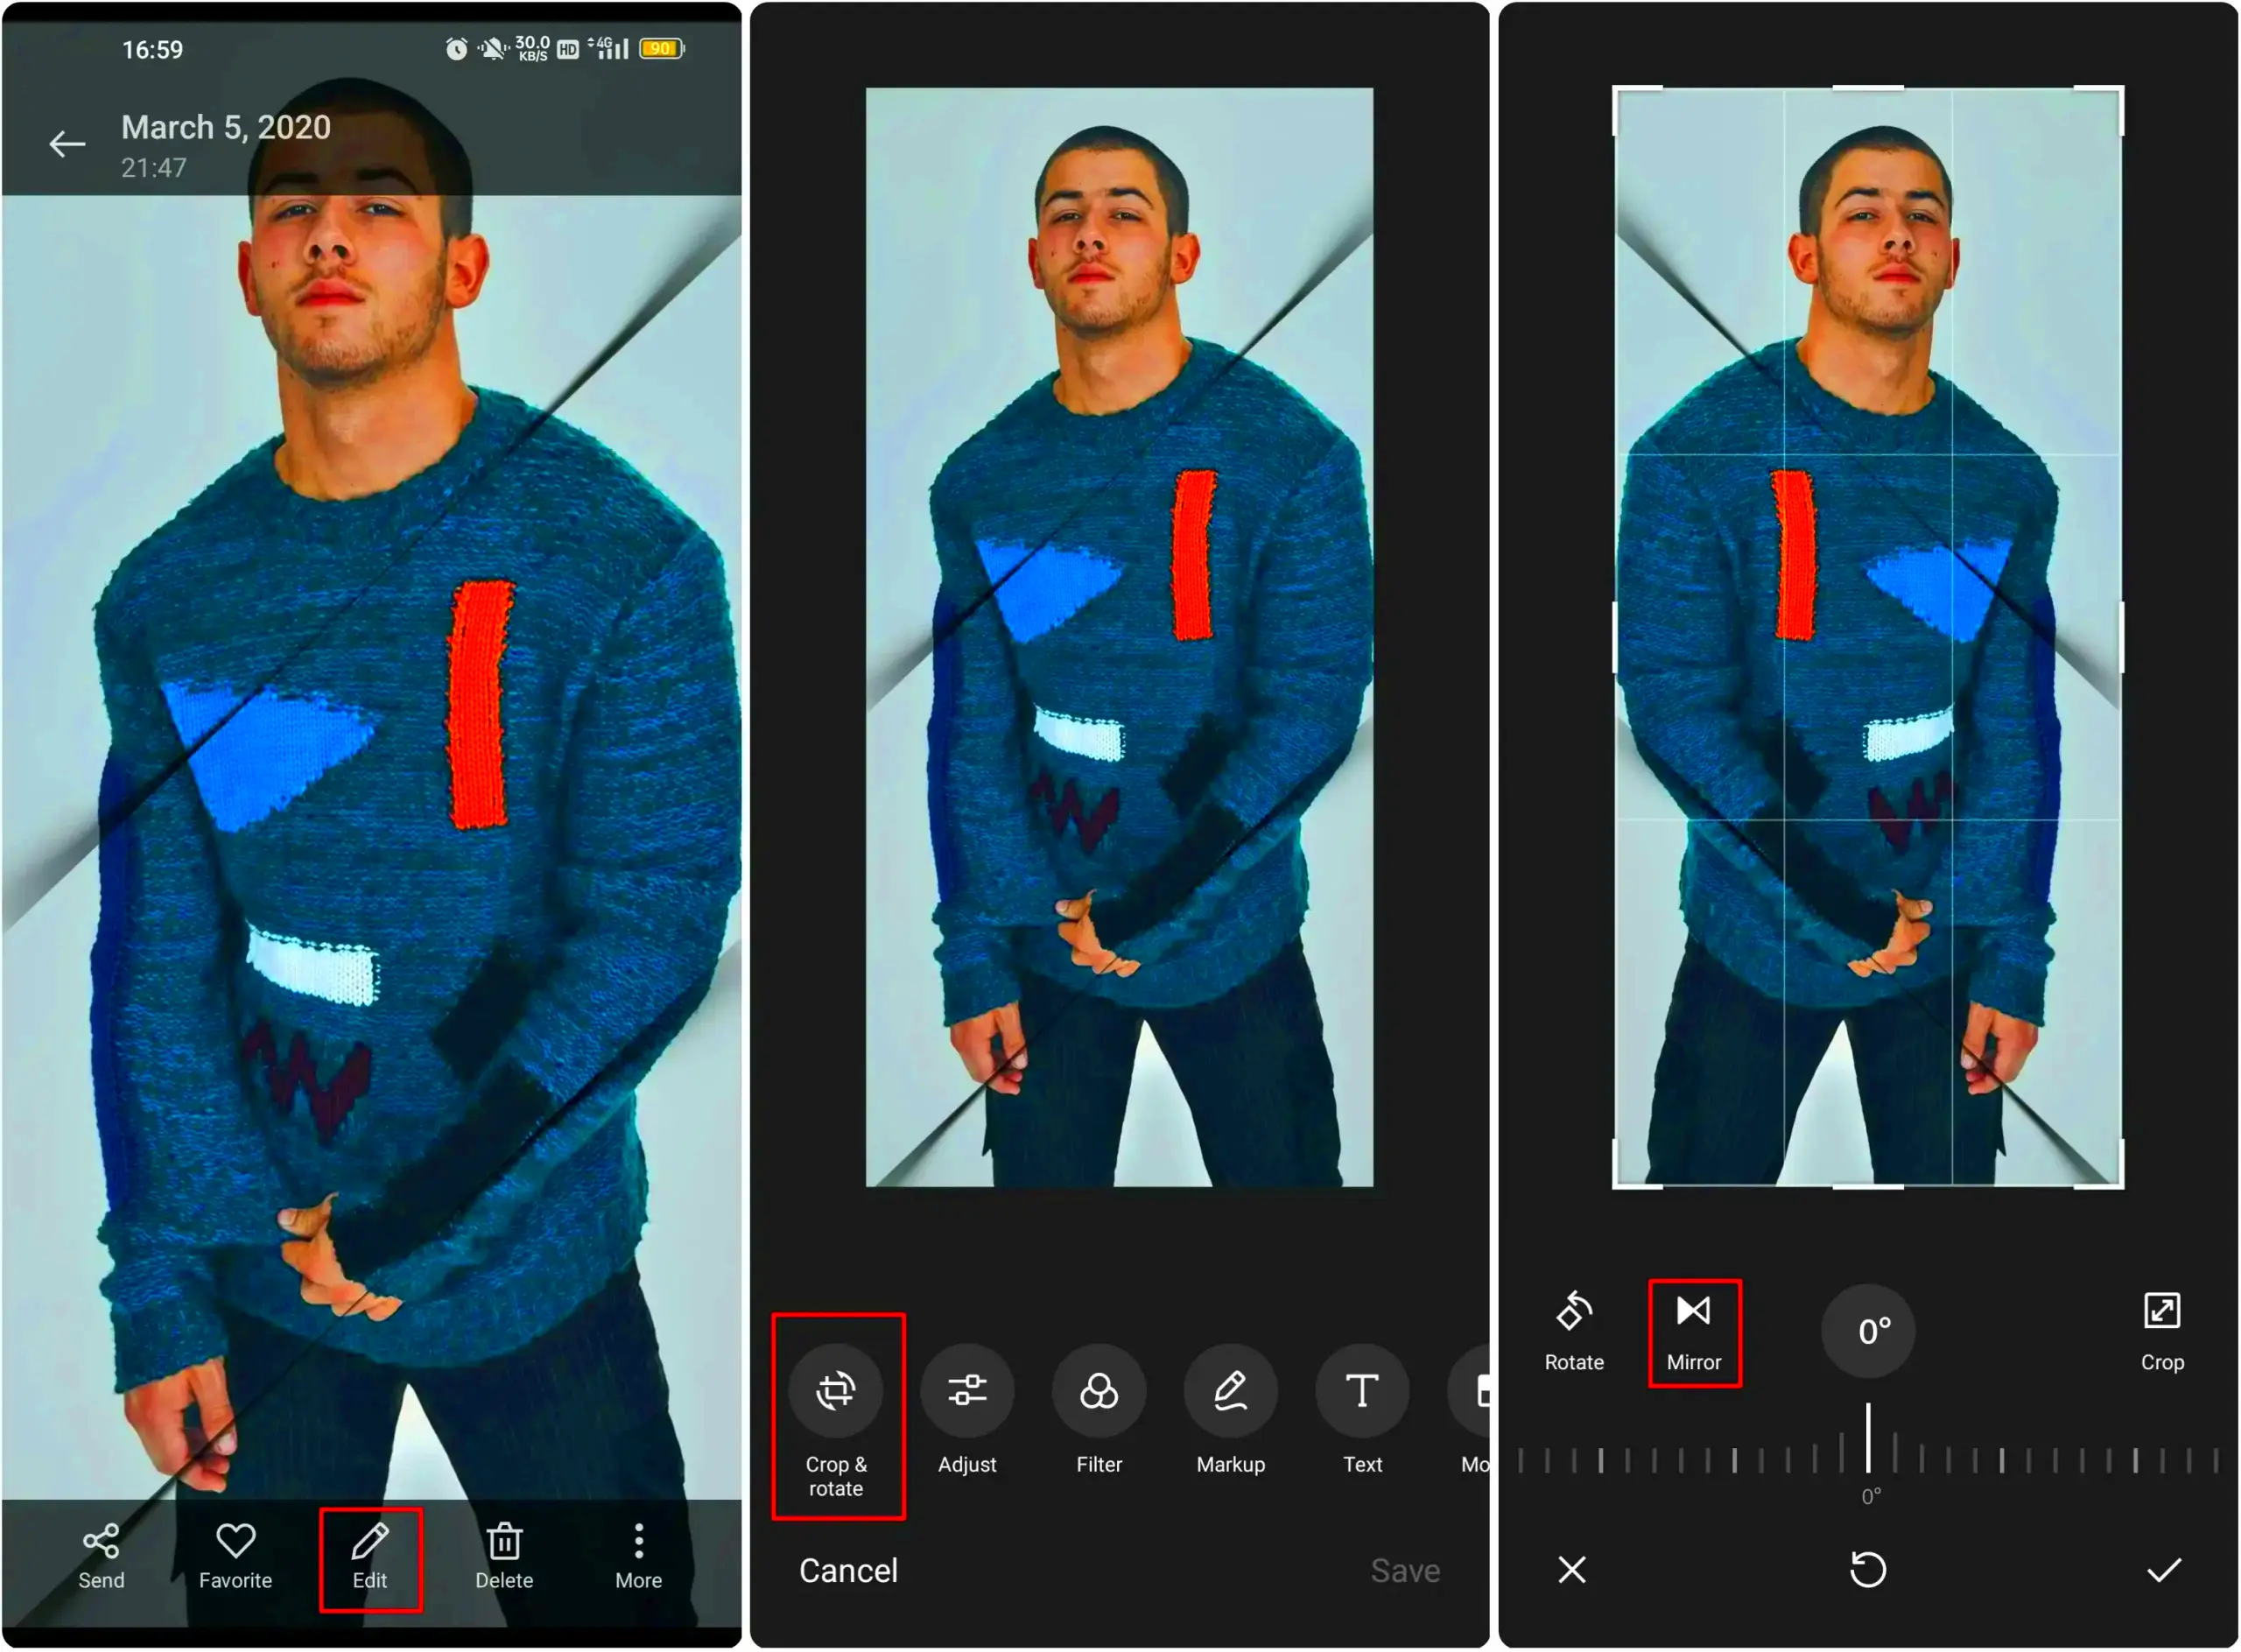
Mirroring multiple images can be a bit trickier, especially if you have a large batch of photos that need the same edit. While Preview is great for individual images, it doesn't support batch editing. But don’t worry! There are several ways to mirror multiple images at once:
- Using Automator on Mac: Automator is a built-in app on macOS that lets you automate repetitive tasks. You can create a custom workflow to flip multiple images at once. Here's a simple process:
- Open Automator, then create a new “Workflow” document.
- Search for “Flip Horizontal” in the Actions panel.
- Drag it into your workflow and select the folder of images you want to mirror.
- Run the workflow, and Automator will flip all images in that folder.
- Using Third-Party Software: If you need to mirror a large number of images frequently, third-party software like Adobe Photoshop or batch editing apps can save you time. These programs offer bulk processing features that let you apply the mirror effect to multiple images in one go.
- Online Tools: Several online tools and apps allow you to upload and mirror images in bulk. These platforms are user-friendly and perfect for quick tasks, though they may require an internet connection and sometimes have file size limits.
When dealing with multiple images, it’s important to choose the right tool for the job. Automator is great for quick batch jobs if you're on a Mac, while third-party apps and online tools are better for more complex or frequent tasks. No matter the method, you can save a lot of time by mirroring multiple images at once.
Also Read This: Guidelines for Legal and Ethical Use of Getty Images
How Mirroring Can Benefit Your Product Images
Mirroring images can be a game-changer for product photography. While it might seem like a simple edit, flipping your product images can help in several ways, especially in the competitive world of e-commerce. Here’s how mirroring can give your product photos a boost:
- Showcase Different Angles: If you only have one product image, mirroring it can help show a different perspective without needing extra photos. For instance, you can mirror the image to present the product from a “left” or “right” angle, which is often helpful in product listings where multiple views are preferred.
- Enhance Visual Appeal: Mirrored images can give a sense of balance and symmetry, making your product appear more visually appealing. Symmetry is a powerful design principle, often making a product look more polished and professional.
- Improve Brand Consistency: If your brand uses mirrored product images consistently, it can help create a unique visual identity. A mirrored effect can give your product shots a clean and modern look, which can stand out on your website or marketplace listings.
- Reflect the Product's Usability: When presenting products like clothing, accessories, or even digital designs, mirroring can show how the product can be used from different perspectives. This is especially useful for products where the buyer might want to see both sides or different angles to make an informed decision.
- Quickly Adjust for Orientation: If you accidentally upload an image the wrong way, mirroring can be an easy way to correct it without the need for more complex editing software. It’s an efficient fix for product images that need to be rotated or flipped to fit the display.
In summary, using mirrored images in your product listings is not just about making things look “cool” — it’s about enhancing usability, increasing visual appeal, and improving your brand’s consistency. Whether you’re working with e-commerce platforms like Amazon or your own website, mirrored images can help set your products apart and increase your chances of making a sale.
Also Read This: The Ultimate Guide on How to Download Video as Mp3 from Youtube
How to Adjust Image Quality After Mirroring
After you mirror an image, you might notice slight changes in its quality. While the act of flipping an image doesn’t directly affect resolution, the mirrored version may appear less sharp or slightly distorted, especially if it was resized during the process. Fortunately, adjusting the image quality afterward is simple and can be done in just a few steps. Here's how to ensure your mirrored image retains its best possible quality:
- Check the Resolution: First, confirm that the image resolution remains intact. If the image appears blurry, it may have been resized during the mirroring process. To fix this, go to the “Tools” menu and adjust the image size without altering the resolution. You can use a higher DPI (dots per inch) to make sure your image is crisp.
- Enhance Sharpness: If the mirrored image appears soft or lacks definition, sharpening can help. Preview doesn’t have a built-in sharpness tool, but you can use other apps like Adobe Photoshop or even online tools to enhance the sharpness of the image. Be careful not to overdo it, as excessive sharpening can introduce noise.
- Adjust Contrast and Brightness: Sometimes, flipping an image can make it appear slightly off in terms of lighting. To correct this, adjust the contrast and brightness levels. Use a simple image editor to tweak these settings and restore a natural look to your image.
- Use Noise Reduction: If the image has noise or grain after mirroring, use noise reduction tools to smooth it out. This will improve the overall quality and ensure the image looks clean.
- Crop and Align: After mirroring, check if the image needs cropping or alignment adjustments. Sometimes, flipping causes unwanted empty space on the sides of the image. Crop out the excess and align the image properly for a more professional finish.
By following these steps, you can quickly adjust the image quality and make sure your mirrored images maintain their sharpness, clarity, and visual appeal, whether for personal projects or professional use.
Also Read This: Expert Editing Techniques for Flawless Pictures in Photoshop CS6
FAQ about Mirroring Images in Preview
Mirroring images in Preview is simple, but you might have a few questions about the process. Here are some frequently asked questions that can help clear up any confusion:
- Can I mirror an image in Preview on Windows? No, Preview is a macOS-only app. However, you can use other software like Microsoft Paint or third-party apps to mirror images on Windows.
- Will the quality of my image change after I mirror it? Mirroring doesn’t affect the resolution or quality of the image itself, but it might alter its sharpness or appearance, especially if the image was resized. You may need to adjust contrast, brightness, or sharpness after mirroring to restore image quality.
- How do I undo the mirror effect in Preview? If you change your mind, you can undo the mirroring by selecting “Undo” from the “Edit” menu or by using the keyboard shortcut Command + Z. This will revert the image back to its original state.
- Can I mirror an image vertically in Preview? Preview only supports horizontal flipping (left to right). If you need to flip an image vertically (top to bottom), you’ll need to use a different image editing tool.
- Will the text on my image be reversed when I mirror it? Yes, any text on the image will be flipped along with the rest of the image. If you want to preserve the readability of text, you might want to avoid flipping text-heavy images or manually adjust the text afterward.
- Can I mirror multiple images at once in Preview? Unfortunately, Preview doesn’t support batch processing for multiple images. However, you can use tools like Automator on Mac or third-party software to mirror several images at once.
Conclusion
Mirroring images in Preview is a simple yet effective way to make quick edits to your photos. Whether you’re using it for product photography, design projects, or just for fun, the process is quick, and the results can be visually striking. While the mirroring process itself is easy to follow, it’s important to check the quality of the mirrored image afterward to ensure it meets your standards. If you encounter any issues, such as quality degradation or flipped text, there are plenty of simple fixes available. Remember that Preview is a great tool for basic edits, but for more complex needs, other editing software may be necessary.
In summary, mirroring an image in Preview is a great option for anyone looking to adjust their images quickly and effectively. With just a few steps, you can create symmetrical designs, showcase products from different angles, and enhance your visuals. Don’t forget to review your image quality after making adjustments to ensure the best results. Happy editing!
