When you scan a document or an image, you often end up with a digital version in a common image format like JPEG or PNG. While these formats are great for viewing, they aren't always the best for storing, sharing, or organizing your files. Converting your scanned images into PDF format offers a more versatile solution. PDF files are universally accessible, easy to organize, and preserve the original quality of the scanned
Why Save Scanned Images as PDF

There are several compelling reasons to save your scanned images as PDF files:
- Universal Compatibility: PDFs can be opened on virtually any device, operating system, or platform. Whether you're using a Windows PC, Mac, or even a mobile device, PDFs can be viewed without hassle.
- Easy Sharing: PDFs preserve the layout and quality of your scanned documents, making them ideal for sharing with others without worrying about file compatibility or formatting issues.
- Better Organization: PDFs allow you to combine multiple scanned images into one document, helping you keep related files together.
- Compression: You can compress PDF files to reduce their size without compromising on quality, making them easier to store and send via email.
- Security: PDFs offer options for password protection and encryption, ensuring your documents remain secure and private.
In summary, converting scanned images into PDFs offers benefits in terms of accessibility, file management, and security. It's a great way to ensure your scanned files are preserved in a clean, easily accessible format.
Also Read This: How to Get Free WireImage Photos: 5 Proven Strategies
Step-by-Step Guide to Saving Scanned Images as PDF

Now that you know why saving scanned images as PDFs is useful, let's go through the simple steps to convert your scanned images into PDFs. This guide will show you how to do it using different methods depending on your device and tools.
Method 1: Using Scanning Software
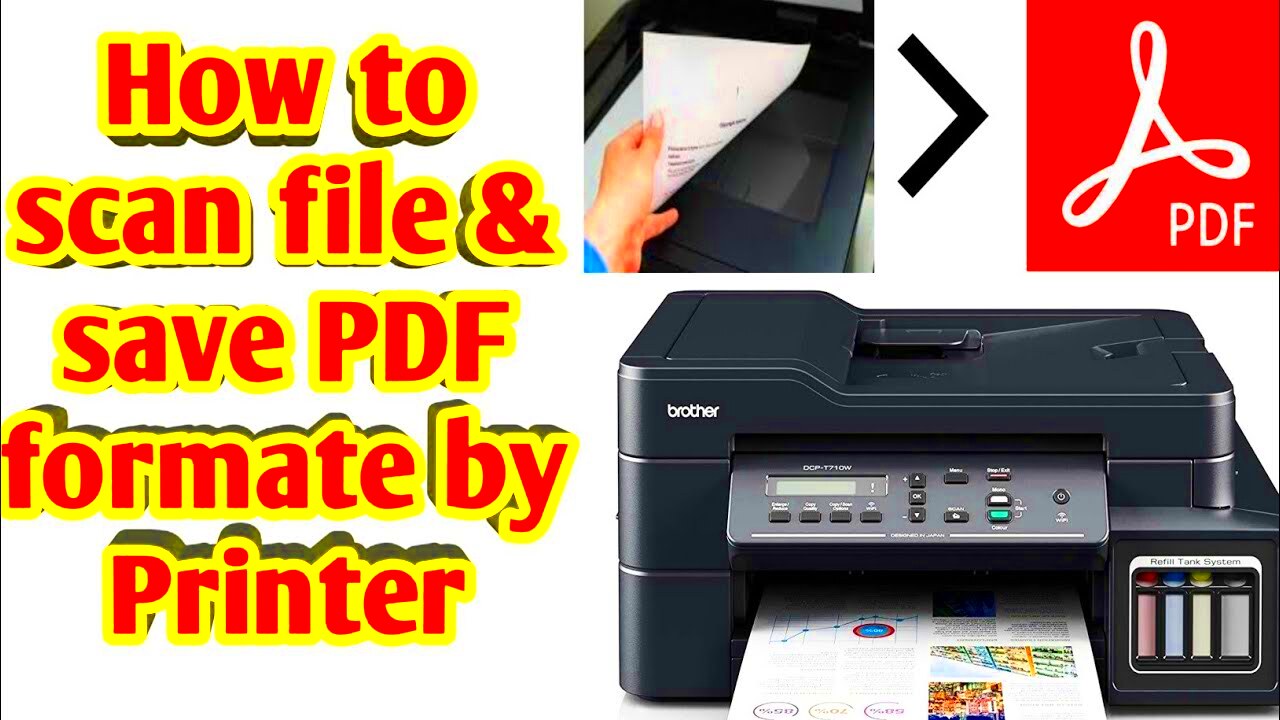
Many scanning software applications, like Adobe Scan or your scanner's built-in software, allow you to scan directly to PDF. Here's how to do it:
- Open your scanning software.
- Place your document or image in the scanner.
- Select "Scan to PDF" or a similar option from the scanning software menu.
- Adjust your settings (e.g., resolution, color options) if necessary.
- Click "Scan" and save the file to your desired location.
Method 2: Using Built-In Tools on Windows
If you're using Windows, the built-in Microsoft Print to PDF feature makes it easy to save scanned images as PDFs:
- Open your scanned image with the default photo viewer or another image editing program.
- Click "Print" or use the shortcut (Ctrl + P).
- Select "Microsoft Print to PDF" as your printer.
- Choose the page layout and any other settings you'd like.
- Click "Print," and you’ll be prompted to save the file as a PDF.
Method 3: Using Built-In Tools on Mac
For Mac users, the Preview app makes converting scanned images into PDFs incredibly simple:
- Open your scanned image in the Preview app.
- Go to the "File" menu and select "Export as PDF."
- Choose your save location and click "Save."
Method 4: Using Third-Party Apps
If you prefer third-party apps for scanning, many of them, like CamScanner or Adobe Scan, allow you to directly save scanned images as PDFs. Simply follow the app’s instructions, which typically involve selecting PDF as your output format during the scanning process.
With these simple methods, you can save your scanned images as PDFs, making your digital documents easy to share, store, and access.
Also Read This: Simple Ways to Upload an Image to Imgur
Using Scanning Software for PDF Conversion
Scanning software is one of the easiest and most effective ways to save your scanned images directly as PDF files. Many scanning programs come with built-in options to convert your scanned images into a PDF format with just a few clicks. This method is not only fast but also ensures that your scans retain their high quality without the need for additional editing or conversion steps.
Here’s how you can use scanning software for PDF conversion:
- Install the Scanning Software: First, make sure you have a scanning program installed on your computer. Popular software like Adobe Scan, Epson Scan, and Brother iPrint&Scan offer seamless PDF conversion features.
- Connect Your Scanner: Make sure your scanner is connected to your computer or mobile device via USB or Wi-Fi.
- Open the Scanning Program: Launch the scanning software on your device. Some programs may automatically detect your scanner once it’s connected.
- Select PDF as Output: Most scanning software allows you to choose the output format before you start scanning. Simply select PDF from the list of formats, and you’re good to go.
- Adjust Settings: You can fine-tune settings like resolution, color, and paper size to suit your preferences before scanning the image or document.
- Scan and Save: Once you scan the document, the software will create a PDF file. Choose a save location, and your scan will be ready for use.
Using scanning software ensures that the conversion is smooth, and you don't need to worry about manually converting the file after scanning. It’s a time-saver and guarantees that your scanned images will be saved in high-quality PDF format right away.
Also Read This: How to Change Geo-Tag Info for Getty Images
Saving Scanned Images as PDF on Windows
If you're using a Windows PC, saving your scanned images as PDF files is a straightforward process, thanks to the built-in Microsoft Print to PDF feature. Whether you’re using a traditional scanner or a multifunction printer, Windows provides easy-to-follow steps for converting scanned images into PDFs without the need for third-party software.
Here's how you can do it:
- Open the Scanned Image: After scanning your image, open the file using the default Photos app or any image viewer you prefer.
- Choose Print Option: Press Ctrl + P or click on the "Print" icon. This will open the print dialog box.
- Select Printer: From the printer options, choose "Microsoft Print to PDF." This will allow you to print the image as a PDF file.
- Set Page Layout: Adjust the settings for page size, orientation, and margins if necessary. You can also customize the quality or resolution of the PDF if desired.
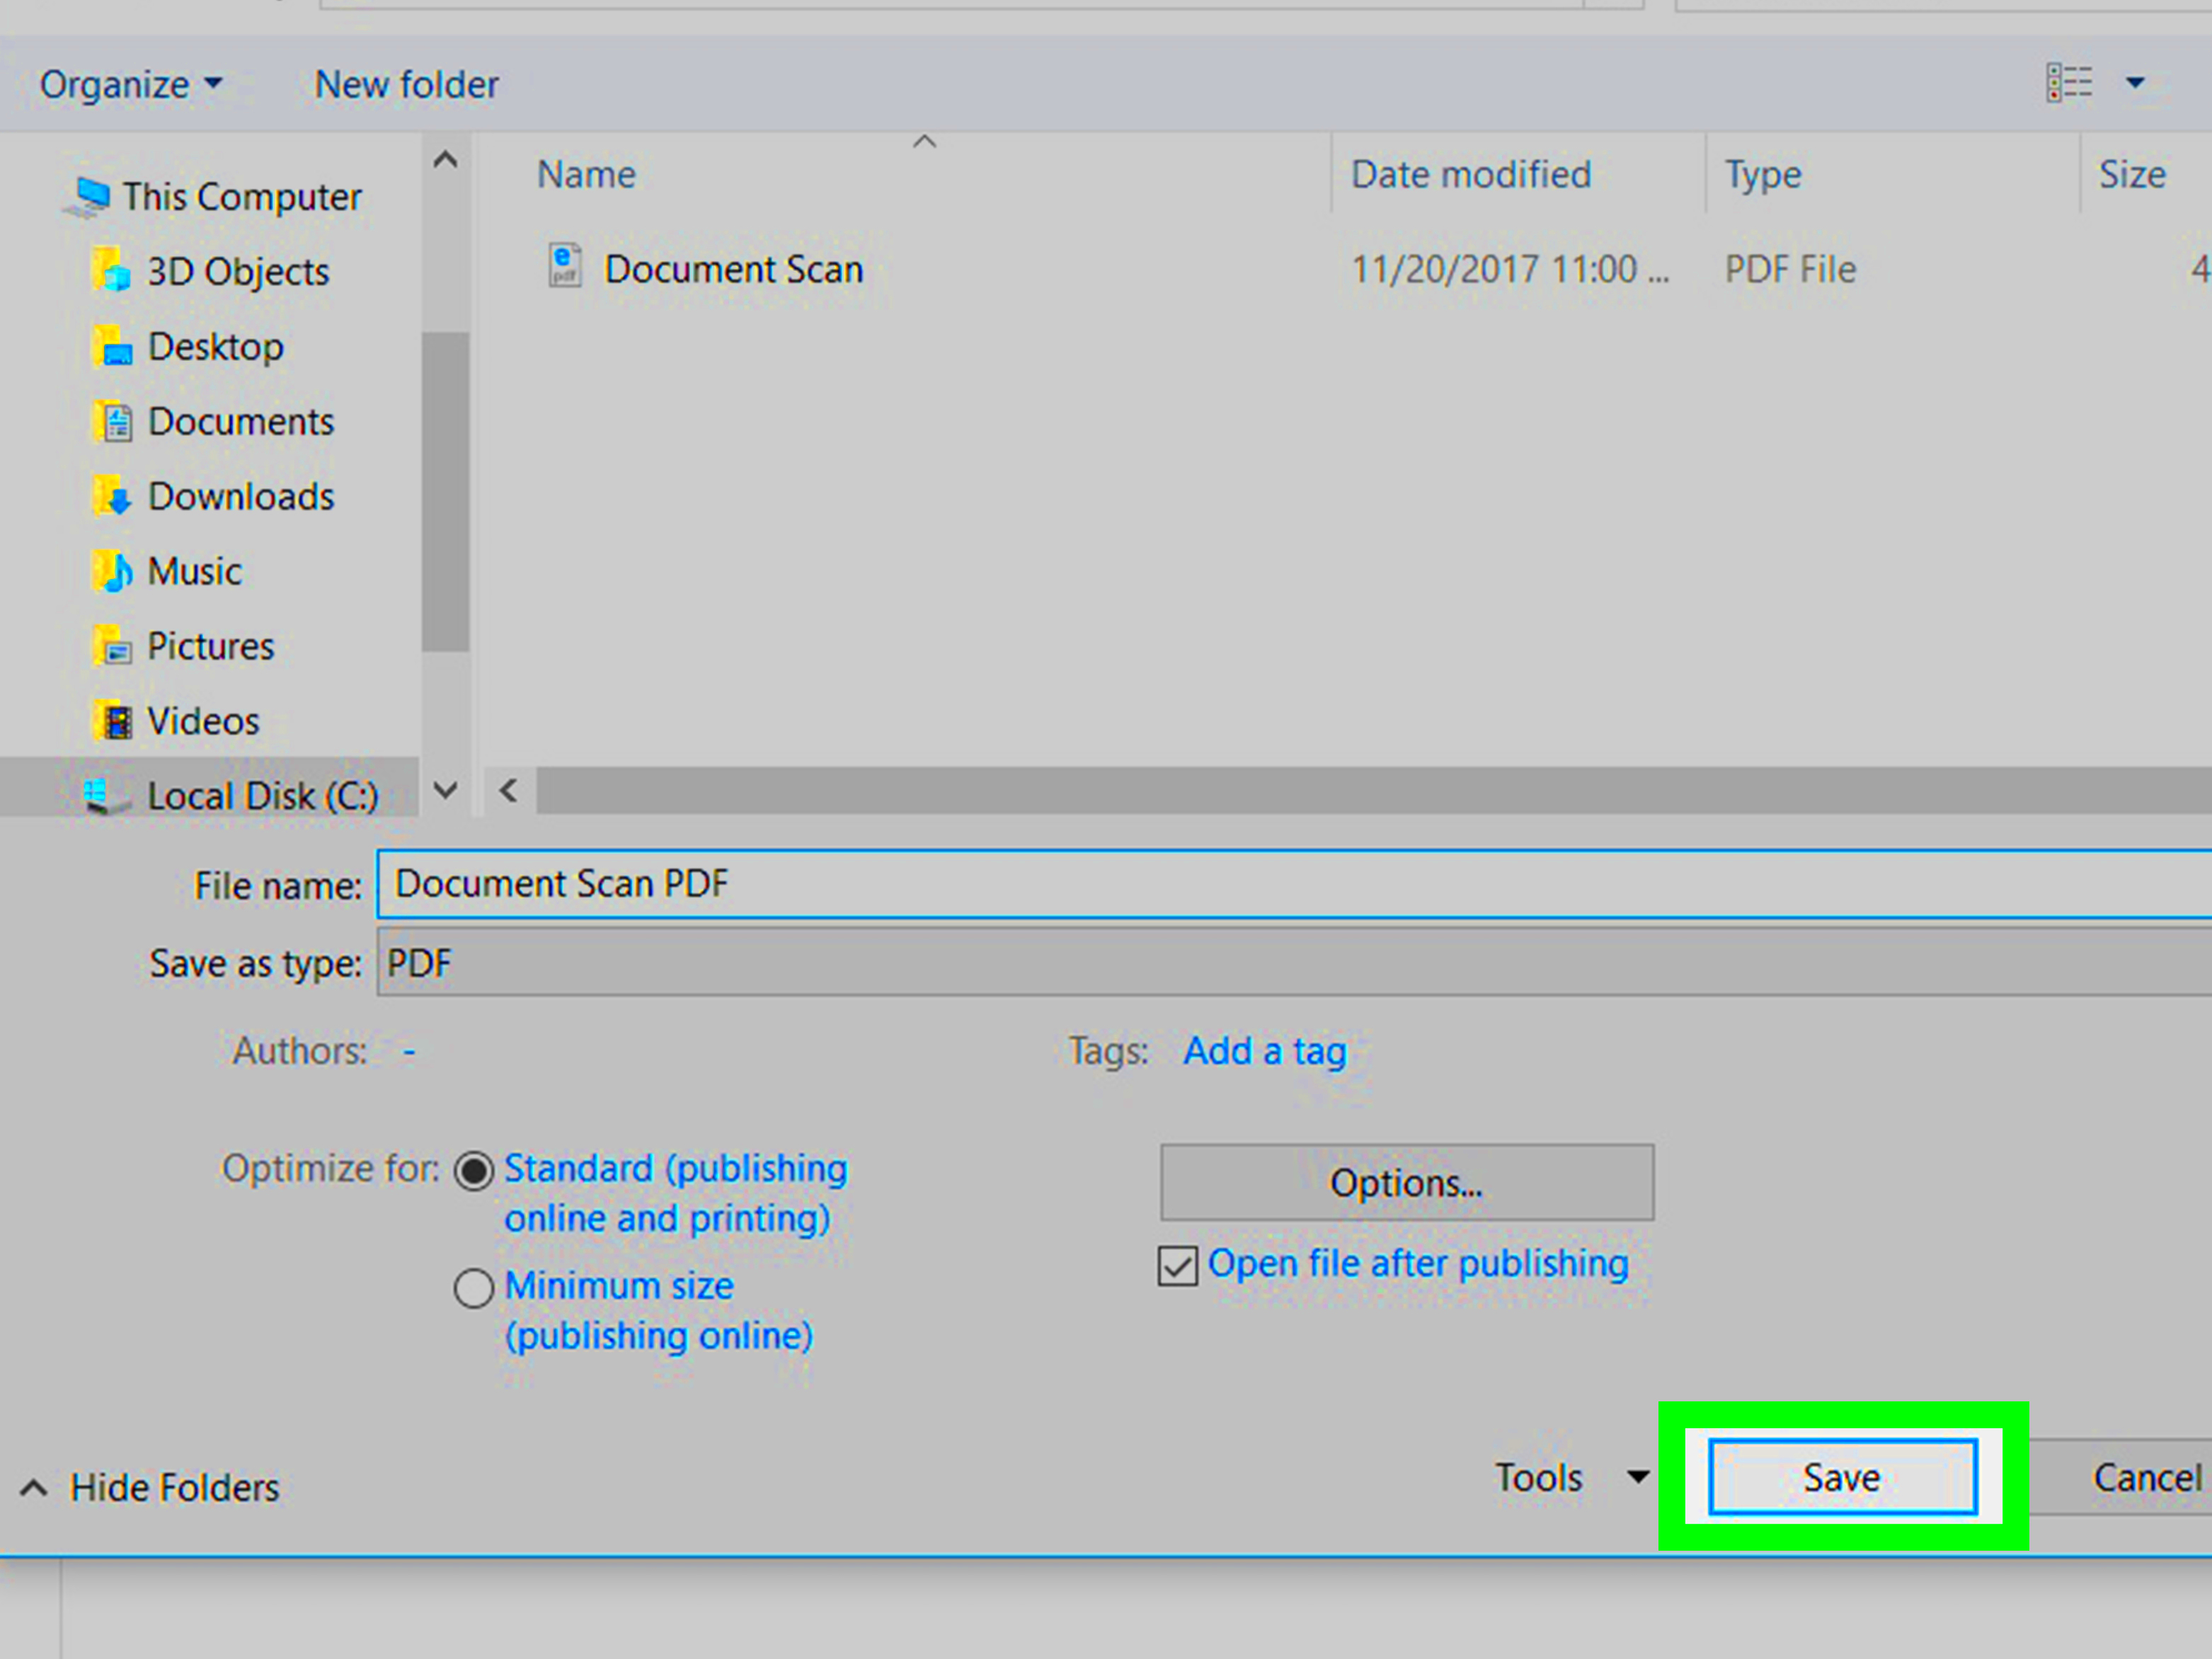
- Save as PDF: Click "Print" and you will be prompted to select a location to save the file. Choose the location, name the file, and click "Save."
Once done, your scanned image will be saved as a PDF. This method is simple, quick, and requires no additional software. It’s perfect for users who want a no-fuss way of saving their scanned documents in PDF format directly from Windows.
Also Read This: how to license a adobe stock image
Saving Scanned Images as PDF on Mac
Mac users can also easily save scanned images as PDFs using the built-in tools available in macOS. The Preview app is especially useful for this task, allowing you to scan and save documents in PDF format with just a few simple steps.
Follow these steps to save scanned images as PDFs on your Mac:
- Open Preview: Start by opening the Preview app. You can find it in the Applications folder or by searching using Spotlight.
- Connect Your Scanner: Connect your scanner to your Mac using USB or Wi-Fi. Make sure your scanner is powered on and ready to scan.
- Start Scanning: In Preview, go to the "File" menu and select "Import from Scanner" or "Import from [scanner name]." This will open the scanning interface.
- Choose PDF Format: In the scanning window, adjust the settings such as resolution and color. Make sure to select PDF as the output format.
- Scan and Save: Once the scan is complete, Preview will display the scanned image. From the "File" menu, select "Export as PDF." Choose your desired save location and click "Save."
With these simple steps, you can easily convert scanned images into PDF files on a Mac using Preview. This built-in tool is perfect for users who want an easy and effective way to handle scanned documents without needing third-party apps.
Also Read This: How to View Getty Images Without Watermark
Third-Party Tools for Saving Scanned Images as PDF
If you're looking for an alternative to built-in scanning software or want more control over your scanned files, third-party tools can be a great option for saving scanned images as PDFs. These tools often provide advanced features like batch scanning, editing capabilities, and additional customization options to suit your needs. Whether you're using a smartphone or a computer, third-party apps can help streamline the process of converting your scans into high-quality PDFs.
Here are some popular third-party tools that make saving scanned images as PDFs easy:
- Adobe Scan: This app, available for both iOS and Android, automatically converts scanned documents into PDFs. It has built-in OCR (Optical Character Recognition) that recognizes text in scans, making it easy to search within the PDFs later.
- CamScanner: A widely used mobile app that lets you scan documents and save them as PDFs. CamScanner allows you to adjust the quality of the scan, crop images, and even add annotations before saving them as PDFs.
- Scanner Pro: An iOS app that provides high-quality scanning, with the ability to save scanned images directly as PDFs. It offers cloud integration for easy sharing and storage, and advanced editing tools to enhance your scanned documents.
- Foxit PDF Scanner: Foxit offers a comprehensive solution for scanning documents directly to PDF. It has a user-friendly interface and features like automatic edge detection and image enhancement.
Using third-party tools gives you flexibility and additional features, especially for more complex scanning needs. Many of these tools offer both free and paid versions, so you can choose one that suits your requirements.
Also Read This: how to cancel adobe stock subscription
How to Manage Multiple Scanned Images as PDF
When you have several scanned images, combining them into a single PDF file can help you stay organized and ensure everything is in one place. Managing multiple scanned images as PDFs can be done easily with various tools and methods, whether you’re working on a PC, Mac, or mobile device. This way, instead of dealing with multiple files, you can consolidate your scans into a single, manageable PDF document.
Here’s how to combine scanned images into a single PDF:
- Using Built-in Tools on Windows: After scanning your images, you can select them and print them all to PDF using the “Microsoft Print to PDF” option. This lets you combine multiple images into one PDF by selecting them and saving them in one go.
- Using Preview on Mac: Open all your scanned images in Preview. Select all the images, go to the “File” menu, and choose “Export as PDF.” Preview will automatically combine the selected images into a single PDF file.
- Using Adobe Acrobat: Adobe Acrobat is a powerful tool for combining scanned images into PDFs. Open Acrobat, click on “Combine Files,” and then select the scanned images you want to merge into one document. Acrobat also allows you to reorder pages and optimize the PDF.
- Using Online Tools: There are many free online tools, such as Smallpdf and ILovePDF, that allow you to upload multiple scanned images and combine them into a single PDF. These tools are user-friendly and don’t require software installation.
After combining your images, you can adjust the page order, add or remove pages, and compress the file to make it smaller. Managing multiple scanned images as a single PDF makes it easier to share and organize your documents.
Also Read This: Creating Digital Ads with 123RF Stock Photos
Frequently Asked Questions
Here are some common questions people have when saving scanned images as PDFs. This section will help clear up any confusion and provide tips for troubleshooting:
- Can I scan directly to PDF?
Yes, many scanning programs and apps, like Adobe Scan, allow you to scan documents directly to PDF without needing to convert them later. - What if my PDF is too large?
If your PDF is too large, you can reduce the file size by using PDF compression tools. Many apps and online tools, such as Smallpdf or Adobe Acrobat, can compress the PDF without losing much quality. - Can I edit a scanned image after converting it to PDF?
Yes, some tools, like Adobe Acrobat, allow you to edit PDF files after they are created. However, basic tools may not offer editing features like cropping or text changes once the image is saved as a PDF. - How do I convert scanned images to searchable PDFs?
To make scanned PDFs searchable, you’ll need to use OCR (Optical Character Recognition) software. Many apps, like Adobe Scan or ABBYY FineReader, support OCR and can convert the text in your scans into searchable text within the PDF. - Can I combine multiple scanned images into one PDF?
Yes, there are several tools, like Adobe Acrobat, Preview on Mac, or online platforms like ILovePDF, that allow you to merge multiple scanned images into one PDF.
If you have any other questions, feel free to reach out or consult the help section of your scanning software or app for more detailed guidance. Converting and managing scanned images as PDFs is a useful skill that can save you time and help keep your documents organized.
Conclusion
Saving scanned images as PDFs is an efficient way to store, share, and organize your documents. Whether you use built-in software on your computer or opt for third-party tools, the process is simple and offers many benefits. PDFs maintain the quality of your scans, are easily accessible across devices, and allow for efficient management of multiple files. From choosing the right scanning software to using online tools for combining multiple images into one PDF, the options are versatile. With these methods at your disposal, you can streamline your digital document workflow, ensuring everything is in one place and easily accessible.


