When working on designs in Adobe Illustrator, the ability to make an image transparent is a valuable skill. Transparency allows you to blend images seamlessly with other elements, create layered effects, and even remove backgrounds. Whether you're designing a logo, a product mockup, or a creative graphic, transparency plays an important role in giving your work a polished look. In this guide, we’ll walk you through the process of making an image transparent in Illustrator, so you can enhance your designs with ease.
Understanding Transparency and Its Uses in Illustrator

Transparency is a design technique that allows you to make elements of an image partially or fully see-through. In Illustrator, transparency is essential for creating layers, blending images, and making backgrounds invisible. Understanding how transparency works will help you use it effectively in your designs.
Here’s a quick breakdown of where transparency is commonly used in Illustrator:
- Layering Effects: Transparency helps in stacking images on top of each other, allowing parts of the image underneath to show through.
- Designing Logos: Creating logos with transparent backgrounds ensures they can be placed over any background without a white box around them.
- Creating Shadows and Highlights: Use transparency to add realistic shadows or highlights, blending your image into the overall design seamlessly.
- Web and Print Designs: Transparent elements are ideal for web designs where you need images to blend into varying backgrounds.
In Illustrator, the opacity of an image or object is controlled by the Opacity slider and the Transparency panel. The more you reduce opacity, the more transparent the image becomes. Let’s dive deeper into the steps on how you can make an image transparent in Illustrator.
Also Read This: How to Transfer an Image onto Fabric
Preparing the Image for Transparency in Illustrator

Before you start adjusting the transparency of an image in Illustrator, it's important to prepare it properly. This ensures that the transparency effects will work as expected and that you can export the image without issues. Here's what you need to do:
- Choose the Right File Format: For transparency to work, you need to start with a file format that supports it. The most common formats are PNG and PSD (Photoshop files). JPEG files, for example, don’t support transparency.
- Remove the Background (if needed): If your image has a solid background and you want to make it transparent, you’ll need to remove the background first. Use the Image Trace tool or the Pen Tool to isolate the subject from the background.
- Convert the Image to a Vector (if applicable): If you’re working with raster images (like JPG or PNG), consider converting them into vector art using the Image Trace tool. Vector images work better with transparency because they retain their quality when resized.
Once your image is properly prepared, you’re ready to start adjusting transparency. If you're dealing with an image that needs to have specific parts transparent (like a logo or illustration), ensure you're working on separate layers for each part to achieve precise control.
Also Read This: Shutterstock’s Top Selling Images of 2022: Examining the Trendsetters and High Performers
Using the Opacity Panel to Adjust Transparency
In Illustrator, the Opacity panel is one of the most straightforward tools to adjust the transparency of an object or image. It allows you to control how see-through or solid your object appears. Whether you're working with an image, a shape, or a text box, the Opacity panel provides fine control over transparency, making it easy to blend elements and create effects.
Here's how you can use the Opacity panel in Illustrator:
- Open the Opacity Panel: Go to Window in the top menu and select Opacity. The panel will appear on your screen.
- Select the Object: Click on the image or shape that you want to adjust. The selected item will be highlighted.
- Adjust the Opacity: In the Opacity panel, you’ll see a slider ranging from 0% to 100%. Drag the slider left to decrease opacity and make the object more transparent. A setting of 0% will make the object completely transparent, while 100% keeps it fully opaque.
- Use Numerical Input: You can also enter a specific value in the box next to the slider if you want precise control over the opacity level.
The Opacity panel is great for subtle transparency adjustments, but if you want more advanced control, you might need to explore other tools in Illustrator. It's a simple and effective way to adjust transparency, especially for basic design projects.
Also Read This: Best Shutterstock Downloader Tools: Enhancing Your Image Acquisition Process
Working with the Transparency Tool in Illustrator
The Transparency tool in Illustrator offers more advanced options for controlling transparency, including opacity masks and blending modes. It’s perfect for when you need more flexibility in your designs, like when you want to apply a gradient of transparency or create complex transparency effects across multiple layers.
To use the Transparency tool effectively, follow these steps:
- Access the Transparency Panel: If you haven't already, go to Window > Transparency to open the Transparency panel.
- Apply Transparency to an Object: Select the object you want to modify, and then adjust the opacity using the slider in the panel. This is similar to the Opacity panel, but the Transparency panel gives you more advanced options.
- Use Opacity Masks: Click the Make Mask button in the Transparency panel to create an opacity mask. This allows you to mask certain areas of your image, making them transparent. You can edit the mask by painting with black or white, where black makes areas transparent, and white keeps them opaque.
- Explore Blending Modes: In the Transparency panel, you’ll also see blending modes, which control how your object interacts with layers below it. Experiment with different modes like Multiply, Screen, and Overlay to create unique effects.
The Transparency tool is ideal for designers who want to experiment with layered effects and complex transparency interactions in their artwork. Whether you're creating a soft fade or a dramatic visual, this tool gives you the control to achieve your desired look.
Also Read This: How to Blow Up an Image Without Losing Quality for Posters and Prints
Making Transparent Backgrounds with Illustrator
Making an image with a transparent background in Illustrator is essential for projects like logos, web graphics, or product images that need to blend seamlessly with different backgrounds. Unlike some image editing software, Illustrator allows you to create vector artwork with transparent backgrounds, which can be easily exported for use in other applications.
Follow these steps to make a transparent background in Illustrator:
- Start with a Vector Image: It's best to work with vector images, as they will retain their quality when exported with transparency. If you’re working with a raster image, you may need to remove the background first.
- Remove the Background: If your artwork has a solid background, use the Direct Selection Tool (white arrow) to select and delete the background. For raster images, use the Image Trace tool to convert it to a vector and remove the background.
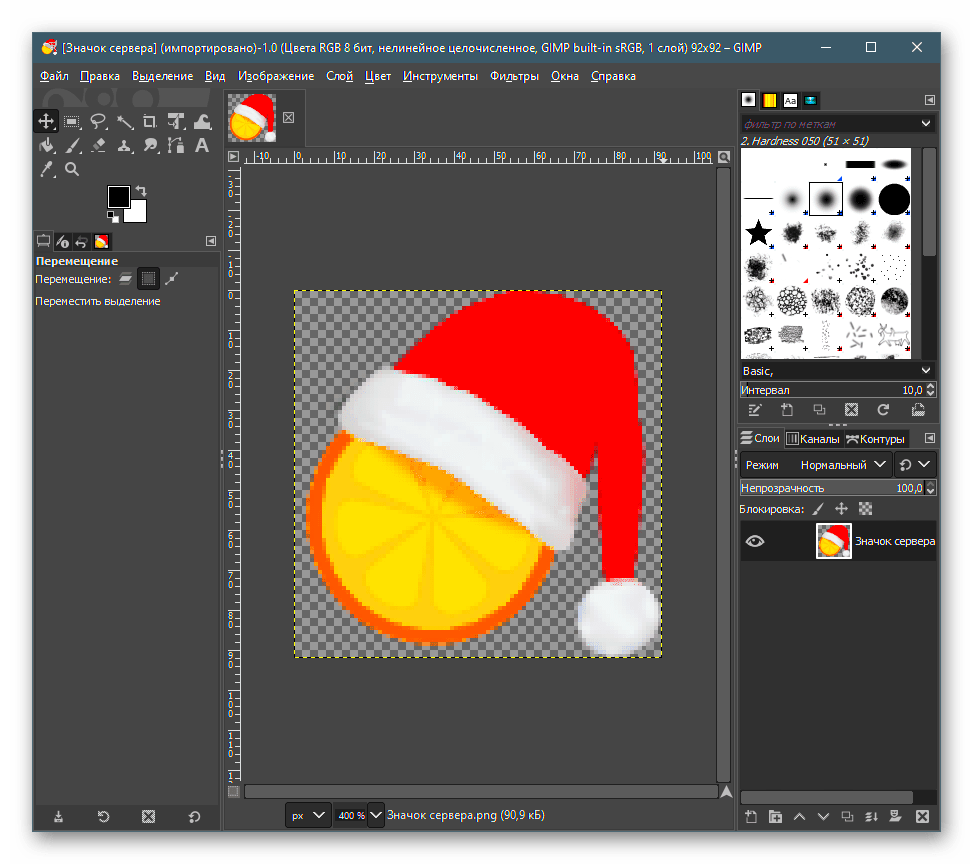
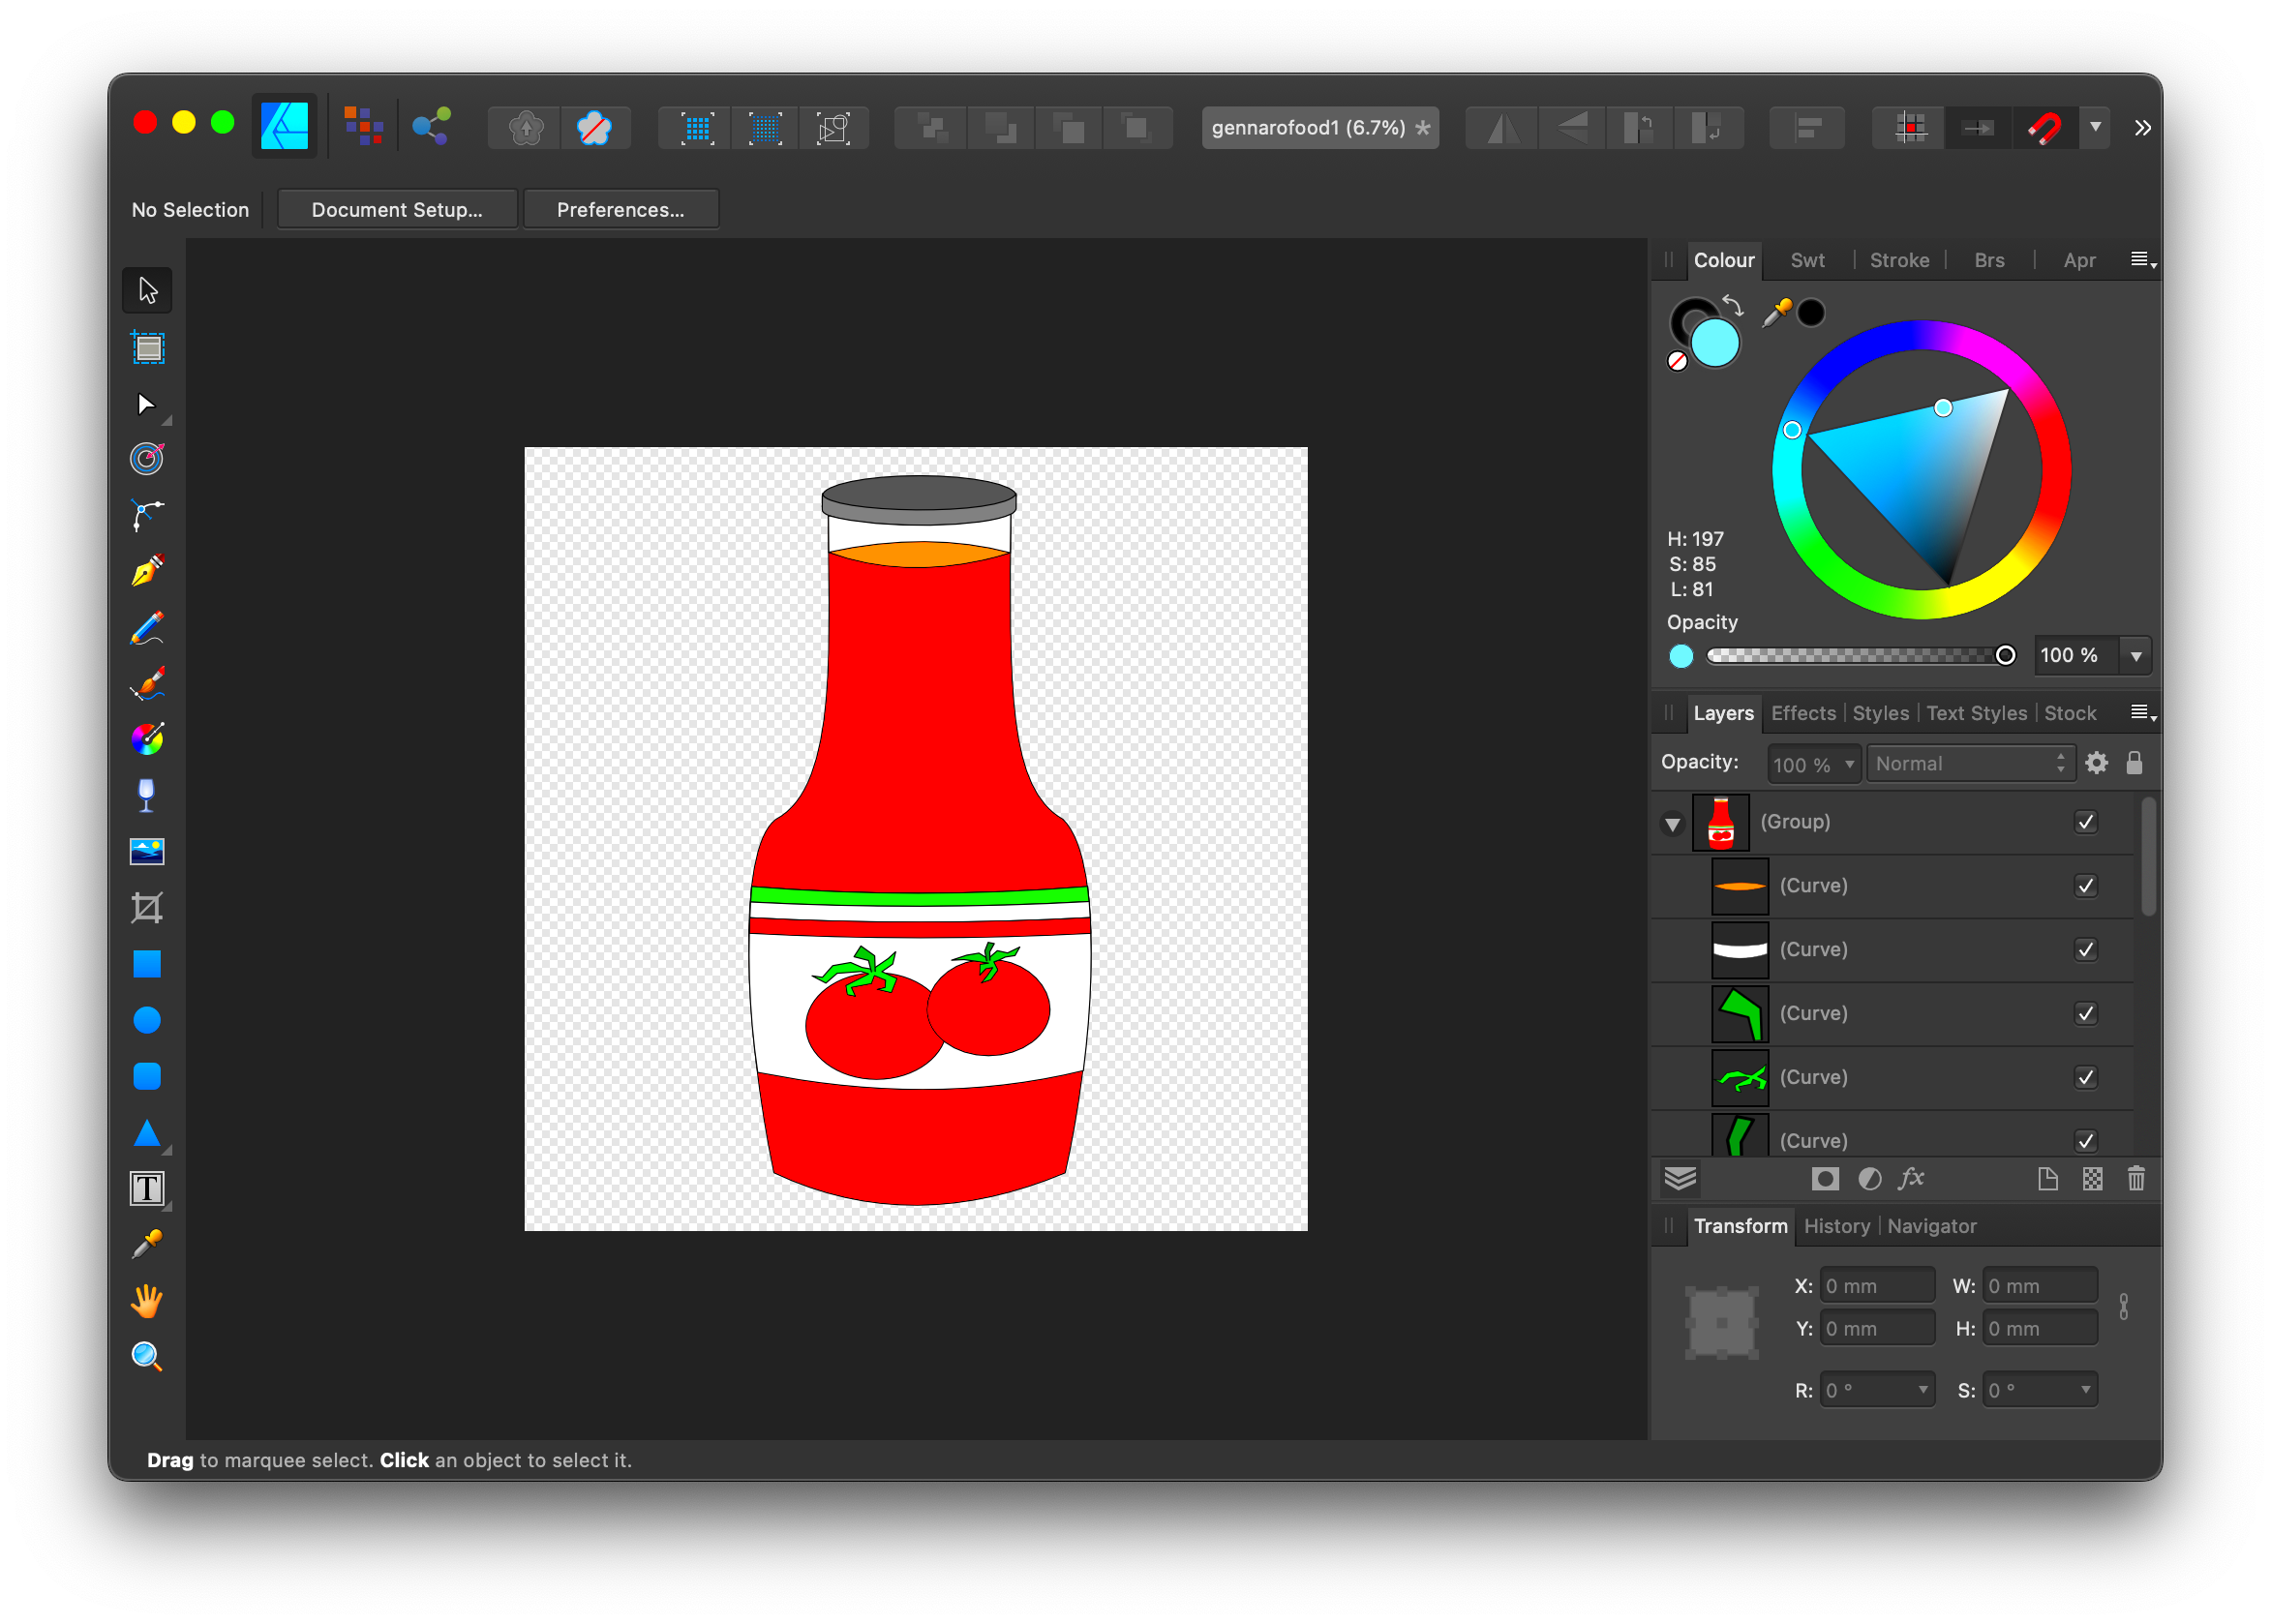
- Set the Background to Transparent: If you’re working with vector shapes, you can simply ensure there’s no color or fill applied to the background area. You should see a checkerboard pattern in the background, indicating transparency.
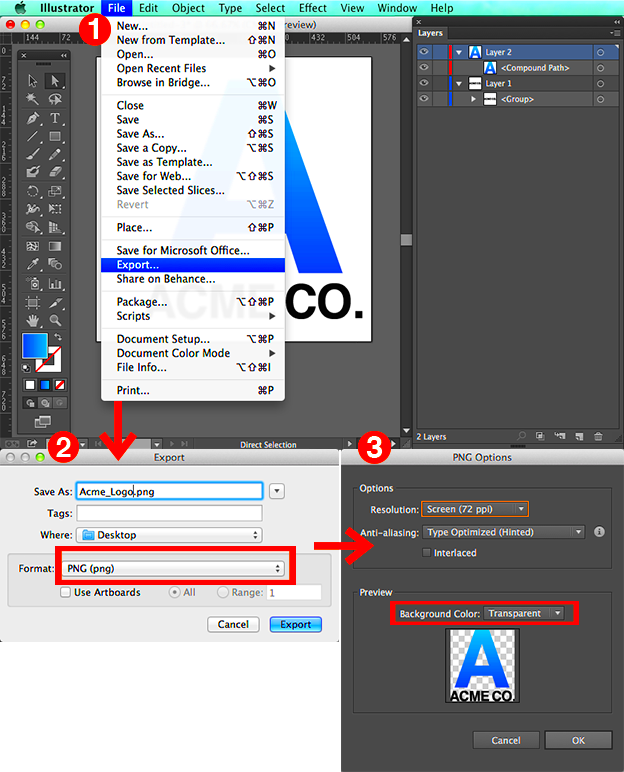
- Export the Image with Transparency: To save your work with a transparent background, go to File > Export and choose a format that supports transparency, such as PNG or SVG. Make sure to select the option to save with a transparent background when prompted.
Once you've followed these steps, your image will be ready to use on any background without the need to worry about unsightly boxes or borders around it. Transparent backgrounds are crucial for modern design work, and Illustrator makes it easy to create them.
Also Read This: Mastering the Art of Adobe Stock Image Hacks
Exporting the Transparent Image in Illustrator
Once you’ve made your image transparent in Illustrator, it’s important to export it correctly so that the transparency is preserved. Illustrator offers several formats that support transparency, but choosing the right one can make all the difference, especially when preparing the image for web or print projects.
To export a transparent image, follow these steps:
- Choose the Correct File Format: Not all formats support transparency, so it's important to select one that does. The best formats for transparent images are PNG and SVG. These formats allow you to save the image without a solid background.
- Go to Export Settings: Once your design is ready, navigate to File > Export > Export As. Here, choose your desired format (PNG or SVG) and select the location where you want to save the file.
- Configure Export Options: In the export dialog box, ensure you select the option for transparency. For PNG, make sure the Transparency checkbox is checked. You can also adjust other settings, such as resolution and background color (choose transparency for a clear background).
- Check for Transparency: After exporting, open the file in a viewer or other software to ensure the transparent background is intact. The background should appear as a checkerboard pattern, indicating transparency.
By following these steps, you can successfully export your image from Illustrator with transparency, ensuring it works perfectly for any project that requires a clear background, whether for logos, web design, or graphics.
Also Read This: How to Lock an Image in Word
Common Issues and How to Fix Them
Sometimes when working with transparency in Illustrator, things don’t always go as planned. Whether you're dealing with stubborn backgrounds, unexpected results in exported files, or other transparency-related issues, it's helpful to know how to troubleshoot. Below are some common issues and how to fix them.
- Background Not Transparent After Export: If your exported file still has a background, make sure you're using a file format that supports transparency (like PNG or SVG). Also, check that you’ve selected the transparency option during the export process.
- Raster Images Don’t Show Transparency: If you’re working with a raster image and it doesn’t show the expected transparency, try converting the image to a vector format. Use Image Trace to convert raster artwork to vector paths that support transparency.
- Opacity Mask Issues: When using opacity masks, ensure you’ve selected the correct mask (black reveals transparency, white hides it). If it’s not working, try deselecting the mask and reapplying it to see if it resolves the issue.
- Transparency Not Showing in Illustrator Preview: If Illustrator isn’t showing transparency correctly on screen, check your document settings. Ensure you’re in a viewing mode that supports transparent backgrounds, like the GPU Preview mode.
- Exported Image Looks Different on Different Devices: If the image looks fine on your computer but shows artifacts or a colored background on other devices, ensure you're using the correct color profile during export. This is especially important for web graphics.
By identifying and addressing these common issues, you can save time and frustration when working with transparent images in Illustrator. It’s all about ensuring your file formats, settings, and tools are correctly applied.
Also Read This: Learn How to Download OK.RU Videos in MP4 Format with OK.RU Downloader Tool
FAQ
Here are some frequently asked questions about making images transparent in Illustrator:
- How do I remove a white background from an image in Illustrator?
You can remove a white background using the Image Trace tool. First, select the image, go to Window > Image Trace, and adjust the settings to trace the image while removing the background. - Can I make part of an image transparent in Illustrator?
Yes, you can adjust the opacity of individual parts of an image. Use the Opacity Mask feature to control which areas of the image become transparent, based on how you paint the mask. - What file format should I use to save an image with a transparent background?
For a transparent background, export your image as a PNG or SVG file. These formats support transparency and are perfect for web and digital use. - Why is my exported PNG file showing a black background?
Ensure you’re not accidentally selecting a background color during the export process. Double-check the Transparency option in the export dialog box to make sure it’s selected. - Can I make a raster image with a transparent background?
Yes, you can make raster images with a transparent background by either converting the image to a vector or by manually removing the background with the Magic Wand Tool or Pen Tool.
Conclusion
Making an image transparent in Illustrator is a powerful skill that opens up many creative possibilities for your designs. Whether you're working with logos, web graphics, or illustrations, transparency helps create more dynamic and versatile visuals. From using the Opacity panel to adjusting complex transparency settings with the Transparency tool, Illustrator offers a range of options to control how your images interact with their backgrounds and other elements. By following the steps outlined in this guide, you'll be able to confidently create transparent images that can be exported and used across various projects. Remember to always check your export settings and file format to ensure your transparent backgrounds are preserved for professional results.


