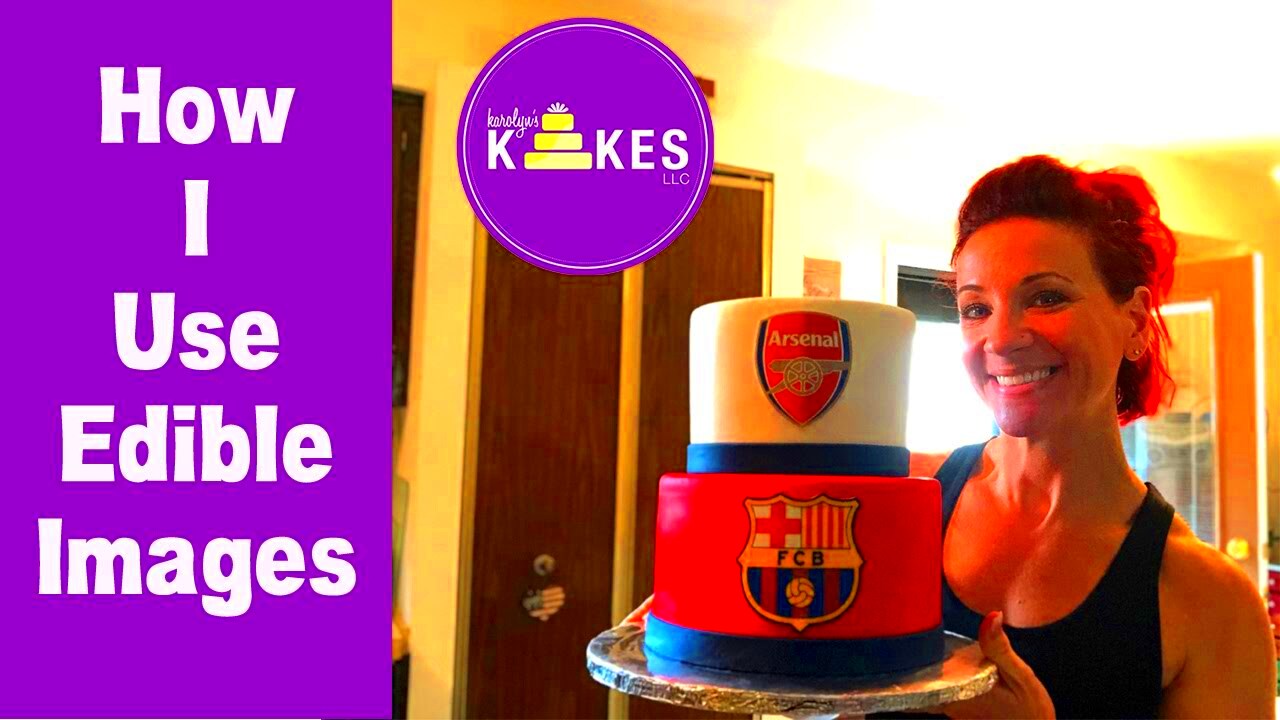
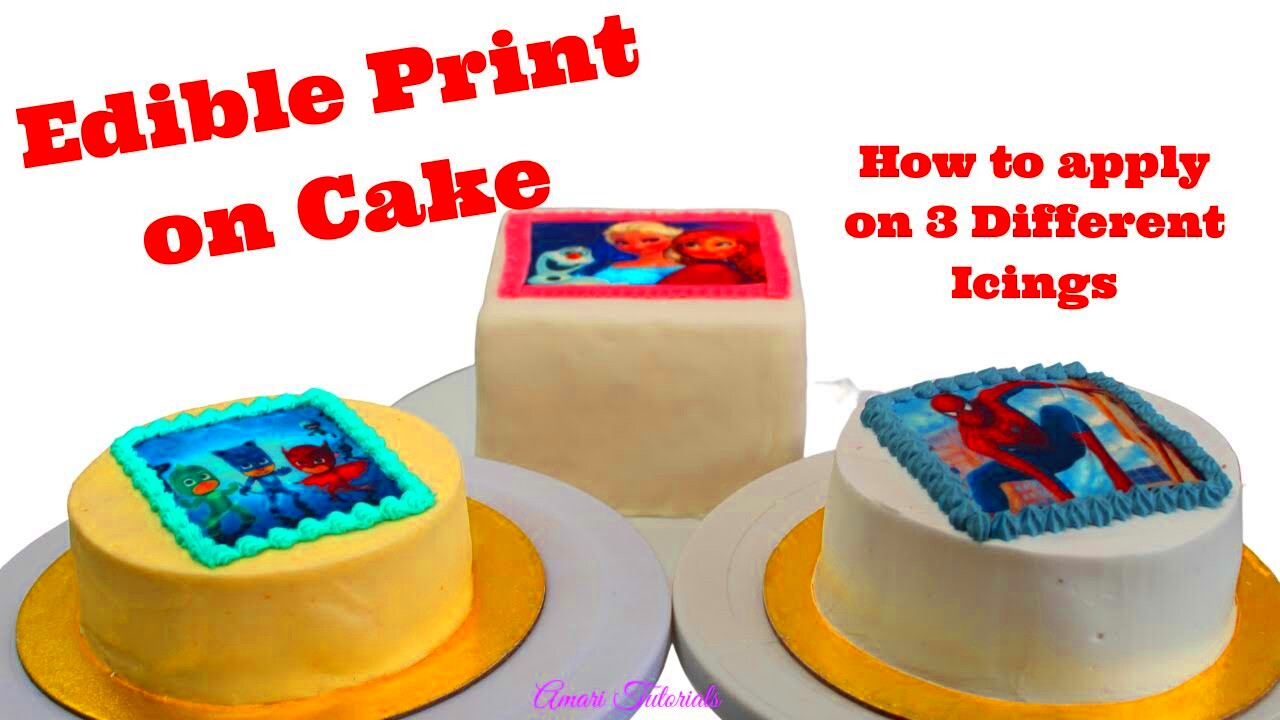
Edible images are a fun and creative way to add a personal touch to cakes for any occasion. Whether it’s a birthday, wedding, or special event, these images allow you to turn your cake into a work of art. The process involves printing a high-quality image onto a special edible paper using food-safe ink. Once printed, the image can be easily transferred onto the cake, making it look like a professional masterpiece.
Edible images are great for making cakes more memorable and personalized. From logos to photos and custom designs, the possibilities are endless. They also save time and effort compared to traditional cake decorating methods. With edible images, even beginners can achieve beautiful and intricate designs without the need for advanced decorating skills.
Understanding Edible Image Printers

To put edible images on cakes, you need an edible image printer. These printers are specifically designed to print on edible paper using food-grade ink. The ink used is made from ingredients like food coloring, making it safe for consumption. The paper used is typically made from rice or frosting, providing a smooth surface for the ink to adhere to.
There are two main types of edible image printers:
- Dedicated Edible Image Printers: These are printers specifically designed for food decoration. They come with edible ink cartridges and the ability to print on edible paper.
- Standard Printers with Edible Ink Conversion: Some regular printers can be modified to print with edible ink. This option may be more affordable but requires careful maintenance and cleaning between uses to avoid cross-contamination with non-edible ink.
Before you start printing, ensure your printer is compatible with edible ink and paper. You’ll also need the right software to create or resize the image to fit your cake. Once everything is ready, simply load the edible paper, select your image, and print.
Also Read This: What Time Do The Sturniolos Post on YouTube
Choosing the Right Image for Your Cake

Choosing the right image for your cake is key to making it stand out. You want the image to be clear, vibrant, and appropriate for the occasion. Here are some factors to consider when selecting an
- Resolution: The image should be high resolution (300 DPI or higher) to ensure it prints clearly. Blurry or pixelated images will not look good on the cake.
- Size: The image must be the right size for the cake. Measure the area where the image will be placed to ensure it fits without being too large or small.
- Theme and Occasion: Choose an image that matches the theme of the event. For example, a wedding cake may feature a couple’s photo, while a birthday cake may have a fun design related to the person’s interests.
- Color: Edible images look best when they are printed with bright, bold colors. Make sure the image has good contrast and doesn’t have too many dark or dull colors, which may not show up well on the cake.
- Content: Always ensure the image is appropriate for the occasion. Avoid offensive or irrelevant images, and keep the theme consistent with the celebration.
Once you’ve picked your image, you can resize or edit it to ensure it’s perfect for your cake design. Remember, you can also add text or other decorations to complement the edible image and make your cake even more unique.
Also Read This: Adobe Stock Watermark Remover: Free and Paid Tools
Steps for Printing Edible Images
Printing edible images is a simple process that can make your cake decorating experience easy and professional. Here’s how you can do it:
- Prepare the Printer: Ensure your edible image printer is ready to go. Install edible ink cartridges and load edible paper, such as frosting sheets or rice paper, into the printer.
- Select Your Image: Choose or design the image you want to print. You can use photo editing software to crop, resize, or adjust the image to fit the size of your cake.
- Set the Printer Settings: Check the printer settings. Make sure the printer is set to print on the edible paper and adjust the print quality to the highest setting for crisp details.
- Print the Image: Once everything is set, hit print. Be patient, as the printing process might take a few minutes. The image will appear on the edible paper once completed.
- Allow the Image to Dry: After printing, let the image sit for a few minutes to allow the ink to dry and set. This step helps prevent smudging when transferring the image to the cake.
After the image is dry and ready, you can move on to the next steps of preparing your cake and placing the image on it. Remember, using high-quality edible ink and paper is key for vibrant, lasting prints.
Also Read This: How to Reverse a PDF Image
Preparing Your Cake for Edible Images
Before placing an edible image on your cake, you need to ensure the cake is properly prepared. Here’s how to get your cake ready for the perfect edible image transfer:
- Frost the Cake: Apply a smooth layer of frosting to the cake. Use buttercream or fondant to create a smooth surface that will help the image adhere better.
- Smooth the Surface: After applying the frosting, use a cake smoother or spatula to ensure the surface is even and free of bumps. A smooth surface ensures that the edible image will transfer without any wrinkles or bubbles.
- Chill the Cake (Optional): If you’re using buttercream, chilling the cake for 10-15 minutes helps to set the frosting. A cold cake will make it easier to handle and transfer the image without it shifting or tearing.
- Trim the Edges: If your edible image is larger than the cake, use scissors or a sharp knife to trim the image to fit perfectly on the cake’s surface.
- Check the Cake’s Size: Ensure that the cake size matches the edible image. It should cover the area where you want the image to be placed, but not hang over the sides.
Once your cake is prepared, you’ll be ready to move on to the final step of placing the edible image on top of the cake. A well-prepared cake surface will help ensure that your image looks clean and flawless.
Also Read This: Behind the Scenes: Understanding How Photobucket Works
Placing the Edible Image on the Cake
Placing the edible image on the cake is the most delicate part of the process. Here’s how to do it step by step to ensure the image is perfectly applied:
- Peel the Image from the Backing Sheet: Carefully peel the printed edible image from its backing sheet. It’s important to do this slowly to prevent the image from tearing. You can use a small, sharp knife to lift the edges if it’s sticking.
- Align the Image: Position the edible image above the cake where you want it to be placed. Take a moment to make sure it’s aligned properly and fits within the design area.
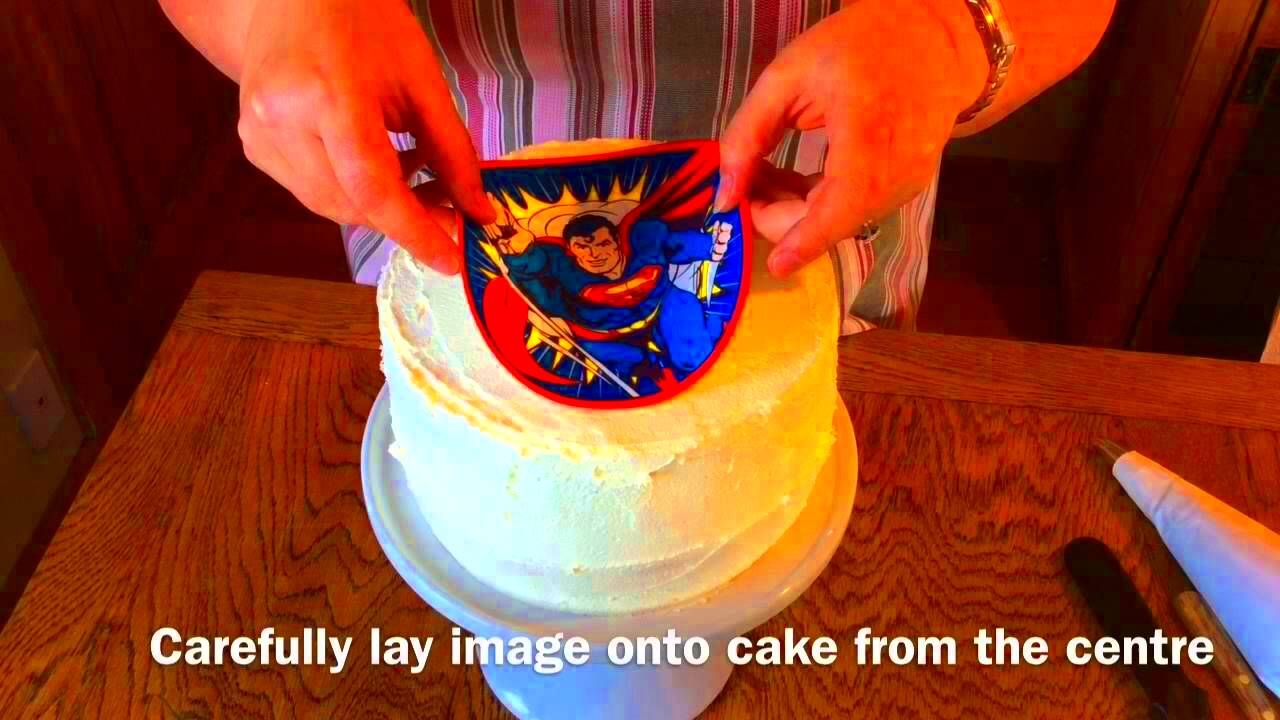
- Gently Place the Image: Slowly lower the image onto the cake’s frosted surface. Start from one edge and gradually press the image down as you go, ensuring there are no air bubbles or wrinkles.
- Smooth the Image: Gently smooth the image with your fingers or a fondant smoother to ensure it adheres fully to the frosting. Be careful not to press too hard, as this could tear the delicate edible paper.
- Let the Image Set: After placing the image, give it some time to set on the cake. If you’ve used buttercream, the image will start to absorb moisture and settle. It’s best to avoid touching the image too much during this time.
Once the image is securely placed, your cake is ready for any additional decorations or to be served. Edible images are a simple yet beautiful way to add a personalized touch to any cake.
Also Read This: Making Images Transparent in Google Slides
Storing Cakes with Edible Images
Once you’ve decorated your cake with an edible image, it’s important to store it properly to maintain its freshness and ensure the image stays intact. Here are some helpful tips for storing cakes with edible images:
- Keep the Cake in a Cool Place: Edible images are sensitive to heat and humidity, so it’s best to store the cake in a cool environment. Avoid placing the cake in direct sunlight or near a heat source.
- Avoid Refrigeration: Refrigerating cakes with edible images can cause the image to soften and possibly run. However, if the cake contains perishable fillings, it may be necessary to refrigerate it. Just ensure that the cake is in an airtight container to protect the image.
- Use a Cake Box: If you need to transport or store the cake, place it in a sturdy cake box. This will protect the image from getting damaged or exposed to any moisture.
- Store Away from Moisture: Keep the cake in a dry area. Excess moisture can cause the edible image to dissolve or become blurry. If you are transporting the cake, ensure it is kept in a dry, air-conditioned space.
- Cover the Cake: If the cake is being stored for a longer period, it’s a good idea to cover it loosely with plastic wrap to prevent the cake from drying out, without touching the edible image.
Following these storage tips will help ensure your edible image stays vibrant and the cake stays fresh until it’s ready to be served.
Also Read This: Mobile Photos and 123RF: Submission Guidelines and Quality Considerations
Common Issues with Edible Images and How to Fix Them
While edible images are a great way to decorate cakes, sometimes issues can arise during the process. Here are some common problems and how to solve them:
- Smudged Ink: If the ink smears after printing, it may not have dried completely. To fix this, allow the image to dry for a longer period before handling. Also, check that you’re using the correct edible ink cartridges and paper.
- Image Doesn’t Stick to the Cake: If the edible image doesn’t adhere to the cake, it could be due to a greasy or uneven frosting surface. Make sure the frosting is smooth and free from excess grease. You can also lightly dampen the surface of the edible image with water to help it stick.
- Wrinkling or Bubbling: Wrinkles or bubbles may appear if the image isn’t placed carefully or the frosting isn’t smooth enough. To avoid this, gently place the image on the cake, smoothing it out with your fingers or a fondant smoother. Ensure the cake surface is level and even.
- Faded or Dull Image: A faded image could be the result of using low-quality edible ink or paper. Always opt for high-quality edible ink and paper to ensure vibrant prints. If you notice the colors are dull, check the printer settings and replace the ink if necessary.
- Image Tears or Cracks: Sometimes, edible images can tear or crack when being placed on the cake. Handle the image gently when peeling it off the backing sheet. If the image does crack, you can carefully patch it with a bit of frosting or a small piece of fondant.
By understanding these common issues and their solutions, you can ensure your edible image decoration process goes smoothly.
Also Read This: How to Move an Image Forward for Better Layering
Frequently Asked Questions
Here are some common questions people have when using edible images on cakes:
- How long do edible images last on a cake? Edible images typically last 1-2 days on a cake if stored properly. The image will start to soften and lose its vibrancy over time, especially if exposed to moisture.
- Can I refrigerate a cake with an edible image? It’s generally not recommended to refrigerate cakes with edible images because the image can dissolve or become blurry. However, if you must refrigerate the cake, ensure it’s in an airtight container to reduce moisture exposure.
- Are edible images safe to eat? Yes, edible images are made from food-safe ingredients, such as food-grade ink and edible paper. They are perfectly safe to eat along with the rest of the cake.
- Can I use any printer to print edible images? Regular printers can be used with edible ink cartridges, but it’s essential to use food-safe ink and edible paper. You should also ensure the printer is dedicated to edible printing to avoid contamination with non-edible ink.
- How do I remove an edible image from the backing sheet? Carefully peel the image off the backing sheet using your fingers or a knife. Take your time to avoid tearing the delicate paper. If the image is stuck, you can place it in the fridge for a few minutes to make it easier to peel off.
These FAQs will help you troubleshoot any issues and get the most out of your edible image decorating experience.
Conclusion
Edible images are a fun and creative way to enhance your cake decorating skills, adding a personal and professional touch to any cake. From printing the images to placing them carefully on your cake, each step helps create a visually stunning and memorable dessert. With the right tools and techniques, you can easily incorporate edible images into your cake designs, no matter the occasion. Remember to store your cakes properly and troubleshoot any issues that arise, ensuring the best results for your edible image cake projects. Whether for a birthday, wedding, or celebration, edible images provide endless possibilities for customizing your cakes and making them truly unique.


