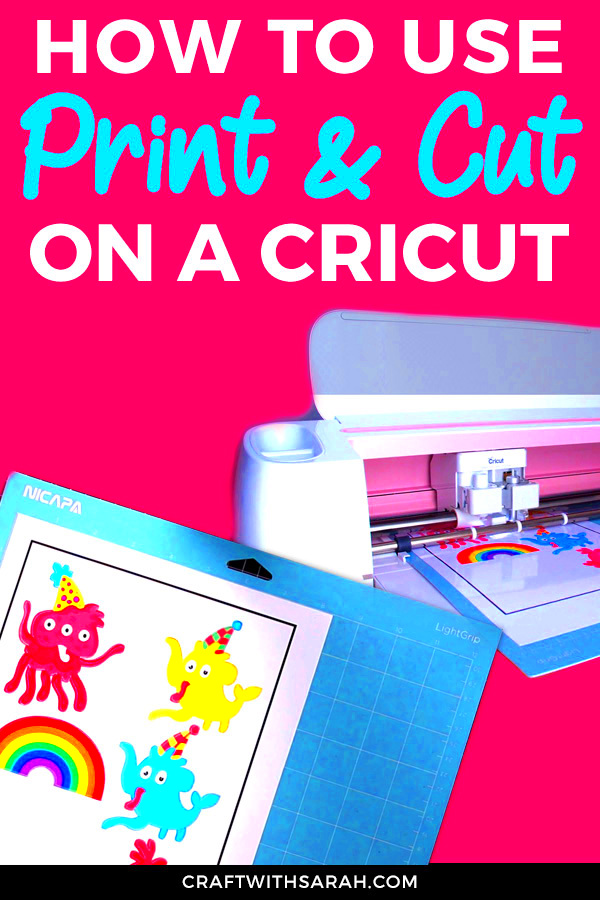
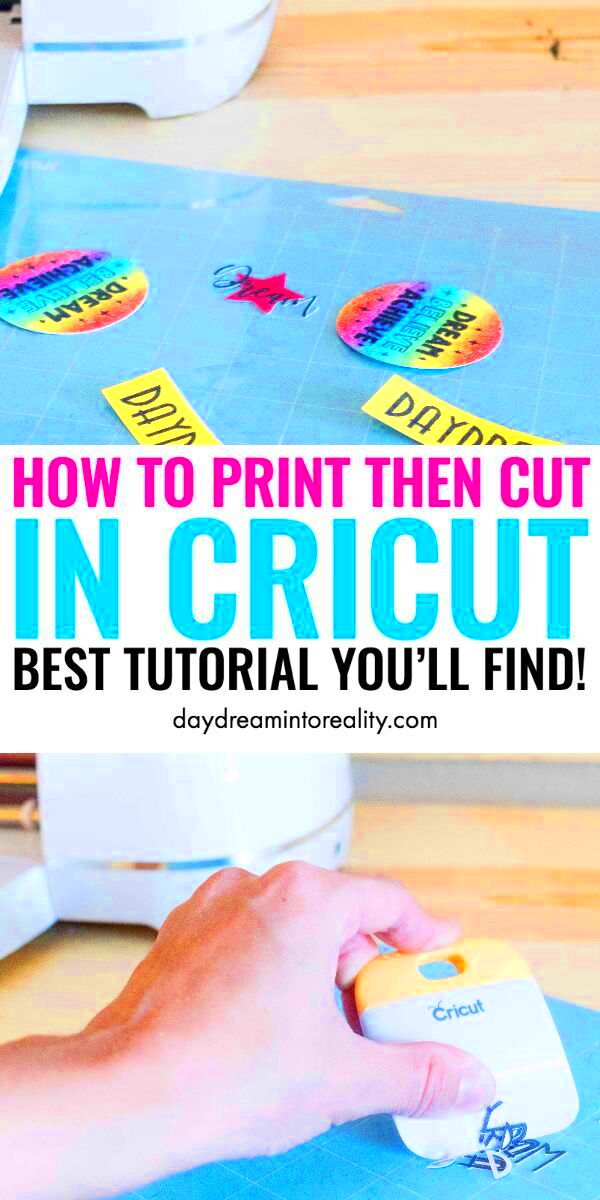
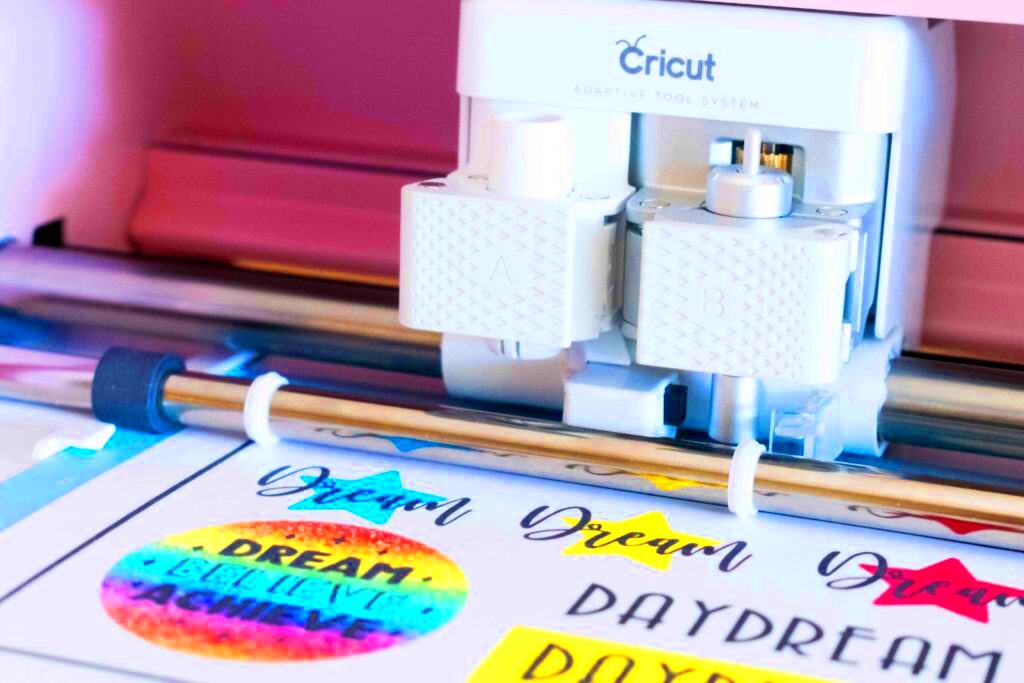
Cutting printed images with a Cricut machine opens up a world of possibilities for your craft projects. Whether you're creating custom designs for cards, t-shirts, or home decor, Cricut makes it easy to turn printed artwork into precise cut-outs. This process combines the creativity of printing with the accuracy of Cricut's cutting technology, allowing you to bring your ideas to life. In this section, we will explore what you need to get started, including the basic tools and the Cricut machine itself, so you can make the most of this versatile tool for your craft projects.
Choosing the Right Cricut Machine for Your Project

When it comes to cutting printed images, selecting the right Cricut machine is essential for achieving the best results. Different Cricut models offer varying features that cater to different types of projects. Some machines are better suited for intricate designs, while others are more versatile for a variety of materials. Let’s break down the key models and their suitability for cutting printed images:
- Cricut Explore Air 2: Ideal for beginners, this machine is perfect for basic to intermediate projects. It cuts printed images with precision and can handle a wide variety of materials.
- Cricut Maker: For advanced crafters, the Maker offers enhanced cutting power, making it ideal for more detailed designs and thicker materials like leather or fabric.
- Cricut Joy: A compact option for smaller projects, it is perfect for quick and simple cuts. While not as powerful as other models, it’s great for smaller printed images and quick craft sessions.
Each Cricut machine has its strengths, so choose one based on the complexity of your projects and the materials you plan to use. Once you have your Cricut machine, you'll be ready to bring your printed designs to life.
Preparing Your Printed Image for Cricut Cutting

Before you can cut your printed image, you need to ensure it is properly prepared for the Cricut machine. Here are the essential steps to make sure your image is ready for cutting:
- Choose the Right Image: Start by selecting a high-quality image that suits your project. The clearer and sharper the image, the better the cut will be.
- Resize Your Image: Make sure your image is the right size for your project. You can adjust the dimensions in Cricut Design Space to fit your craft surface perfectly.
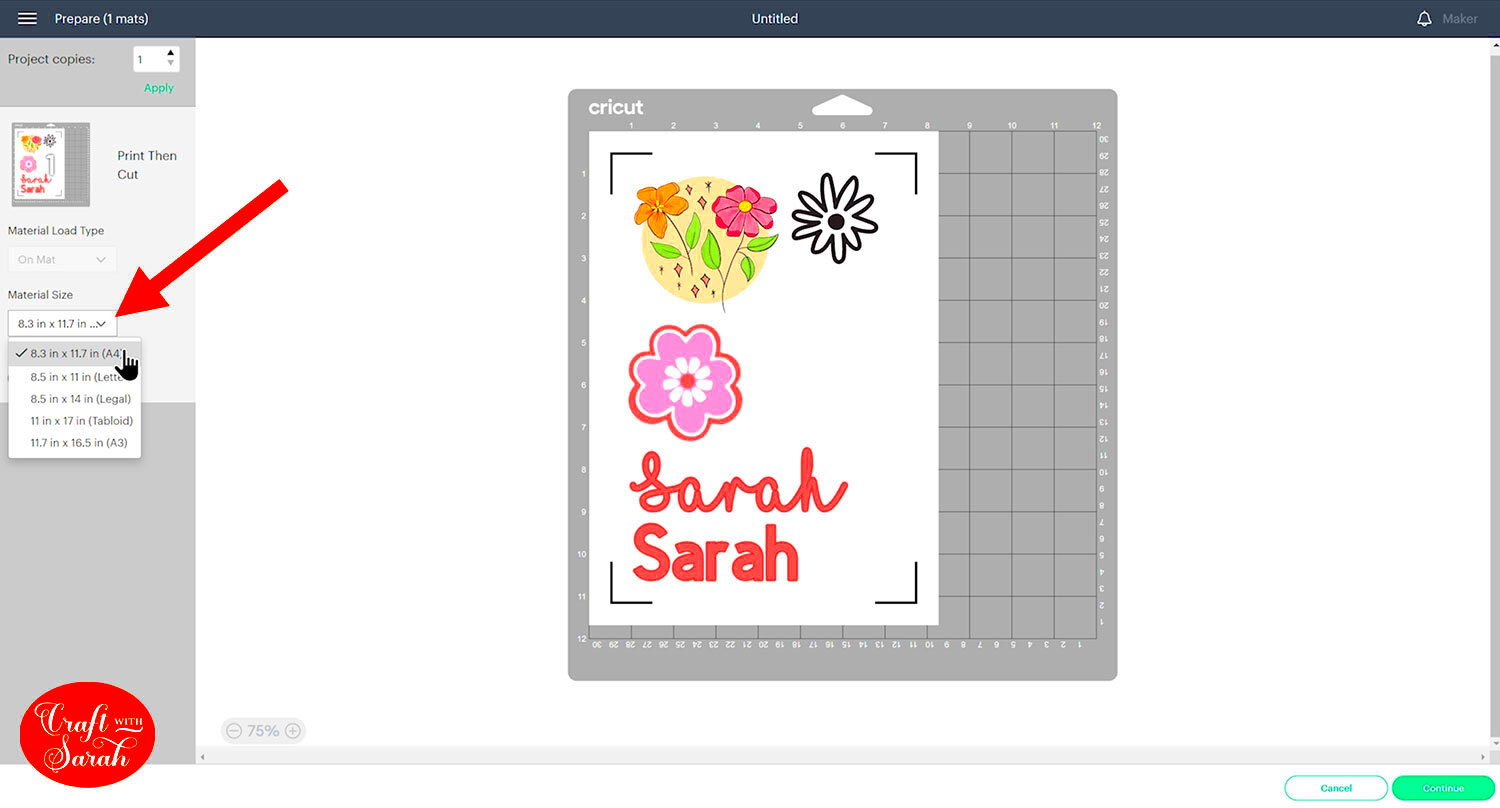
- Use the Print Then Cut Feature: If you're using a color printer, Cricut offers the "Print Then Cut" feature, which allows you to print your image first and then cut it precisely. This works best with designs that have clean outlines.
- Ensure Your Image Has Clear Edges: If your printed image has complex edges or intricate details, it may require some adjustments. Using the "Contour" tool in Cricut Design Space can help you clean up the edges for a more precise cut.
Once your image is ready, you’ll be set to upload it into Cricut Design Space and start the cutting process. A little preparation goes a long way in ensuring a smooth and successful Cricut cutting experience.
Setting Up Your Cricut Machine

Setting up your Cricut machine is an important first step before you start cutting printed images. Whether you are using the Cricut Explore Air 2, Cricut Maker, or Cricut Joy, the setup process is fairly straightforward. Here’s how to get started:
- Unbox Your Cricut Machine: Carefully remove your Cricut machine from the box and ensure all the parts are included, such as the power cord, cutting mat, and sample materials.
- Connect Your Cricut to Power: Plug the Cricut machine into a power outlet and turn it on. Make sure the machine is placed on a stable surface to avoid any issues while cutting.
- Install the Software: Download and install Cricut Design Space on your computer or mobile device. This is where you'll design and manage your projects.
- Pair Your Cricut with Your Device: You can connect your Cricut to your computer or mobile device via Bluetooth or USB cable, depending on the model you’re using. Follow the on-screen instructions in Cricut Design Space to pair your machine.
- Test the Machine: Run a test cut to ensure everything is functioning properly. This will help you get familiar with the machine’s functions and confirm that it’s working correctly.
Once your Cricut machine is set up and ready to go, you’re all set to start using it for your craft projects. Proper setup ensures that your projects will be cut accurately, making the entire crafting process smoother.
Using Design Space to Upload Your Image
Once your Cricut machine is set up and ready, the next step is uploading your printed image into Cricut Design Space. This is where you’ll create and modify your design before cutting. Follow these steps to get your image into the software:
- Open Cricut Design Space: Launch Cricut Design Space on your computer or mobile device and create a new project or open an existing one.
- Click on “Upload”: In the left sidebar, click the "Upload" button to start the process of importing your printed image.
- Choose Image Type: Select whether your image is a simple or complex design. If it’s a photo or an intricate design, Cricut will prompt you to clean up the image before uploading it.
- Adjust the Image: Once your image is uploaded, you can adjust its size, color, and position. You may also use Cricut’s “Remove Background” feature to eliminate unwanted parts of the image.
- Save Your Image: After adjusting, save your image to your Cricut library. You can now use it in your project.
Uploading your image to Cricut Design Space is a simple process, but it gives you full control over how your design will be cut. This step ensures that your printed image is correctly positioned for a precise and accurate cut.
Adjusting Cutting Settings for Printed Images
After uploading your printed image into Cricut Design Space, the next step is adjusting the cutting settings to ensure a clean and accurate cut. Cricut offers various settings depending on the material you’re using and the complexity of the image. Here’s how you can adjust your settings:
- Select the Material: Choose the material you're cutting, whether it's paper, vinyl, or cardstock. Cricut will suggest default settings, but you can customize these for more precise cuts.
- Choose the Cut Type: For printed images, you’ll typically use the “Print Then Cut” option. This option allows the Cricut machine to first print the image on your material and then cut around the design.
- Set the Blade Type: Ensure you're using the correct blade for your project. For most projects, the fine-point blade works well, but thicker materials may require a deep-point blade or rotary blade.
- Adjust the Pressure and Speed: Cricut Design Space allows you to adjust the pressure and speed settings. For delicate or detailed images, you may want to reduce the speed for more accuracy.
- Test the Cut: Always perform a test cut before starting the full project. This helps ensure that the settings are accurate and that the cut will be clean.
By adjusting these cutting settings, you can ensure that your printed image is cut precisely and cleanly. Proper settings are essential for getting the best results from your Cricut machine.
Cutting Your Printed Image with Cricut
Once you’ve prepared and uploaded your printed image, it’s time to start the cutting process. This step is where your Cricut machine really shines, transforming your design into a precise cut. Here's how you can cut your printed image with Cricut:
- Load the Material: Place your printed image onto the cutting mat, ensuring that it's aligned correctly. Use a standard grip mat for most materials like paper or vinyl, or choose the appropriate mat for thicker materials.
- Place the Mat in Cricut Machine: Load the cutting mat into the Cricut machine by gently pushing it into the rollers. The machine will automatically pull the mat into position.
- Select “Cut” in Cricut Design Space: Once everything is set up, click the “Go” button in Cricut Design Space. This will send the signal to your Cricut machine to start cutting along the image’s edges.
- Monitor the Cutting Process: While the Cricut is cutting, keep an eye on the process to make sure everything is running smoothly. If you're cutting intricate details, it might take a little extra time.
- Unload the Mat: When the cut is complete, unload the mat from the machine. Gently remove your design from the mat to avoid tearing or damaging the material.
Cutting your printed image with Cricut is a simple but precise process that can make your craft projects stand out. The machine's accuracy ensures clean cuts around even the most intricate designs, giving you professional-looking results every time.
Finishing Touches and Using the Cut Image in Craft Projects
Once you’ve cut your printed image, the next step is to add the finishing touches and incorporate it into your craft projects. This is where your creativity really comes into play! Here’s how to make your cut image ready for use:
- Remove Excess Material: Carefully peel off any excess material around the image. If you're using a vinyl or sticker sheet, this step ensures only the cut design is left.
- Apply Transfer Tape (if necessary): For projects like vinyl decals, use transfer tape to lift the design from the mat and position it accurately on your surface.
- Consider Adding Decorative Elements: Depending on your project, you may want to add extra details like embellishments, glitter, or layers to the design to make it stand out even more.
- Incorporate Into Your Project: Whether you’re making greeting cards, wall art, or t-shirts, carefully place your cut image on the surface. For fabric projects, make sure to use the appropriate adhesive or iron-on settings.
By adding finishing touches, you give your craft projects a personalized and professional look. The cut image is now ready to shine in your design, bringing your creativity to life in a whole new way.
FAQ about Cutting Printed Images with Cricut
If you're new to cutting printed images with Cricut, you probably have a few questions. Here are some frequently asked questions to help guide you:
- What kind of printer should I use for printing images? Any inkjet or laser printer should work fine for printing images. Just make sure the print quality is high to ensure clean edges when cutting.
- Can I cut photos with Cricut? Yes! Cricut can cut printed photos, but you’ll need to use the “Print Then Cut” feature in Design Space to first print your photo and then cut around it.
- Why is my Cricut not cutting accurately? If the cut isn’t accurate, it could be due to misalignment of the material or incorrect settings. Double-check the material settings, the blade, and the positioning of the mat in the machine.
- Can I use Cricut to cut fabric? Yes, Cricut can cut fabric if you use the appropriate blade and cutting mat. For best results, make sure to use fabric with an adhesive backing, or apply fabric bonding spray to prevent fraying.
- How do I avoid paper tearing when cutting? To prevent tearing, adjust the pressure and speed settings on Cricut Design Space. If using thinner paper, reduce the pressure and choose a slower speed for a cleaner cut.
These FAQs should help clear up some common concerns. However, Cricut offers plenty of resources and tutorials to guide you further if needed. With practice, you'll get the hang of cutting printed images like a pro!
Conclusion: Mastering Cricut Image Cutting for Craft Projects
Mastering the art of cutting printed images with your Cricut machine opens up endless possibilities for your craft projects. With the right setup, careful preparation, and attention to detail during the cutting process, you can create stunning and precise designs for any project. By following the steps outlined in this guide, you’ll be able to confidently use your Cricut machine to cut printed images with ease.
As you gain more experience, you'll discover new ways to customize your projects, experiment with different materials, and even incorporate your own artwork into your designs. Whether you're creating personalized cards, home decor, or fashion items, Cricut’s cutting capabilities will elevate your crafting game.
With regular practice and learning, you’ll be able to achieve professional-quality cuts, making your craft projects stand out. Keep experimenting, refining your techniques, and soon you’ll be cutting like a pro!


