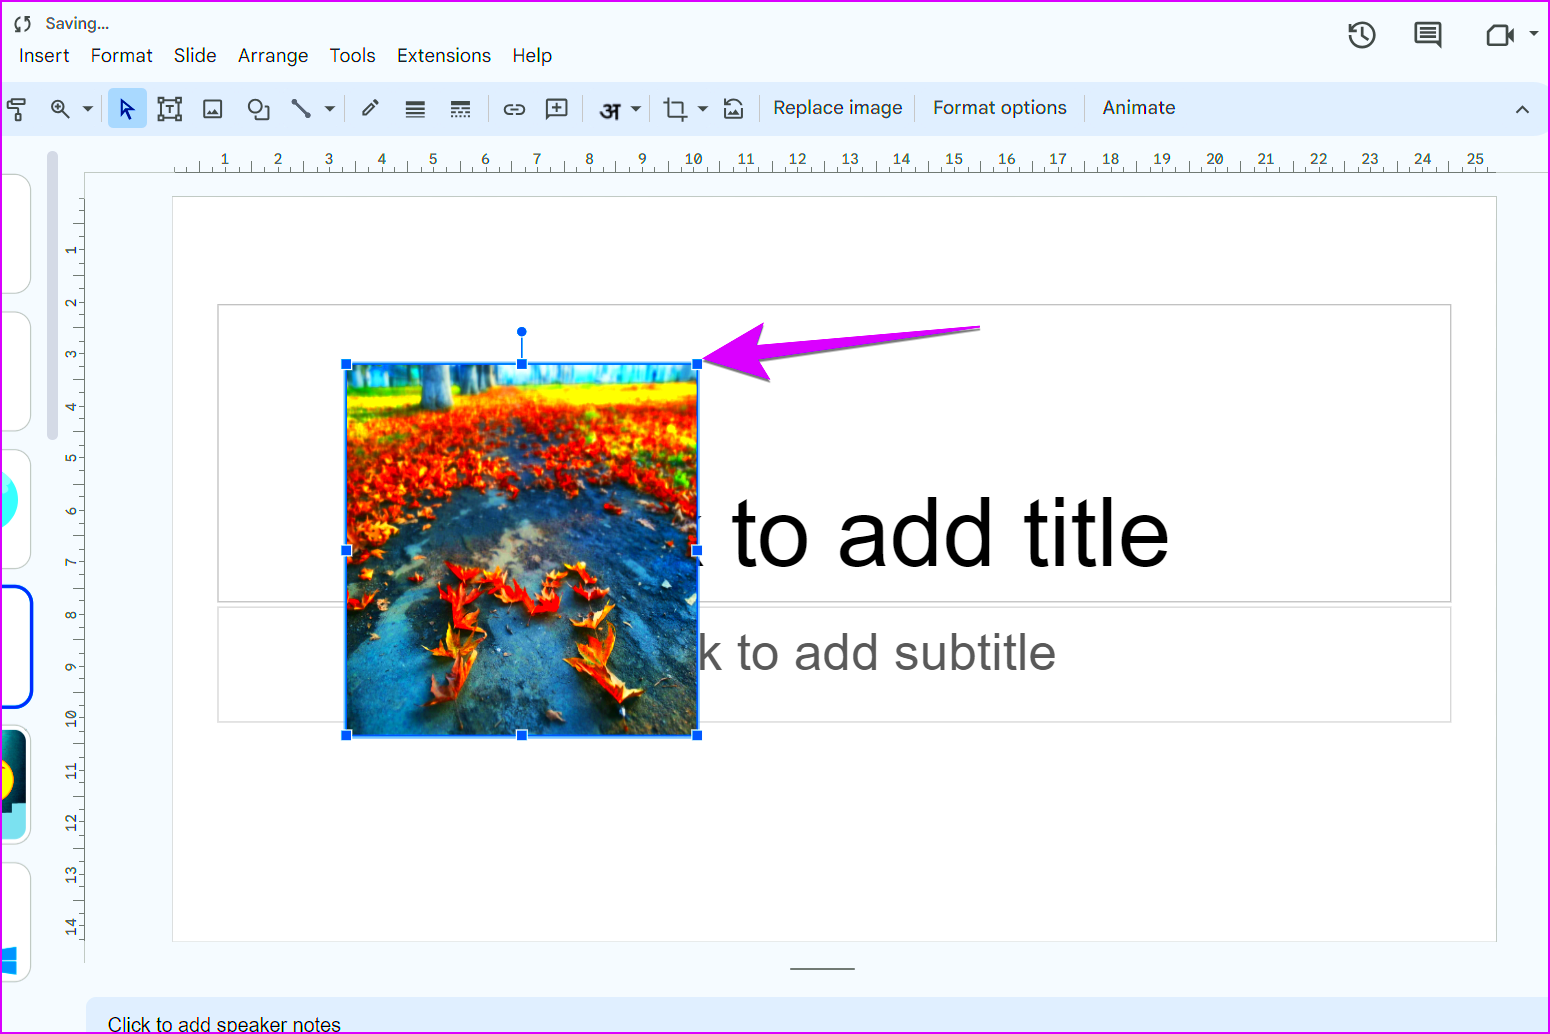
Rounded corners in images may seem like a small design tweak, but they can significantly impact the overall aesthetic of your presentation. This subtle effect helps create a softer, more approachable look compared to sharp, angular edges. Rounded corners are also easier on the eyes, making your slides appear modern and professional.
Here’s why rounded corners matter:
- Visual Harmony: Rounded edges create a sense of balance and smoothness that complements the overall design.
- Focus on Content: They help reduce distractions, allowing the audience to focus on the image’s content instead of its frame.
- Consistent Branding: Many brands use rounded shapes in their logos and designs, making this style ideal for maintaining a cohesive look.
Whether you're designing a personal presentation or a professional pitch, rounded corners can enhance the visual appeal and ensure your images blend seamlessly with other elements on the slide.
Preparing Your Image for Google Slides
Before you start editing your image in Google Slides, it’s essential to ensure your image is ready. Preparation can save you time and help achieve better results. Here's what you should do:
- Choose High-Quality Images: Use images with a high resolution to prevent pixelation when resizing.
- Consider the Aspect Ratio: Ensure the image’s dimensions align with your slide layout for a balanced look.
- Remove Unnecessary Backgrounds: If possible, use tools to remove backgrounds, especially for product or profile images.
- Save in Compatible Formats: Use formats like JPEG or PNG that work well with Google Slides.
Taking these steps will make your images easier to work with and improve the final output. A well-prepared image ensures your rounded corners look sharp and professional.
Also Read This: Learn How to Use Tiktok Video Downloader Without Text to Get Amazing Content
Inserting an Image into Google Slides
Adding an image to Google Slides is simple and straightforward. Follow these steps to get started:
- Open Your Presentation: Go to Google Slides and open the presentation where you want to insert the image.
- Choose the Slide: Navigate to the slide where you want to place your image.
- Insert the Image:
- Click on the “Insert” menu at the top.
- Select “Image” and then choose one of these options:
- Upload from Computer: Select a file stored locally on your device.
- Search the Web: Use the built-in search feature to find online images.
- Drive or Photos: Import images directly from Google Drive or Google Photos.
- Adjust Placement: Drag and resize the image as needed to position it perfectly on your slide.
Once your image is in place, you’re ready to start editing it, such as rounding the corners or applying other visual effects.
Also Read This: How Can You Access Canva’s Premium Templates Without a Subscription in 2025?
Steps to Round Image Corners in Google Slides
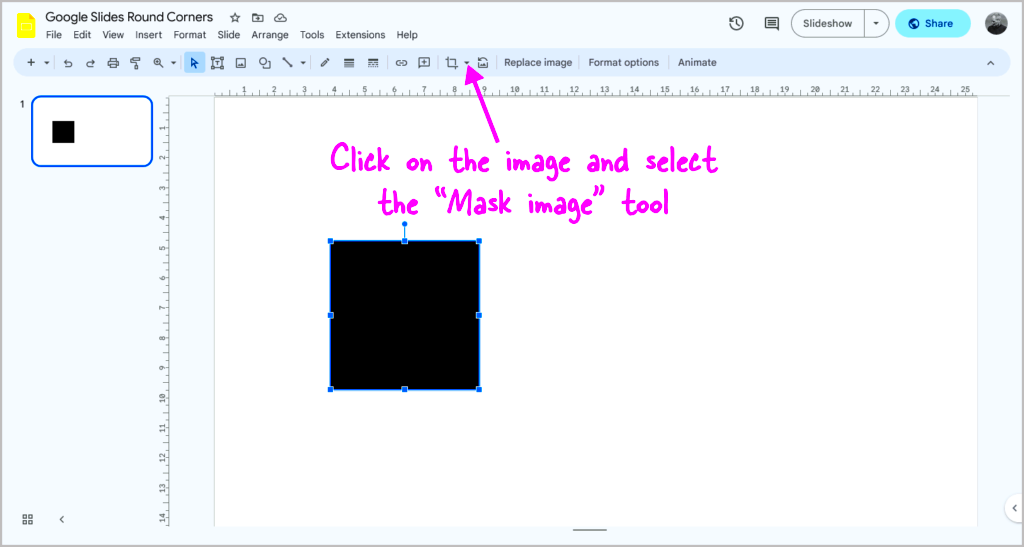
Rounding image corners in Google Slides is easy and doesn’t require any external tools. This feature allows you to create clean, polished visuals directly in your presentation. Here’s a step-by-step guide:
- Select the Image: Click on the image in your slide to highlight it. If the image isn’t inserted yet, follow the steps for adding an image first.
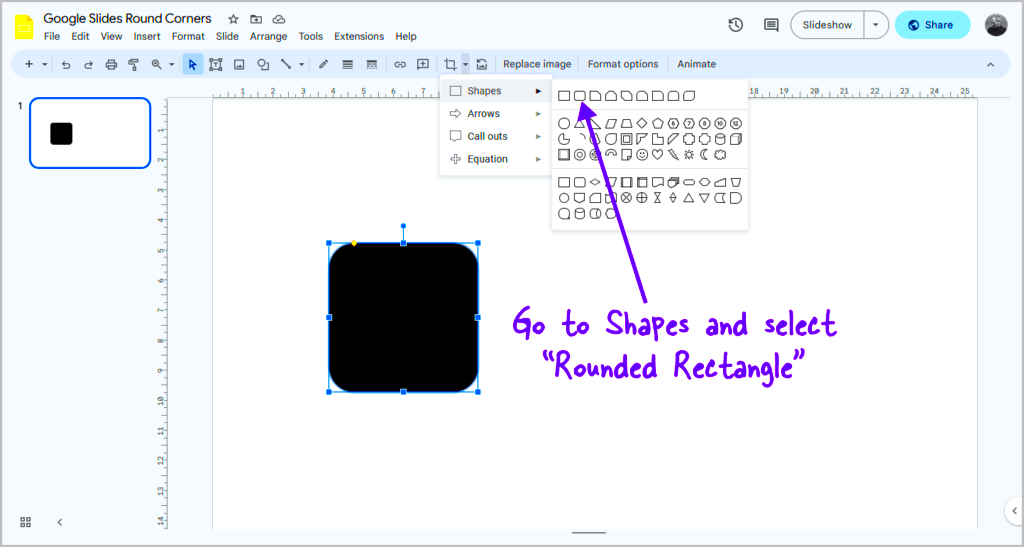
- Access the Crop Tool: Click the small arrow next to the “Crop” icon in the toolbar. This will display a dropdown menu with shape options.
- Choose a Rounded Shape: Select the rounded rectangle or oval shape, depending on the desired corner curvature. The image will instantly transform into this shape.
- Adjust the Size and Position: Drag the edges or corners of the image to resize it without losing the rounded effect. You can also reposition the image on the slide as needed.
- Fine-Tune with Border Settings: If desired, add a border around the rounded image. Use the “Border weight” and “Border color” options in the toolbar for customization.
That’s it! These simple steps will give your images rounded corners, helping them blend beautifully with your slide design.
Also Read This: Quick Guide to Download Synced Dailymotion Videos
Using Shape Masks to Create Custom Rounded Edges
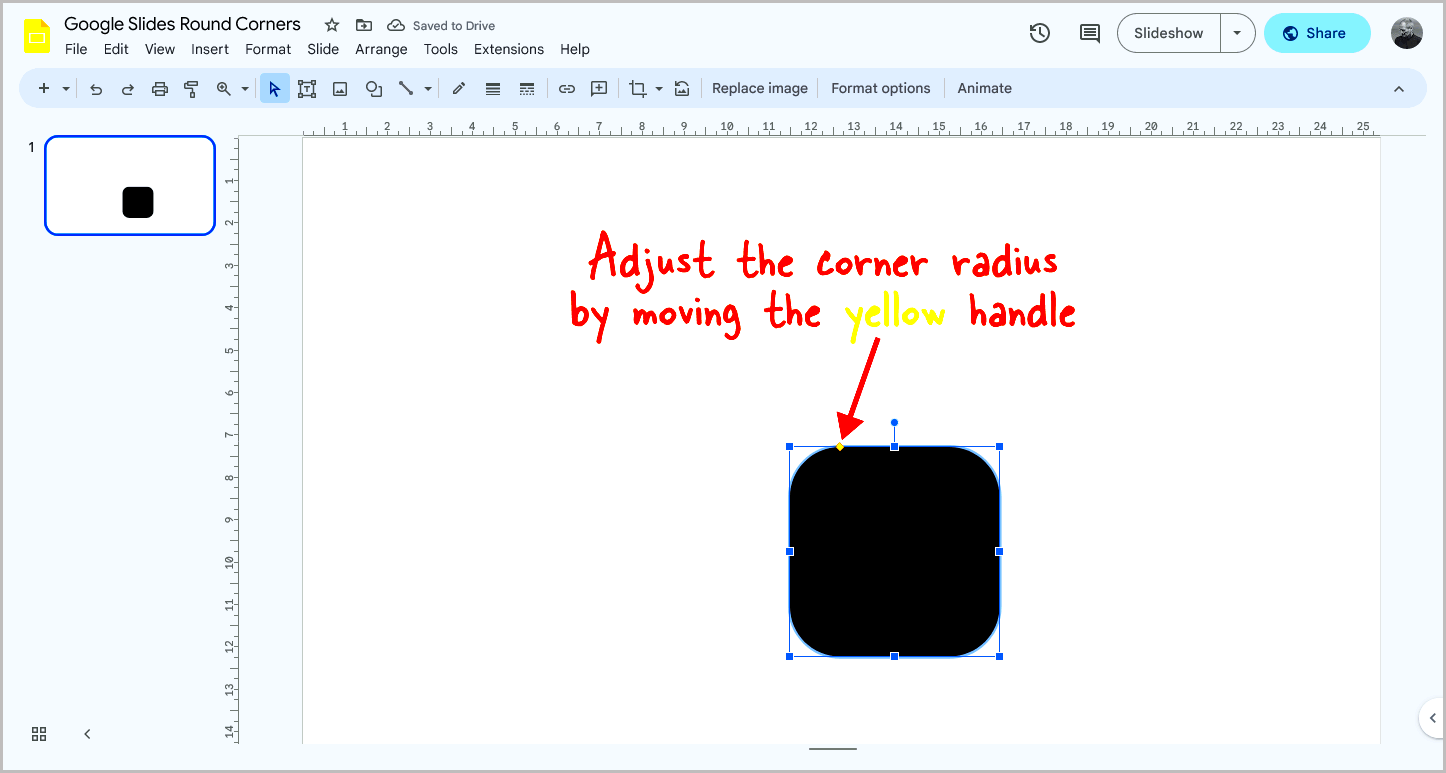
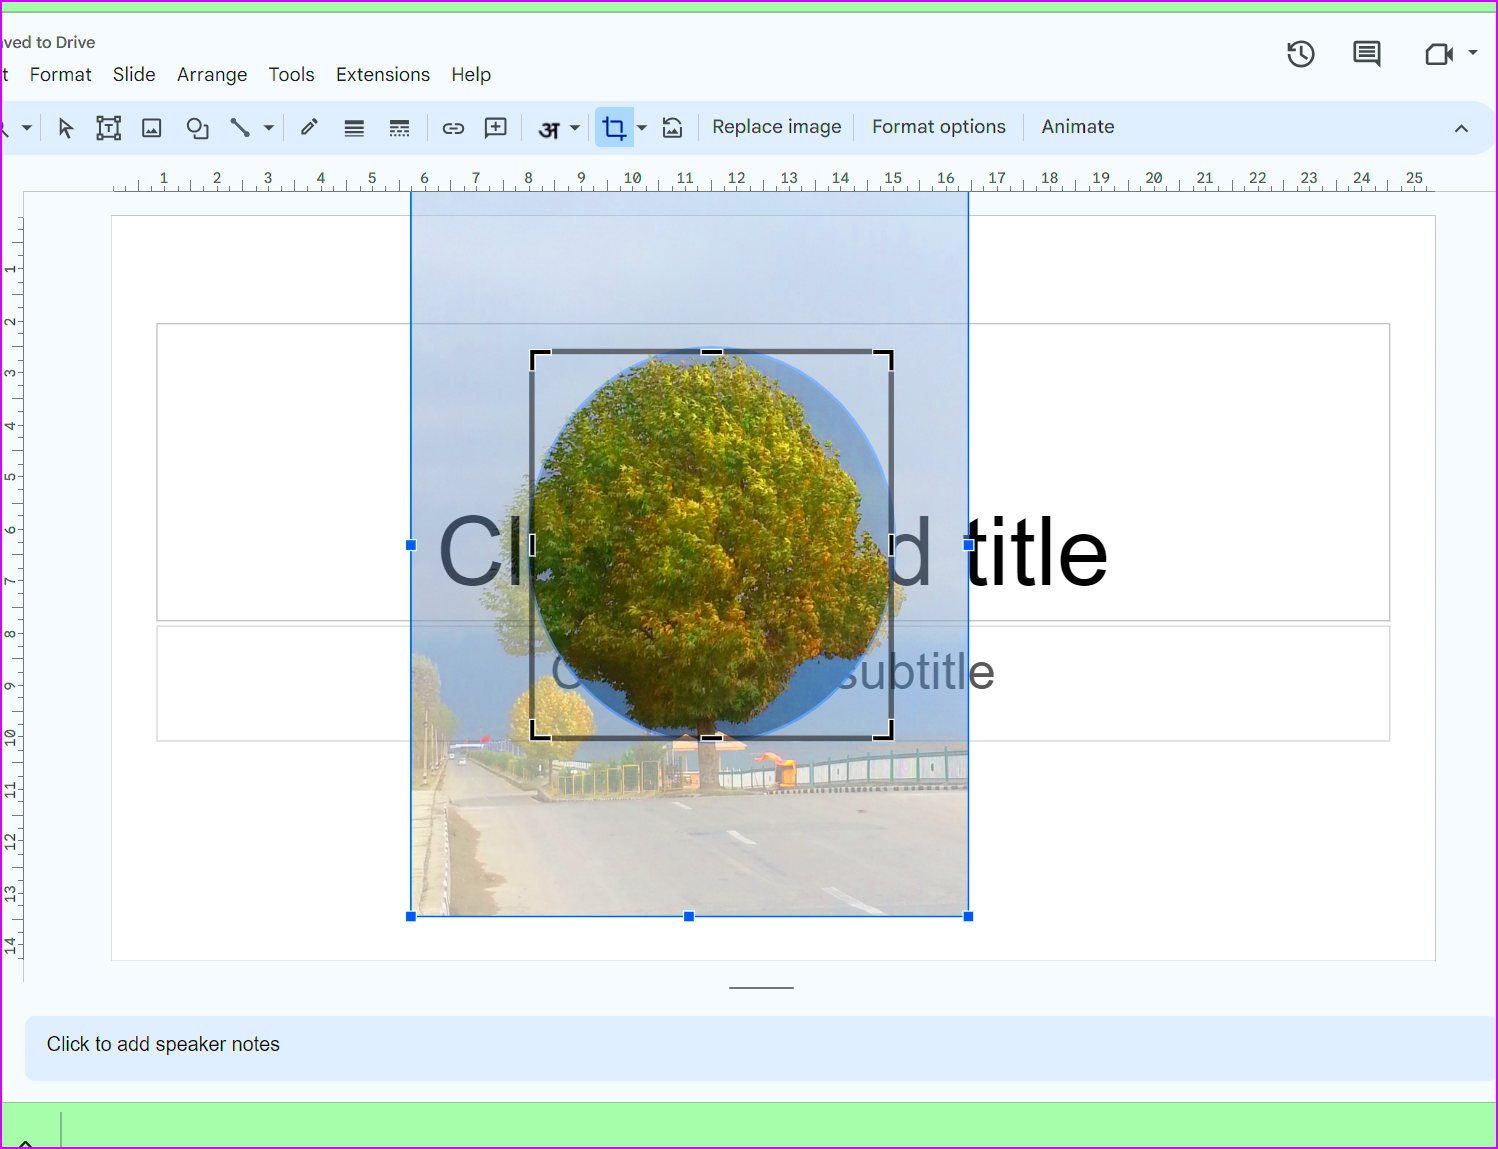
For more control over the roundness and overall appearance, Google Slides lets you use shape masks. This feature allows you to apply various shapes, including custom rounded edges. Here’s how to do it:
- Select the Image: Highlight the image you want to edit.
- Open the Mask Menu: Click on the dropdown arrow next to the “Crop” icon and select “Shapes.”
- Choose a Shape: Pick a shape that closely matches your desired rounded effect, such as a rounded rectangle, circle, or other shapes with customizable edges.
- Resize the Mask: Drag the edges of the shape mask to adjust its size and fit it perfectly around the image.
- Combine with Other Edits: Use the “Format options” menu to add shadows, reflections, or adjust transparency for a more dynamic look.
Shape masks are especially useful for achieving unique designs that go beyond simple rounded corners. Experiment with different shapes to create a presentation that stands out.
Also Read This: how many numbers can you see in this image
Tips for Creating Professional Presentations
While rounded images can enhance your presentation, the overall design also plays a significant role. Here are some tips to ensure your slides look professional:
- Stick to a Theme: Use consistent colors, fonts, and shapes throughout your slides for a cohesive look.
- Limit Text: Avoid overcrowding slides with text. Use bullet points or visuals to convey information effectively.
- Maintain Visual Hierarchy: Highlight key points by adjusting font sizes, colors, or using bold text.
- Align Elements Properly: Use alignment guides in Google Slides to ensure images and text are neatly arranged.
- Use High-Quality Graphics: Ensure all images and icons are clear and relevant to the content.
- Balance Negative Space: Leave enough empty space around your content to avoid a cluttered appearance.
By following these tips, your presentations will look polished and professional, keeping your audience engaged and impressed.
Also Read This: How to Insert Images in Krita for Digital Art
Common Mistakes to Avoid When Rounding Image Corners
While rounding image corners in Google Slides is a straightforward process, there are a few common mistakes that can detract from your presentation's overall impact. Avoiding these pitfalls ensures your design remains professional and visually appealing.
Here are some of the most common mistakes and how to avoid them:
- Uneven Cropping: Cropping an image unevenly can make the rounded corners look awkward. Always use the built-in shape masks or tools to maintain symmetry.
- Using Low-Resolution Images: Low-quality images can appear pixelated, especially after applying rounded edges. Start with high-resolution images to achieve sharp results.
- Overusing Rounded Corners: While rounded edges are stylish, overusing them can make your slides feel repetitive. Balance rounded and straight-edged images for variety.
- Clashing Design Elements: Ensure the rounded corners align with other design elements like fonts and icons. For instance, if you’re using sharp-edged text boxes, rounded images might look out of place.
- Ignoring Alignment: Misaligned images can make your slides look unorganized. Use Google Slides' alignment guides to position images correctly.
By keeping these points in mind, you can avoid common mistakes and ensure your rounded images enhance your presentation rather than detract from it.
Also Read This: How to Embed a Vimeo Video in Behance
FAQ
Here are answers to some frequently asked questions about rounding image corners in Google Slides:
- Can I adjust the corner radius of rounded images?
Yes, you can adjust the roundness by resizing the shape mask. For finer control, choose different shapes with varying curvature. - Is it possible to round corners on multiple images simultaneously?
Unfortunately, Google Slides doesn’t support batch editing. You’ll need to round the corners of each image individually. - Are there alternatives to Google Slides for rounding image corners?
Yes, tools like Canva, Photoshop, or free online editors allow you to create rounded images, which you can then import into Google Slides. - Can I remove rounded corners after applying them?
Absolutely! Simply select the image, return to the crop or mask options, and choose a rectangular shape to revert.
Conclusion
Rounding image corners in Google Slides is a simple yet effective way to elevate the visual appeal of your presentation. This technique adds a modern touch, helps your images blend seamlessly with other elements, and enhances overall professionalism. By following the steps outlined in this guide and avoiding common mistakes, you can create slides that leave a lasting impression.
Don’t be afraid to experiment with shape masks and design combinations to find what works best for your content. With a little creativity and attention to detail, your presentation can stand out and captivate your audience.
