Printing multiple images on a single page can save paper and create convenient layouts for sharing or showcasing your photos. If you're a Mac user, you’ll be glad to know that macOS offers built-in tools to make this process simple and efficient. Whether you want to print for a scrapbook, presentation, or any other purpose, this guide will walk you through the steps with ease. Let’s explore how to utilize Mac’s features for printing multiple images on one page.
Understanding the Built-in Tools on Mac

Mac computers come equipped with powerful, user-friendly tools for handling images and printing tasks. You don’t need to install any extra software because macOS has everything you need:
- Preview App: A versatile app for viewing, editing, and printing images. It’s perfect for creating layouts with multiple images on a page.
- Photos App: Useful for organizing your images and sending them to print directly.
- Print Dialog: Found in most macOS apps, it provides options for scaling, arranging, and customizing print layouts.
These tools are designed to simplify tasks while offering professional results. In this guide, we’ll focus on using the Preview app because it offers the most flexibility for arranging multiple images.
Also Read This: Ultimate Guide to Downloading Videos from Dailymotion to Your Computer or Device
Using Preview App for Printing Multiple Images
The Preview app is one of the most convenient tools for printing multiple images on a single page. Here’s how you can do it step-by-step:
- Open Your Images: Select all the images you want to print, right-click, and choose Open With > Preview.
- Combine Images: In the Preview sidebar, drag and drop images to arrange them in your preferred order. Use File > Export as PDF to save them as a single file if needed.
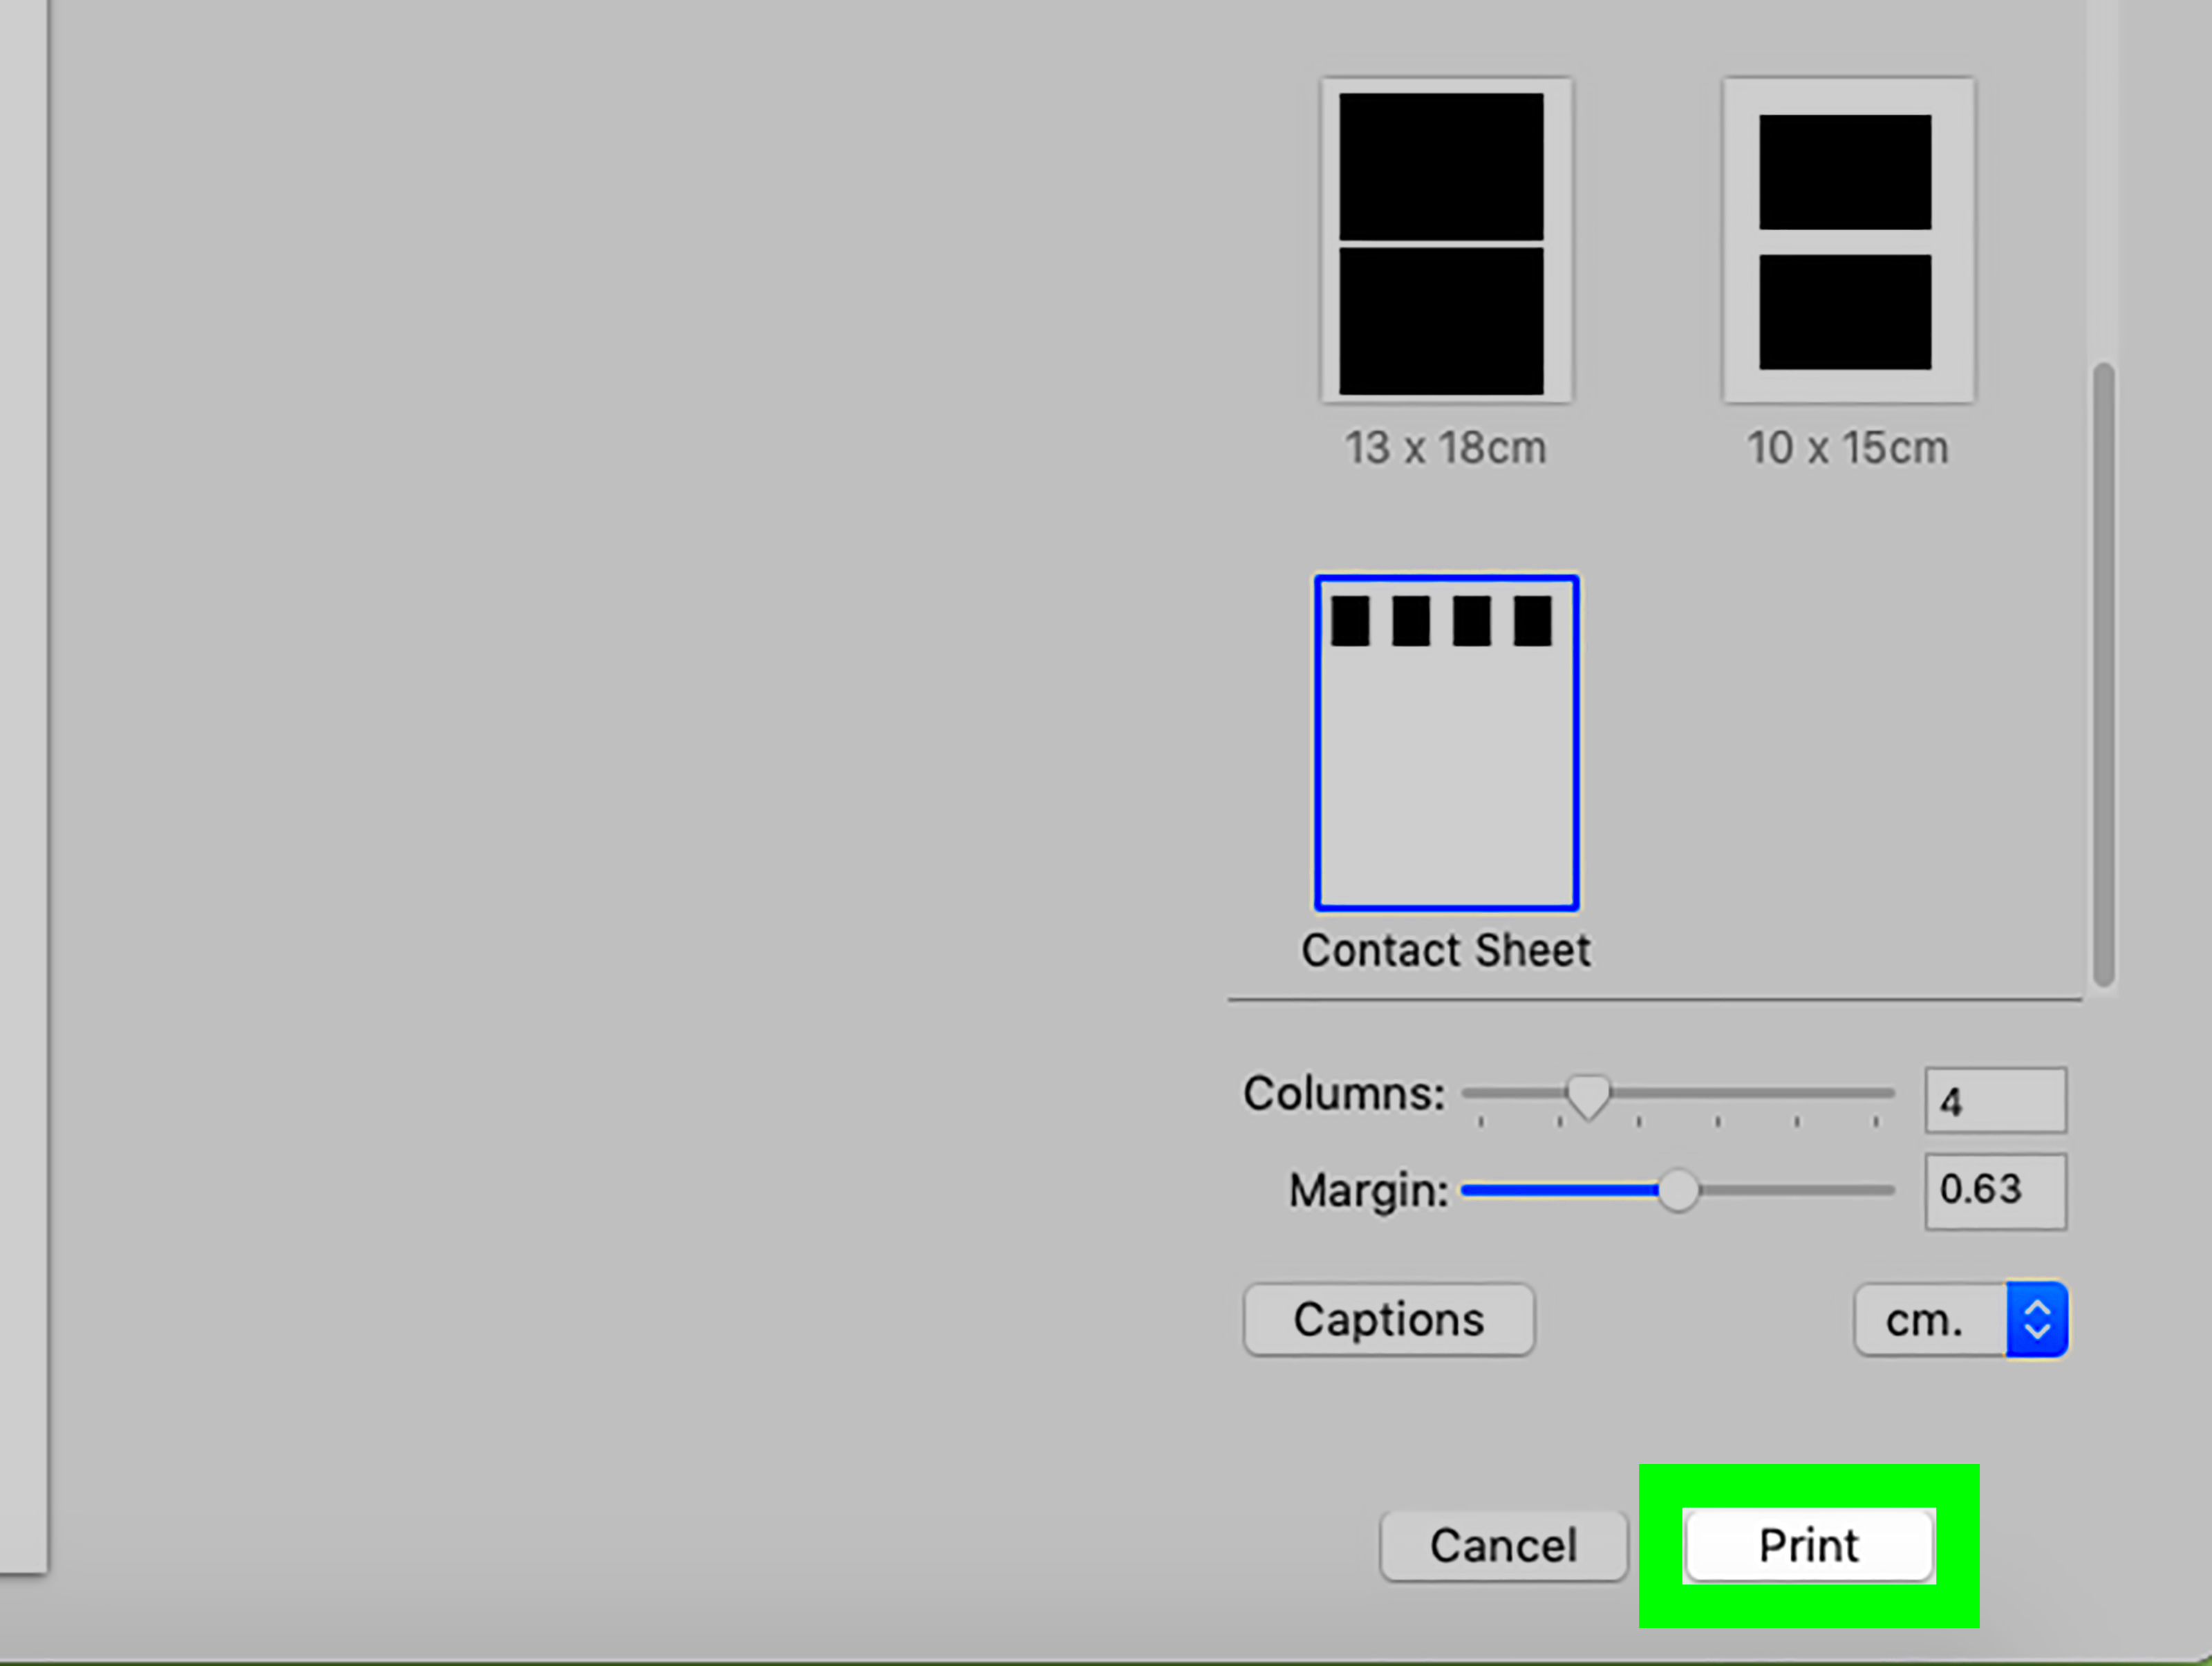
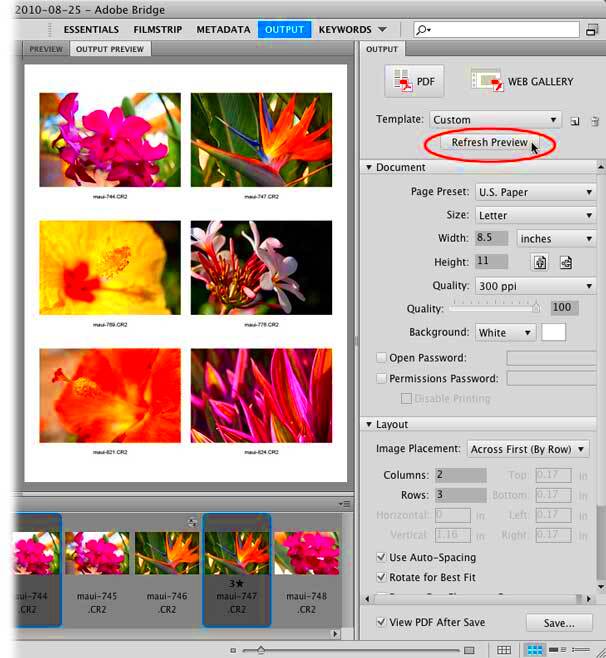
- Access Print Settings: Go to File > Print. In the print dialog, select Layout and set the number of images per page (e.g., 2x2, 3x3).
- Customize Layout: Adjust margins, orientation, and scaling options to fit your needs.
- Preview and Print: Check the preview to ensure everything looks right, then hit Print.
With these steps, you can efficiently arrange and print multiple images on one page without additional software. It’s quick, effective, and hassle-free!
Also Read This: how to upload images on tiktok pc
Steps to Arrange Images for Printing
Arranging images for printing on a single page might sound tricky, but it’s actually straightforward on a Mac. With the right steps, you can easily create a well-organized layout for your images. Follow these steps to get started:
- Gather Your Images: First, collect all the images you want to print. Ensure they are saved in the same folder for easier access.
- Open in Preview: Select all the images, right-click, and choose Open With > Preview. All your images will appear in the Preview sidebar.
- Organize Order: Drag and drop the images in the sidebar to arrange them in your preferred sequence. This order will reflect how they appear on the page.
- Combine as a Single File (Optional): If needed, go to File > Export as PDF to merge the images into one file, which makes printing simpler.
- Access Print Options: Go to File > Print. From here, you can set the layout and the number of images per page.
Taking these steps ensures your images are arranged exactly how you want before moving on to the printing process.
Also Read This: How to Get Your Photos on Getty Images as an Aspiring Photographer
Customizing Layout and Settings
Once you’ve arranged your images, customizing the layout is the next step. Mac’s printing options allow you to tailor the layout to fit your preferences:
- Select Paper Size: Choose your preferred paper size in the print dialog (e.g., A4, Letter).
- Set Layout Options: Under the Layout section, select how many images should appear on each page (e.g., 2x2 for four images).
- Adjust Margins: Use margin settings to ensure there’s enough space around each image for a clean look.
- Orientation: Choose between portrait or landscape mode based on your image arrangement.
- Scaling: Enable Scale to Fit if your images need resizing to fit within the selected layout.
Take your time to review these settings. Customizing the layout ensures your printed page looks polished and professional.
Also Read This: Using AI to Create Product Images
Common Challenges and How to Fix Them
While printing multiple images on one page is simple, you might encounter a few challenges. Here are some common issues and how to fix them:
| Challenge | Solution |
|---|---|
| Images Not Fitting the Page | Enable Scale to Fit in the print settings to adjust image sizes automatically. |
| Incorrect Image Order | Rearrange images in the Preview sidebar by dragging and dropping them to the correct order. |
| Low Image Quality | Ensure the resolution of your images is high enough for printing. Avoid compressing files unnecessarily. |
| Missing Margins | Adjust margin settings in the print dialog to create proper spacing around images. |
Addressing these challenges will help you achieve the desired outcome with minimal frustration. Always preview your layout before printing to avoid surprises!
Also Read This: Imago Images for Real Estate Attracting Buyers with Beautiful Visuals
FAQs about Printing Multiple Images on Mac
If you’re still curious or facing difficulties, these FAQs might help clarify common concerns about printing multiple images on one page using a Mac:
| Question | Answer |
|---|---|
| Can I print different image sizes on the same page? | Yes, you can manually resize images in the Preview app before arranging them for printing. Simply select an image, click Tools > Adjust Size, and set the dimensions. |
| How do I save the arranged images for future printing? | After arranging your images in Preview, go to File > Export as PDF. This creates a single file with your chosen layout. |
| Why is my printed page blank? | Check your print settings and ensure the correct printer is selected. Also, verify that the images are visible in the Preview window and properly scaled. |
| Can I add text or labels to images before printing? | Yes, use the Markup tool in Preview to add text, shapes, or annotations to your images. |
| Is it possible to print images in grayscale? | Yes, in the print dialog, go to Color Options and select Black & White or Grayscale depending on your printer's capabilities. |
These solutions and tips should make the process smoother and help you achieve the results you want with ease!
Conclusion
Printing multiple images on one page using a Mac is simple and efficient with the tools provided by macOS. By following the steps outlined and utilizing features like Preview and customization options, you can create professional-quality prints in no time. Happy printing!


