Flattening an image in Photoshop is an essential skill for anyone who works with layered files. When you're editing an image with multiple layers, each layer may contain different elements like text, filters, or adjustments. Flattening combines all those layers into a single, unified
What Does Flattening an Image Mean in Photoshop
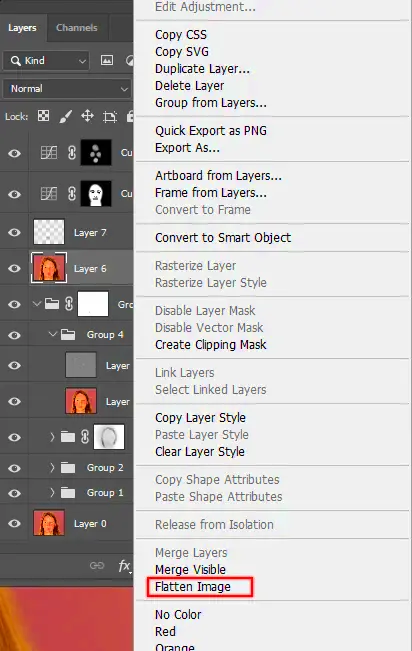
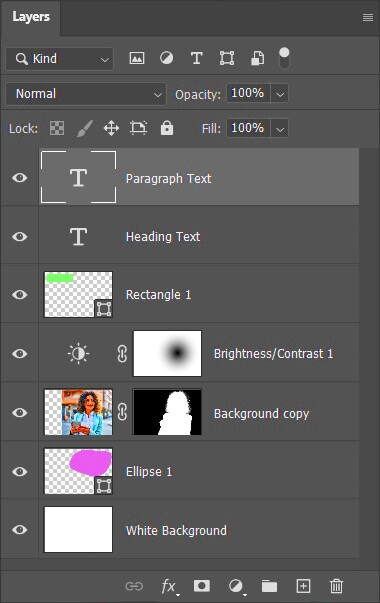
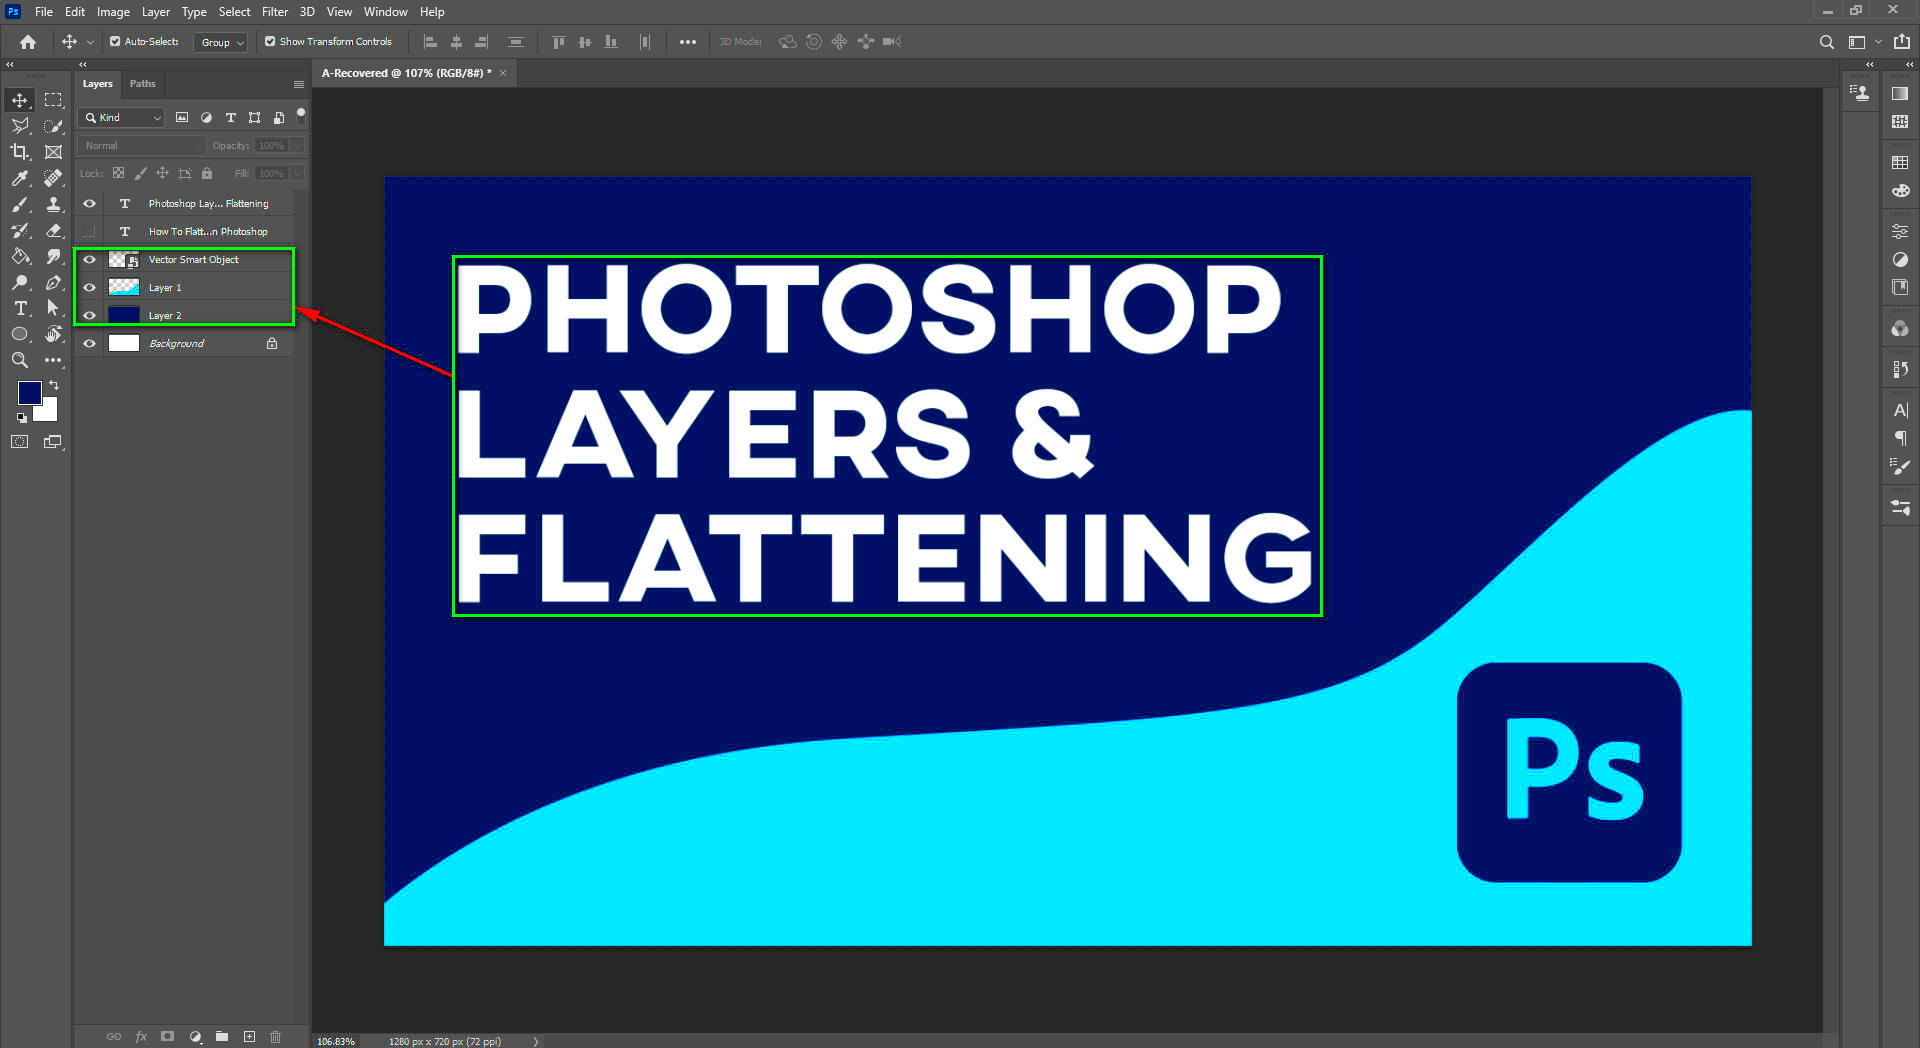
Flattening an image means merging all the layers in your Photoshop project into one single background layer. Think of it as combining the layers of a sandwich into one piece of bread. After flattening, you can no longer edit individual layers, but the image becomes more manageable and lighter in size. This is particularly helpful when you need to save the
Here are a few key points about flattening an image:
- Reduces file size: Flattening the image removes extra data from hidden or unused layers.
- Locks in edits: All changes are applied, making the image final and uneditable unless you undo the flattening.
- Prepares for exporting: Flattened images are easier to export for web or print without worrying about compatibility issues between layers.
Also Read This: How to Create a Big Mouth Hippo Fun Crafts Tutorial on Dailymotion
Step-by-Step Guide to Flatten an Image in Photoshop
Flattening an image in Photoshop is a straightforward process. Just follow these steps to do it quickly:
- Open your image: Start by opening the image you want to flatten in Photoshop.
- Check for hidden layers: Make sure there are no hidden layers or elements that you might want to keep. Once flattened, these will no longer be accessible.
- Select the layers: You can choose to manually merge certain layers, but if you want to flatten everything, proceed to the next step.
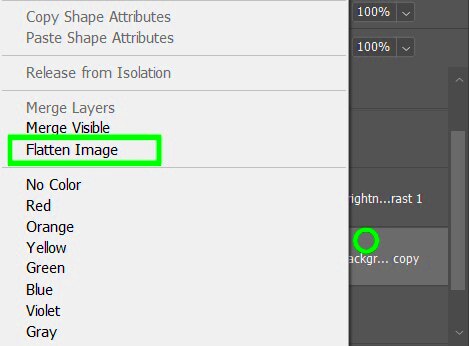
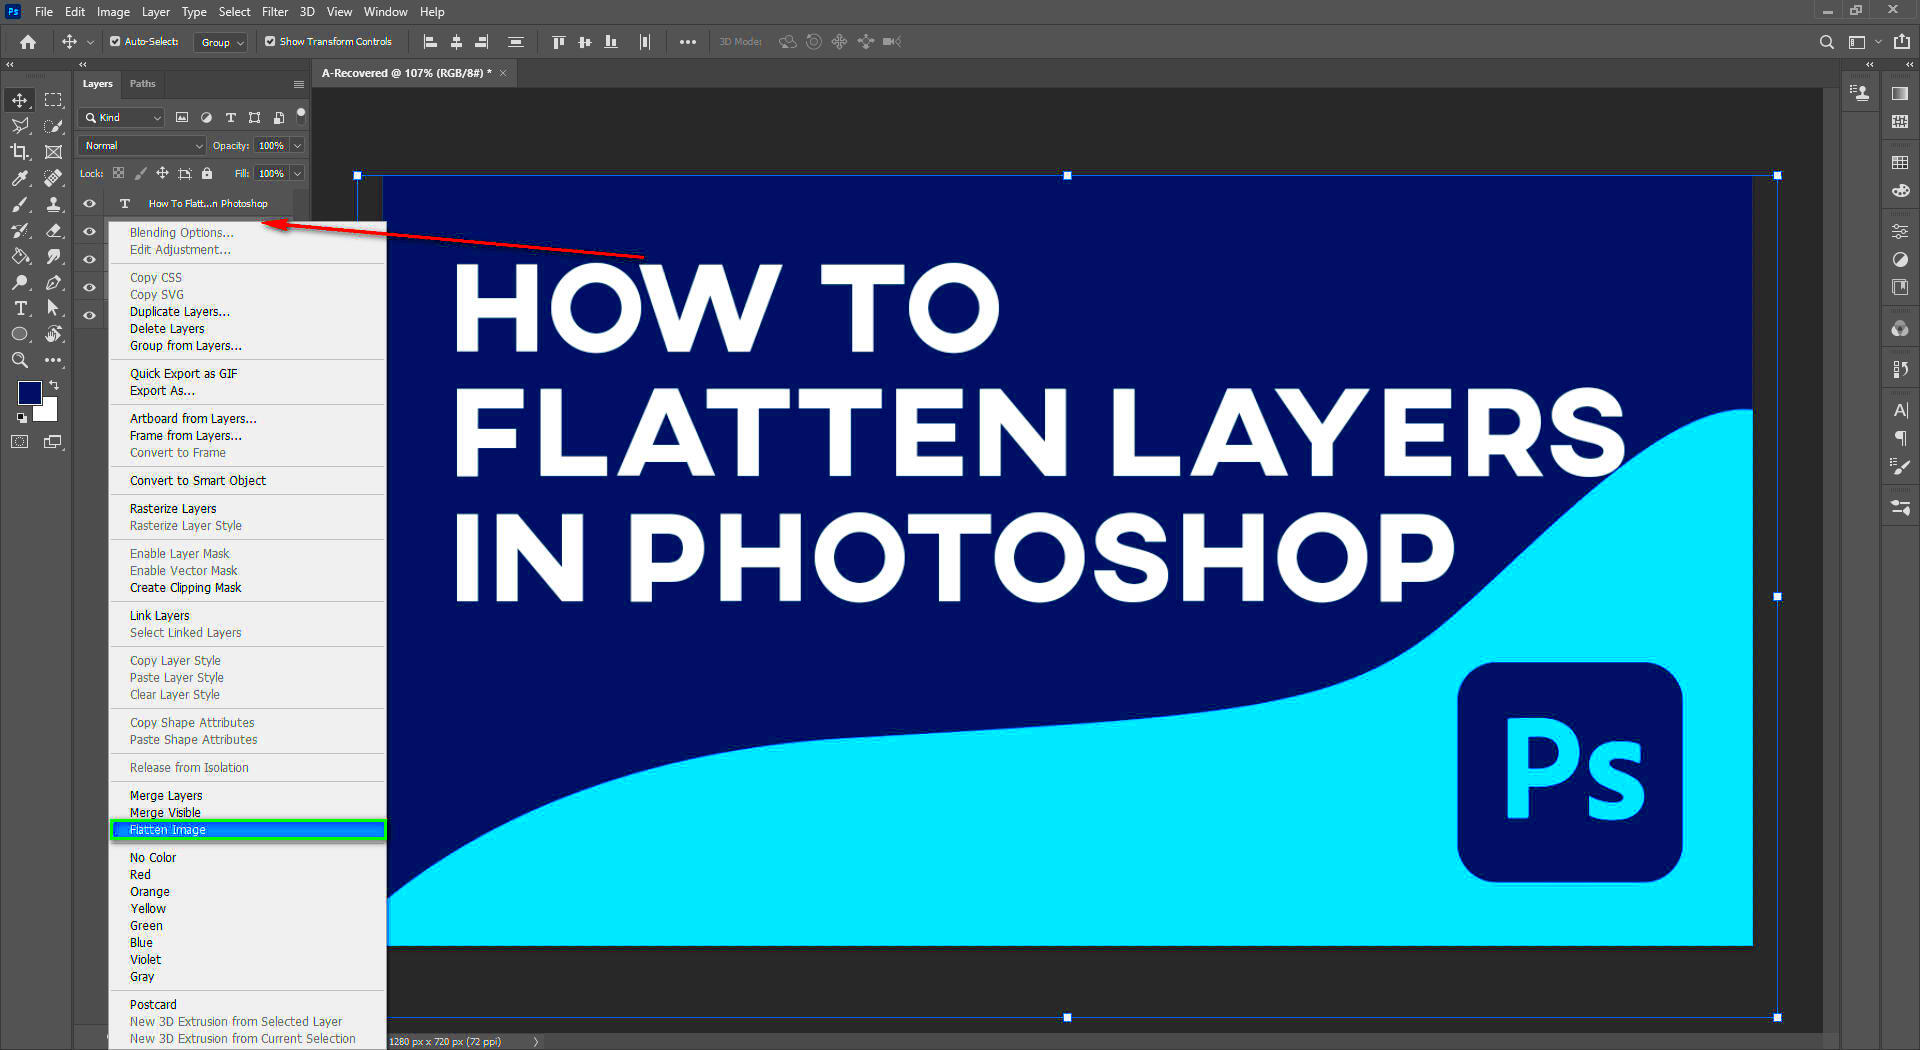
- Flatten the image: Go to the "Layer" menu at the top and select "Flatten Image." Photoshop will merge all layers into one background layer.
- Save your image: After flattening, save your file. Choose a format that suits your needs, such as JPEG or PNG for web use, or TIFF for high-quality print.
After flattening, your image will be ready for export or sharing, with all layers combined into one final version. Just remember, once you flatten the image, you won’t be able to undo it unless you saved a copy of your layered file.
Also Read This: Mastering Photoscape for Effortless Image Editing
Why You Should Flatten Your Image in Photoshop
Flattening an image in Photoshop might seem like an unnecessary step, but it offers several important benefits. Whether you’re preparing an image for printing, sharing online, or simply looking to reduce file size, flattening can help streamline your workflow. When working with complex projects that involve multiple layers, it can be hard to manage or even export a file due to its large size. Flattening reduces this clutter and makes the image more manageable. Plus, it ensures that all adjustments are locked in and ready for the final output.
Here are a few reasons why you should consider flattening your image:
- Improves performance: Large files with multiple layers can slow down Photoshop and your computer. Flattening reduces the load, making it easier to work with the image.
- Ensures consistent results: When layers are merged, all effects and adjustments are applied to the final image. This eliminates the risk of missing or misapplying edits.
- Prepares for export: Flattening is often required before exporting the image for web use, as some file formats (like JPEG) only support a single layer.
- Reduces file size: Flattening removes unnecessary layer data, reducing the file size, making it easier to store or send via email.
Also Read This: How to Update LinkedIn Profile Without Notifying Network
Advantages of Flattening an Image
Flattening an image has several clear advantages, especially when preparing your work for final use. Here are some key benefits:
| Advantage | Description |
|---|---|
| File Size Reduction | Flattening removes unused layer information, making the file smaller and easier to manage, especially for web uploads. |
| Faster Rendering | With fewer layers, Photoshop can render and display your image faster, improving performance when editing or viewing it. |
| Simplified Workflow | Flattening eliminates the need to manage multiple layers, making the editing process more straightforward. |
| Prepares for Print or Web | Certain file formats (like JPEG) require flattened images to ensure proper export for print or web use. |
Flattening is especially helpful when you’re done editing and need a final version that’s easy to share, print, or upload to websites. It consolidates all layers and adjustments into one final version, ensuring that everything looks exactly as you intended.
Also Read This: How to Add Motion Templates in Adobe Stock
Things to Keep in Mind Before Flattening an Image
Before you flatten an image in Photoshop, there are a few important things to consider to avoid losing important data or making irreversible changes. Flattening merges all layers, which means you can no longer edit them individually. If you’re unsure, it’s always a good idea to save a copy of the original layered file first. Here’s what you should keep in mind:
- Save a backup copy: Before flattening, it’s essential to save a copy of your layered file in Photoshop’s native format (.PSD). This way, you can go back and make changes if needed.
- Check hidden layers: Ensure that all visible and hidden layers are properly finalized before flattening. Once the image is flattened, hidden layers will no longer be accessible.
- Consider final usage: Flattening is most useful when the image is ready for export. If you're still planning to make changes or adjustments, it’s best not to flatten just yet.
- Flattening and file formats: Some file formats, like PNG or TIFF, can support layers, but others (like JPEG) require flattening. Consider the format you plan to use when deciding whether or not to flatten.
- Check layer effects: Be sure that any layer effects or adjustments are finalized before flattening. Once flattened, these effects are "baked in" and can’t be adjusted easily.
Flattening can be a great way to finalize your image, but it’s important to take these steps to ensure you don’t lose any important information in the process. If you're in doubt, always save your layered project as a backup!
Also Read This: How to Create Hot AI Images
How to Avoid Losing Data While Flattening an Image
Flattening an image in Photoshop is a great way to simplify your project, but it's important to avoid losing data during the process. Once you flatten an image, individual layers are merged into one, and you can't go back to edit them. To avoid losing important information or making irreversible mistakes, follow these simple tips before flattening your image.
Here’s how to safeguard your data:
- Save a Backup: Always save a copy of your file in Photoshop’s .PSD format before flattening. This way, you can keep the original layers intact and make edits later if needed.
- Double-Check Layer Visibility: Make sure all the layers you want to keep are visible before flattening. Hidden layers will be discarded once the image is flattened.
- Merge Layers If Necessary: If you don’t need all the layers, consider merging some layers manually before flattening. This keeps the essential layers and simplifies the process.
- Rasterize Smart Objects: If you're working with Smart Objects, rasterize them first before flattening. This ensures that all adjustments and filters applied to those objects are properly included in the final image.
- Use Layer Comps: If you're unsure about flattening, consider using Layer Comps. These are snapshots of different layer visibility settings, which can help you save different versions of the project without flattening.
By following these steps, you can flatten your image with confidence, knowing that you won’t accidentally lose valuable data. Just remember, once flattened, the layers can’t be unmerged unless you have saved a backup!
Also Read This: Understanding Imago Images Licensing Terms for Hassle-Free Use
Common Issues When Flattening an Image and How to Fix Them
While flattening an image is usually a straightforward process, sometimes issues can arise. From losing layers to unwanted changes in the image, here are some common problems you might encounter and how to fix them:
| Issue | Solution |
|---|---|
| Loss of Layers | If you accidentally flatten the image too soon, you can lose important layers. Solution: Always save a backup (.PSD) before flattening. |
| Flattening Smart Objects | Flattening may cause Smart Objects to lose editable properties. Solution: Rasterize Smart Objects before flattening to preserve edits. |
| Unwanted Merged Layers | Sometimes, certain layers might merge unexpectedly. Solution: Manually merge layers that you want to combine, and leave others unmerged until you’re ready to flatten. |
| Loss of Effects and Adjustments | Layer styles or adjustments might not appear after flattening. Solution: Make sure all layer effects are applied and visible before flattening. |
| File Format Issues | Some file formats don’t support layers (like JPEG). Flattening is required, but ensure you save the right format. Solution: Save a .PSD copy if you need to preserve layers. |
By keeping these issues in mind, you can avoid potential headaches when flattening your images. Always take time to double-check your layers and settings before committing to the final step!
Also Read This: Do YouTube Shorts Get More Views Than Regular Videos
FAQ
1. What happens if I flatten an image in Photoshop?
Flattening an image merges all the layers into a single background layer, which reduces the file size and makes the image easier to export. However, once flattened, individual layers can’t be edited anymore.
2. Can I undo flattening in Photoshop?
Unfortunately, once an image is flattened and saved, you can’t undo it directly. That’s why it's important to save a backup of the original layered file before flattening.
3. Why should I flatten my image before saving it as a JPEG?
JPEG files don’t support layers, so flattening your image is necessary for exporting in this format. Flattening ensures the image is finalized and ready for sharing or printing.
4. Can I flatten only some layers in Photoshop?
Yes! You can choose to merge specific layers by selecting them and using the "Merge Layers" option, rather than flattening the entire image. This allows for more control over the final result.
5. What’s the best format to save a flattened image?
JPEG and PNG are both great formats for flattened images. JPEG is ideal for web use, while PNG is better for preserving image quality with transparency.
Conclusion
Flattening an image in Photoshop is a crucial step in many workflows, especially when preparing files for export or reducing their file size. By merging all layers into one, you streamline your project, making it easier to manage and share. However, it's important to take precautions before flattening, such as saving backups of your layered file, checking for hidden layers, and ensuring you’re ready to finalize the image. While flattening offers many advantages, such as improved performance and reduced file size, it's essential to remember that once an image is flattened, individual layers cannot be edited. By following the tips outlined, you can confidently flatten your images while avoiding data loss and other common issues. Whether you're working on a simple project or a more complex design, flattening helps you finalize your work for sharing, printing, or uploading with ease.
