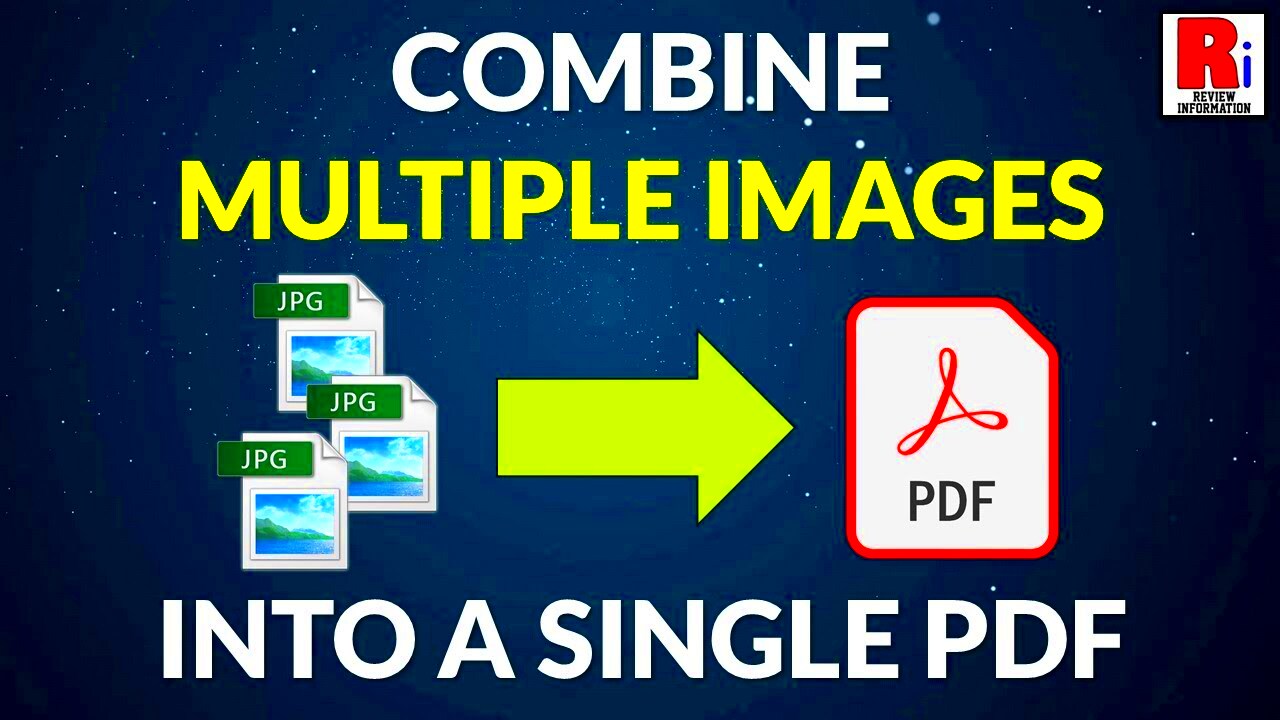
Combining two images into one PDF is a simple yet useful task. It’s perfect when you need to keep multiple images in a single, easy-to-share document. Whether you’re preparing a presentation, sharing product photos, or saving space, merging images into a PDF file can make things much more organized. In this guide, we will walk you through how to combine images, no matter what tool you’re using, and make sure your PDF looks just the way you want it.
Why Combine Images into One PDF?

There are many reasons why you might want to combine two images into one PDF. Here are some common situations where this might come in handy:
- Sharing multiple images at once: Instead of sending several images one by one, a single PDF can be easier to manage and share.
- Organizing your work: A PDF keeps your images neatly in one place, making it easier to find and reference later.
- Saving space: PDFs often compress images, saving file space compared to multiple image files.
- Professional appearance: A single PDF looks more polished and organized, which is important when sending work to clients or colleagues.
- Compatibility: PDFs are widely supported across different devices and platforms, ensuring your images are viewed correctly by everyone.
Whether for business, personal use, or organization, combining images into one PDF makes life easier and ensures your images are stored and shared in an efficient, user-friendly way.
Also Read This: Best Techniques to moving Images Freely in Word
Step-by-Step Guide to Combining Two Images into One PDF

Now, let’s break down the process of combining two images into a single PDF. Follow these easy steps, and you’ll have your images ready in no time:
- Choose Your Images: Select the images you want to combine. Make sure they are in a format that is compatible with your tool (JPG, PNG, etc.).
- Open a Tool: You can use an online tool or software to combine images. Popular options include online converters like SmallPDF or software like Adobe Acrobat.
- Upload the Images: If using an online tool, simply upload your two images. For software, open the images from your device.
- Arrange the Images: Make sure your images are placed in the right order. Some tools let you drag and drop them to adjust.
- Convert to PDF: Once you’re happy with the layout, click on the "Convert" button or similar. The tool will merge your images into a single PDF.
- Download the PDF: After conversion, download the newly created PDF. Check the file to ensure everything looks correct.
And that's it! You’ve successfully combined two images into one PDF. With a few simple steps, your images are now in an easy-to-share format that’s ready to be sent or saved.
Also Read This: How to Erase Getty Images Watermark Legally
Using Online Tools to Combine Images into One PDF

Using online tools to combine images into one PDF is one of the quickest and easiest methods. With just a few clicks, you can upload your images, adjust the layout, and convert them into a PDF file. These tools are convenient because you don’t need to download any software, and they’re usually free for basic tasks. Below are some of the most popular online tools to help you get started:
- SmallPDF: A user-friendly tool with a simple drag-and-drop feature for combining images into PDFs.
- ILovePDF: Offers various PDF-related tools, including combining images with ease.
- PDF Merge: Another easy-to-use option that allows you to upload images and quickly convert them into one PDF.
- Adobe Online PDF Services: A reliable option from Adobe that lets you upload images and merge them into a PDF.
Here’s how you can use most online tools:
- Step 1: Visit the website of your chosen tool.
- Step 2: Click the “Upload” button to select and upload the images you want to combine.
- Step 3: Arrange the images in the order you prefer, if necessary.
- Step 4: Click on the “Convert” or “Merge” button to create your PDF.
- Step 5: Download the PDF once the conversion is complete.
Online tools are perfect for quick jobs, but they may have file size limits or offer fewer customization options compared to software. If you need more control over the layout or high-quality output, you might want to try software options.
Also Read This: how to embed linked images in illustrator
Using Software to Combine Two Images into One PDF
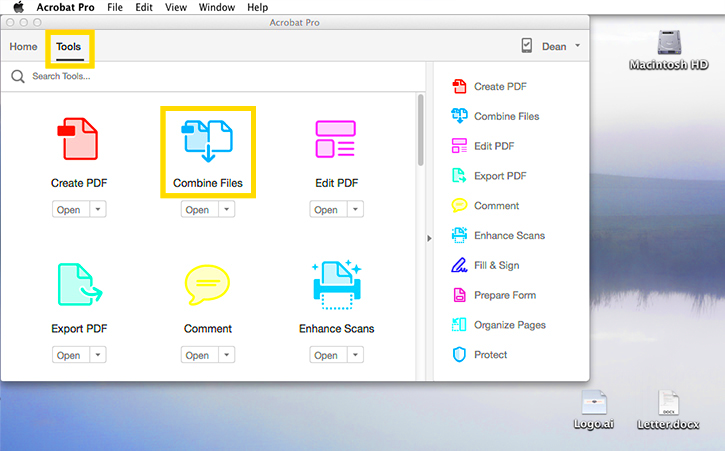
If you need more advanced features or control over your images when combining them into one PDF, software might be the better option. Programs like Adobe Acrobat or even free options like GIMP allow you to have more flexibility in editing and arranging images. These tools offer extra functionalities, such as resizing, adjusting image quality, and customizing the layout of the images in your PDF.
Here’s how to combine images into one PDF using software:
- Step 1: Open the software of your choice (e.g., Adobe Acrobat, GIMP, or PDFCreator).
- Step 2: Import the images you want to combine.
- Step 3: Arrange the images in the desired order and adjust their size or orientation if necessary.
- Step 4: Choose the option to export or save as PDF. In some software, you may need to click "Print" and then select “Save as PDF” from the printer options.
- Step 5: Save your combined images as a PDF file.
Using software is ideal when you want full control over the process, especially if you're dealing with multiple images or need to make adjustments before combining. However, it can take a bit more time and may involve a learning curve, especially if you’re new to the software.
Also Read This: How to Convert RAW Images to JPEG Format: A Beginner’s Guide
Tips for Optimizing Image Quality When Combining
When combining images into a single PDF, it’s important to keep the quality of the images intact. Here are some tips to help you maintain or improve the image quality during the process:
- Choose High-Quality Images: Always start with high-resolution images. The quality of your final PDF depends on the images you begin with.
- Adjust Image Size: Resizing images to fit within the PDF layout is important. However, avoid shrinking them too much, as this can affect the quality. If possible, resize images proportionally to maintain their sharpness.
- Use Lossless Formats: Choose formats like PNG for better image quality. JPG files, while smaller in size, can lose quality due to compression.
- Set Resolution for Output: When creating a PDF, check the resolution settings. Aim for a resolution of at least 300 DPI for print-quality PDFs, while 72 DPI is acceptable for screen viewing.
- Consider Compression Settings: Some tools allow you to adjust the level of compression when saving a PDF. Choose a setting that balances file size and quality.
By paying attention to these details, you can ensure that the images in your final PDF look clear and sharp. Whether you are combining product photos, portfolio work, or just personal pictures, keeping quality high will always give your PDF a professional touch.
Also Read This: How to Choose the Perfect Adobe Stock Background
Common Issues When Combining Images into One PDF
While combining images into one PDF is generally a straightforward task, sometimes issues can arise. These challenges can range from formatting problems to file size limitations. Below are some common issues and how to tackle them:
- Incorrect Image Order: When uploading images, it's easy to mix up the order. Most tools allow you to drag and drop images to reorder them before creating the PDF. Always double-check the order before finalizing the conversion.
- Large File Size: Combining multiple high-resolution images can result in a large PDF file, which may be difficult to share. If this happens, try compressing the PDF using tools like SmallPDF or ILovePDF to reduce the file size without compromising quality.
- Resolution Loss: Compressing or resizing images to fit within the PDF can cause a loss in image quality. Always ensure you're using high-resolution images and check the output settings for the PDF. Some tools also offer options to adjust image quality before combining.
- Image Orientation Issues: Sometimes, the images may appear rotated or not properly aligned in the PDF. Before combining, rotate or adjust the images using an image editor or PDF tool to avoid this issue.
- Text or Watermark Overlap: If you're combining images with text or watermarks, ensure that the images align properly within the page. Tools like Adobe Acrobat allow for precise adjustments to prevent overlapping or misaligned elements.
By being mindful of these issues, you can ensure a smooth process when combining images into a PDF. Always preview the final document before saving to ensure it looks as expected.
Also Read This: Teams Takeover: Enabling Request Control in Microsoft Teams
How to Share or Print Your Combined PDF
Once you've combined your images into a PDF, the next step is to share or print it. The flexibility of PDFs makes them ideal for both digital sharing and physical printing. Here’s how to do both:
Sharing Your Combined PDF
Sharing a PDF is easy, and there are several options to choose from:
- Email: You can attach the PDF to an email and send it to others. Just ensure the file size is within your email service's attachment limit. If it’s too large, use a file compression tool.
- Cloud Storage: Upload the PDF to cloud services like Google Drive, Dropbox, or OneDrive, and share the link with others. This is a great option for larger files.
- Direct Link: If you're sharing the PDF online, you can upload it to a website or use a PDF hosting service that provides a direct link to the file.
Printing Your Combined PDF
To print your combined PDF:
- Open the PDF: Use a PDF reader like Adobe Acrobat Reader, Preview on Mac, or even Google Chrome.
- Check Settings: Before printing, ensure the settings are correct (like paper size, orientation, and margins). You can adjust these in the print dialog.
- Print: Once everything looks good, click "Print" and select your printer. If you're printing a large PDF, ensure your printer has enough paper.
Both sharing and printing PDFs are easy, but ensuring the file is in the right format and quality is key to getting the best results.
Also Read This: A Simple Guide to Reversing Images in PDFs
FAQ
Q: What’s the best format for combining images into a PDF?
A: The most common image formats are JPG and PNG. These formats work well for combining images into a PDF. However, if you need transparency or better quality, use PNG.
Q: How can I reduce the size of my combined PDF?
A: You can reduce the size of your PDF by using compression tools like SmallPDF or Adobe Acrobat. These tools let you compress the PDF without significantly affecting image quality.
Q: Can I combine more than two images into one PDF?
A: Yes! Most tools and software allow you to combine multiple images into a single PDF. There’s no limit to how many images you can combine, but keep in mind that adding too many large images might make the PDF file large and difficult to share.
Q: Can I edit images before combining them into a PDF?
A: Absolutely! Before combining your images, you can edit them using an image editing tool to adjust brightness, contrast, size, or crop. Many PDF software options also allow you to make basic edits after combining the images.
Q: Is it safe to use online tools to combine images into a PDF?
A: Generally, yes. Reputable online tools like SmallPDF and ILovePDF are secure, but always ensure you are using trusted websites. If you have privacy concerns, you might want to consider offline software instead.
Conclusion
Combining two images into one PDF is a simple yet effective way to organize and share your visuals in a professional manner. Whether you're using online tools for a quick merge or advanced software for more control, the process is straightforward and efficient. By following the steps outlined above, you can easily create PDFs that maintain the quality of your images, while also ensuring they are ready for sharing or printing. Just remember to check for common issues such as image order and file size, and make any necessary adjustments to keep your PDF looking its best. Whether for business, personal, or creative purposes, merging images into a PDF streamlines your workflow and makes your files more versatile.


