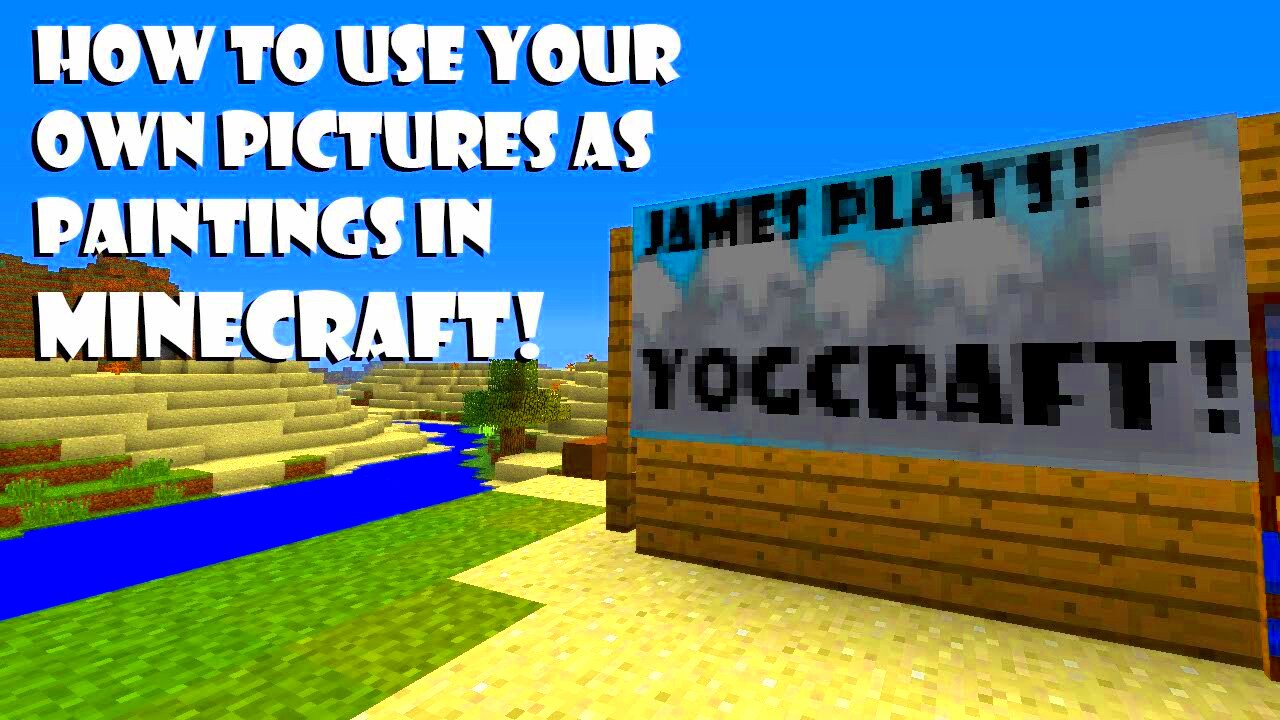
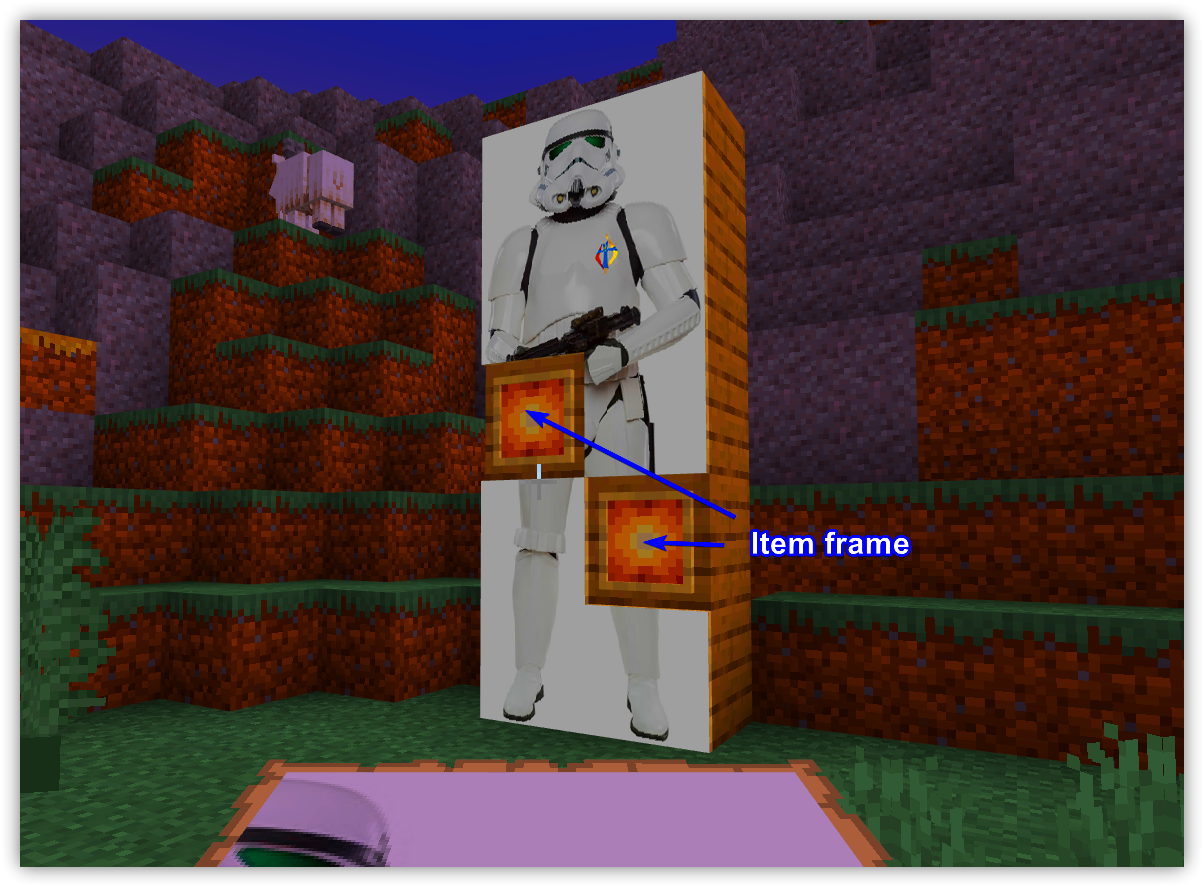
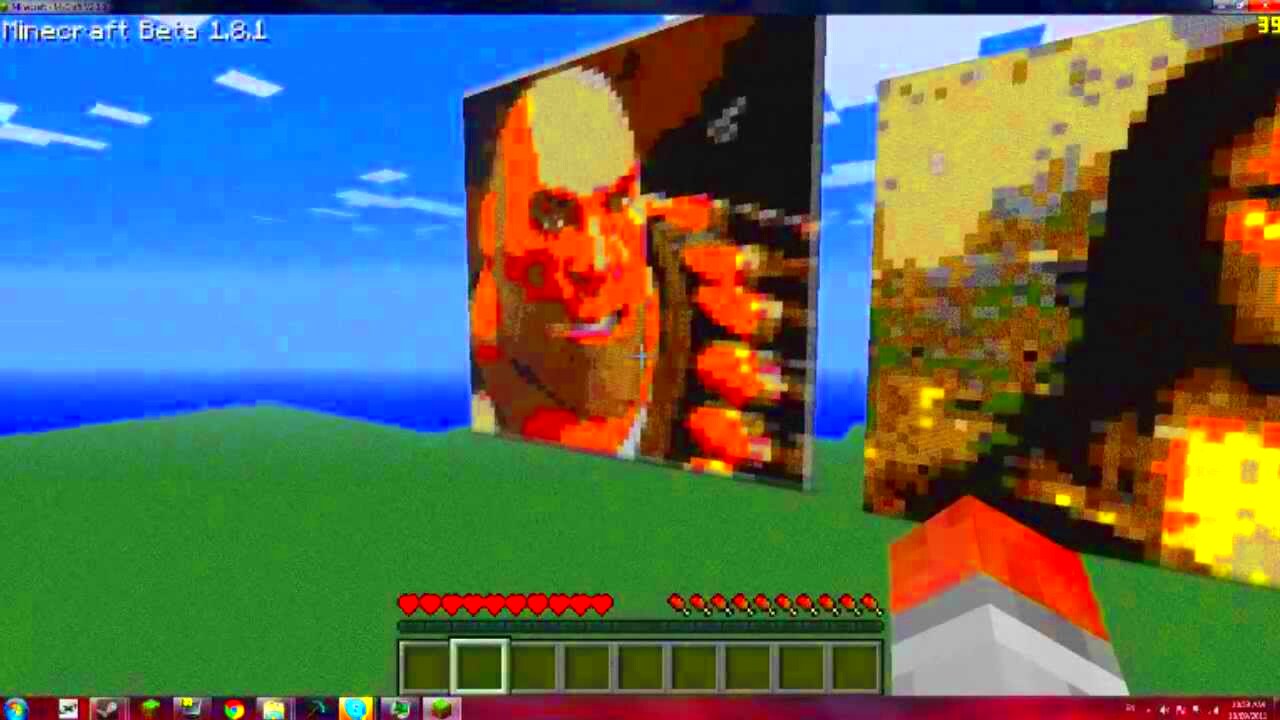
Minecraft is a game all about creativity, and one of the best ways to make your world truly unique is by adding custom images. Whether you're looking to add personal artwork, custom textures, or just something fun, Minecraft makes it easy to integrate images into your game. You can use images as textures, paintings, or even as part of custom resource packs. This guide will help you understand how to add images in Minecraft, what tools you need, and step-by-step instructions to make it happen. Let's get started on making your Minecraft world more visually exciting!
Understanding Minecraft’s Image Formats

Before jumping into adding images to Minecraft, it’s important to understand the formats the game supports. Minecraft works with specific image types to make sure your visuals fit seamlessly into the game. Here are the key formats you need to know:
- PNG (Portable Network Graphics): The most common format used for images in Minecraft. It supports transparency and provides high-quality images without losing detail.
- JPEG (Joint Photographic Experts Group): While not as commonly used for textures, JPEG images are often used for wallpapers or custom art in the game. However, it doesn’t support transparency.
- GIF (Graphics Interchange Format): Although GIFs can work in Minecraft, they are usually not ideal for textures due to their limited color range.
Once you know which formats work best, you can start thinking about how you want to incorporate your images into Minecraft. Whether you're creating textures, posters, or art, it's essential to stick with these formats to ensure they load properly in the game.
Steps to Add Images in Minecraft Using Resource Packs

One of the easiest and most flexible ways to add images in Minecraft is through resource packs. These packs let you change the textures of blocks, items, and even in-game graphics. To add custom images, follow these steps:
- Step 1: Create a Resource Pack Folder
Start by creating a new folder on your computer for the resource pack. Inside, you’ll need to create specific folders like "assets" and "minecraft" to store your images and textures. - Step 2: Add Your Image Files
Place your custom images (like PNG files) into the appropriate folder inside the resource pack. You’ll usually store them in a folder like "assets/minecraft/textures" depending on the type of image you want to add. - Step 3: Edit the Resource Pack’s JSON File
This file is where you define how Minecraft should use your images. You'll need to edit the "pack.mcmeta" file and ensure your images are linked correctly to the textures or objects you want to modify. - Step 4: Apply the Resource Pack
Once your pack is ready, load it into Minecraft. Go to "Options," then "Resource Packs," and click on your custom pack to apply it. Your custom images should now appear in the game!
Using resource packs is a powerful method to customize your Minecraft experience. You can modify not just textures, but also sounds, models, and even UI elements. This method allows for deep customization and can give your world a unique feel, all while keeping things neat and organized.
How to Add Images to Minecraft Using Mods
If you're looking to take your image customization in Minecraft to the next level, mods are a great option. Mods are modifications created by other players that change or enhance the game. There are many mods available that allow you to add images into your Minecraft world in ways that the base game doesn't support. By using mods, you can add custom textures, artwork, or even animated images with ease.
Here's how you can add images using mods:
- Step 1: Choose the Right Mod
Some popular mods for adding images to Minecraft include the "ImageToMap" mod, which converts images into in-game maps, or "CustomNPCs," which allows for more complex image displays. Choose a mod based on how you want to use your images. - Step 2: Install the Mod
To install a mod, first make sure you have Minecraft Forge installed. Then, download the mod file (usually a .jar file) and place it into the "mods" folder in your Minecraft directory. - Step 3: Load Minecraft with the Mod
Launch Minecraft and select the Forge profile. The mod should now be active, allowing you to use it to add images to your game. - Step 4: Add Images Using the Mod
Depending on the mod you choose, follow the specific instructions for placing images. Some mods allow you to directly upload images to a map, while others let you customize NPCs with your own art.
Mods open up a world of possibilities for adding images to your Minecraft world, from basic textures to complex, animated art. Just make sure to always download mods from trusted sources to avoid any issues with your game.
Using Minecraft’s Painting Feature to Display Images
One of the easiest ways to add images to Minecraft is by using the painting feature. Although Minecraft has its own set of pre-made paintings, you can easily create your own custom paintings to display images within the game. This method requires no mods or complex setups, just some simple image conversion and file manipulation.
Here’s how you can add your own images using paintings:
- Step 1: Prepare Your Image
Start by selecting the image you want to display. It needs to be in the PNG format for best results. Keep in mind that Minecraft paintings are limited in size, so your image should fit within the dimensions of a Minecraft painting (usually 16x16 pixels or smaller). - Step 2: Convert the Image to a Minecraft Painting
Use an image-to-painting converter tool, like "Minecraft Art Converter" or "Image to Minecraft Paintings" online tools. These tools help convert your image into a format Minecraft will recognize as a painting. - Step 3: Replace the Default Painting
Once you’ve converted your image, you’ll need to replace one of the default paintings in Minecraft. You can find the painting textures in the "assets/minecraft/textures/painting" folder. Simply replace one of the default painting files with your new image file, making sure to keep the same file name. - Step 4: Place the Painting in Minecraft
After replacing the file, you can now place your custom painting in the game world. Go ahead and use the standard Minecraft painting method (right-click to place), and you’ll see your custom image appear on the wall!
This method is simple, fun, and doesn’t require any complex tools. It's a great way to bring your artwork into Minecraft without needing external mods or advanced setups.
How to Upload Your Own Images to Minecraft
Uploading your own images to Minecraft can be done in several ways, depending on the type of images you want to add and how you want them to appear in the game. Whether you're changing textures, creating custom art for maps, or replacing in-game images, Minecraft allows you to add your personal images to enhance your gaming experience. In this section, we'll walk you through the different methods of uploading images to Minecraft, each with its own unique benefits.
Here are the primary ways to upload images:
- Using Resource Packs: As mentioned earlier, resource packs are one of the easiest ways to upload and use images in Minecraft. You can add textures, custom artwork, and more by placing your images in the resource pack folder and linking them in the pack's configuration files.
- Using Maps: If you want to add larger images, you can upload them to maps. Mods like "ImageToMap" allow you to upload images directly to Minecraft maps, where they appear as in-game items. This is a great way to display large pieces of art without affecting the rest of the game's textures.
- Using Mods: If you’re interested in more complex images, such as animated images or 3D models, mods are a great choice. Mods like "CustomNPCs" let you upload and display custom images on NPCs or other objects in the game world. This method requires installation of the mod, but it opens up many possibilities for image integration.
Uploading your own images to Minecraft is a fun way to add a personal touch to your game. Whether you use resource packs, maps, or mods, you can transform the way your Minecraft world looks. Just make sure to follow the steps carefully, and always back up your files before making any major changes to your game.
Common Issues When Adding Images and How to Fix Them
While adding images to Minecraft can be a fun and creative process, you might encounter some common issues along the way. Whether it’s images not showing up, size limitations, or game crashes, these problems are often easy to fix with a little troubleshooting. Here are some of the most frequent problems players face when adding images to Minecraft and how you can resolve them.
1. Image Not Showing Up in the Game
One of the most common problems is when your image doesn’t appear in the game. This could be caused by several factors:
- Check the image format: Minecraft works best with PNG files. If your image is in a different format like JPEG, it might not load correctly.
- File placement: Ensure that your images are placed in the correct folder within the resource pack or mod directory.
- Cache issues: Sometimes Minecraft caches old data. Try restarting the game or clearing the cache to fix the issue.
2. Image Size Issues
Another problem is when your images are too large or too small to fit within Minecraft’s default image settings. This can cause the game to not display the image correctly.
- Resize your images to match Minecraft’s painting sizes (typically 16x16 pixels or 32x32 pixels) if you're using them for paintings.
- For texture packs, try to use a standard resolution like 64x64 or 128x128 pixels to avoid performance issues.
3. Game Crashes After Adding Images
If your game crashes after adding custom images, it could be due to conflicting mods or corrupted files. Here’s how you can fix this:
- Remove or update any outdated mods that might be conflicting with your image files.
- Make sure all image files are properly formatted and not corrupted.
By following these tips, you can quickly troubleshoot common issues and enjoy your custom images in Minecraft without any setbacks.
FAQ
Here are some frequently asked questions to help you better understand how to add images to Minecraft, solve problems, and explore more creative ways to customize your game:
- Q: What file types can I use for images in Minecraft?
Minecraft supports PNG and JPEG files for most custom images, but PNG is generally preferred for its quality and support for transparency. - Q: Can I use animated images in Minecraft?
Yes, you can use mods like "CustomNPCs" or "ImageToMap" to display animated images or GIFs, but they require special tools or mods to work correctly. - Q: Why are my images not showing up after adding them?
Make sure your image is in the right folder, is the correct file type, and that the resource pack or mod is properly loaded. If the issue persists, try clearing the game’s cache. - Q: How do I add large images to Minecraft?
For larger images, you can use maps or resource packs to display high-quality artwork. Using mods also allows you to display bigger and more detailed images without size limitations. - Q: Can I upload custom textures to Minecraft?
Yes! You can upload custom textures by creating or modifying a resource pack. Replace the default textures with your own images to change the look of blocks, items, and more.
Conclusion
Adding images to Minecraft is a great way to enhance your gaming experience and make the world truly your own. Whether you're using simple paintings, resource packs, mods, or maps, there are multiple ways to bring custom images into the game. Remember to keep your images in the right format and size, and follow the steps carefully to avoid common issues. If you encounter any problems, there are plenty of troubleshooting tips to get you back on track. So go ahead, add your artwork, textures, and images to Minecraft, and enjoy a unique and visually exciting world!


