If you're looking for an easy and secure way to store your photos and images, iCloud offers a simple solution. Apple’s cloud service allows you to upload, store, and access your pictures from virtually any device. Whether you’re using a Mac, iPhone, iPad, or even a Windows PC, iCloud ensures that your images are available whenever you need them, and you don’t have to worry about running out of space on your devices.
In this post, we’ll guide you through the process of moving your images to iCloud. You'll learn why it's beneficial, how to prepare your photos, and the steps involved in uploading them. Let’s get started!
Why You Should Use iCloud for Storing Images

iCloud offers a variety of benefits when it comes to storing images. Here’s why it’s a great option for you:
- Automatic Backup: iCloud automatically backs up your photos, so you don’t have to worry about losing them. Any new images you take or upload are saved safely in the cloud.
- Access Anywhere: With iCloud, you can access your images from any device. Whether you're on your phone or your computer, iCloud ensures your pictures are always within reach.
- Space Saving: Instead of filling up your device's storage, iCloud stores your images remotely, freeing up valuable space on your phone or computer.
- Easy Sharing: Sharing images with family or friends is easy with iCloud. You can quickly share albums or even single photos with just a few clicks.
- Seamless Integration: iCloud works perfectly with all Apple devices, making it the best option for users in the Apple ecosystem.
All these features make iCloud a top choice for anyone who wants to store and organize their photos without worrying about storage limitations or access issues.
Preparing Your Images for iCloud Storage

Before you start uploading your images to iCloud, it's important to prepare them for an organized and hassle-free process. Here are some steps you can follow:
- Organize Your Photos: Sort your photos into folders or albums. This makes it easier to find and manage your images after they’ve been uploaded.
- Check File Size: iCloud offers 5GB of free storage. If your images are large, consider resizing them to fit within your storage plan. You can use tools like Preview on Mac or online resizers for this task.
- Ensure You're Connected: Make sure you're connected to a stable Wi-Fi network to avoid interruptions during the upload process, especially if you’re uploading large numbers of images.
- Remove Unnecessary Files: Go through your images and delete any duplicates or unneeded files. This helps free up space and makes the upload process more efficient.
- Update Your iCloud Storage Plan (if necessary): If you have more images than iCloud’s free storage allows, you may want to upgrade to a paid plan. Apple offers storage options ranging from 50GB to 2TB, depending on your needs.
With these preparations, you’ll be ready to upload your images to iCloud without any issues, ensuring that your photos are safely stored and easy to access.
How to Upload Images to iCloud from Your Computer
Uploading images from your computer to iCloud is a simple process, and there are a few different ways you can do it, depending on whether you’re using a Mac or a Windows PC. Here's how to get started:
Uploading via iCloud Website
For both Mac and Windows users, you can upload images directly through the iCloud website:
- Open a browser: Go to iCloud.com and log in with your Apple ID.
- Go to Photos: Click on the “Photos” app icon once you’re logged in.
- Upload Images: Click the upload button (cloud icon with an arrow). Select the images you want to upload from your computer and click “Open.”
Uploading via iCloud Drive (Mac Only)
If you're on a Mac, you can also use iCloud Drive to upload images. Here’s how:
- Open Finder: Click on “Finder” and select “iCloud Drive” from the left sidebar.
- Drag and Drop: Simply drag and drop the images from your computer into the iCloud Drive folder.
- Automatic Sync: Your images will automatically sync to iCloud once they’re in the folder.
Both methods make it easy to move your images to iCloud, whether you're on a Mac or a Windows PC.
Uploading Images to iCloud from Your Mobile Device
Uploading images from your iPhone or iPad to iCloud is incredibly easy, and in most cases, it happens automatically if you’ve enabled iCloud Photos. However, if you want to manually upload images, here’s how:
Using iCloud Photos on iPhone or iPad
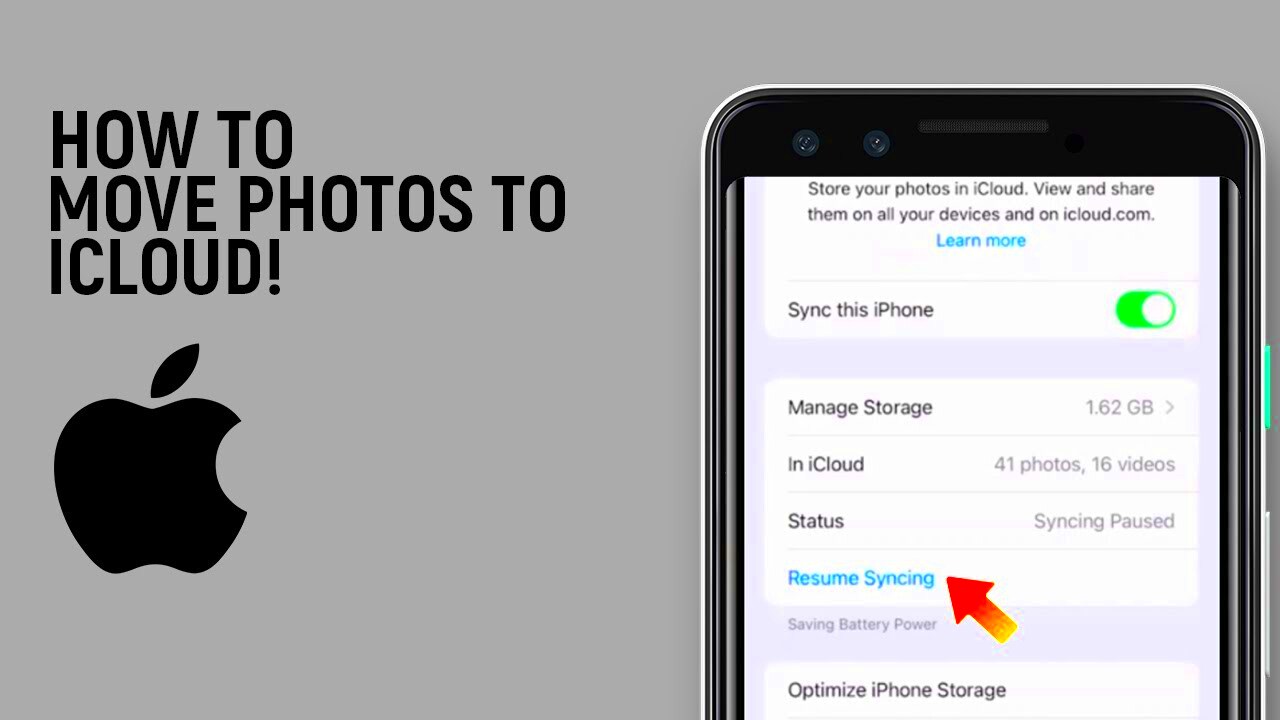
iCloud Photos keeps your photos automatically synced across all your devices. To make sure it’s enabled:
- Open Settings: Go to “Settings” on your device.
- Tap on Your Name: Then tap “iCloud” and select “Photos.”
- Enable iCloud Photos: Turn on the “iCloud Photos” toggle to automatically upload and store your photos in iCloud.
Uploading Photos Manually
If you want to upload a specific image or album manually, follow these steps:
- Open the Photos App: Find the image or album you want to upload.
- Tap the Share Button: Tap the share icon (box with an arrow) and select “Add to iCloud Drive” or choose a specific iCloud folder.
- Confirm Upload: Your images will then begin uploading to your iCloud account.
Once you've uploaded your images, they’ll be available across all your Apple devices. This makes managing and accessing your photos super convenient.
Managing and Organizing Your Images in iCloud
Once your images are uploaded to iCloud, it’s essential to manage and organize them effectively. Here are some tips to help you keep everything neat and easy to find:
Creating Albums and Folders
iCloud offers an excellent way to organize your images into albums or folders for easy access. Here’s how:
- Open Photos: On your iPhone, iPad, or iCloud website, open the Photos app.
- Create an Album: Click on “+” to create a new album and name it accordingly (e.g., “Vacation 2024” or “Family Photos”).
- Move Photos: Select the images you want to add to the album and click “Add to Album.”
Using iCloud’s Search Function
If you have a large number of images, iCloud makes it easy to find specific ones. You can search for photos by:
- Location: Search by the location where the photo was taken (if location services were enabled).
- People: iCloud can recognize faces and help you find photos of specific people.
- Event or Date: You can search by the date or event to find photos from a specific time.
Deleting Unwanted Photos
If your iCloud storage is getting full or if you just want to declutter, you can easily delete unwanted photos:
- Select Photos: Tap or click on the photos you no longer need.
- Delete: Tap the trash icon to delete them. Be sure to empty the “Recently Deleted” album to permanently remove them from iCloud.
By organizing your images into albums, using search features, and removing unnecessary photos, you can keep your iCloud library clean and efficient, making it easier to find and access your favorite images when you need them.
Accessing Your Images from Any Device with iCloud
One of the best features of iCloud is the ability to access your photos from any device, whether it’s a Mac, iPhone, iPad, or even a Windows PC. With iCloud Photos enabled, all your images are synced across your devices, ensuring they are always just a tap or click away. Here’s how to access your images from different devices:
Accessing iCloud Photos on iPhone or iPad
To access your photos on your mobile device, make sure iCloud Photos is turned on:
- Go to Settings: Open “Settings” and tap on your name at the top.
- Tap iCloud: Then, tap on “Photos” and make sure the “iCloud Photos” toggle is turned on.
- Access Photos: Open the Photos app, and all your images stored in iCloud will appear automatically.
Accessing iCloud Photos on Mac
On a Mac, iCloud Photos is just as easy to access:
- Open the Photos App: Launch the Photos app on your Mac.
- Check iCloud Sync: Ensure that iCloud Photos is enabled in “System Preferences” under your Apple ID settings. This will sync your photos to your Mac.
- View Your Photos: All your images from iCloud will appear in the Photos app.
Accessing iCloud Photos on Windows
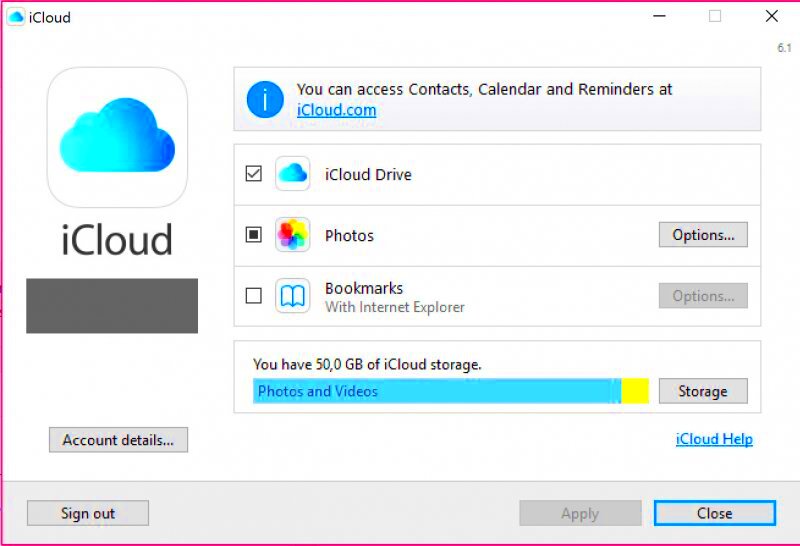
If you use a Windows PC, you can access your iCloud photos through the iCloud for Windows app:
- Download iCloud for Windows: Install the iCloud app from the Apple website.
- Sign in with Your Apple ID: Once installed, open the app and sign in using your Apple ID.
- Enable Photos: Check the “Photos” box to enable syncing of your iCloud images to your PC.
- View Photos: Open the iCloud Photos folder on your PC to view and download your photos.
No matter where you are or what device you're using, iCloud ensures that your images are always accessible and up-to-date.
Common Issues with iCloud Storage and How to Fix Them
While iCloud offers a great way to store and manage your images, sometimes you may run into issues. Here are some common problems and how to solve them:
Storage Space is Full
If you’ve reached your iCloud storage limit, you’ll need to either free up space or upgrade your storage plan:
- Free Up Space: Delete unwanted files, old backups, or unused apps.
- Upgrade Storage: If you need more space, go to “Settings” > “iCloud” > “Manage Storage” to purchase a higher storage plan.
Images Not Syncing Across Devices
Sometimes, your photos might not sync properly between devices. Here’s what you can do:
- Check iCloud Photos Settings: Ensure iCloud Photos is enabled on each device.
- Check Your Internet Connection: Make sure you have a stable internet connection as syncing relies on Wi-Fi.
- Restart Devices: Restart your devices to refresh iCloud syncing.
Unable to Upload Large Images
If you're having trouble uploading large photos, try these solutions:
- Resize Images: Use an image editing tool to resize the image to a smaller file size.
- Use iCloud Drive: For larger files, consider uploading them directly to iCloud Drive rather than iCloud Photos.
Photos Missing or Deleted Accidentally
If you've accidentally deleted photos, you can recover them within 30 days:
- Check the Recently Deleted Album: Go to the “Recently Deleted” album in the Photos app to recover lost images.
- Restore from a Backup: If you have an older backup, you can restore your photos from there.
By following these tips, you can quickly resolve most common iCloud issues and keep your photos safe and organized.
FAQ
Here are answers to some frequently asked questions about iCloud and photo storage:
How much storage do I get with iCloud?
iCloud offers 5GB of free storage, but you can purchase additional space with plans starting at 50GB for a small monthly fee.
Can I store videos in iCloud too?
Yes, iCloud can store both photos and videos. Just make sure you have enough storage space to accommodate them.
Can I access iCloud from Android devices?
iCloud is primarily designed for Apple devices, but you can access your photos through the iCloud website on an Android browser.
How do I keep my iCloud storage organized?
Use albums to organize your photos, and regularly delete images you no longer need. You can also enable iCloud's automatic photo optimization to save space.
What happens if I run out of iCloud storage?
If you run out of storage, you can either upgrade to a larger plan or remove unnecessary files to free up space.
Conclusion
Moving your images to iCloud is an excellent way to keep them safe, organized, and easily accessible from any device. With its seamless integration across Apple devices, iCloud offers a simple and efficient way to manage your photos. Whether you’re uploading from a computer or mobile device, the process is straightforward. Plus, with features like automatic syncing, easy sharing, and the ability to organize your photos into albums, iCloud ensures that your memories are always just a few clicks or taps away. By following the steps outlined in this guide, you can enjoy hassle-free image storage and access, while resolving any common issues along the way.


