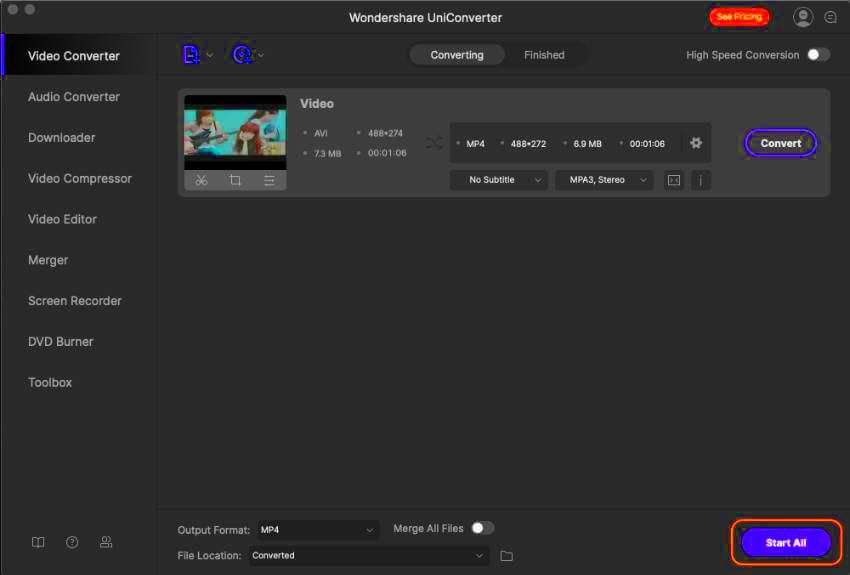
Adding an image to an MP4 file on your Mac is a simple and effective way to enhance your video. Whether you're creating a tutorial, adding a watermark, or just want to include a still image in your video, the process is straightforward. With the right tools and a few easy steps, you can turn your basic MP4 into something more engaging and visually appealing. In this guide, we'll walk you through everything you need to know to get started.
Understanding the Tools You Need for the Task
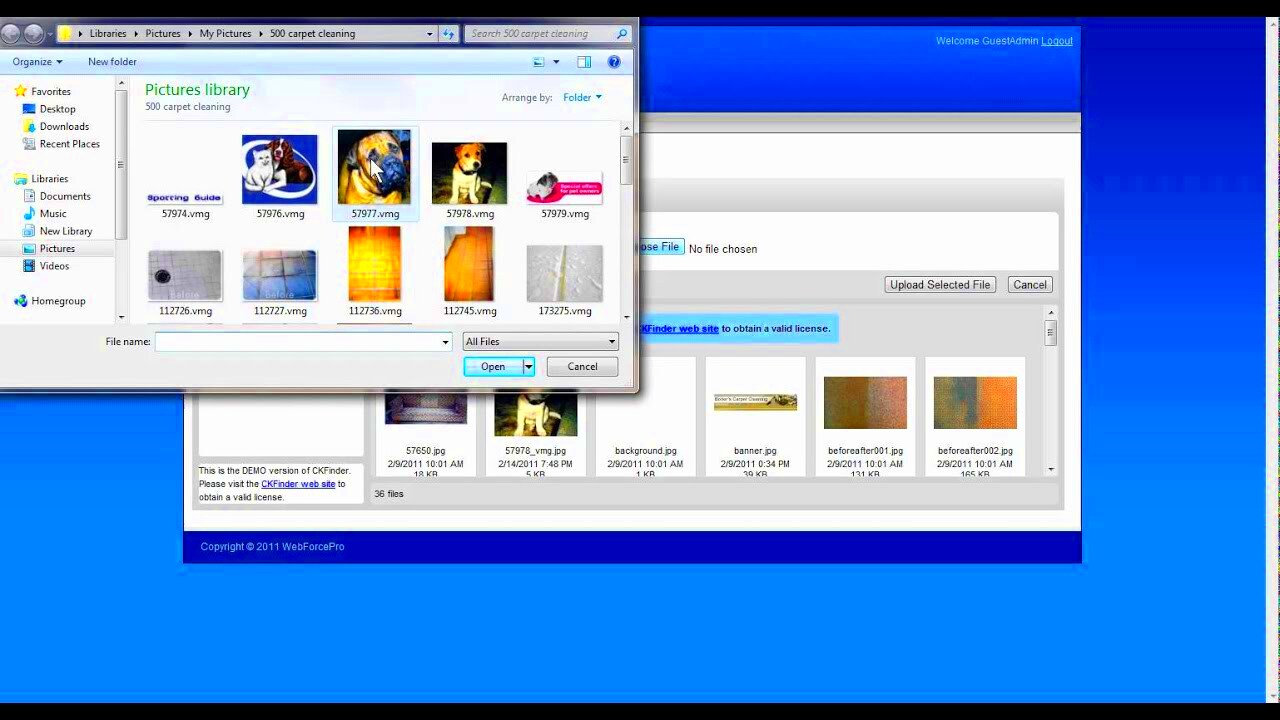
Before you begin, it's important to know what tools you'll need to successfully add an image to your MP4 file on Mac. There are a variety of software options available, but not all of them are suited for this specific task. Here’s a look at the most popular tools:
- iMovie: A free, built-in video editor for Mac users. It’s great for basic tasks like adding images to videos and offers user-friendly features.
- Final Cut Pro: A professional-grade video editing software. It has more advanced features but comes at a cost. Ideal for users with higher video editing needs.
- QuickTime Player: Another built-in option that allows for basic video editing, including adding still images.
- Adobe Premiere Pro: A powerful, industry-standard video editor that’s available for both Mac and Windows. It offers extensive editing tools but requires a subscription.
Once you've chosen the right tool, make sure it’s properly installed and updated. Each software has its own set of features, but for basic image insertion, most users will find iMovie or QuickTime Player more than sufficient.
Also Read This: Outlining Images in Illustrator Like a Pro
Step-by-Step Guide to Adding an Image to Your MP4 File
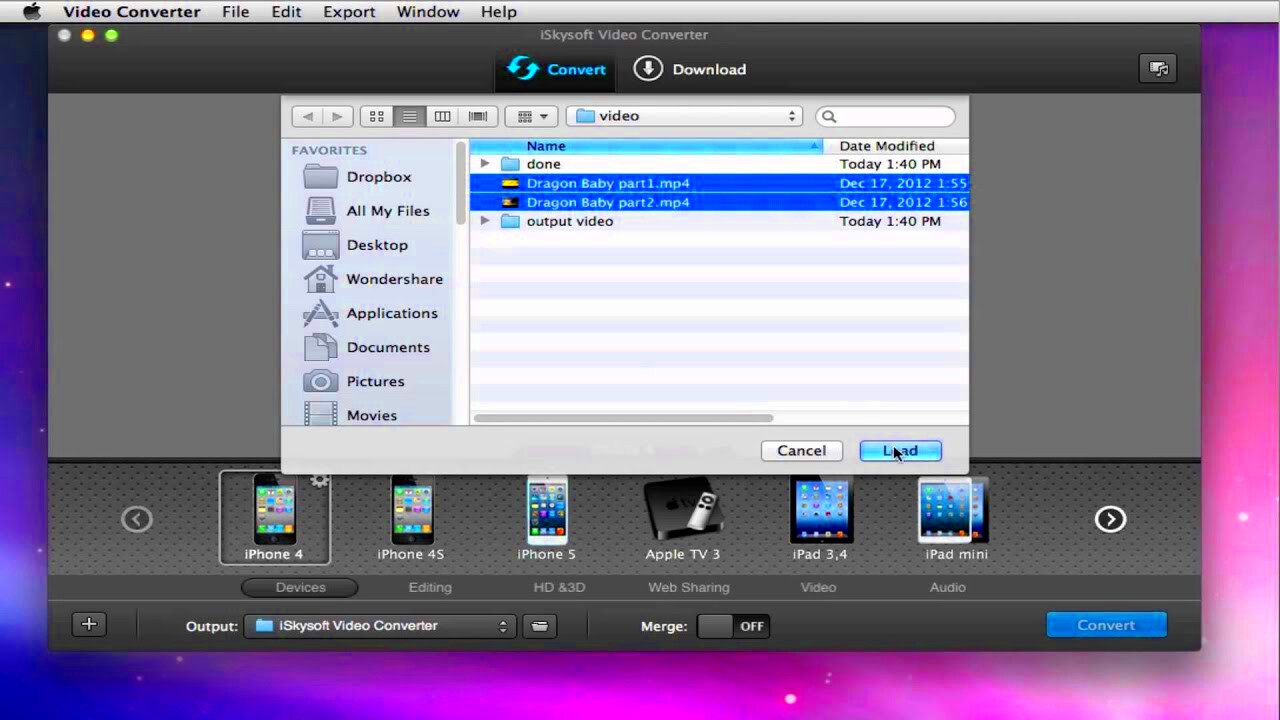
Now that you know which tools to use, let’s walk through the process of adding an image to your MP4 file step by step. Whether you’re using iMovie, Final Cut Pro, or another video editing software, the general steps are quite similar.
- Open your video editing software: Launch the application you’ve chosen to use, such as iMovie or Final Cut Pro.
- Import the MP4 file: Drag and drop your MP4 file into the software’s media library or use the import option to bring your video into the editing workspace.
- Import the image: Next, import the image you want to add to the MP4 file. This could be a photo, logo, or any other type of image. Ensure it’s in a compatible format (JPEG, PNG, etc.).
- Drag the image onto the timeline: Position the image on the timeline where you want it to appear in the video. The image will be shown at that point in the video.
- Adjust the image duration: Set how long the image will remain visible on screen. This can usually be done by dragging the edges of the image clip on the timeline.
- Resize and position the image: Use the editing tools to resize and position the image where you want it to appear in the video. This could be in a corner or centered on the screen, depending on your preference.
- Export your video: Once you’re happy with how the image looks, export your video. Make sure to choose the right video resolution and settings based on where you intend to share or upload the final file.
With these steps, you can easily add an image to any MP4 file on Mac. Don’t forget to save your work regularly, and experiment with different images, effects, and timing for the best results!
Also Read This: Here’s How to Get Shutterstock Images for Free Without Watermark
Choosing the Right Image Format for Your MP4 File
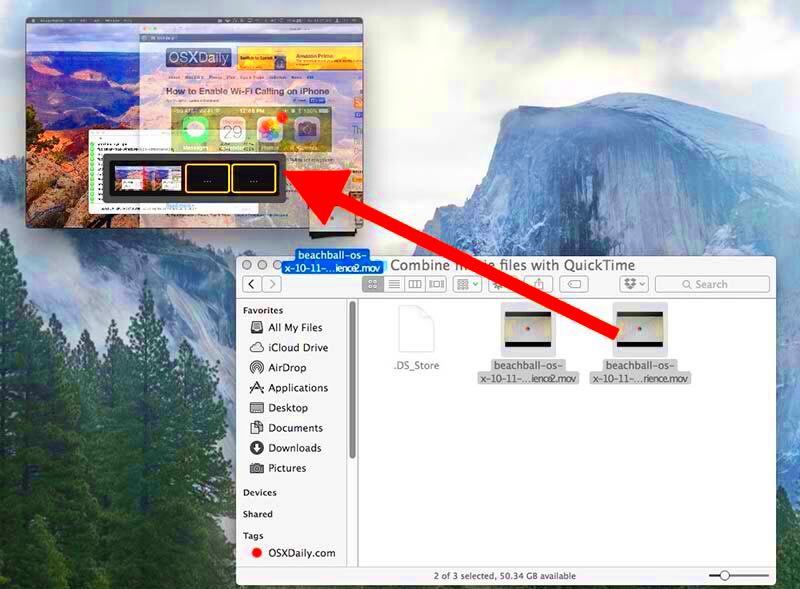
When adding an image to an MP4 file, choosing the right image format is crucial to ensure the best quality and compatibility. Not all image formats are created equal, and some may not work well with video files or may degrade the video’s overall quality. Below are the most common image formats to consider and their advantages:
- JPEG: One of the most widely used formats, JPEG files offer a good balance between image quality and file size. It's ideal for photos or images with gradients, but keep in mind that it uses lossy compression, which means some image details are lost during the process.
- PNG: PNG is perfect for images that require transparency, such as logos or graphics with sharp lines. It uses lossless compression, meaning no data is lost, but it tends to have larger file sizes compared to JPEG.
- GIF: GIFs are best used for simple graphics or animations. However, they are not ideal for high-quality still images because they only support a limited color palette (256 colors).
- TIFF: If quality is your top priority, TIFF is a great option. It’s a lossless format that retains all image details, but TIFF files can be large and are not commonly used for videos.
When adding images to an MP4 file, consider your image’s purpose and quality needs. For general use, JPEG and PNG are typically sufficient. But if your project requires transparency or high-quality images, PNG or TIFF might be the better choice.
Also Read This: How to Sell Photos on Getty – A Complete Guide for Aspiring Sellers
How to Edit the Duration of the Image in the MP4 File
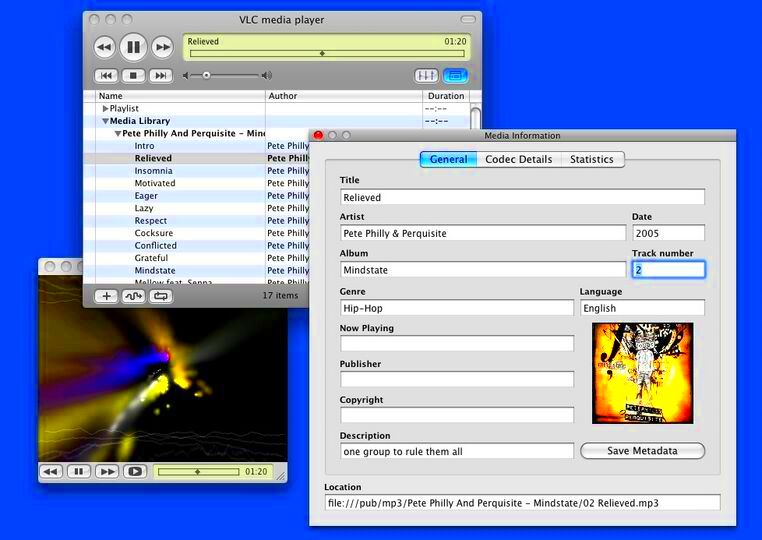
Editing the duration of an image in your MP4 file is an important step when adding still visuals to your video. You may want the image to appear for a few seconds or for the entire length of the video. Here’s how you can easily adjust the image’s duration:
- Drag and Adjust on the Timeline: After adding your image to the timeline, you can adjust how long it stays visible by dragging the edges of the image clip. Pulling it longer will make the image appear for a longer time.
- Use Duration Controls: Most video editing software, like iMovie or Final Cut Pro, has a specific tool to set the exact duration of the image. In these programs, you can select the image clip and input the exact time (in seconds or frames) that the image should appear.
- Use Keyframes for Advanced Control: For more advanced control, keyframes can be used to change the image’s visibility over time. This can be helpful if you want the image to fade in or out or change in size during the video.
Remember that the duration of your image will depend on the overall pacing of your video. A longer duration might be necessary if the image is essential to the content, but for a smoother viewing experience, try not to keep the image on-screen for too long unless it’s critical to the message you're conveying.
Also Read This: Cutting Out an Image in Illustrator
Adding Multiple Images to Your MP4 File
If you want to add more than one image to your MP4 file, the process is very similar to adding a single image. However, you will need to manage multiple images and decide where each one should appear in the video. Here's how to add and organize multiple images:
- Import All Images: First, import all the images you want to include in the video into your editing software. Make sure each image is in the right format and resolution for the video.
- Position on the Timeline: Drag each image to the timeline in the order you want them to appear. You can adjust their position by dragging them left or right, ensuring that each image appears at the right time during the video.
- Adjust Duration for Each Image: Just like with a single image, you can adjust the duration of each image. You may want some images to appear for a longer time than others, depending on their importance in the video.
- Apply Transitions Between Images: For a smoother flow between multiple images, consider applying transitions such as fades or slides. This can help make the video feel more cohesive and polished.
- Ensure Consistency: When adding multiple images, it's important to ensure they match the video’s overall style. Try to maintain a consistent aspect ratio, color scheme, and visual tone for a seamless viewing experience.
By following these steps, you can easily add multiple images to your MP4 file and organize them to fit the flow of your video. Experiment with different image placements and transitions to create a dynamic and visually interesting final product.
Also Read This: Mastering Image Tracing in Photoshop
How to Export the MP4 File with the Image Added
Once you’ve added an image to your MP4 file and are satisfied with how it looks, the next step is to export your edited video. Exporting is the process of saving the video in a format that you can share, upload, or play on different devices. Here's how to export your MP4 file with the image included:
- Select Export/Share Option: In your video editing software, look for an "Export" or "Share" option. This is typically located in the top menu or under the File tab. It may also be labeled as "Save As" or "Export Project."
- Choose MP4 Format: When exporting, ensure that you select MP4 as the file format. MP4 is a universal format that works on most devices and platforms. Most editing software, like iMovie or Final Cut Pro, will default to MP4 when you select video export options.
- Set the Resolution and Quality: Choose the resolution (1080p, 720p, etc.) based on your needs. Higher resolutions result in better quality but larger file sizes. Make sure the quality setting aligns with how you want to use the video—whether for online sharing, professional projects, or personal use.
- Adjust File Settings: Depending on the software, you might have the option to adjust additional settings like bit rate, frame rate, and audio quality. For a standard export, the default settings will typically work, but you can tweak them if needed.
- Save the File: After setting everything, choose where you want to save the file on your Mac. Then click "Export" or "Save," and the software will process the video, adding the image and any other edits you’ve made.
Once exported, your MP4 video with the image added will be ready for use, whether it's for uploading online, sharing with friends, or presenting in a project. Double-check the final video to make sure everything looks perfect before you share it!
Also Read This: How to Download Adobe Stock Images in Different Formats
Tips and Best Practices for Adding Images to MP4 Files
To make sure your MP4 video with added images looks professional and engaging, here are some essential tips and best practices:
- Use High-Quality Images: Always use high-resolution images to maintain the visual quality of your video. Low-resolution images can appear pixelated or blurry when added to a video.
- Choose the Right Placement: Position the image in a way that doesn’t distract from the video’s main content. Common placements include the top-right or bottom-left corners, or as a full-screen background when appropriate.
- Match the Image Style to the Video: Ensure the image matches the color scheme, tone, and style of the video. A mismatch between the video content and image can create a jarring or unprofessional effect.
- Mind the Timing: The duration that the image stays on screen should align with the video’s pacing. If the image is too short, viewers may not notice it; too long, and it may drag the video’s flow.
- Consider Using Transitions: Transitions like fades or slides between images or from the image to the video can create a smoother, more polished look. Don’t overdo it—subtle transitions work best.
- Optimize for Different Devices: Consider where your video will be viewed. Make sure your image looks good on various screen sizes, from smartphones to desktop monitors. Avoid placing crucial content at the very edges of the screen, as it may be cropped on different devices.
By following these tips, you'll ensure your MP4 video with added images looks polished, professional, and visually appealing. Always take the time to review the final result before sharing it to make sure it meets your expectations!
Also Read This: Mastering Adobe Stock in InDesign
FAQ
1. Can I add multiple images to a single MP4 file?
Yes, you can add as many images as you like to an MP4 file. Simply import the images into your video editing software, place them on the timeline, and adjust their timing and position to suit your needs.
2. Do I need special software to add images to MP4 files?
No, you don't need specialized software. Free video editors like iMovie or QuickTime Player for Mac are great tools for adding images. For more advanced features, software like Final Cut Pro or Adobe Premiere Pro may be helpful.
3. What image formats are best for adding to MP4 files?
The most common and effective image formats are JPEG and PNG. JPEGs are great for photos, while PNGs are perfect for images with transparency, like logos. Make sure the image is high-quality to avoid pixelation in the final video.
4. Can I add text along with an image in an MP4 file?
Yes, most video editing software allows you to add both images and text at the same time. You can overlay text on top of the image, adjust the font, color, and placement to make it stand out.
5. How do I export my video after adding an image?
After adding the image and making all the necessary adjustments, you can export the video by selecting the "Export" or "Share" option in your editing software. Choose MP4 as the file format, set your resolution and quality settings, and save the file to your desired location.
Conclusion
Adding an image to an MP4 file on Mac is a straightforward process that can significantly enhance the visual appeal of your video. Whether you're using basic editing software like iMovie or more advanced tools like Final Cut Pro, the steps remain simple and easy to follow. By choosing the right image format, adjusting the duration of the image, and experimenting with multiple images, you can create a polished and professional-looking video. With a few tips for best practices, such as ensuring the image matches the video's tone and using smooth transitions, your final video will be ready for sharing or uploading in no time. Keep in mind that the key to a great video is maintaining consistency and ensuring that the added image complements the content. By following these steps, you’ll be able to create videos that not only look good but also deliver your message effectively.
