JAR files, which stand for Java Archive files, are commonly used to package multiple files into one for easy storage and distribution. These files often contain images, audio, and other resources used in Java applications. If you're using macOS and want to access these image files, extracting them can be done quickly through the Terminal. In this guide, we'll walk you through the steps to extract images from JAR files using macOS Terminal.
What Is a JAR File and Why Do You Need to Extract Images?
A JAR file is essentially a compressed file format used by Java applications to store different types of files, such as class files, images, and libraries. These files are packaged into a single archive, which makes them easier to distribute and use. JAR files are often used in Java-based applications or games that include media assets like images or icons.
But why would you need to extract images from a JAR file? Here are a few reasons:
- Accessing Resources: If you're working with a Java project or game, you might want to extract images for personal use or editing.
- Modifying Assets: For game developers or hobbyists, extracting and modifying images in a JAR file can help you customize applications.
- Using in Other Projects: Extracted images might be useful for use in other projects, such as web development or design work.
Now that you understand what JAR files are and why you might need to extract images, let’s dive into the extraction process.
Also Read This: How to Train Your Dragon Image Collection
Step-by-Step Guide to Extract Images Using Terminal on macOS
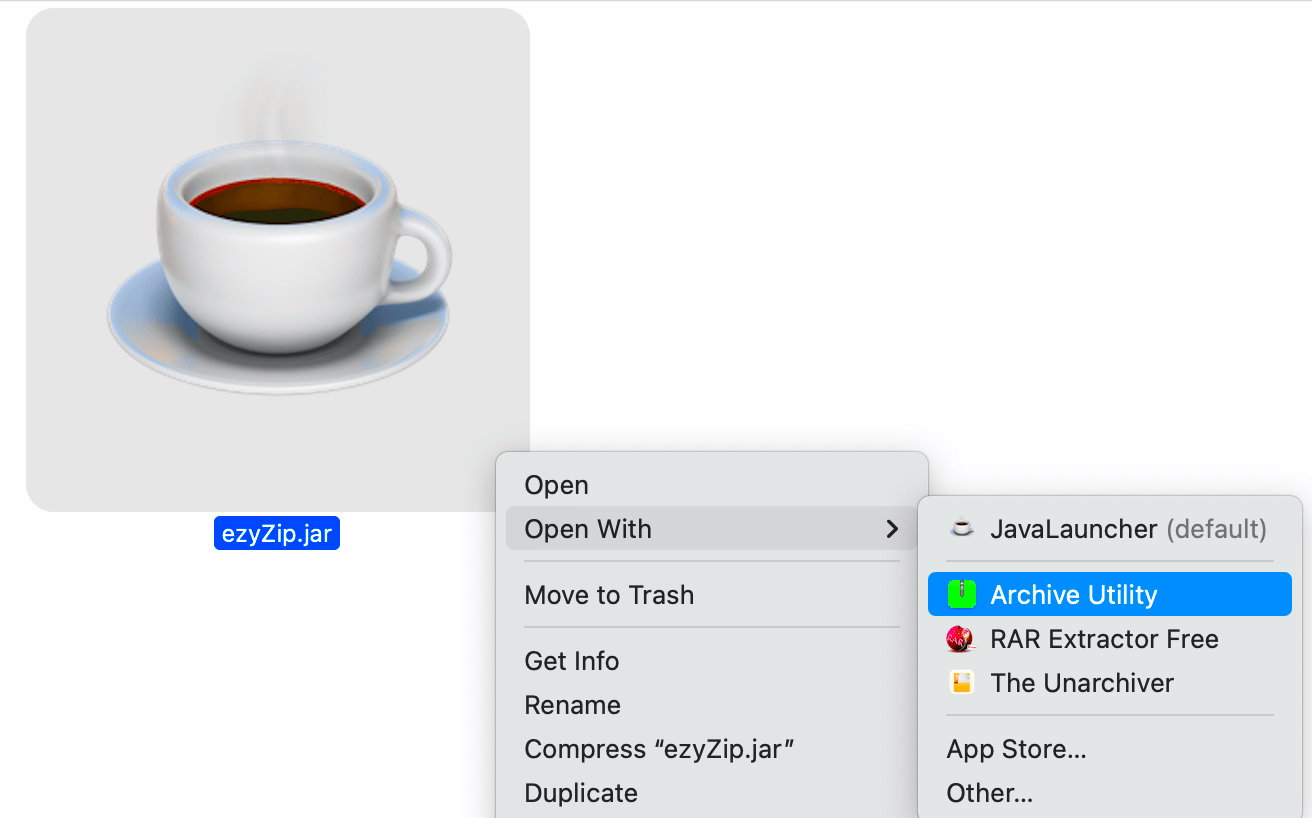
Extracting images from a JAR file on macOS can be done easily through the Terminal. This method doesn’t require any third-party software, making it an efficient and straightforward solution. Follow these steps to extract images:
- Open the Terminal: First, navigate to the 'Applications' folder on your Mac. Open the 'Utilities' folder, and then double-click on 'Terminal' to launch it.
- Navigate to the JAR File Location: Use the
cdcommand to change the directory to where your JAR file is stored. For example, if your JAR file is in the 'Downloads' folder, type:cd ~/Downloads
- Extract the JAR File: To extract the contents of the JAR file, use the
jarcommand followed by thexvfoption, which stands for extract, verbose, and file. For example:jar xvf myfile.jar
- Locate the Extracted Files: After running the command, the Terminal will display the extraction process. The images and other files will now be extracted to the current directory.
- Access the Images: Once the extraction is complete, you can access the image files in the folder where the JAR file was located.
By following these simple steps, you can easily extract images from JAR files using Terminal on your macOS device. It’s quick, easy, and doesn’t require any additional software installation.
Also Read This: Embroidering Images for Unique DIY Projects
Preparing Your macOS for the Extraction Process
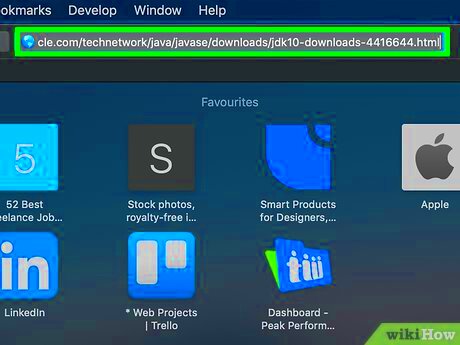
Before you start extracting images from a JAR file using the Terminal on your macOS, there are a few things you need to prepare. Don’t worry, it’s a simple process, and we’ll walk you through it. The main goal here is to make sure you have everything set up correctly so that you can smoothly extract the files without encountering any issues.
Here’s what you need to do:
- Ensure You Have Access to the JAR File: First, make sure that the JAR file you want to extract images from is located in a folder you can easily access, like your 'Downloads' or 'Documents' folder.
- Confirm You Have Administrator Privileges: Some files on macOS may require administrator permissions for extraction. It’s always a good idea to double-check that you have the necessary access rights to the JAR file.
- Check for Updates: While the Terminal and JAR utility are built into macOS, it’s always good practice to check that your macOS is up to date. Run the latest software updates to ensure everything works smoothly.
- Backup Important Data: It’s a good idea to back up any important data or files before performing the extraction, just in case something goes wrong. While it’s rare, it’s always better to be safe.
Once you’ve prepared your system, you’re all set to start the extraction process. Let’s move on to the next step and open the Terminal on your macOS.
Also Read This: Creating an Impressive 3D Graphic Portfolio on Behance
Opening the Terminal on Your macOS Device
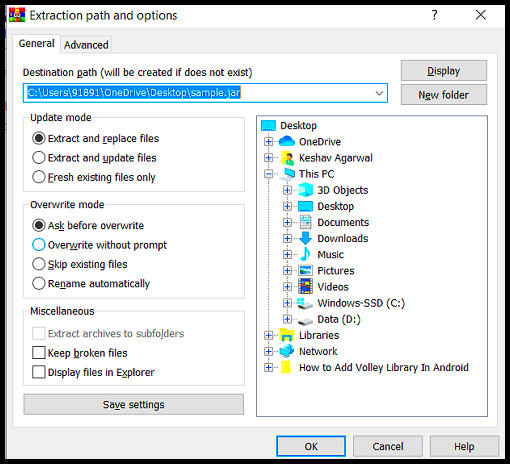
Opening the Terminal on your macOS device is a simple process, but it’s important to understand how to use it. The Terminal is a powerful tool that allows you to interact directly with your system using commands. It’s where you’ll input the instructions needed to extract images from your JAR file. Let’s go through the steps to open the Terminal.
Follow these steps to open Terminal on your macOS:
- Method 1: Using Spotlight Search
Press Command + Space to open Spotlight search. Type “Terminal” into the search bar, and then press Enter. This will open the Terminal application.
- Method 2: Using Finder
Alternatively, you can open Finder. From the Finder window, go to Applications > Utilities and double-click on the Terminal icon to open it.
- Method 3: Using the Dock
If you frequently use the Terminal, you can drag the Terminal application to your Dock for quick access.
Once the Terminal window opens, you'll see a command prompt where you can start typing your commands. It’s a simple black window with white text, and it's ready to execute your instructions. Let’s move on to the next step and start using the Terminal to extract your image files from the JAR file.
Also Read This: How to Purchase Pictures Easily from Adobe Stock
Using the Terminal to Extract Image Files from a JAR File
Now that you’ve opened the Terminal and prepared your macOS device, it’s time to extract the image files from the JAR file. This process is straightforward, and you’ll only need to use a few basic commands. Let’s break it down step-by-step so you can follow along without any issues.
Follow these steps to extract images using the Terminal:
- Navigate to the Folder Containing the JAR File:
Use the
cd(change directory) command to navigate to the folder where your JAR file is stored. For example, if the JAR file is in your "Downloads" folder, you would type:cd ~/Downloads
- Check the Contents of the JAR File:
If you want to preview the contents of the JAR file before extracting it, you can use the
jar tfcommand. This will list all the files inside the JAR. For example:jar tf myfile.jar
This command will show a list of all the files inside the JAR, including the image files you’re looking to extract.
- Extract the Image Files:
Now, use the
jar xvfcommand to extract the entire content of the JAR file. Thexstands for extract, thevshows the process in the terminal, and thefspecifies the file. For example:jar xvf myfile.jar
This will extract all files, including the images, to the current folder.
- Find the Extracted Images:
Once the extraction is complete, the images will be saved in the same directory where the JAR file was located. You can open this folder to access the image files and use them as needed.
That’s it! By following these simple steps, you can extract images from a JAR file on your macOS device using the Terminal. It’s quick, easy, and efficient. Now you have access to all the media assets inside your JAR file and can use them in other projects, designs, or just for personal use.
Also Read This: How to Get Images with Full Discoverability on Alamy: Tips and Tricks for Success
Common Issues You Might Face and How to Solve Them
When extracting images from a JAR file on macOS, you may run into a few issues along the way. While most of the process is straightforward, it's important to be prepared for common problems that could arise. Don't worry, though – most of these issues have easy fixes. Let's go over some of the problems you might encounter and how to solve them.
- Issue 1: "Command not found" Error
If you get an error like “command not found” when trying to run the
jarcommand, it may mean that the JAR tool isn't installed properly or the Terminal can't locate it. To fix this, make sure you’re typing the correct command and try reinstalling Java if needed, as thejarcommand relies on Java being installed. - Issue 2: Permission Denied
Sometimes you might run into a “permission denied” error when trying to extract files. This can happen if you don’t have the necessary permissions for the JAR file. To solve this, use the
sudocommand before your extraction command to run the process with administrator privileges:sudo jar xvf myfile.jar
You’ll be prompted to enter your administrator password.
- Issue 3: JAR File is Corrupted
If you can’t extract any files or the extraction seems to fail midway, the JAR file might be corrupted. In this case, try re-downloading the JAR file or obtaining a new copy. A corrupted file cannot be extracted properly, so getting a fresh version is the best solution.
- Issue 4: No Image Files Found After Extraction
Sometimes, after extracting the files, you may find that there are no images in the output folder. This could happen if the JAR file contains non-image files or if the images are stored in a nested folder inside the JAR. Use the
jar tfcommand to check the contents of the JAR file before extraction to ensure there are images included.
By keeping an eye out for these issues and following the simple solutions, you should be able to extract images from a JAR file without any trouble.
Also Read This: How to Create a Portfolio in Behance
Additional Tips for Efficiently Managing Extracted Images
Once you've extracted the image files from your JAR file, it's important to manage them efficiently so that you can easily use them in your projects. Here are some additional tips to help you organize and handle the extracted images better:
- Tip 1: Create a Dedicated Folder
To keep everything organized, create a dedicated folder for your extracted images. This will make it easier to find and use the images later, especially if you’re working on multiple projects. For example, name the folder after the JAR file or project for easy identification.
- Tip 2: Rename Files for Clarity
Sometimes the extracted image files might have generic names that don’t describe the content. Take a moment to rename the files to make them easier to identify. This can be particularly useful if you’re working with a large number of images.
- Tip 3: Use File Management Software
If you’re working with a lot of images, consider using image management software like Adobe Bridge or even macOS's built-in Finder to view, organize, and edit your images. This can save you time and make it easier to find specific images when you need them.
- Tip 4: Backup Your Extracted Images
Don’t forget to back up your images! Store them on an external hard drive or cloud service like Google Drive or Dropbox. This ensures that your files are safe in case anything happens to your device or the original JAR file.
- Tip 5: Optimize Image File Sizes
If you’re planning to use the extracted images on websites or other projects, it’s a good idea to optimize them for faster loading times. Use tools like TinyPNG or Photoshop to compress the image sizes without losing too much quality.
By following these tips, you can make sure your extracted images are well-organized, easy to find, and ready for use in any project you’re working on.
Also Read This: Becoming a Contributor on Getty Images: A Guide to Selling Your Images
Frequently Asked Questions (FAQ)
Here are some common questions people have when extracting images from a JAR file on macOS, along with answers to help you out:
- Q1: Can I extract images from any JAR file?
Yes, you can extract images from any JAR file, provided the JAR file contains image files. However, keep in mind that some JAR files might only contain Java code and no media assets like images.
- Q2: Do I need to install any software to extract images?
No, you don’t need any additional software to extract images from a JAR file. The Terminal on macOS has the built-in tools you need, such as the
jarcommand, to do this. - Q3: Can I extract images from a password-protected JAR file?
If the JAR file is password-protected, you will need the password to extract its contents. Without the password, you won’t be able to access the files inside the JAR.
- Q4: What if the JAR file is very large? Will it affect extraction?
The size of the JAR file won’t typically affect the extraction process, but it may take longer if the file is very large. Ensure that your Mac has enough storage space to accommodate the extracted files.
- Q5: What types of image files are commonly found in JAR files?
JAR files typically contain image formats like PNG, JPEG, GIF, and sometimes even SVG. If you're looking for specific types of images, use the
jar tfcommand to list the contents of the JAR file before extraction.
Also Read This: Printing Large Images Across Multiple Pages
Conclusion: Simplifying Image Extraction from JAR Files on macOS
Extracting images from JAR files on macOS using the Terminal is a simple and efficient process. By following the steps in this guide, you can easily access the media assets inside any JAR file and use them for your projects. With a few basic commands, you can unlock a wealth of images and resources that would otherwise remain hidden.
Remember, always back up your files, keep things organized, and troubleshoot common issues with the solutions provided above. With these tips in mind, you’ll be able to extract and manage images from JAR files like a pro!
Conclusion: Simplifying Image Extraction from JAR Files on macOS
In conclusion, extracting images from JAR files on macOS is a straightforward task that can be accomplished with just a few simple Terminal commands. By using macOS's built-in tools like the jar command in the Terminal, you can easily access the resources packed within JAR files without needing additional software. Whether you're looking to extract images for use in your projects, modify existing assets, or simply explore the contents of a JAR file, the process is quick and efficient.
By following the step-by-step instructions outlined in this guide, you can ensure a smooth extraction experience. From preparing your macOS for the task to troubleshooting common issues, each part of the process is designed to be user-friendly. Additionally, the tips for organizing and managing the extracted images will help you stay organized and make the most out of your resources.
With these tools and methods, you can easily simplify the extraction process and unlock the full potential of the images contained within JAR files, making it easier than ever to incorporate them into your work.
