If you’ve ever wanted to make your images look older, like they were taken decades ago, you’re in the right place! Creating a vintage look in Photoshop is a fun and creative way to transform any photo into a nostalgic masterpiece. With a few simple tools and techniques, you can add texture, color shifts, and distressing effects that make your images look like they’ve lived through time.
This process is great for anyone looking to give their photos a timeless, worn-out charm. Whether it’s for a personal project or to achieve a specific style for social media or marketing, you’ll be able to apply a vintage look to any photo with ease. By the end of this guide, you’ll know exactly how to distress your image and achieve that retro feel in Photoshop!
Understanding the Concept of a Distressed Image
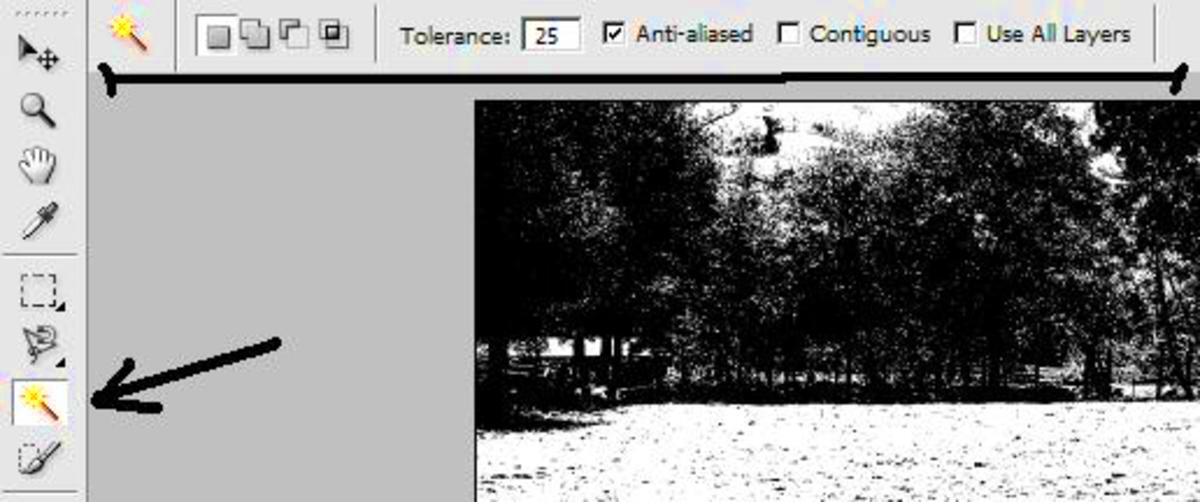
A distressed image is one that shows signs of wear and tear, mimicking the effects of age and exposure. Think about old photographs, which often have faded colors, scratches, creases, or even spots. These imperfections give the image a nostalgic feel, making it appear as though it has been through time, weather, and countless memories.
To distress an image, you're essentially adding imperfections to create the illusion of age. This can include:
- Fading colors: Images often lose their vibrant tones as they age, so adding a faded or sepia tint can make your photo look older.
- Scratches and texture: Adding random scratches or textured overlays can replicate the look of a photo that’s been handled many times.
- Vignettes: Applying a vignette effect—where the edges of the photo darken—can give it a worn-out feel, similar to photos that have been stored for years.
- Grain or noise: Old photos tend to have a bit of grain or noise, which you can easily add in Photoshop to enhance the distressed look.
By understanding what a distressed image looks like, you can strategically apply these effects to your own photos, creating the perfect vintage look.
Preparing Your Image for the Distressing Process
Before you start distressing your image in Photoshop, it’s important to properly prepare it. A well-prepared image will give you better results and make the distressing process smoother. Here’s how you can get started:
- Choose a high-quality image: It’s always best to start with a high-resolution image. If you begin with a low-quality photo, adding distressing effects might make it look pixelated or blurry.
- Adjust the image size: Make sure your image is the correct size for your project. If you’re using it for a print project, for example, make sure the resolution is high enough (usually 300 dpi). For web use, you can reduce the size to optimize load time.
- Make a duplicate layer: Before you make any edits, always duplicate your original layer. This allows you to experiment with the effects while preserving the original image. To do this, simply right-click the layer in the Layers panel and select "Duplicate Layer."
- Adjust basic settings: Before diving into distressing, take a moment to adjust the basic settings of the image. You can modify the exposure, contrast, and brightness to get a solid foundation. This step helps ensure that the final result matches the vintage look you want.
Once your image is prepared, you’re ready to start applying textures, color adjustments, and other techniques to distress it. Taking the time to properly set up your image will make the entire process much more enjoyable and give you better results in the end.
Using Filters to Create Texture and Depth
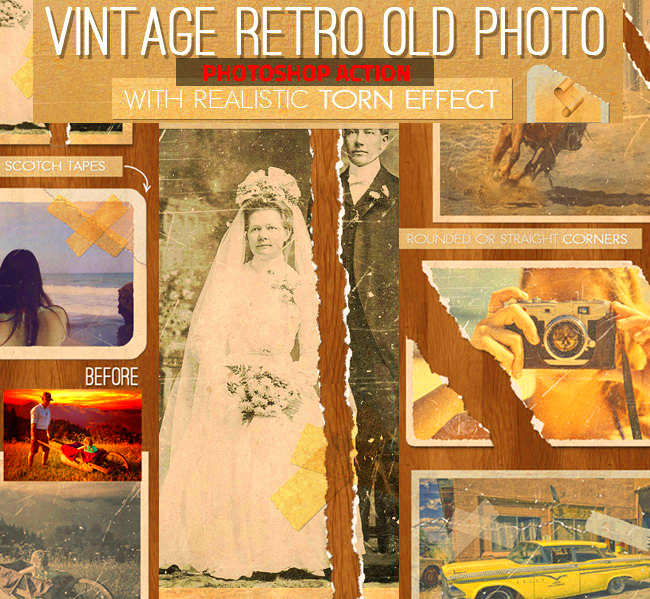
One of the easiest ways to give your image a distressed, vintage look is by using filters in Photoshop. Filters can add texture, depth, and other imperfections that mimic the effects of age. Photoshop offers a variety of filters, each with its own unique effect. Some will create grain, while others might add blur or noise, all of which contribute to the vintage aesthetic you’re aiming for.
Here are a few filters to help you get started:
- Noise: Adding noise or grain to your image helps simulate the look of an old, grainy photograph. To apply it, go to Filter > Noise > Add Noise. Adjust the amount until you see a subtle grain effect.
- Gaussian Blur: Slightly blurring the image can simulate the softness of older photos. It’s especially helpful if you want to give the image a more faded, dreamlike quality. Go to Filter > Blur > Gaussian Blur and adjust the radius for a subtle effect.
- Film Grain: For a more authentic retro feel, you can use the Film Grain filter to add both texture and randomness to your image. Go to Filter > Noise > Add Noise and select "Uniform" to create a natural, film-like grain.
- Lens Correction: For a slight distortion effect, try the Lens Correction filter. It can mimic the look of photos taken with older cameras, with subtle imperfections on the edges.
By experimenting with these filters, you can enhance the texture of your image and give it that vintage, distressed appearance. Try combining multiple filters for a more layered and authentic look!
Adding a Grunge or Scratch Effect to Your Image
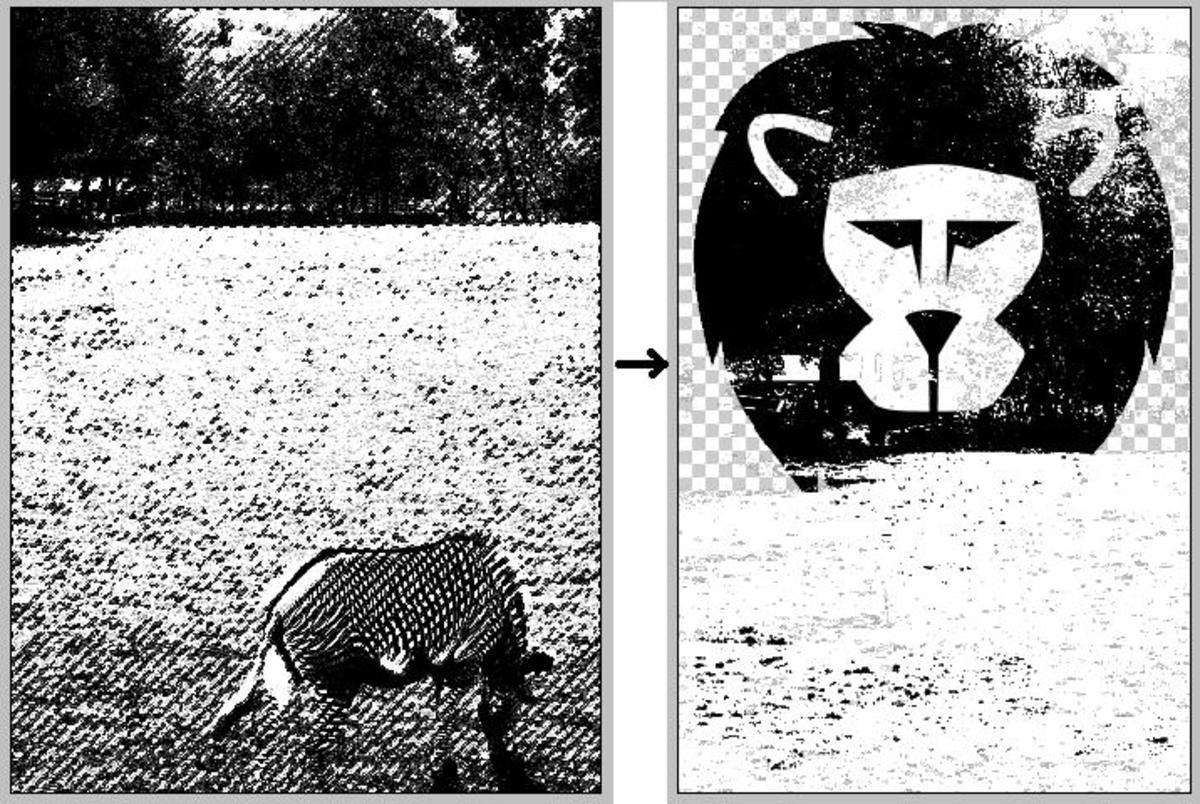
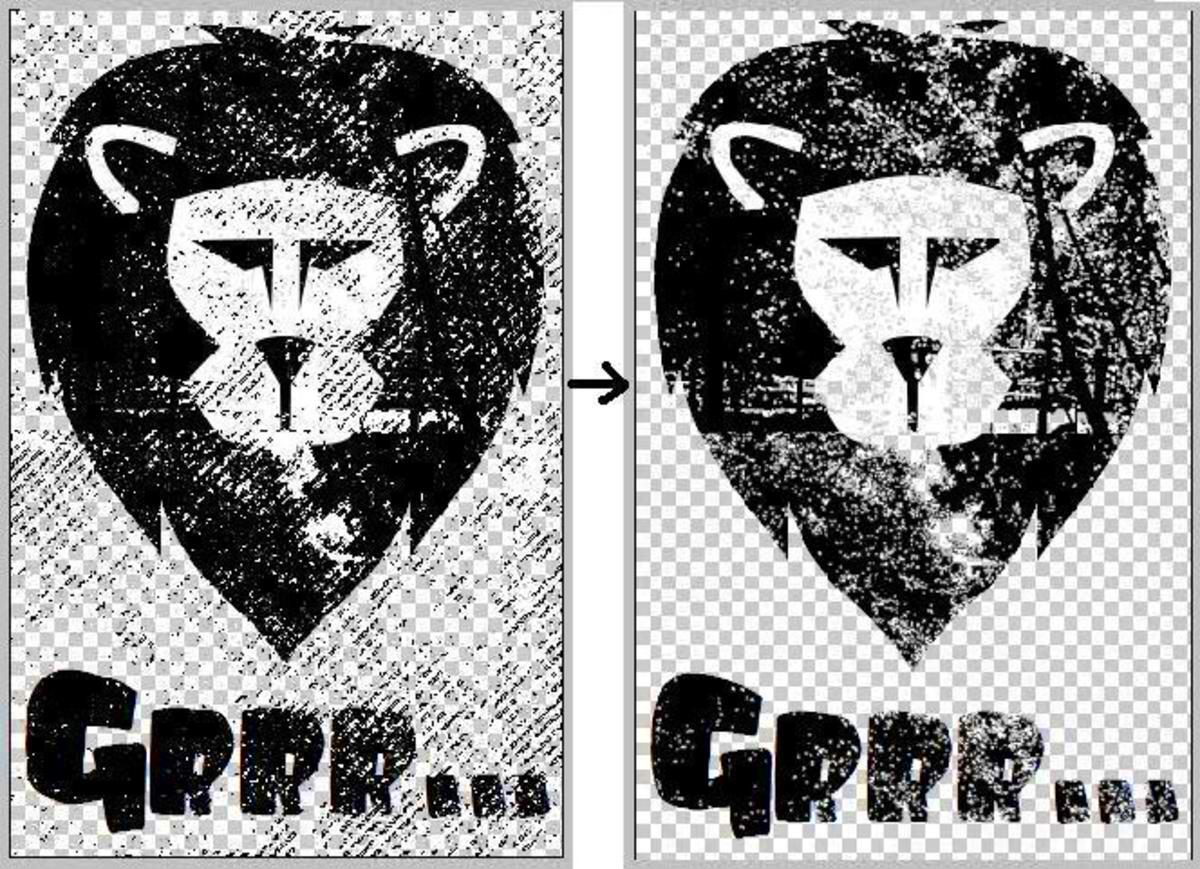
Grunge and scratch effects are great for creating a distressed, worn-out look in your image. They simulate the damage that would naturally occur on an old photograph, like scratches, creases, or other imperfections that happen over time. In Photoshop, you can easily add these effects by using brushes or textures.
Here’s how you can do it:
- Grunge Textures: You can find many free grunge textures online, or you can create your own by photographing rough, textured surfaces like concrete, rusted metal, or peeling paint. Once you have your texture, place it over your image and adjust the opacity. Set the blending mode to “Overlay” or “Soft Light” to integrate it with the image beneath.
- Scratch Brushes: Photoshop has many scratch brushes available, or you can download custom ones. These brushes will allow you to paint scratches and imperfections directly onto your image. To use them, select the brush tool, choose a scratch brush, and apply it to areas of your image where you want the effect to show. Don’t forget to adjust the size and opacity for a more natural look.
- Layer Masks: When applying grunge textures or scratches, use a layer mask to control where the effect shows up. This way, you can remove or adjust the effect without permanently altering the image. Just add a mask, and use a soft brush to paint in the areas you want to reveal.
Grunge and scratch effects add a lot of character to your photos. By using these techniques, your image will have the texture and imperfections of something that has been through time, making it look authentic and vintage.
Adjusting the Color and Tone for a Retro Look
Once you’ve added texture and scratches, it’s time to focus on adjusting the color and tone of your image. Vintage photos often have certain color shifts, such as sepia tones or faded hues. Photoshop offers several tools that allow you to tweak the colors and tones in a way that gives your image that classic, retro feel.
Here are some tips to help you adjust the colors:
- Use Color Balance: To give your image a warm, sepia tone, go to Image > Adjustments > Color Balance. Increase the red and yellow tones to create a warm, aged feel. You can also reduce the cyan to add a more nostalgic tone.
- Apply a Gradient Map: A gradient map can be used to map colors across your entire image, creating the perfect vintage hue. Go to Layer > New Adjustment Layer > Gradient Map. Choose a brown or sepia gradient to mimic the look of old photos.
- Reduce Saturation: Many vintage images have lower saturation, which gives them a more muted, faded appearance. To reduce saturation, go to Image > Adjustments > Hue/Saturation, and lower the saturation slider slightly until you reach the desired effect.
- Experiment with Curves: Curves allow you to fine-tune both the brightness and contrast of the image. By adjusting the curves, you can create a more dramatic, high-contrast look that is often seen in retro photos. Go to Image > Adjustments > Curves and manipulate the line to adjust the image’s contrast and brightness.
Color and tone adjustments are key to pulling off a retro look. By experimenting with different settings, you can find the perfect combination that mimics the look of vintage photos, whether you prefer a warm sepia tone or a faded, muted color palette.
Final Touches to Complete the Vintage Look
Now that you've added texture, color adjustments, and distressing effects, it's time to add the final touches to truly complete your vintage look. These small details make a huge difference and help your image feel more authentic, like it was taken from another time. Whether it's adding a vignette, fading the edges, or incorporating noise, these last adjustments give your image the perfect aged feel.
Here are some final touches to consider:
- Vignetting: Adding a vignette can focus attention on the center of the image while darkening the edges, mimicking the look of old photos that were taken with classic lenses. To apply a vignette, go to Filter > Lens Correction, select the "Custom" tab, and adjust the vignette sliders.
- Fading the Edges: Fading or darkening the edges of your image can give it a more worn-out, vintage appearance. You can do this by creating a new layer, using a soft round brush to paint black around the edges, and then adjusting the layer’s opacity.
- Adding Grain or Film Noise: To make your image look more like it was taken with old film, you can add some extra grain or noise. Go to Filter > Noise > Add Noise and adjust the amount. This will enhance the vintage feel and make the photo appear less digitally crisp.
- Blurred Edges: Applying a slight blur around the edges can mimic the softness of an old photograph, where the sharpness often fades with time. You can use the Gaussian Blur tool or apply a radial blur effect.
These final touches are the key to making your image feel like it’s truly aged and captured in another era. Experiment with them to find the combination that works best for your project and vision!
FAQ
Q1: How do I add scratches to my photo in Photoshop?
A1: To add scratches, you can either download scratch brushes or use texture layers. Once you have the texture, you can place it over your image, adjust the opacity, and set the layer to a blending mode like "Overlay" to make the scratches look more realistic.
Q2: Can I distress my image without using filters?
A2: Absolutely! While filters are an easy way to add distressing effects, you can also manually add textures, scratches, and even paint imperfections on new layers. Using blending modes will help integrate these effects seamlessly into your image.
Q3: How do I create a sepia tone effect in Photoshop?
A3: To create a sepia tone, you can use the Color Balance tool to add warm tones like red and yellow. Another option is to use a Gradient Map with a sepia gradient, which gives a warm, vintage look to your photo.
Q4: Why does my image look too harsh after adding texture?
A4: If your image looks too harsh after adding texture, try adjusting the opacity of the texture layer or change the blending mode to something softer like "Soft Light." You can also reduce the intensity of the effect to make it more subtle.
Conclusion
Creating a vintage look in Photoshop is all about adding texture, color shifts, and distressing effects to give your image the worn-out, nostalgic charm of a photo from the past. By following these steps, you can transform any modern photo into a timeless piece with ease. Start by preparing your image, experiment with filters, textures, and colors, and add those final touches that make the difference. With practice, you’ll be able to master the art of distressing and achieve the perfect vintage aesthetic every time. So, grab your photos and start experimenting—turn your images into nostalgic treasures!
