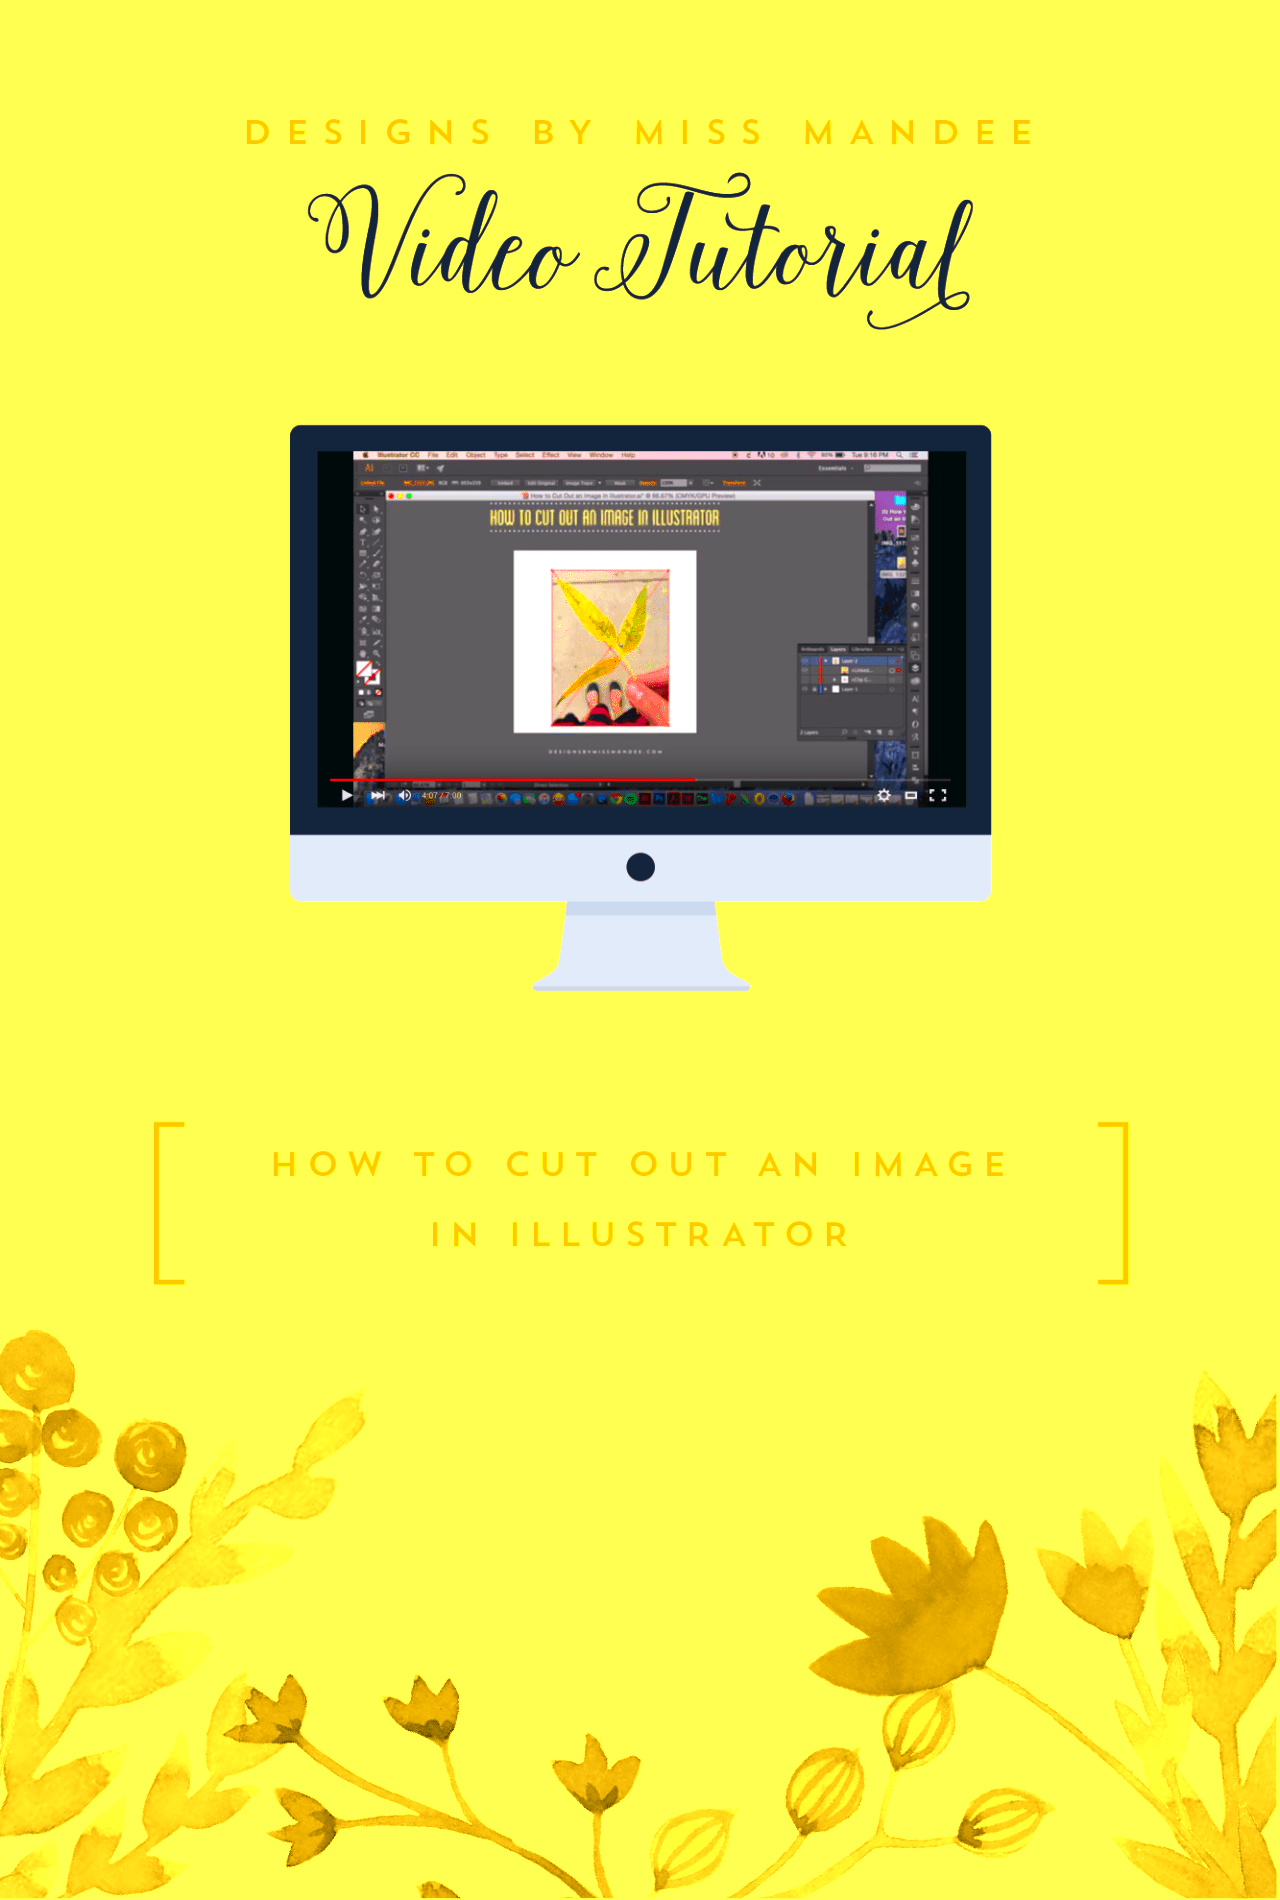
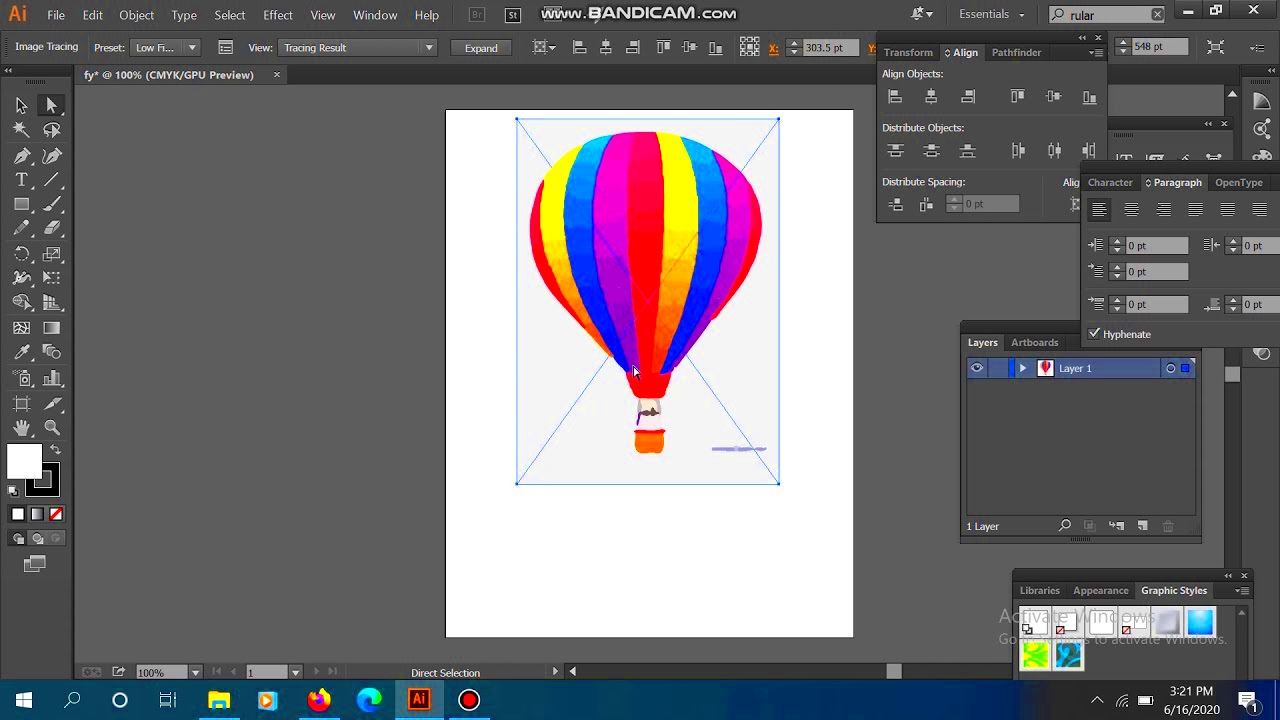
Cutting out an image in Adobe Illustrator refers to the process of isolating a specific part of an image by removing the unwanted background or other elements. It’s a precise technique that allows designers to focus on the essential parts of their designs while leaving unnecessary details behind. Unlike simple cropping, this method involves creating detailed shapes around the object to achieve a clean and professional result.
This technique is especially useful in creating visually appealing layouts, such as marketing materials, product designs, or artistic compositions. Whether you’re working on a logo, a flyer, or digital artwork, cutting out an image in Illustrator helps you maintain flexibility and control over your design.
To get started, you’ll need to know the tools Illustrator offers, such as the Pen Tool and Clipping Masks. Understanding these tools is key to producing detailed, high-quality designs.
Why Cutting Out Images is Useful for Designers

Cutting out images is a fundamental skill for designers because it allows them to create clean, professional, and visually appealing designs. Here’s why it’s so important:
- Enhanced Focus: By removing unnecessary backgrounds or elements, designers can draw attention to the main subject of their designs.
- Flexibility: Isolated objects can be reused across various projects, saving time and effort.
- Creative Control: Designers can seamlessly integrate cut-out images into new backgrounds or layouts, allowing for endless creativity.
- Improved Presentation: Cut-out images look more polished and professional, making designs stand out.
Whether you’re creating ads, logos, or digital art, mastering this skill gives you the freedom to build custom visuals that align perfectly with your creative vision.
Also Read This: how decline stock option when downloading adobe
Preparing Your Image for Cutting in Illustrator
Before you start cutting out an image, preparation is crucial. Here’s how you can set up your image for the best results:
- Choose the Right Image: Select an image with clear edges and good resolution. Blurry or low-quality images can make the cutting process harder.
- Import the Image: Open Adobe Illustrator and use the File > Place option to import your image onto the artboard.
- Lock the Image Layer: Create a new layer for your cutting tools and lock the image layer to avoid accidental edits.
- Zoom In for Precision: Zoom in on the area you’ll be cutting to ensure accuracy in your work.
- Adjust Brightness or Contrast: If needed, use Photoshop or Illustrator’s adjustments to make the edges of your subject more distinct.
Proper preparation ensures that the cutting process is smoother and that the final result is clean and professional. Taking the time to set up your image correctly can save you frustration later on.
Also Read This: Understanding the Process of Downloading Adobe Stock
Using the Pen Tool to Cut Out an Image
The Pen Tool in Adobe Illustrator is one of the most powerful tools for cutting out images. It allows you to create precise paths around the part of the image you want to isolate. Although it might seem tricky at first, with practice, it becomes a go-to tool for detailed cut-outs.
Here’s how you can use the Pen Tool step by step:
- Select the Pen Tool: Choose the Pen Tool from the toolbar or press P on your keyboard.
- Create Anchor Points: Click to place anchor points around the edges of the subject. Use short clicks for straight lines and click-and-drag for curves.
- Adjust Curves: For curved edges, use the handles that appear after dragging. You can adjust these with the Direct Selection Tool (A).
- Complete the Path: Continue adding points until you form a closed path around the subject.
- Remove the Background: With the path selected, right-click and choose Make Clipping Mask or simply isolate the object using the path.
Pro Tip: Use a combination of zooming in and fine-tuning anchor points to ensure smooth and accurate edges. The Pen Tool might take time to master, but it’s worth the effort for professional-quality results.
Also Read This: how to look into adobe stock from indesign
Using the Clipping Mask Method for Cutting Images
The Clipping Mask method is an alternative to using the Pen Tool. It’s less detailed but quicker and ideal for images with simpler shapes or well-defined edges. A Clipping Mask works by using a shape to "mask" or hide parts of an image outside its boundaries.
Follow these steps to use the Clipping Mask method:
- Draw a Shape: Use the Rectangle Tool, Ellipse Tool, or Pen Tool to draw a shape that covers the area you want to keep.
- Position the Shape: Ensure the shape is on top of the image by checking the layer order in the Layers panel.
- Create the Mask: Select both the shape and the image, right-click, and choose Make Clipping Mask.
- Refine the Mask: Adjust the shape or reposition the image if needed by double-clicking on the mask group.
Why Use Clipping Masks? They’re non-destructive, meaning you can edit or remove the mask at any time without altering the original image. It’s a fast and flexible option for designers working on tight deadlines.
Also Read This: How to Download Behance Images for Free
Tips for Achieving Accurate Cut-Outs
Cutting out images in Illustrator requires attention to detail. Here are some tips to help you get the most accurate results:
- Zoom In for Precision: Work closely by zooming in on detailed areas. This helps you see edges clearly and avoid mistakes.
- Use High-Quality Images: Start with high-resolution images to ensure cleaner and sharper cut-outs.
- Combine Tools: Use a mix of tools like the Pen Tool, Shape Builder, and Direct Selection for complex designs.
- Smooth Your Paths: Use the Smooth Tool to refine jagged edges and curves for a polished finish.
- Work on Separate Layers: Keep your image and paths on separate layers to stay organized and avoid accidental edits.
- Check Your Work: Toggle between outline and preview modes (Ctrl+Y) to see how your paths align with the image.
These tips can make the difference between a rough cut-out and a professional-looking design. Take your time, and don’t hesitate to redo sections to get them just right.
Also Read This: Secret Tips For You on How to Use Streamable
Common Mistakes to Avoid When Cutting Out Images
Cutting out images in Illustrator can be challenging, especially for beginners. Even seasoned designers sometimes make mistakes that affect the quality of their work. Knowing these common errors can help you avoid them and achieve better results.
Here are some mistakes to watch out for:
- Not Zooming In: Working too far out often leads to jagged or uneven edges. Always zoom in for precision, especially on detailed areas.
- Ignoring Anchor Point Placement: Placing too many or too few anchor points can make your paths look unnatural. Use as few points as necessary for smooth curves.
- Skipping Path Refinement: Paths that aren’t smoothed or adjusted can result in a rough cut-out. Use the Smooth Tool or manually tweak anchor points for better accuracy.
- Using Low-Resolution Images: A poor-quality image makes it harder to achieve clean edges. Start with a high-resolution file whenever possible.
- Overcomplicating the Mask: When using Clipping Masks, creating overly intricate shapes can complicate your workflow. Keep masks simple and effective.
- Forgetting to Save Versions: Always save different versions of your file, especially before making major edits. This helps you revert to earlier stages if needed.
Avoiding these pitfalls will save you time and effort, making the process smoother and your results more polished.
Also Read This: Understanding How Behance Operates with a Comprehensive Look at Its Features and Functionality
FAQs About Cutting Out Images in Illustrator
Here are answers to some of the most frequently asked questions about cutting out images in Adobe Illustrator:
| Question | Answer |
|---|---|
| What tools are best for cutting out images? | The Pen Tool and Clipping Mask are the most commonly used tools, depending on the level of precision you need. |
| Can I edit a cut-out later? | Yes, if you use non-destructive methods like Clipping Masks or save the original file, you can make changes later. |
| What file format is ideal for cut-out images? | Vector formats like SVG are ideal for scalability, but you can export to PNG if you need a transparent background. |
| Is Illustrator better than Photoshop for cutting out images? | Illustrator is ideal for vector-based work, while Photoshop excels with raster images. Choose based on your project’s needs. |
| Why do my edges look jagged? | This could be due to poor anchor point placement or using a low-resolution image. Adjust your paths and use high-quality images. |
These FAQs address common concerns and can help streamline your cutting-out process in Illustrator.
Conclusion
Cutting out images in Adobe Illustrator is an essential skill for designers working on detailed and professional projects. By using tools like the Pen Tool and Clipping Mask, preparing your image properly, and following best practices, you can create precise and polished cut-outs.
Avoiding common mistakes, such as neglecting zoom or overcomplicating your paths, ensures smoother workflows and better results. Remember, every cut-out takes practice, and with time, you’ll achieve professional-grade results that elevate your designs.
Whether you're new to Illustrator or looking to refine your skills, these techniques will guide you toward mastering the art of cutting out images. Start experimenting today and transform your design projects with precision and creativity!


